Nudenotes Lessons: A Beginners Guide
Reading time: 10 mins
Want to know how to make awesome nudenotes (or sketchnotes), but don’t know where to start?
Step this way, my friend, and join the nudenotes revolution.
This is nudenotes 101.
In this blog article, I will guide you through the basics, so you can start making your own nudenotes.
I’ll include the foundational techniques and tricks I've learned over the past ten years in creating my own unique style of sketchnotes, which I call nudenotes.
If you're new to nudenotes, and aren't sure what they are, read this quick manifesto.
If you want to find out about the value of nudenotes, check out the blog I wrote for Logo Creative: Sketchnotes: Why nudenotes are so awesome.
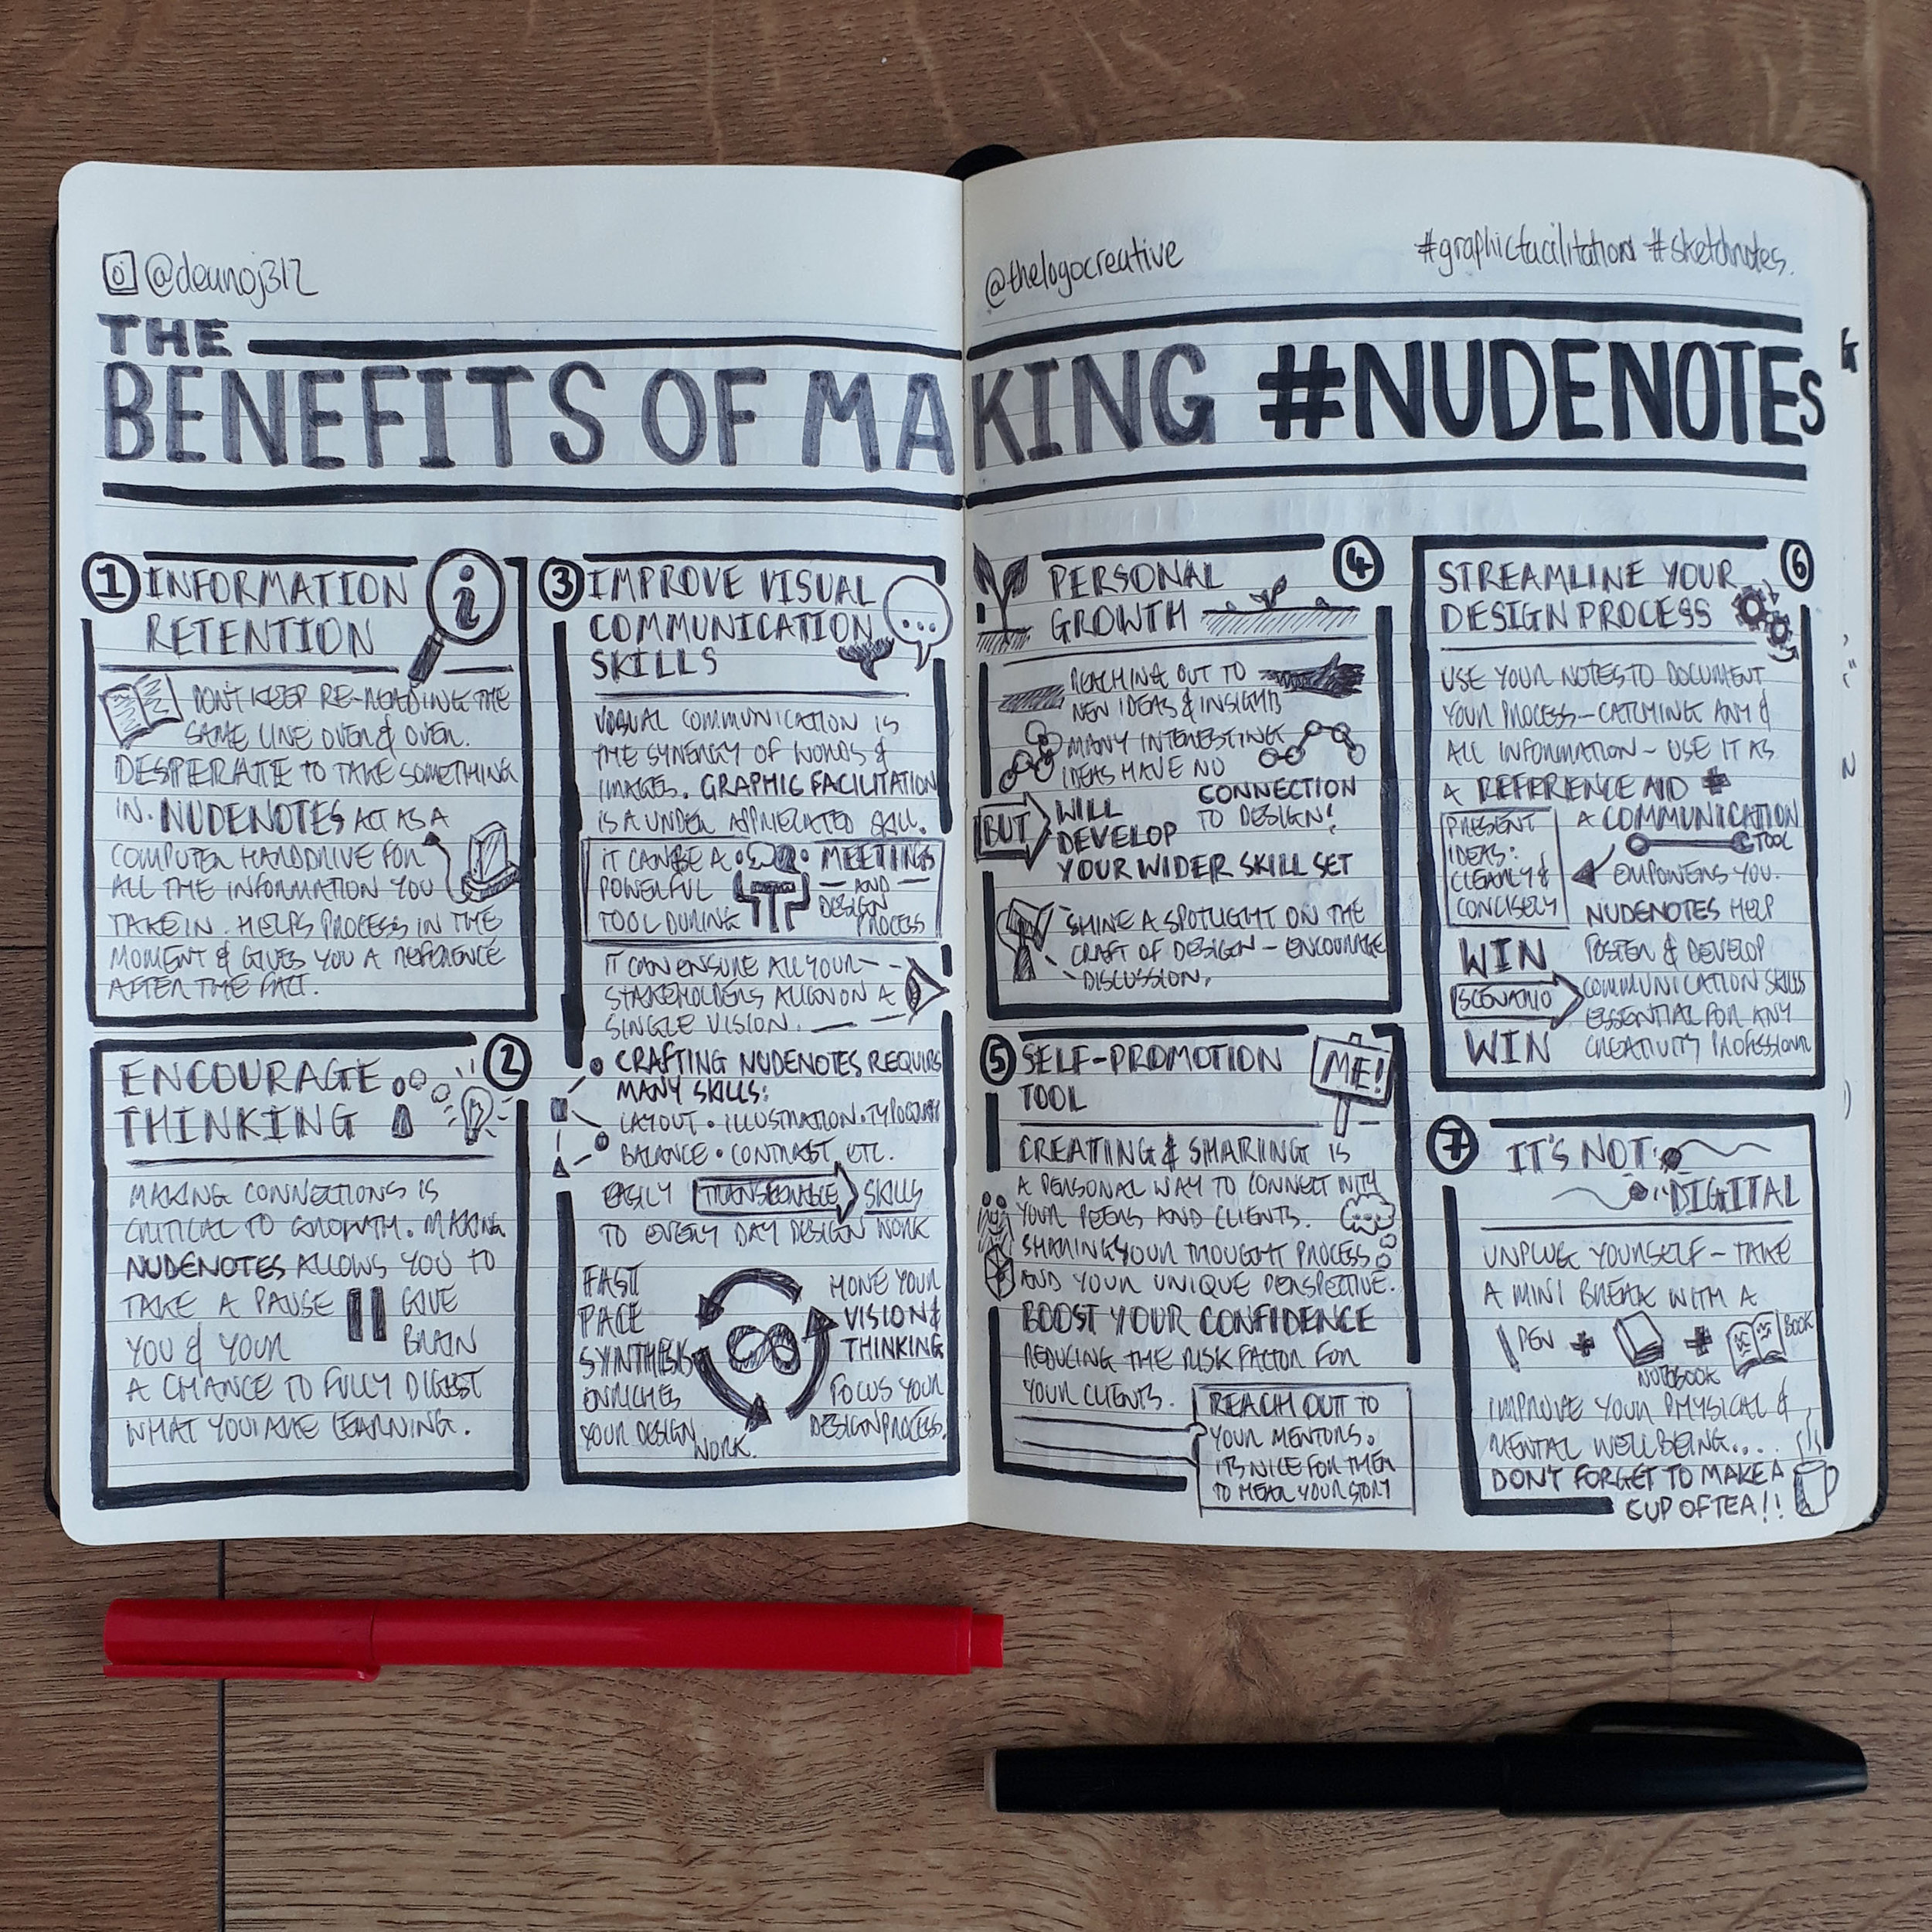
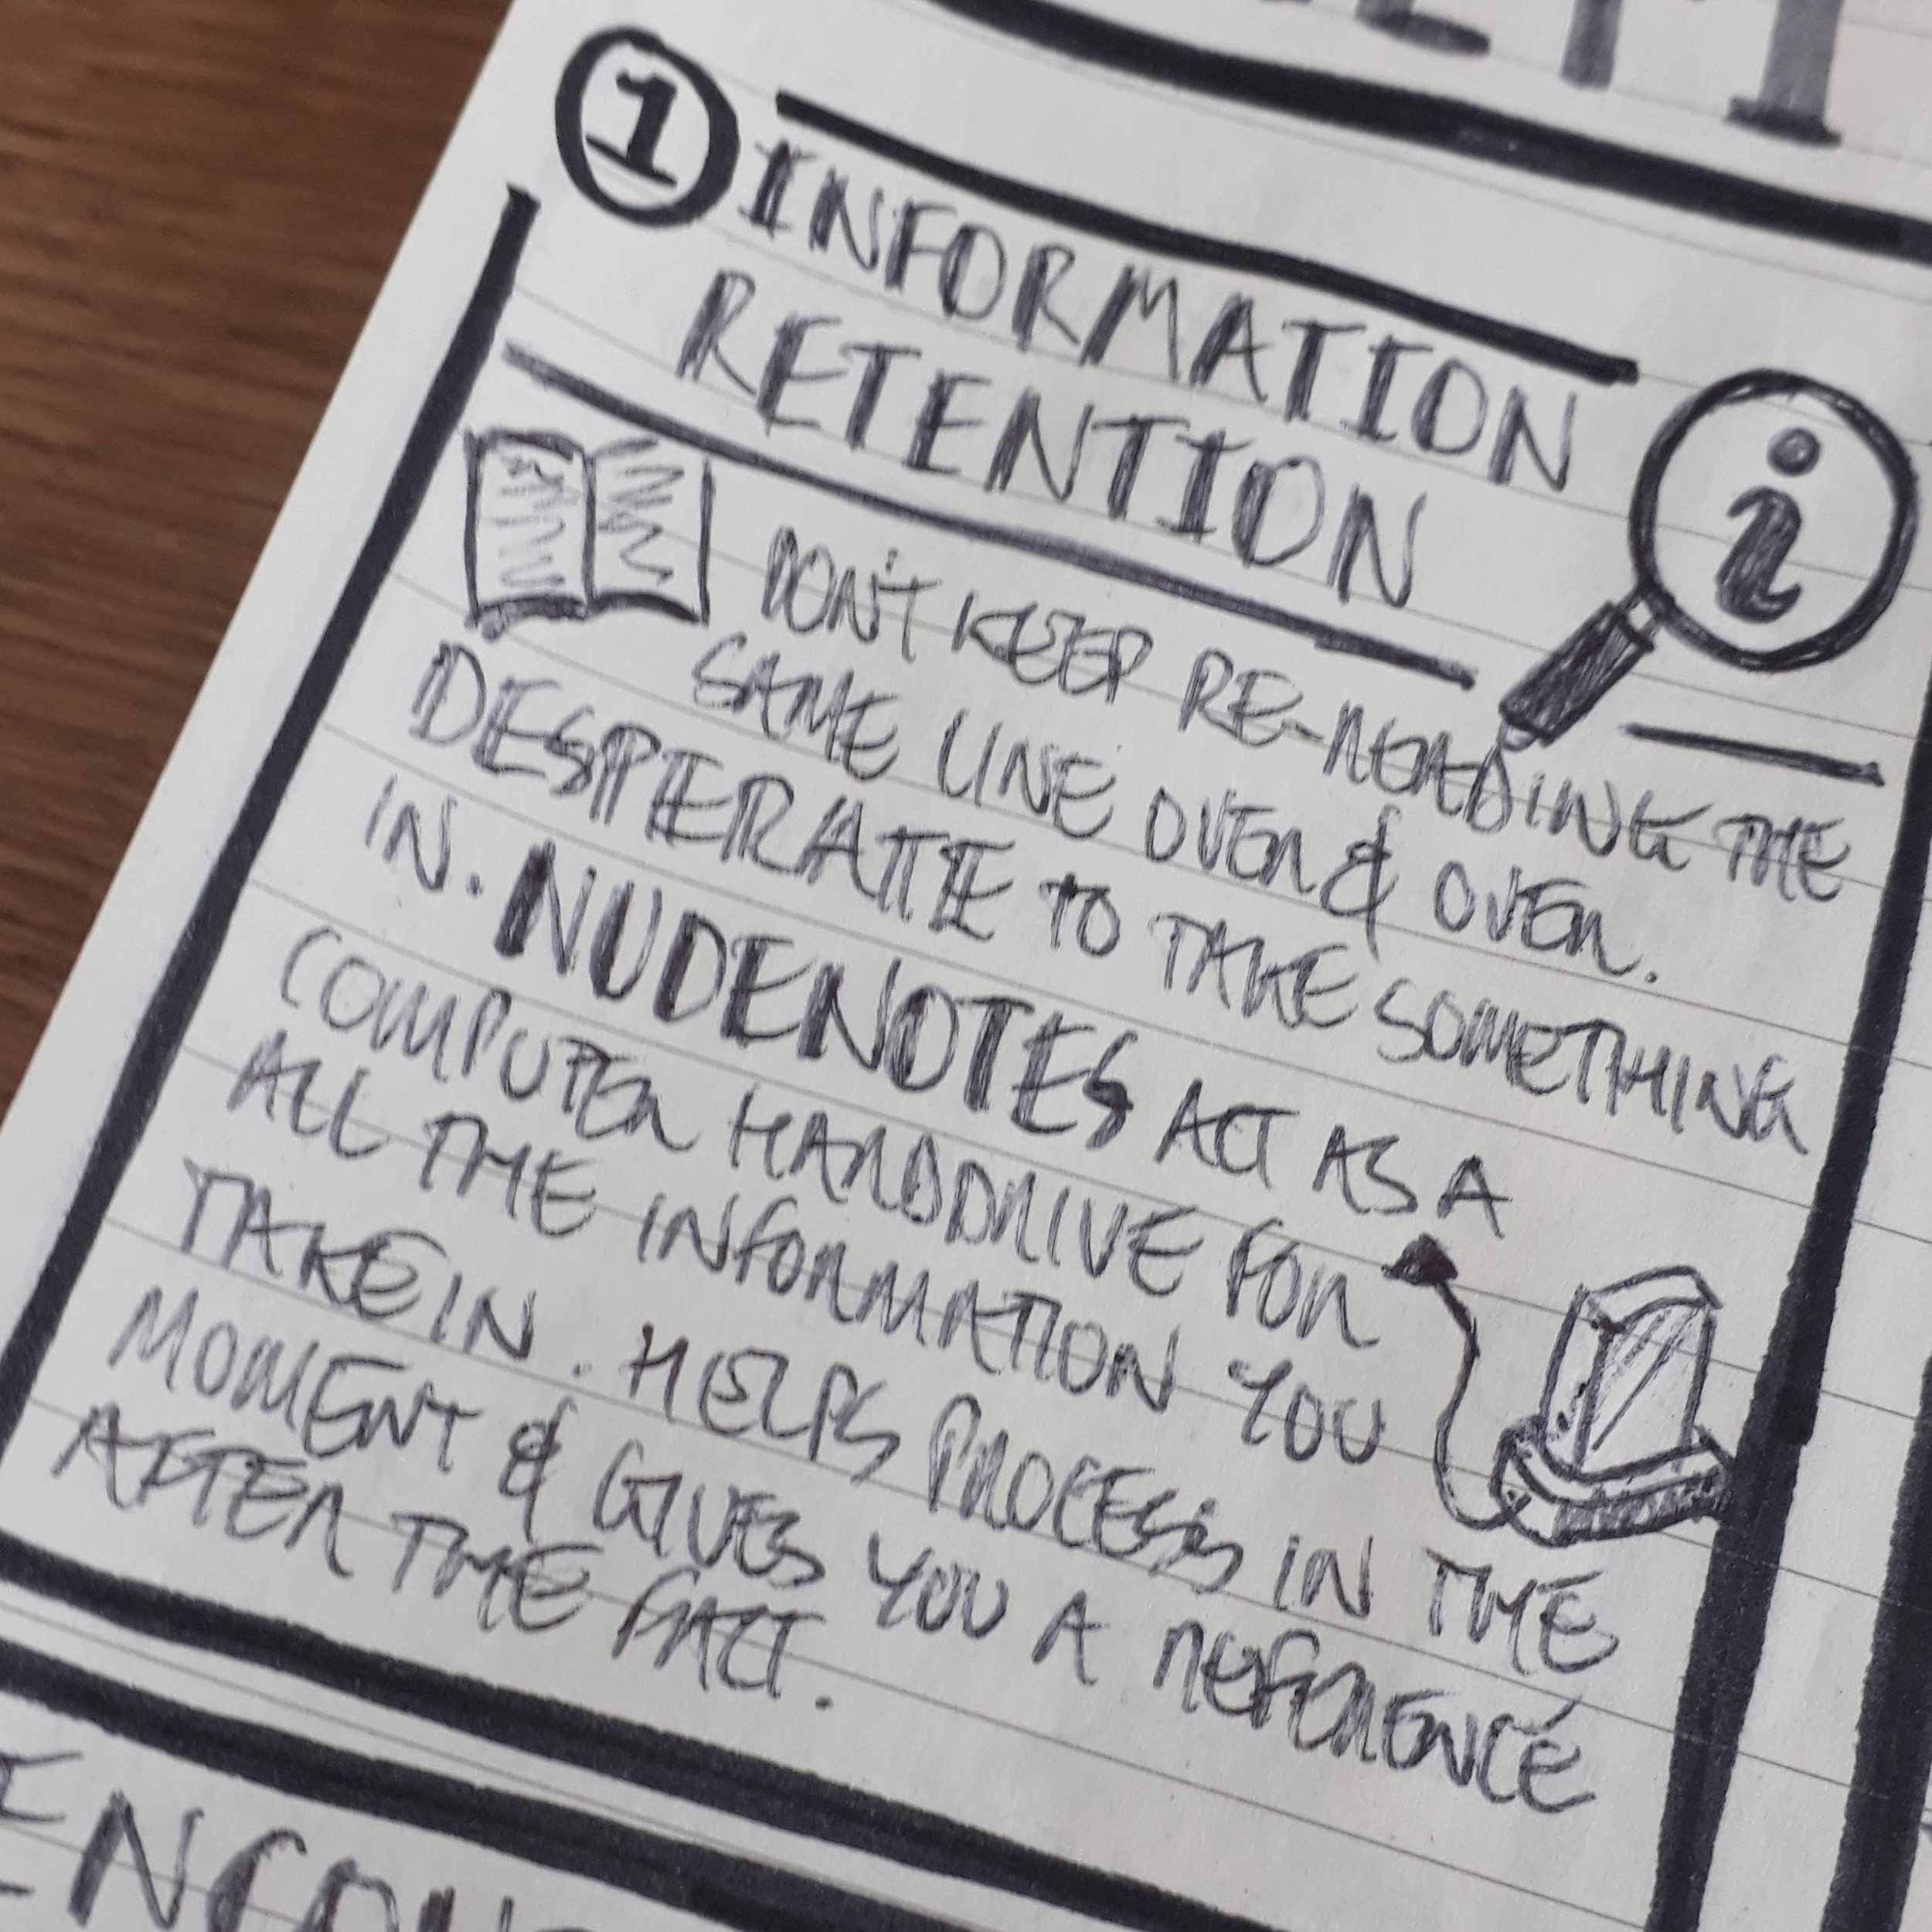
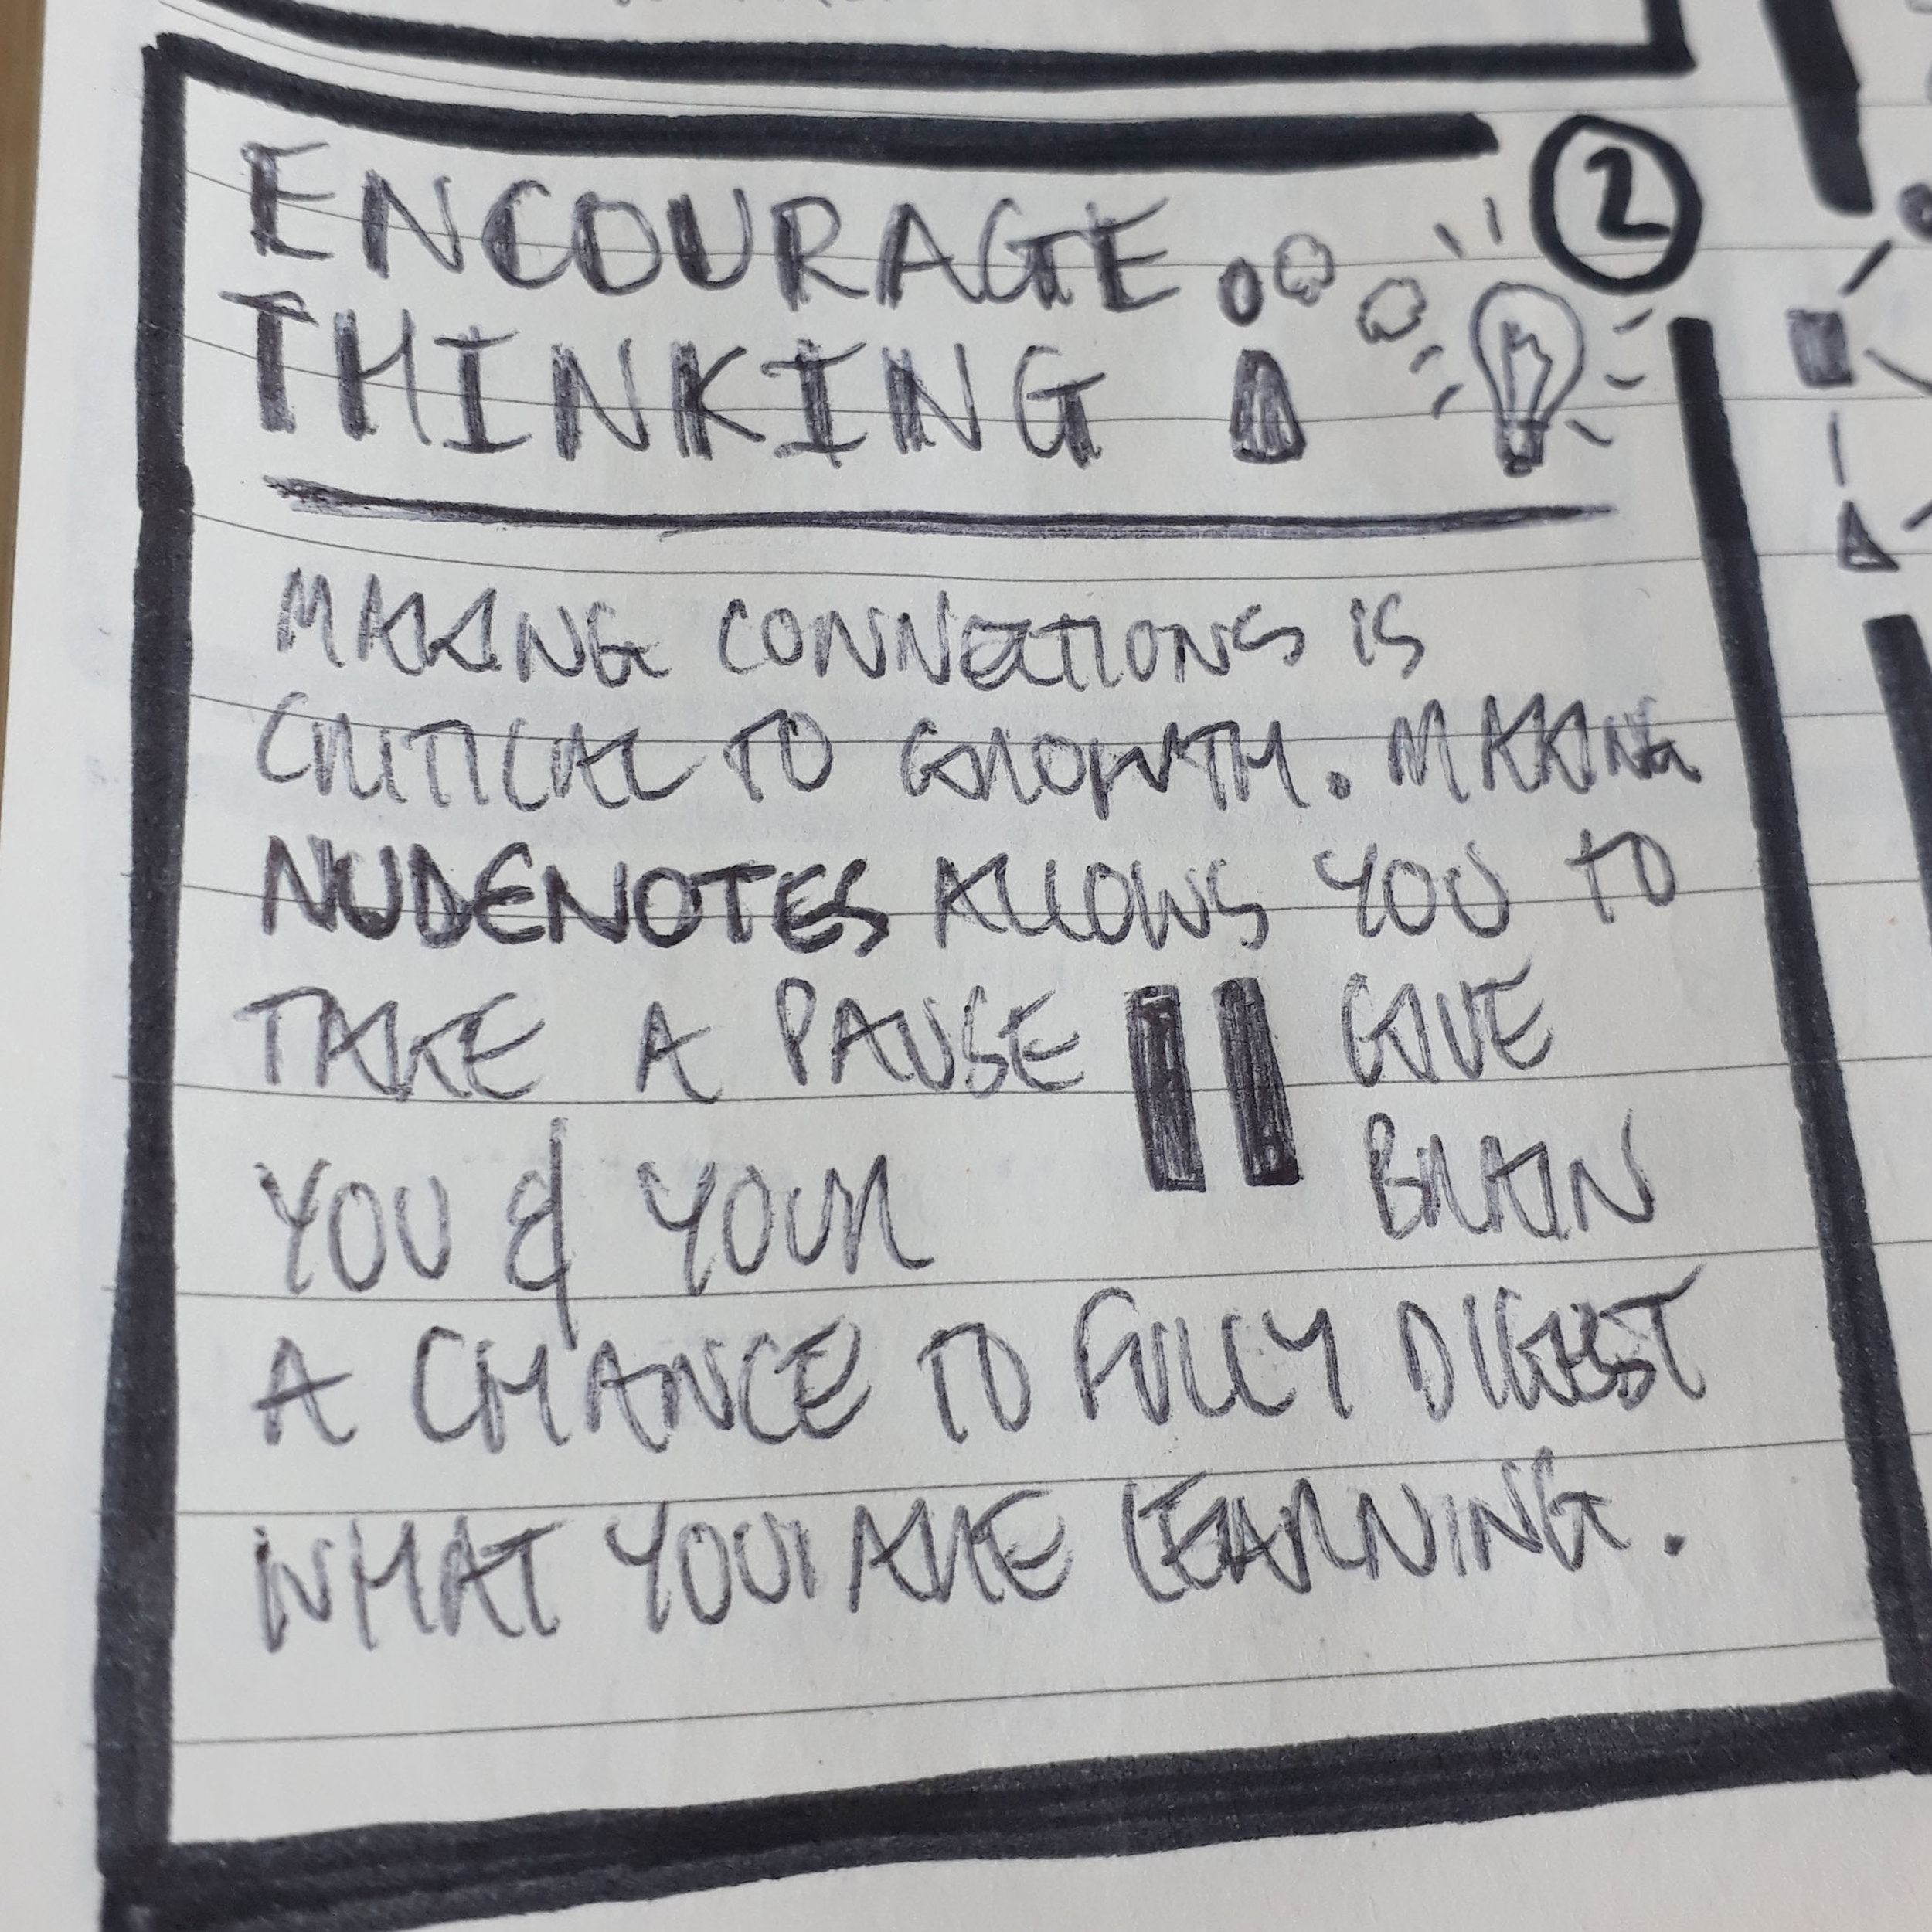
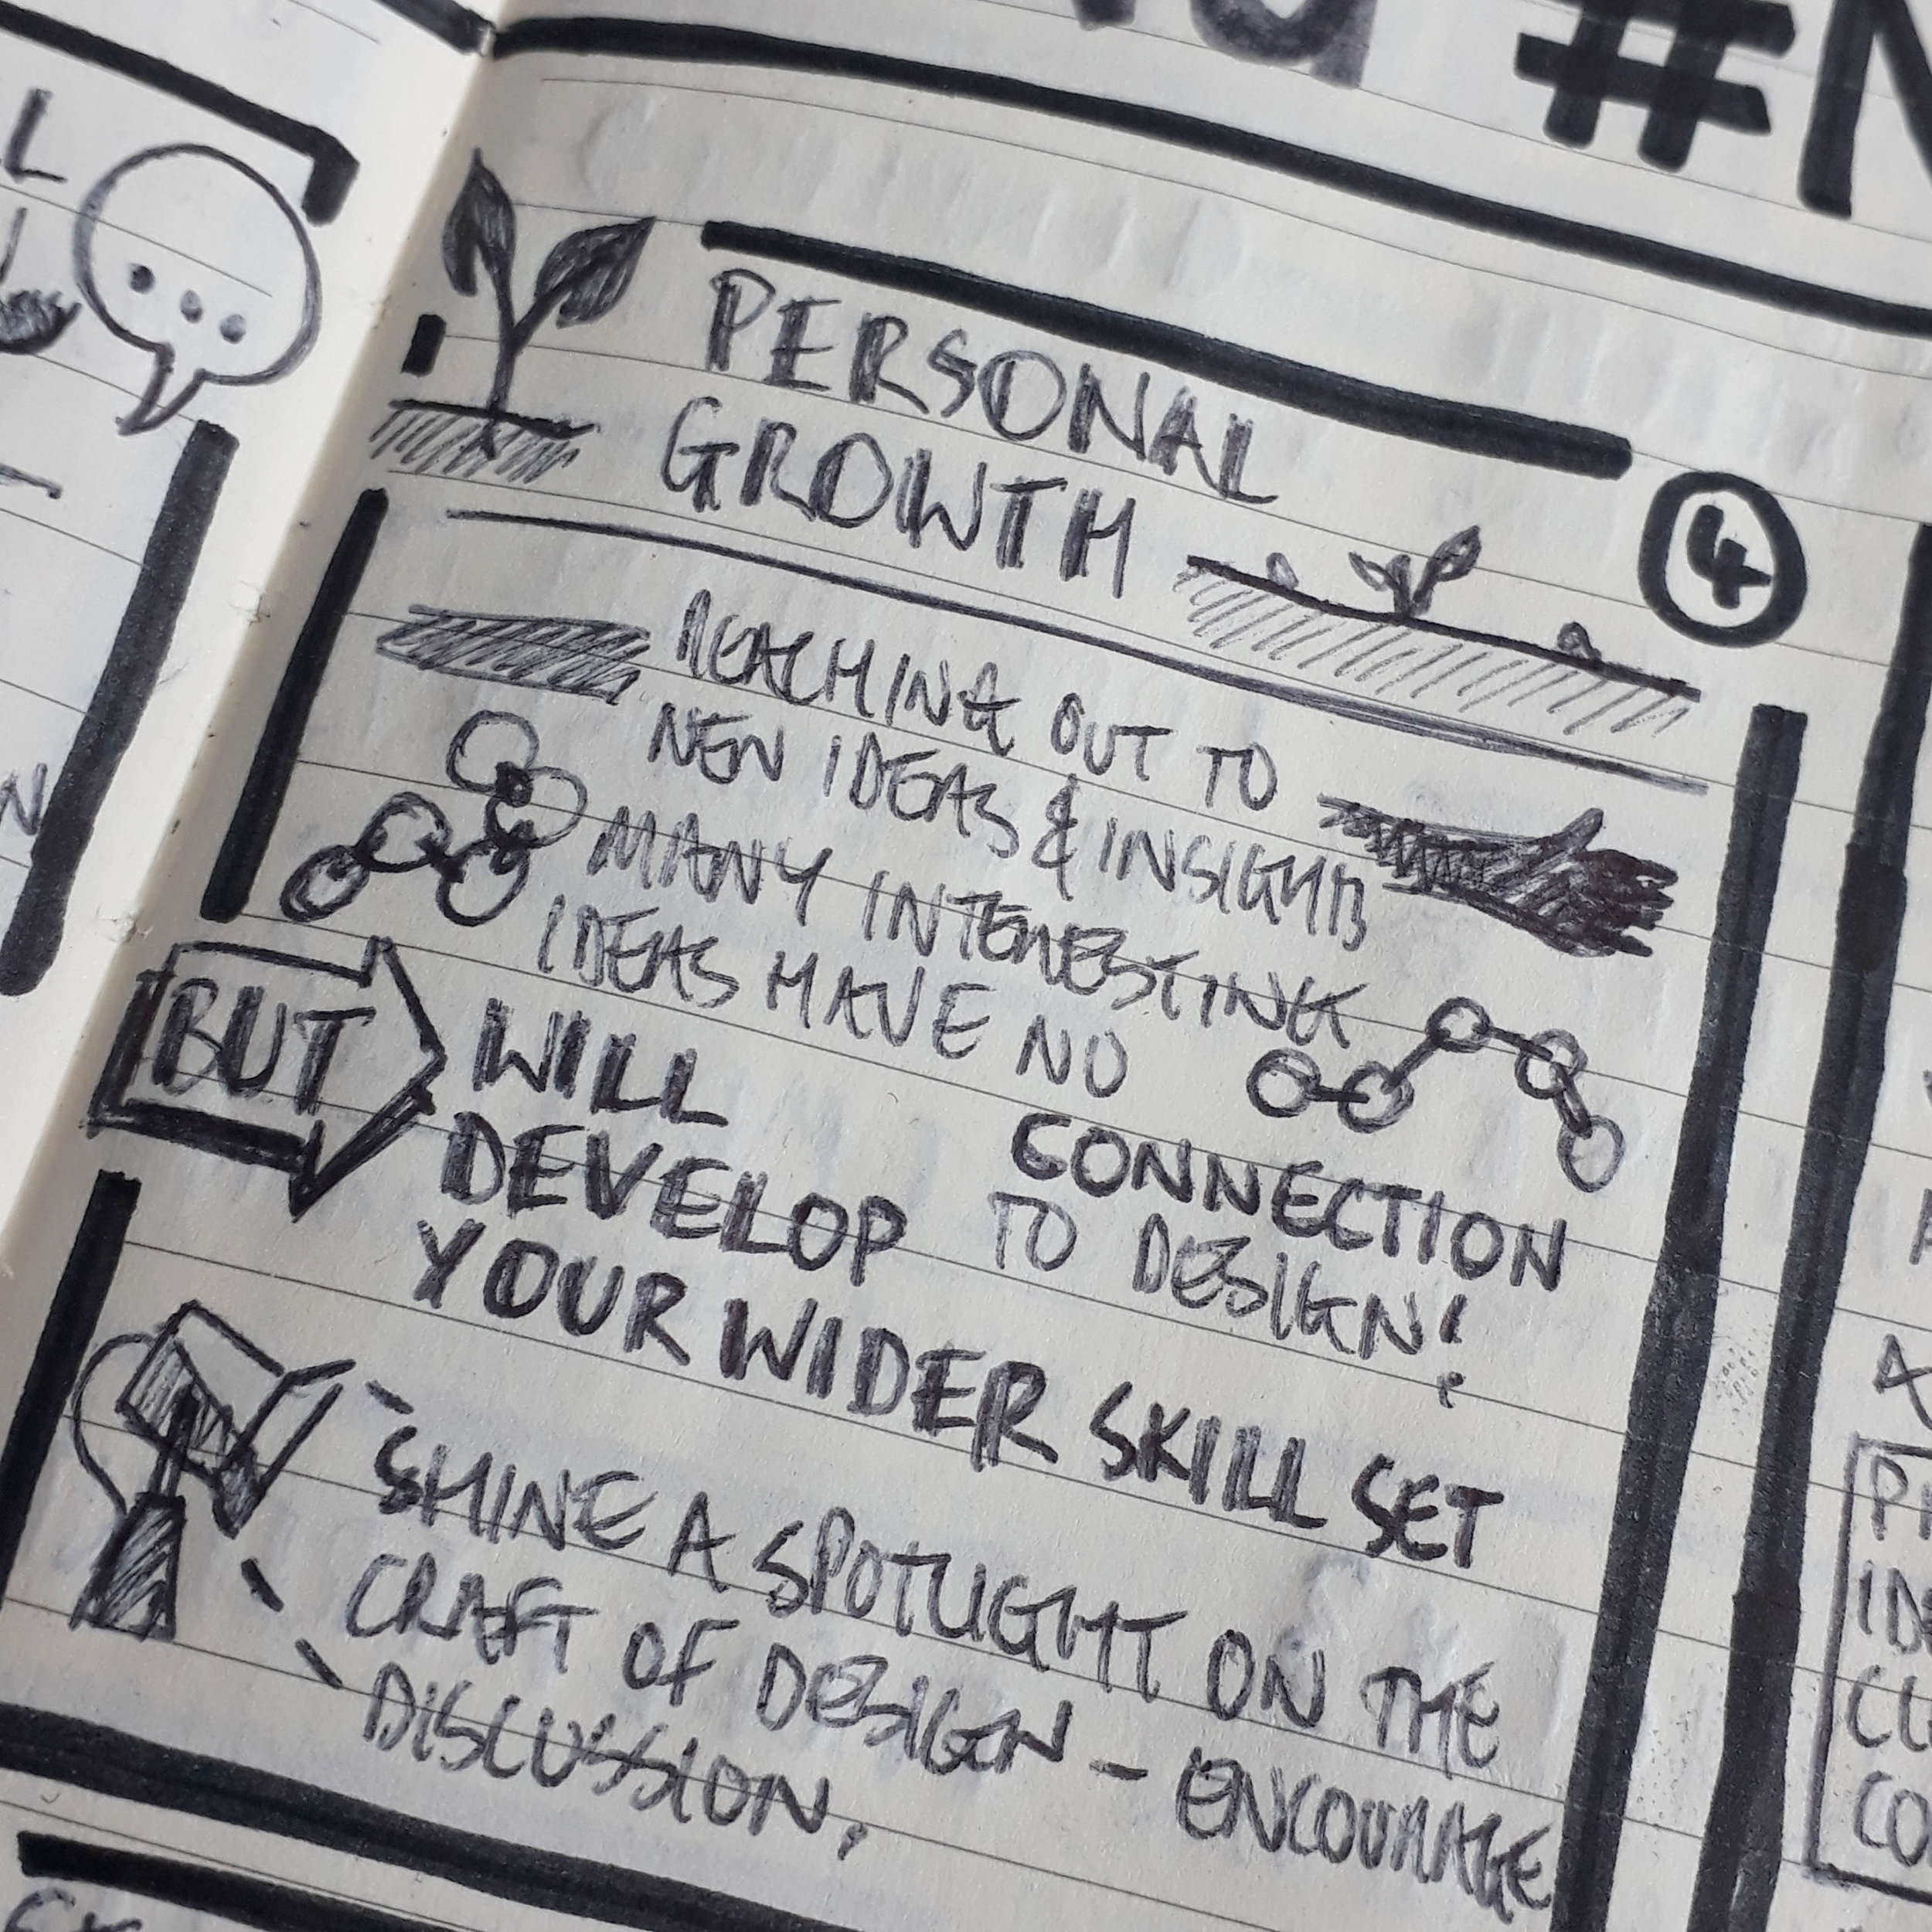
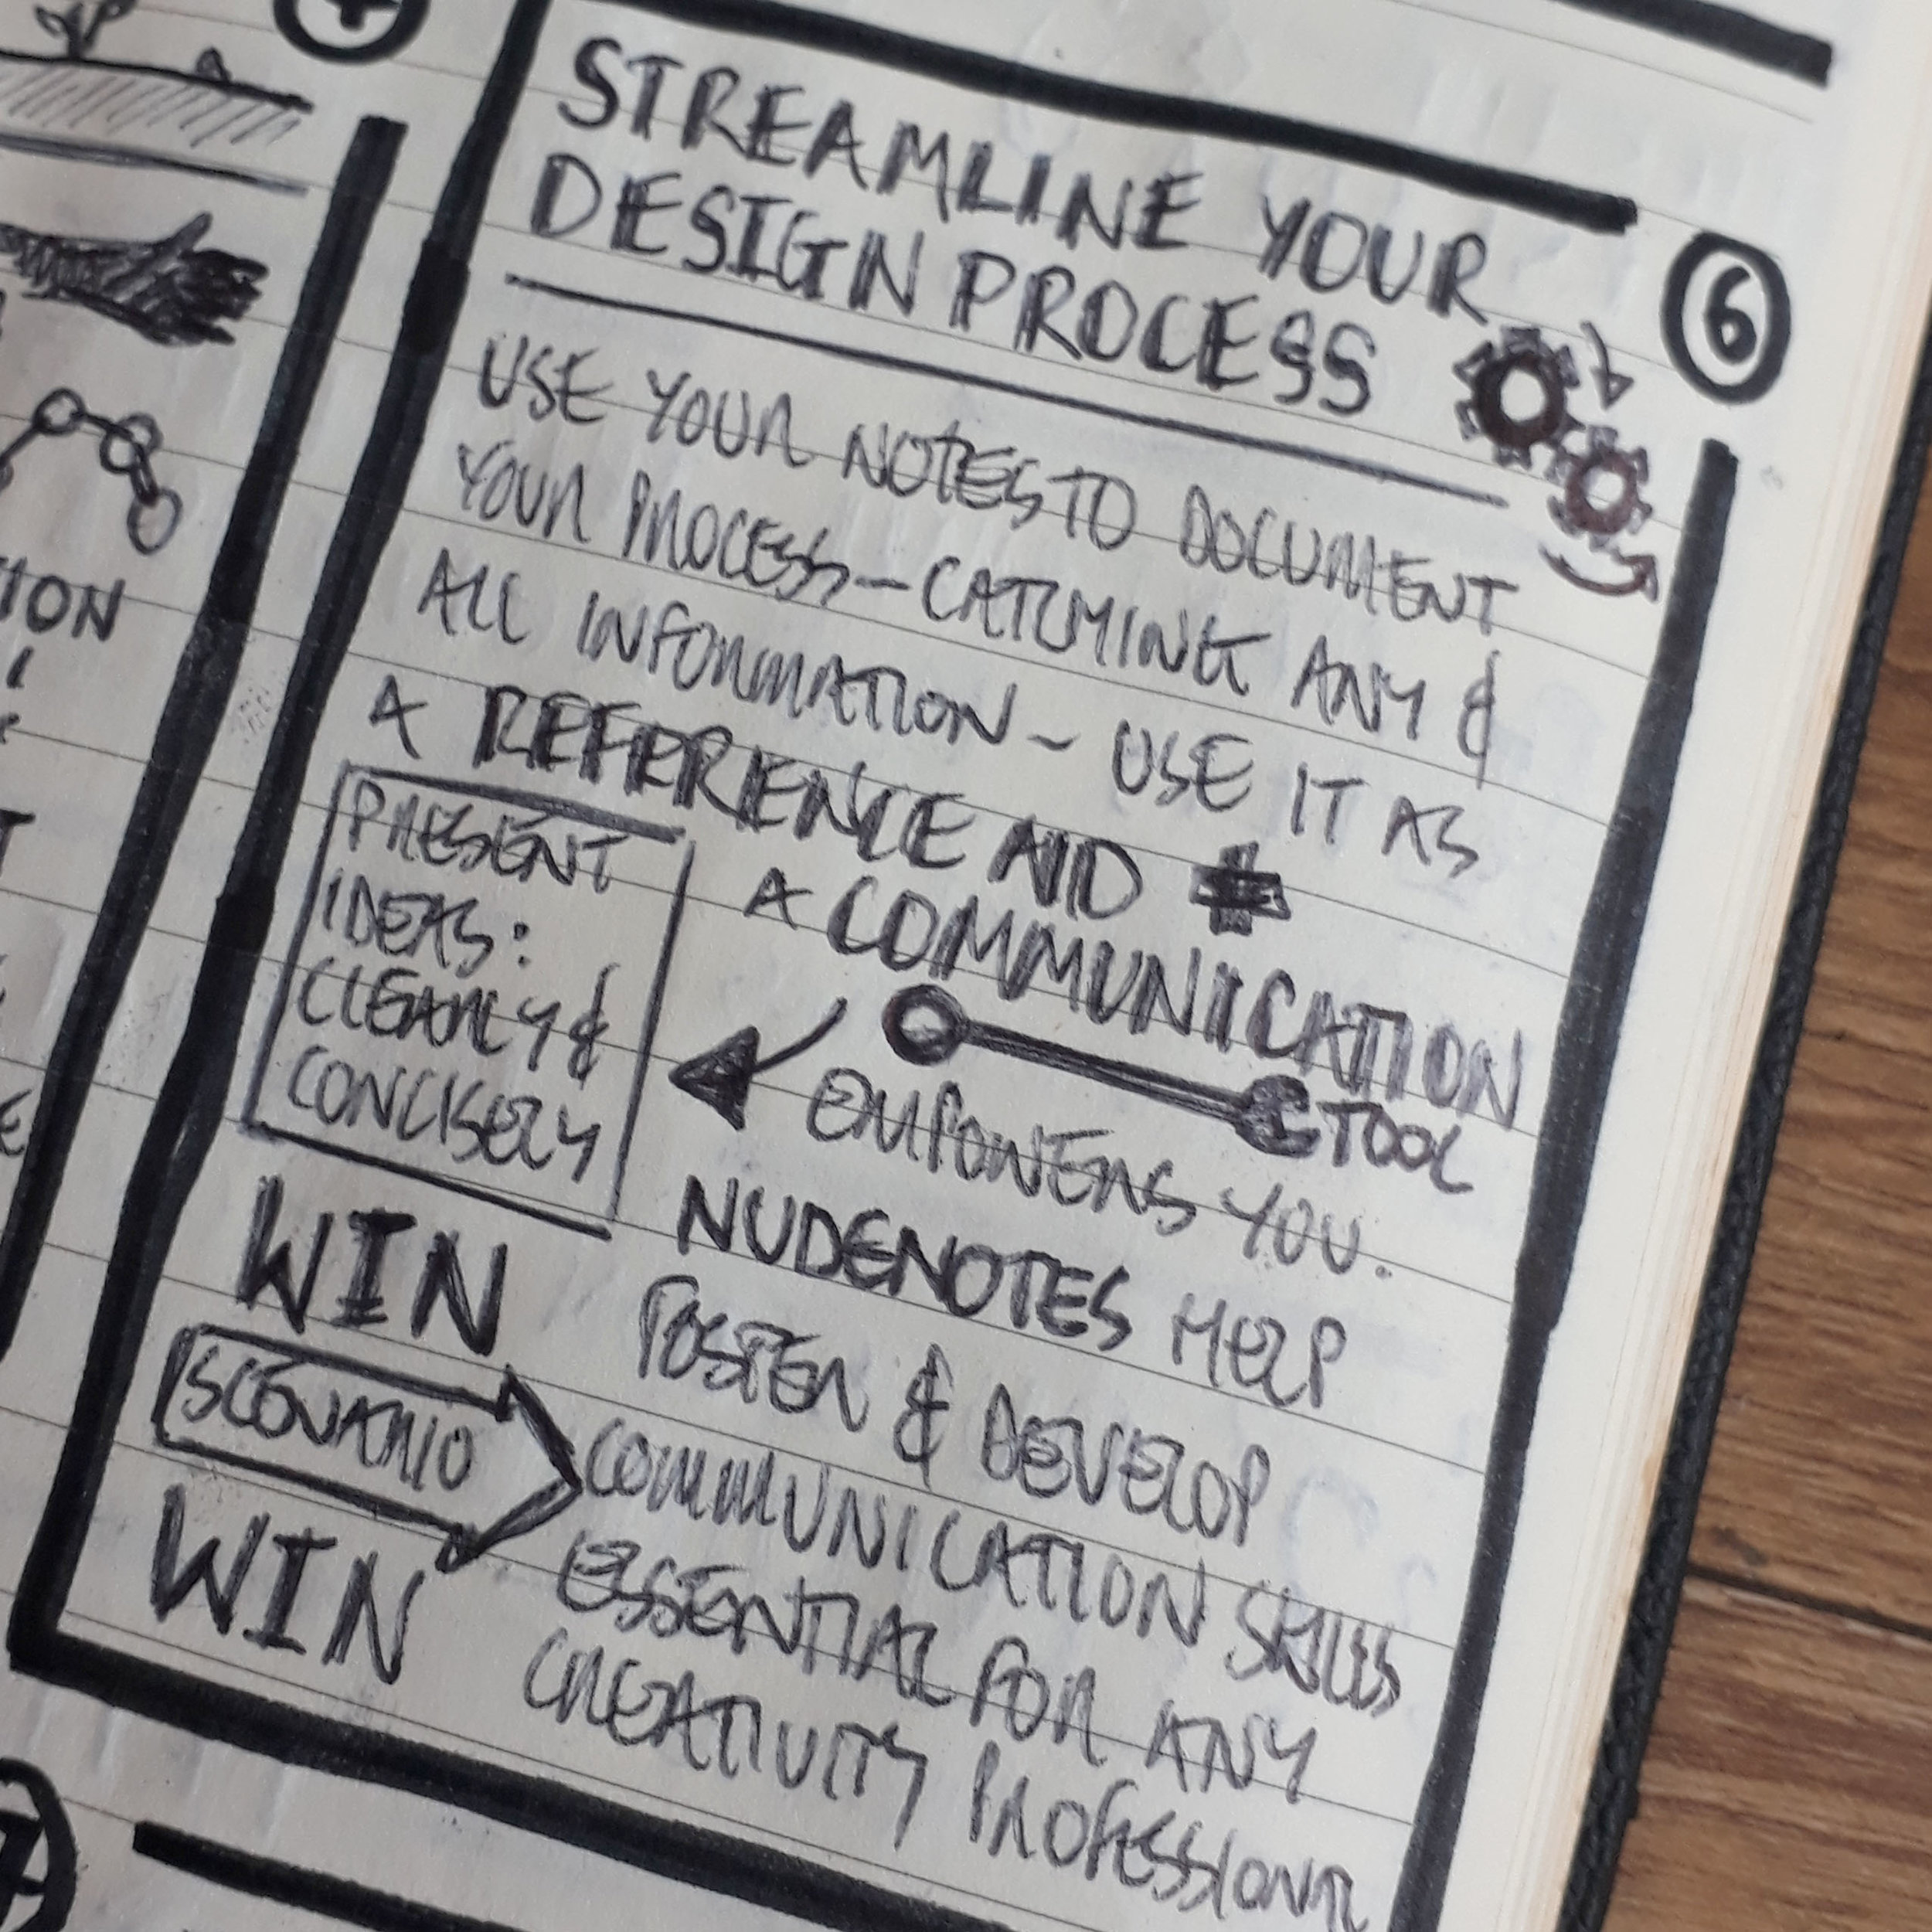
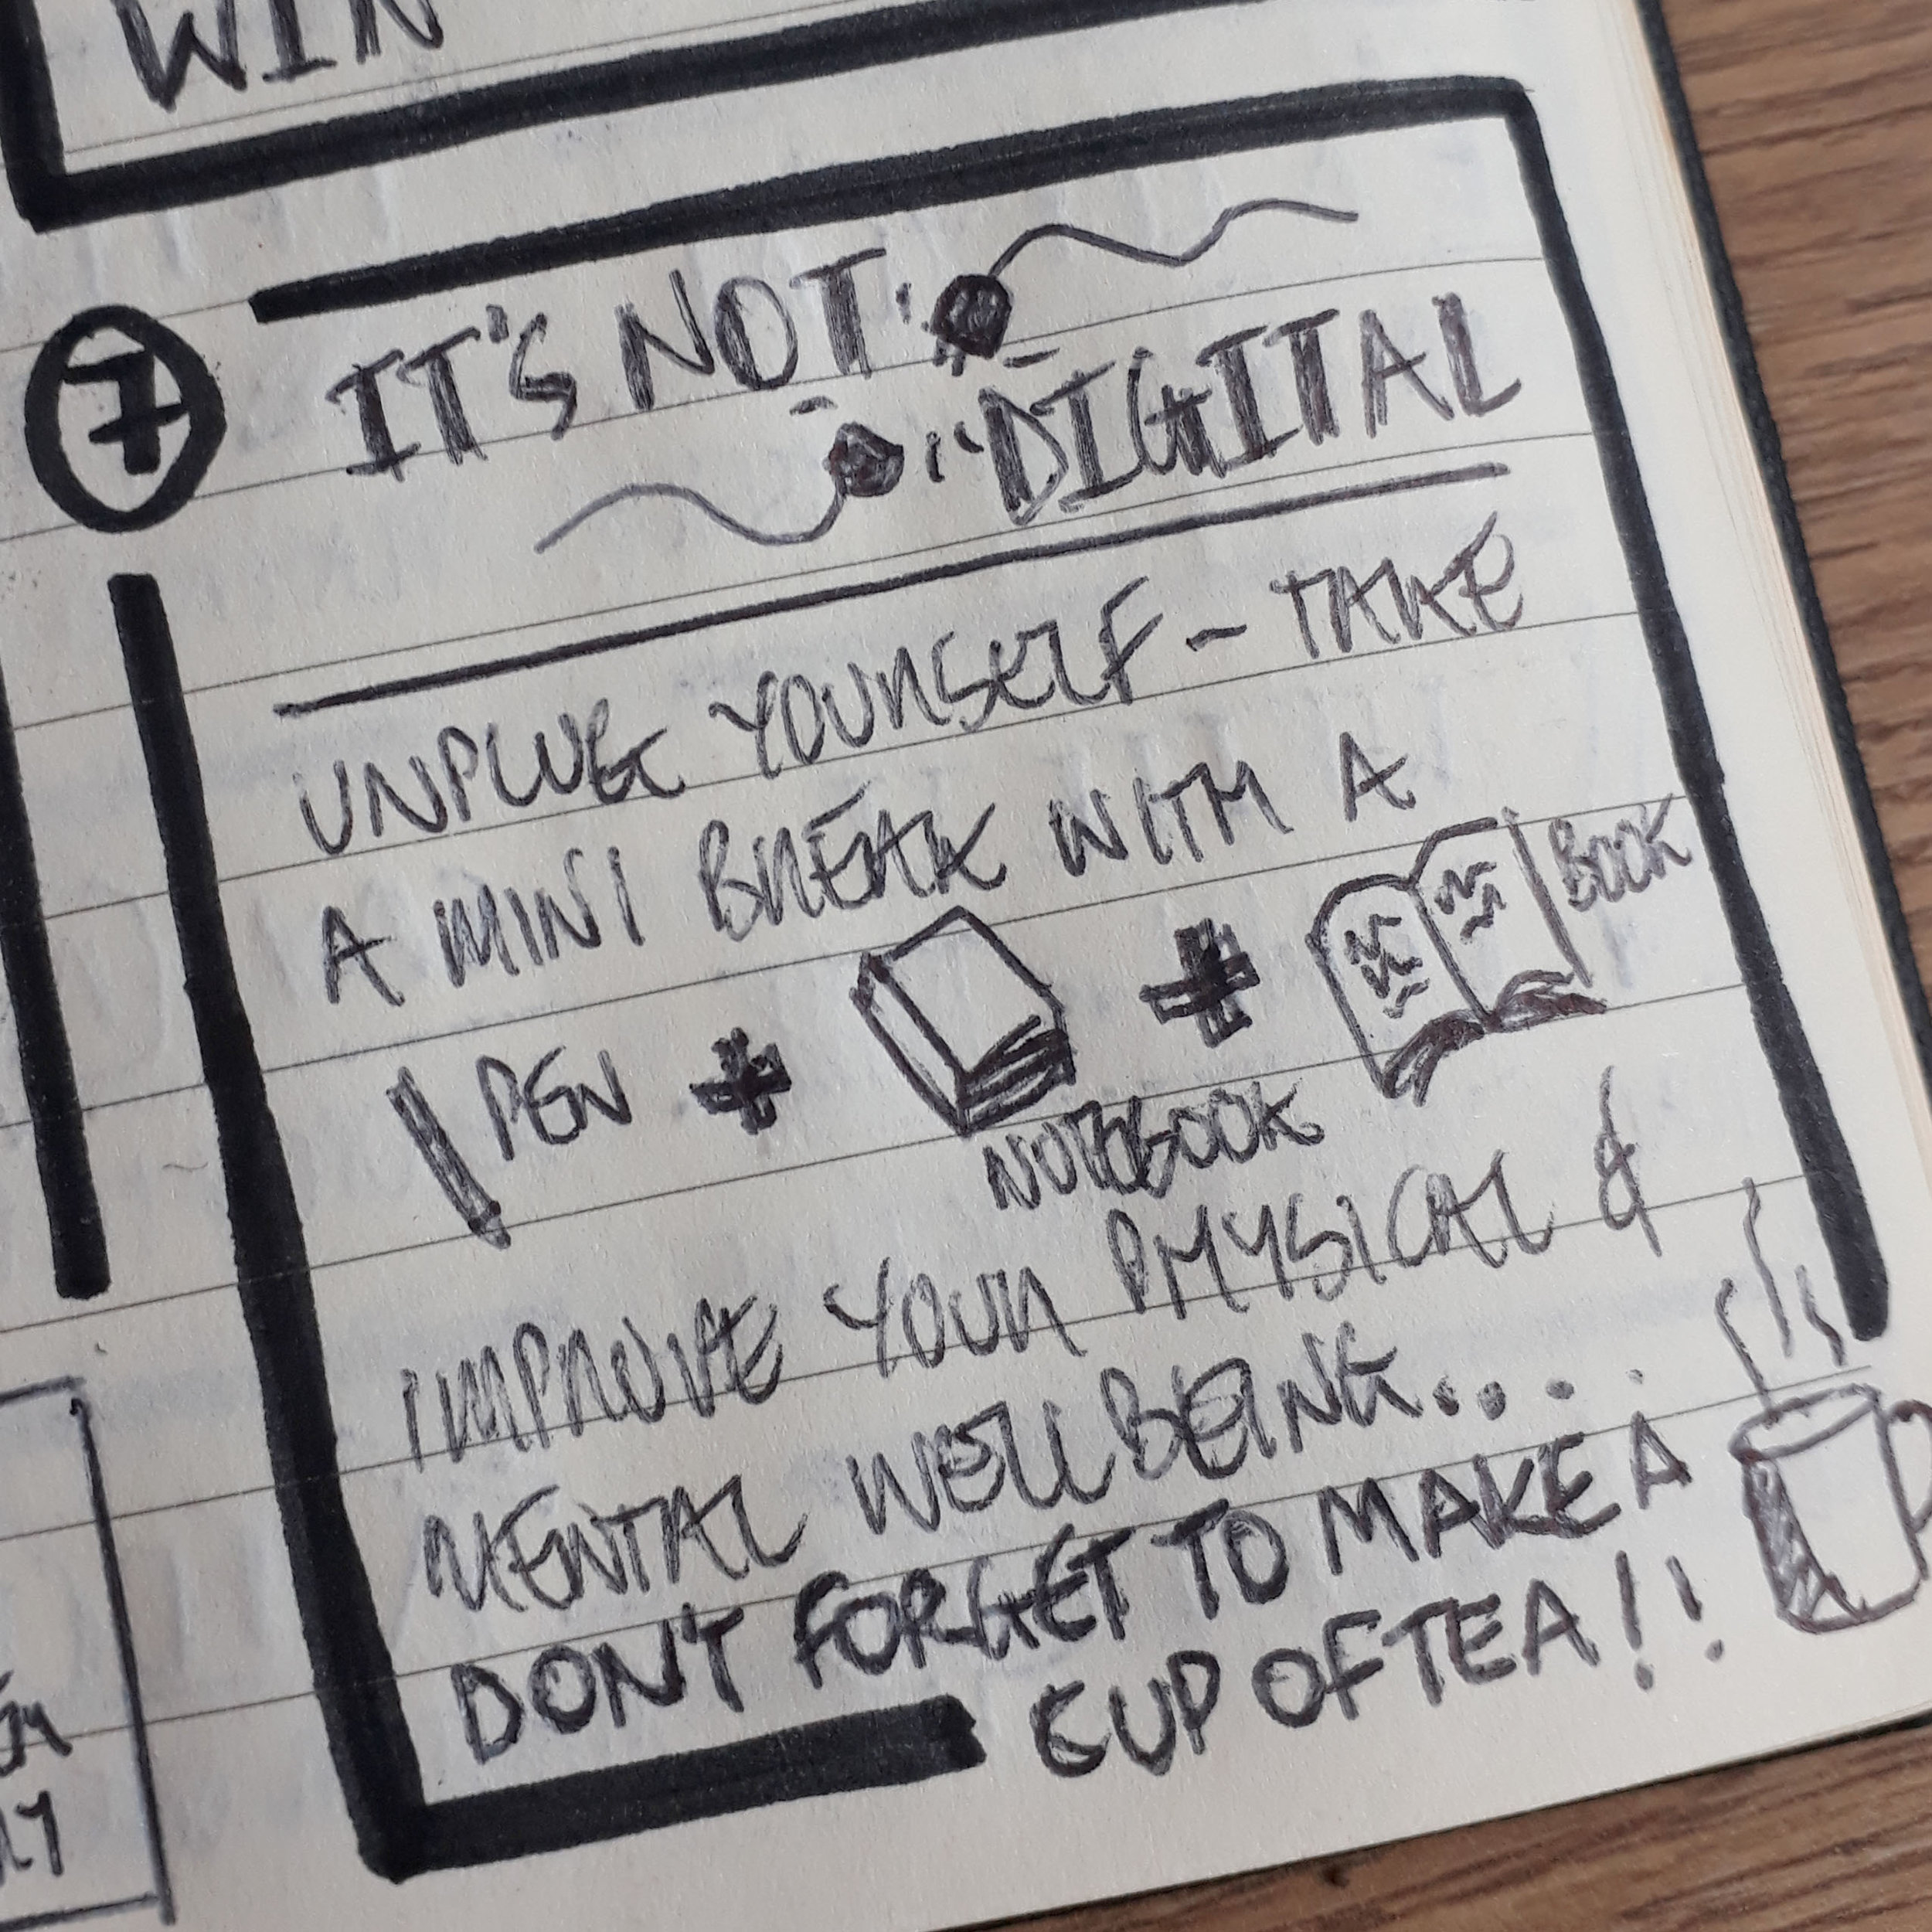
Here are the notes I made whilst I developing that article - as you can see there is still room for a little more.
Before we dive into the article, I want to clarify what this blog isn’t going to cover.
There are plenty of blogs about what pens and paper to use when making notes.
In my opinion, it doesn't matter what pen and paper you use to make your nudenotes.
What matters is that you’re developing your skills, learning process and creative mindset through making notes.
I believe that your mindset has a massive effect on what you produce, particularly when it comes to nudenotes.
My aim with this article is to help you to change your mindset, so you don’t get as much 'creative paralysis' or writer's block during your nudenoting process.
In keeping with the whole point of nudenotes, I’m going to write this article in bite-size chunks - tasty, concise mouthfuls of nudenote-making wisdom.
Let's tuck in...
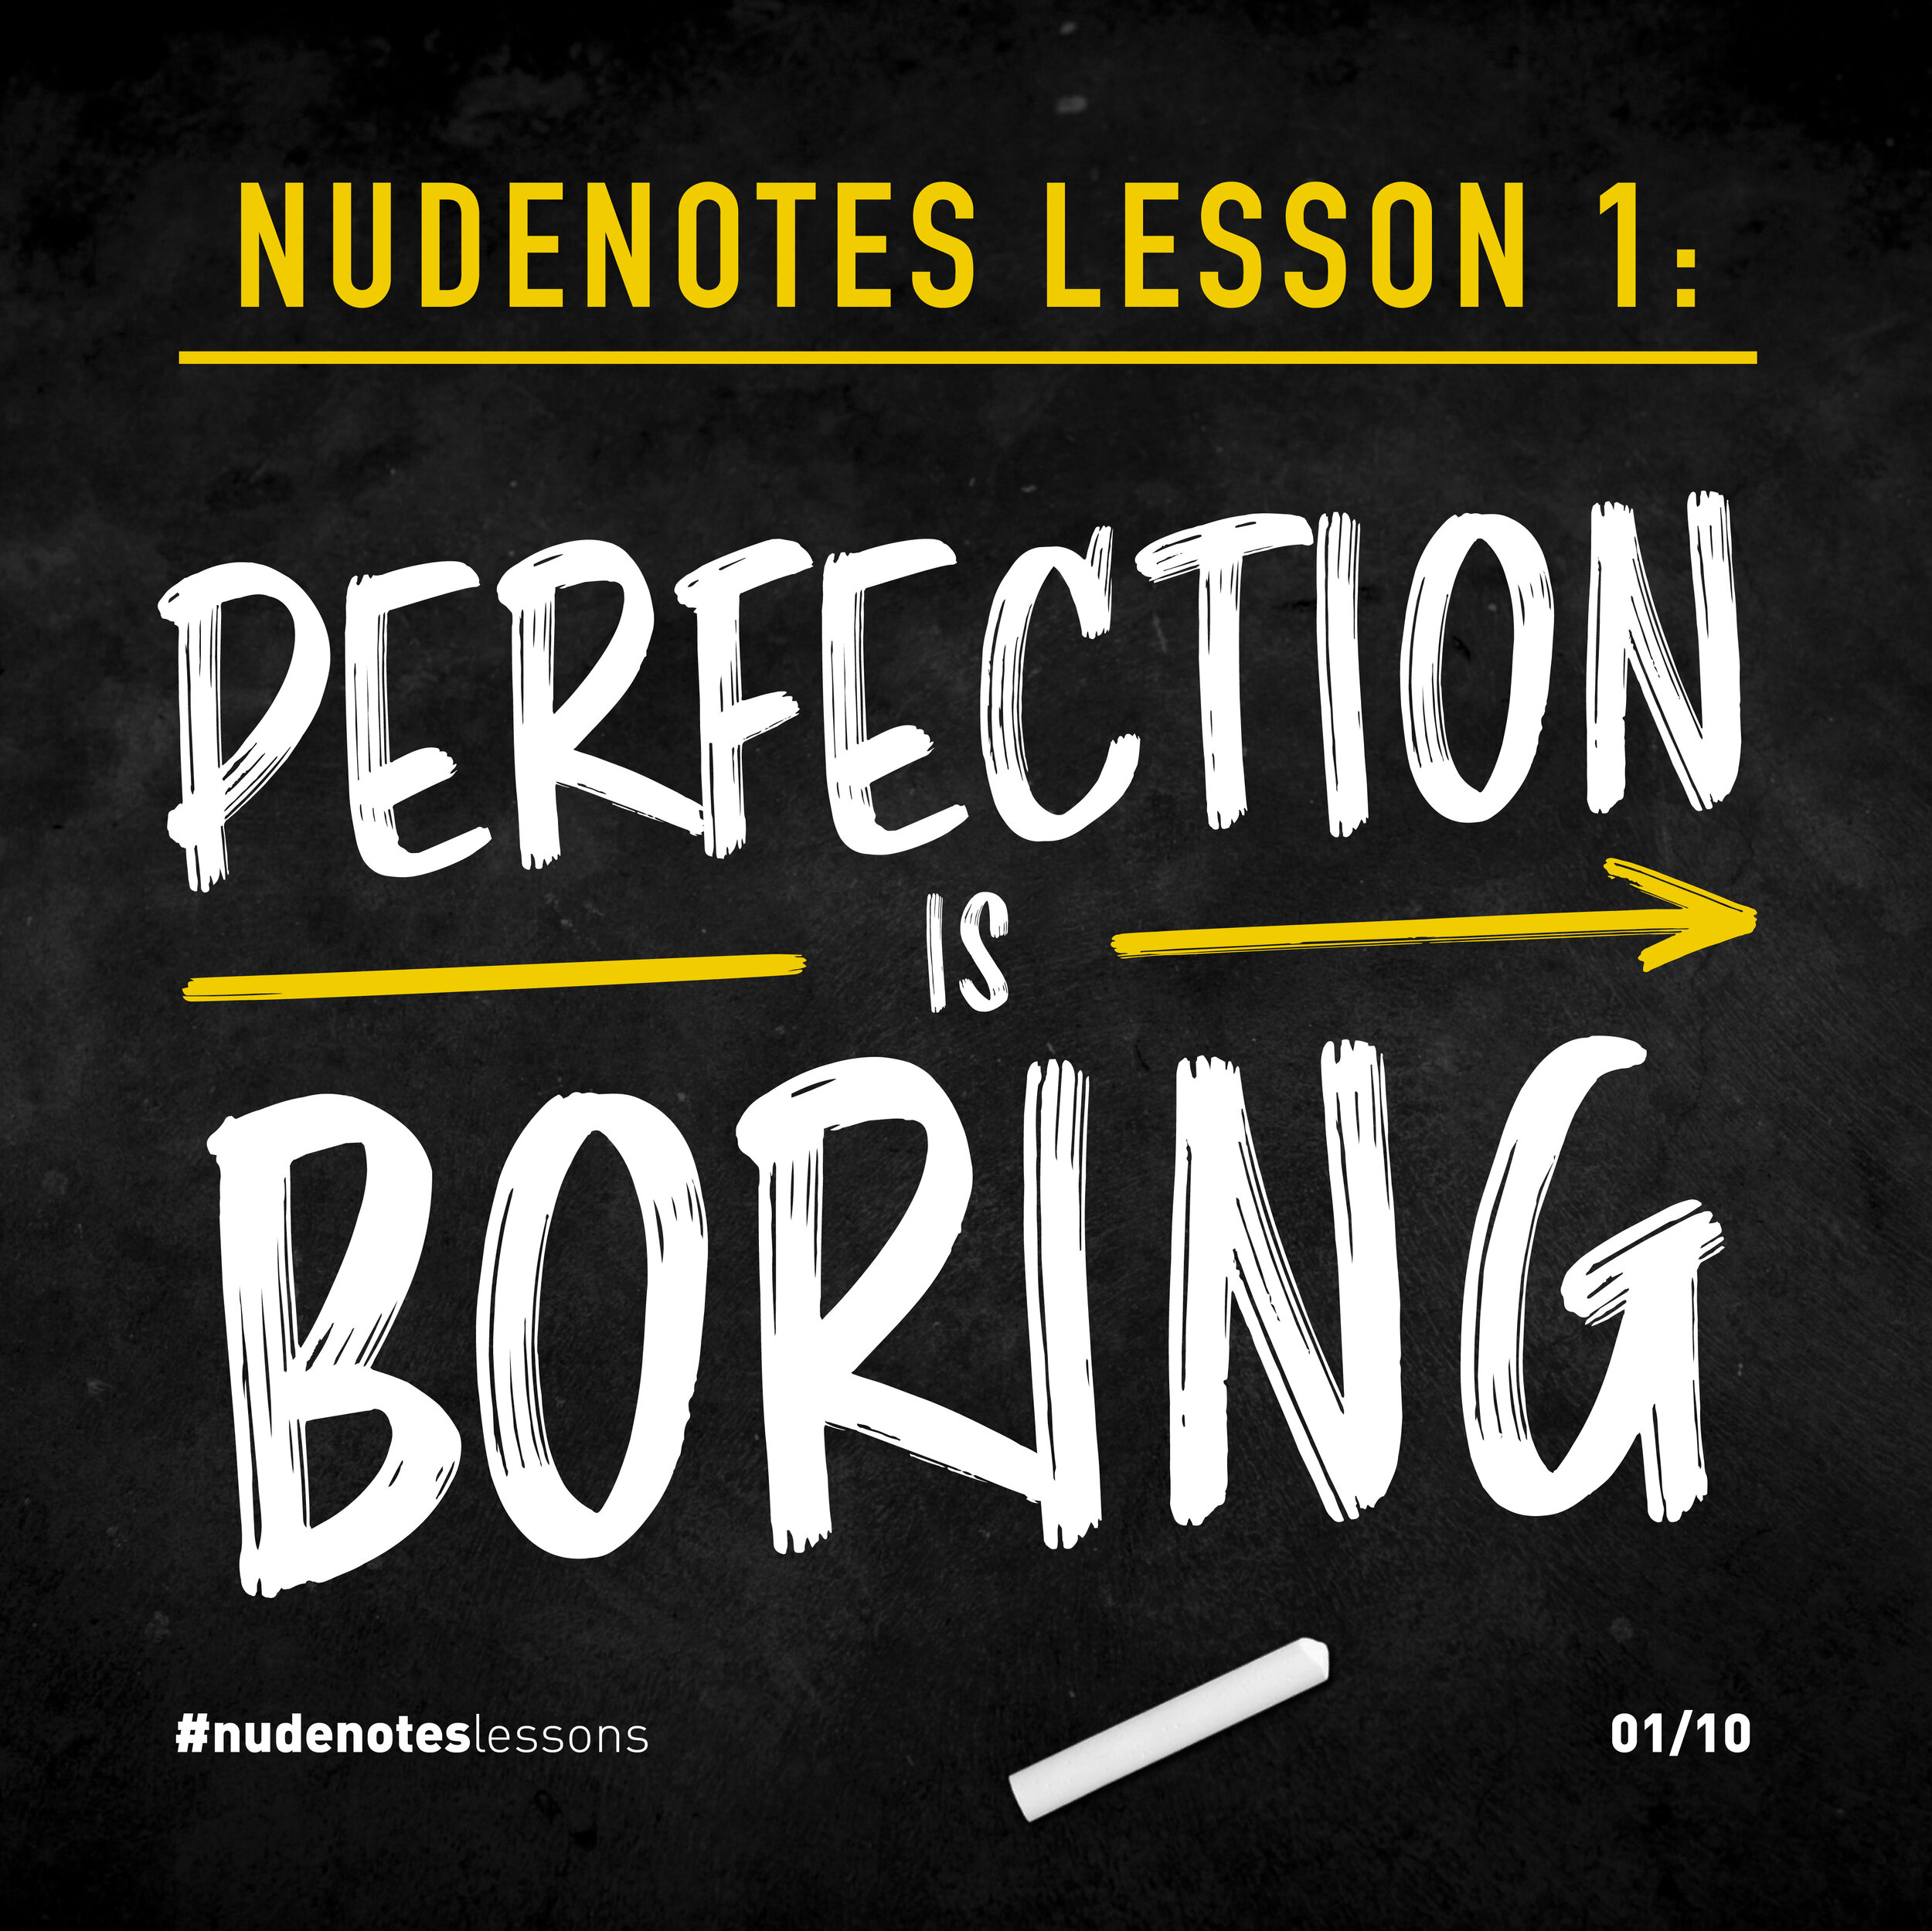
Perfection is boring
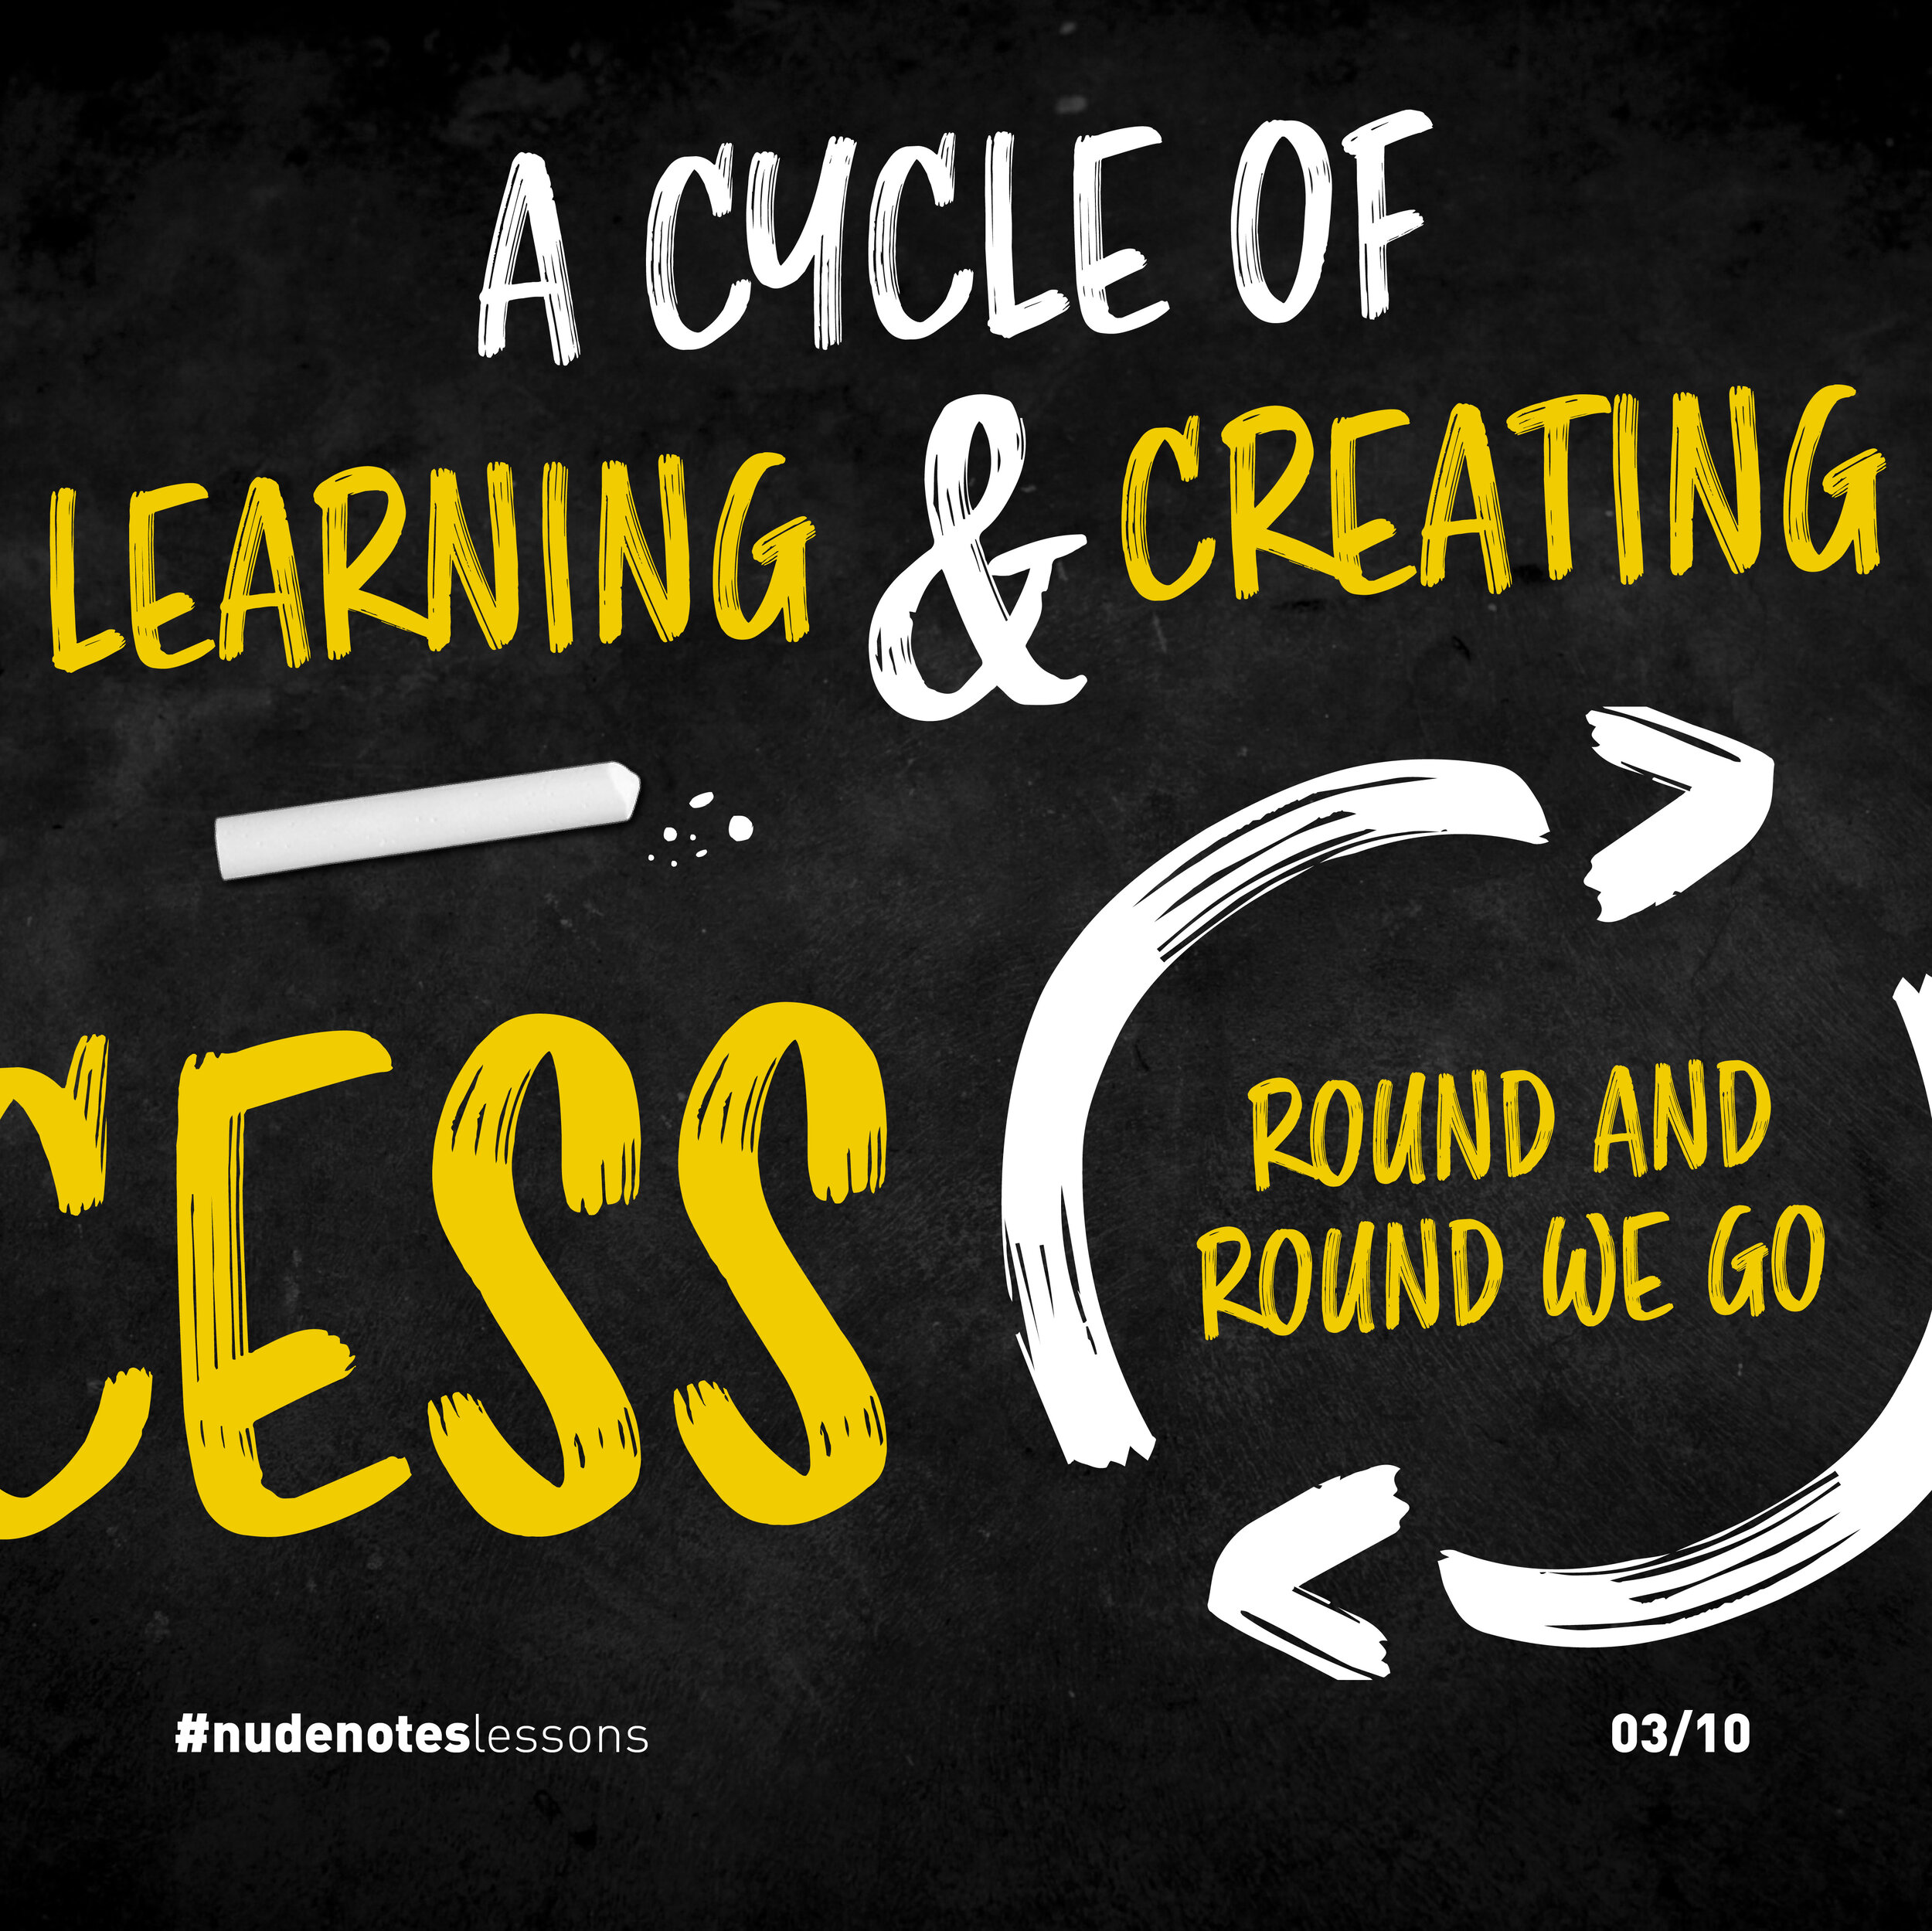
Nudenotes aren’t art, they’re a process.
A cycle of learning and creating.
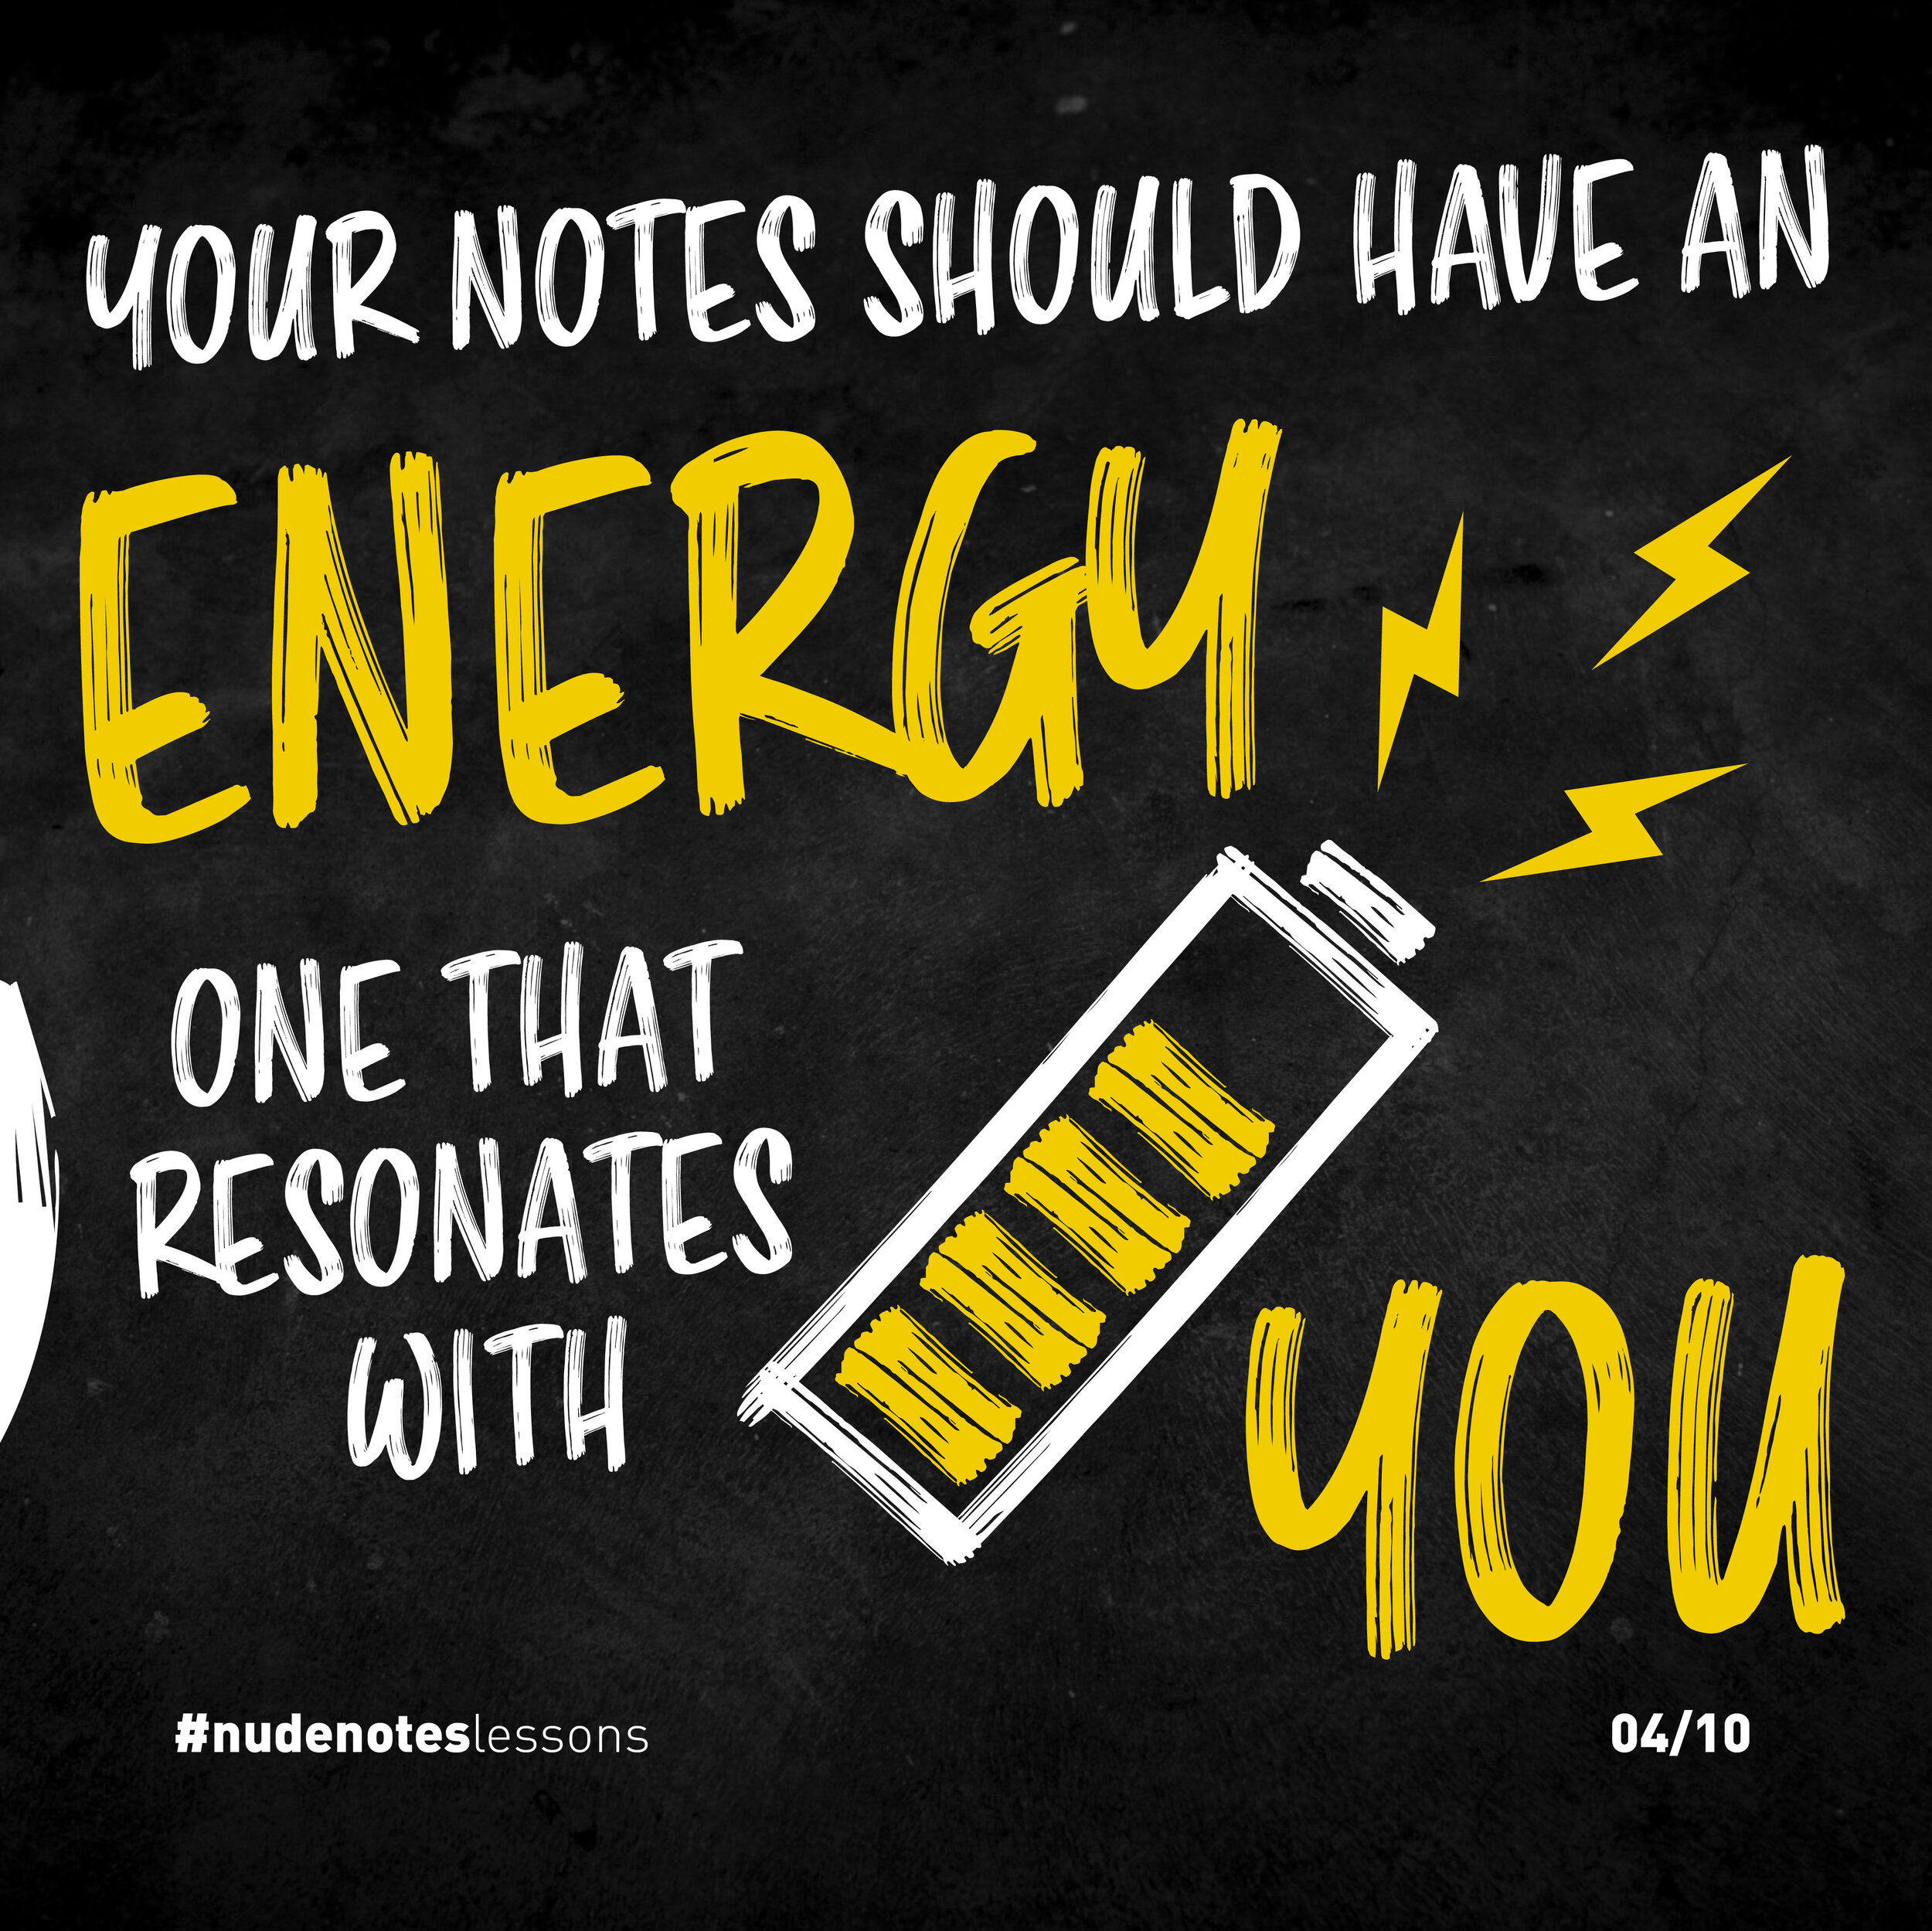
Your notes should have an energy to them, one that resonates with you.
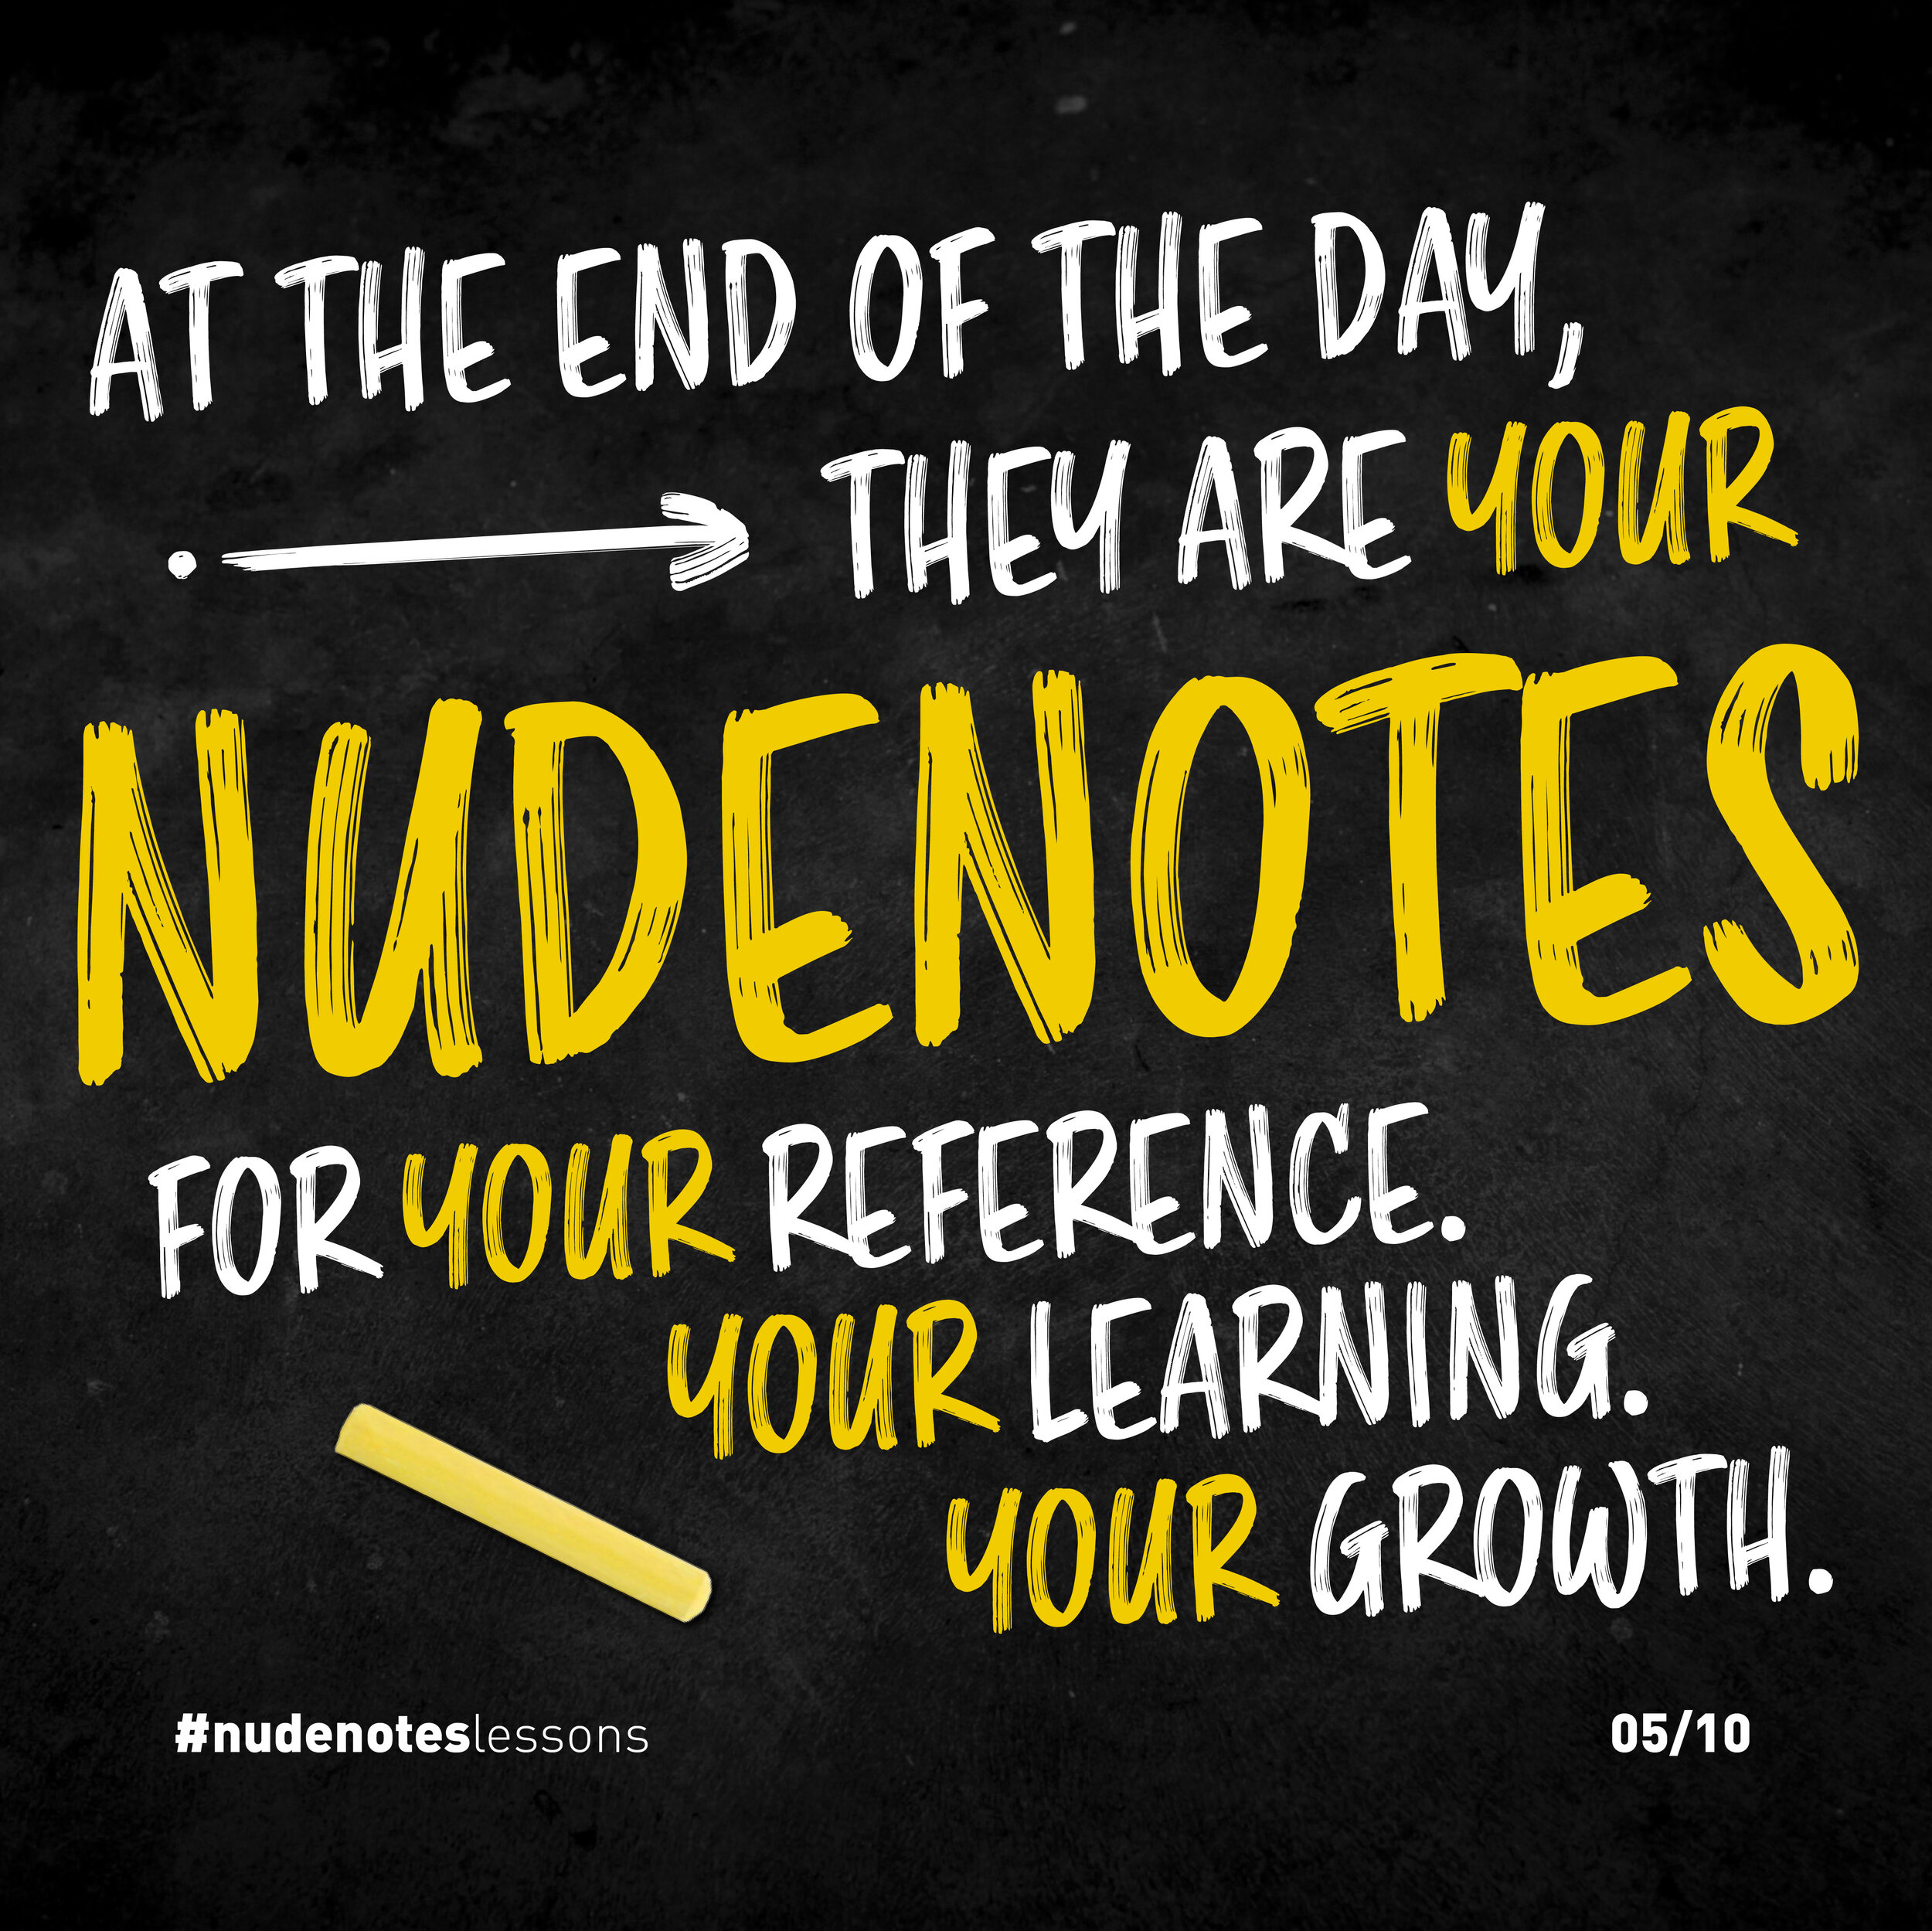
At the end of the day, they are your nudenotes.
They should be just as unique as your own personality.
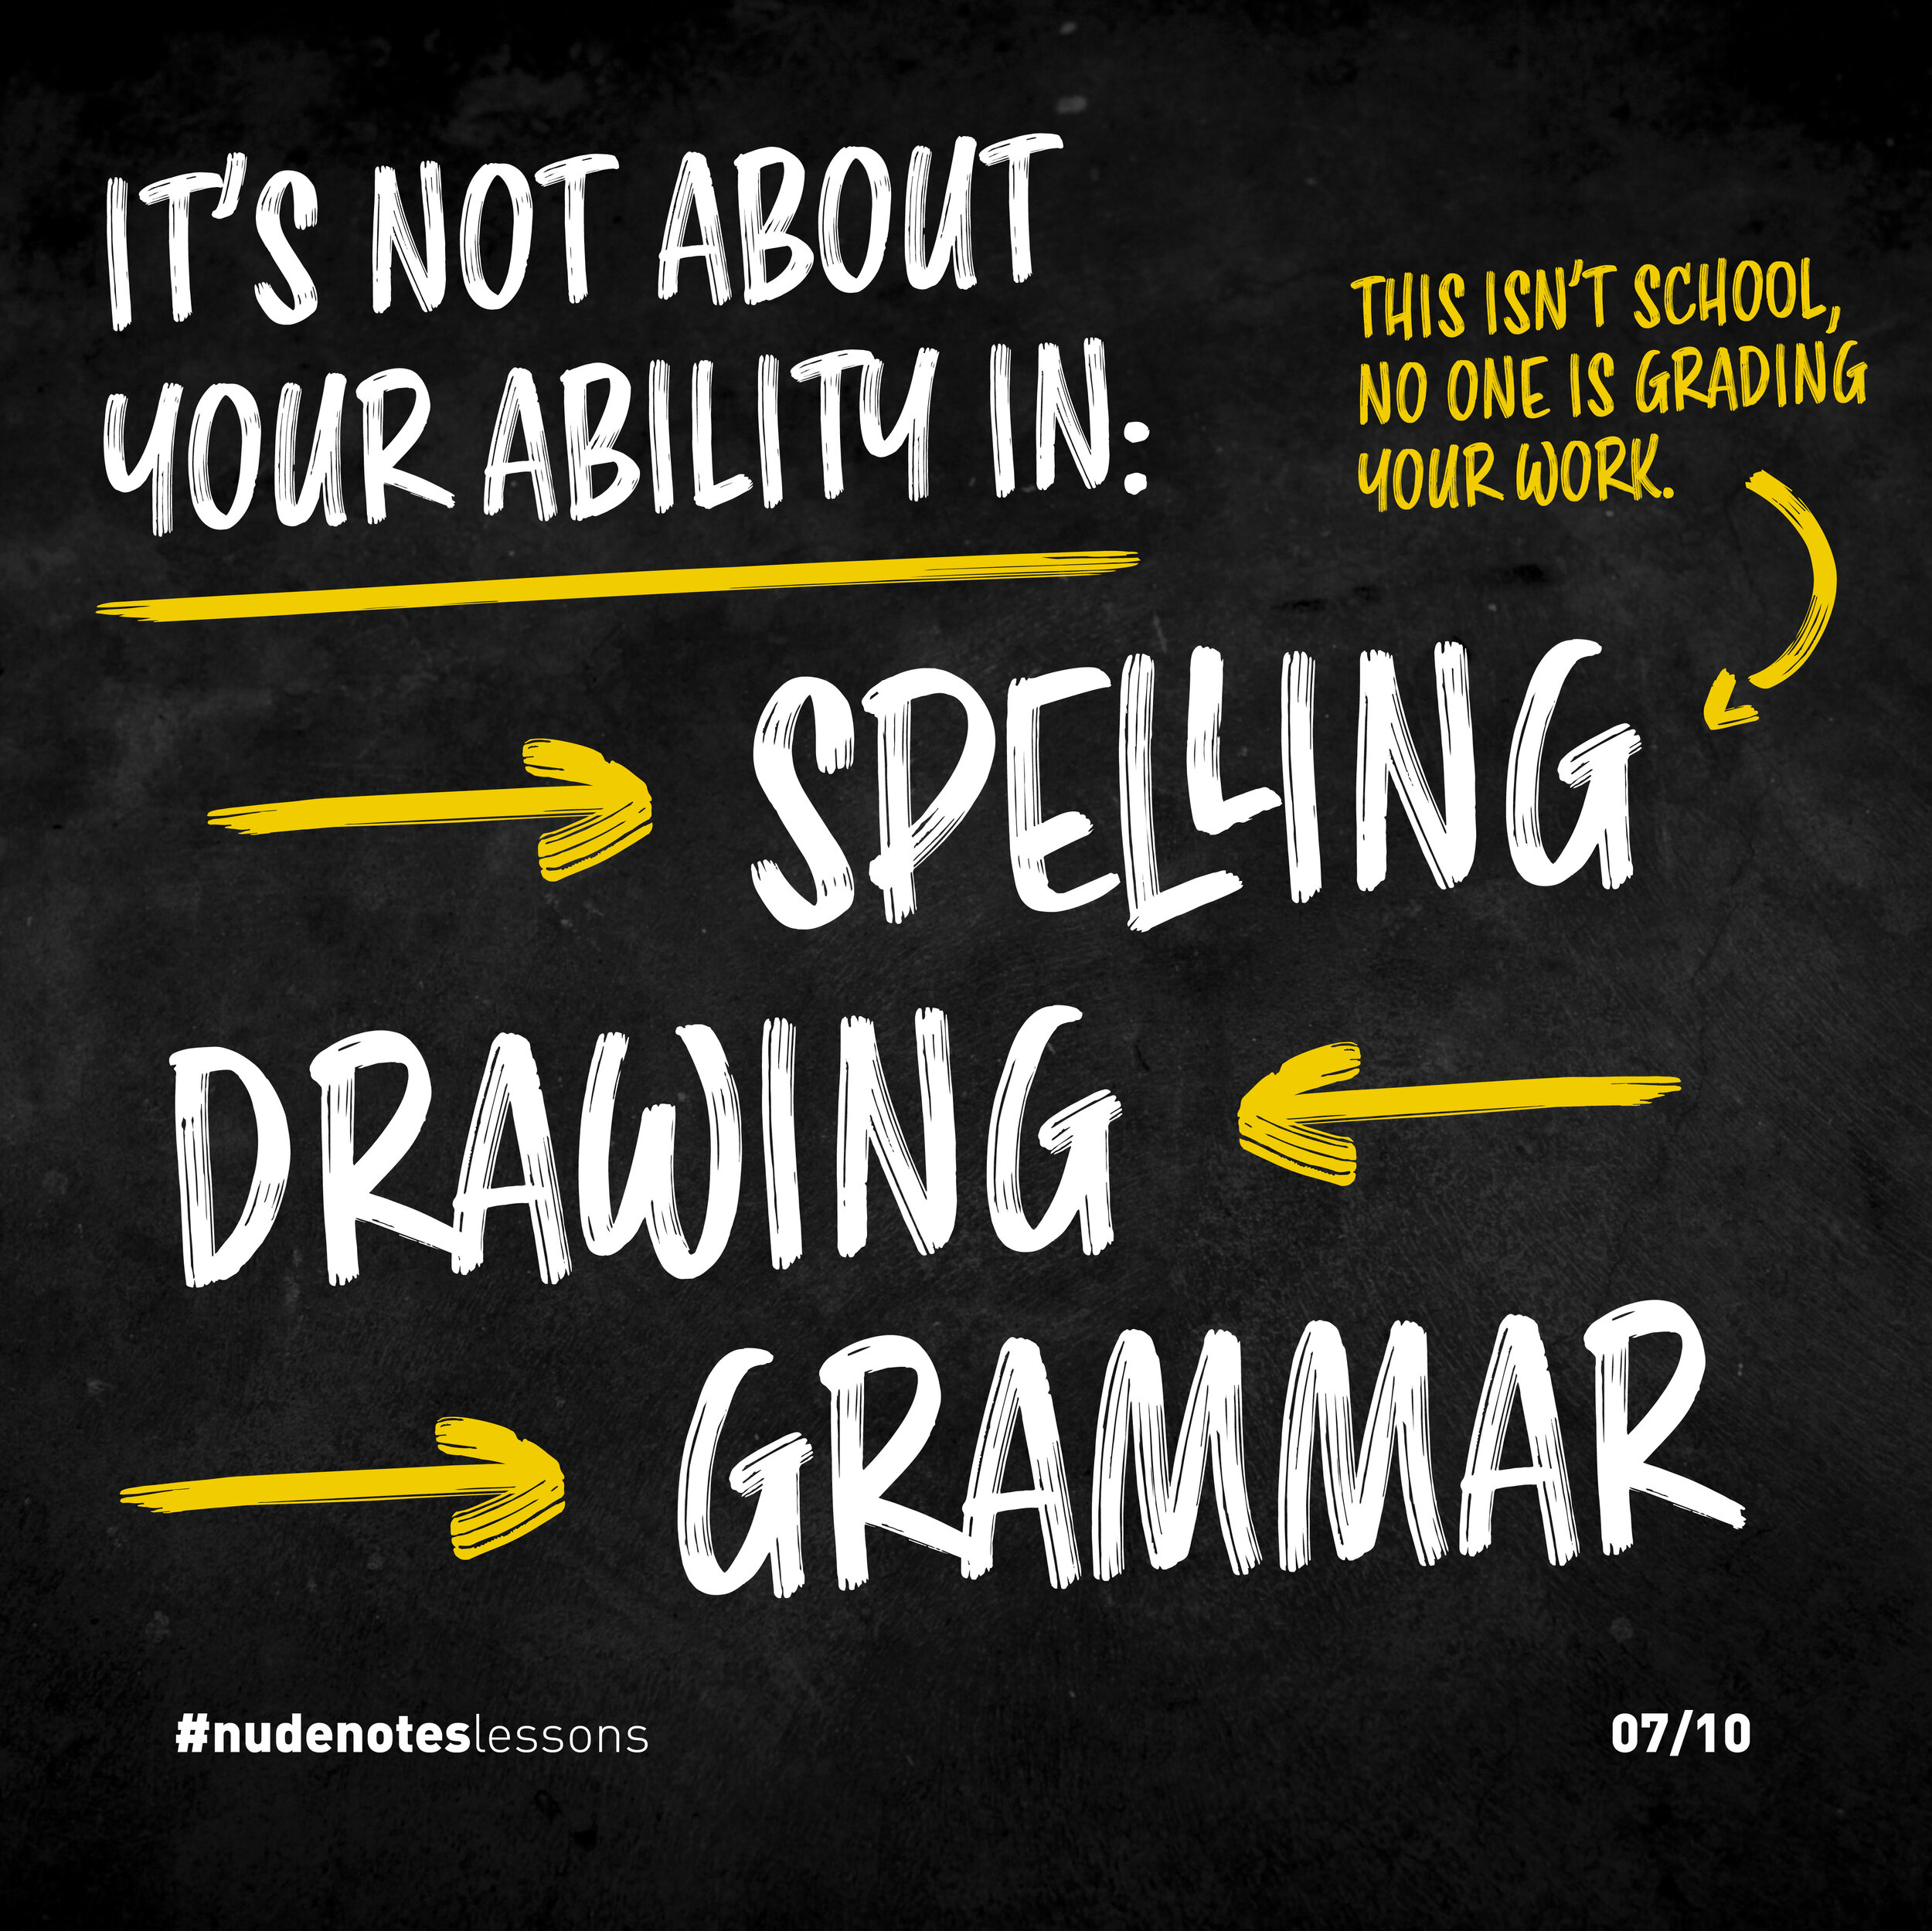
It's not about your ability to draw, grammar or spelling: this isn’t school! No-one is judging or grading your work.
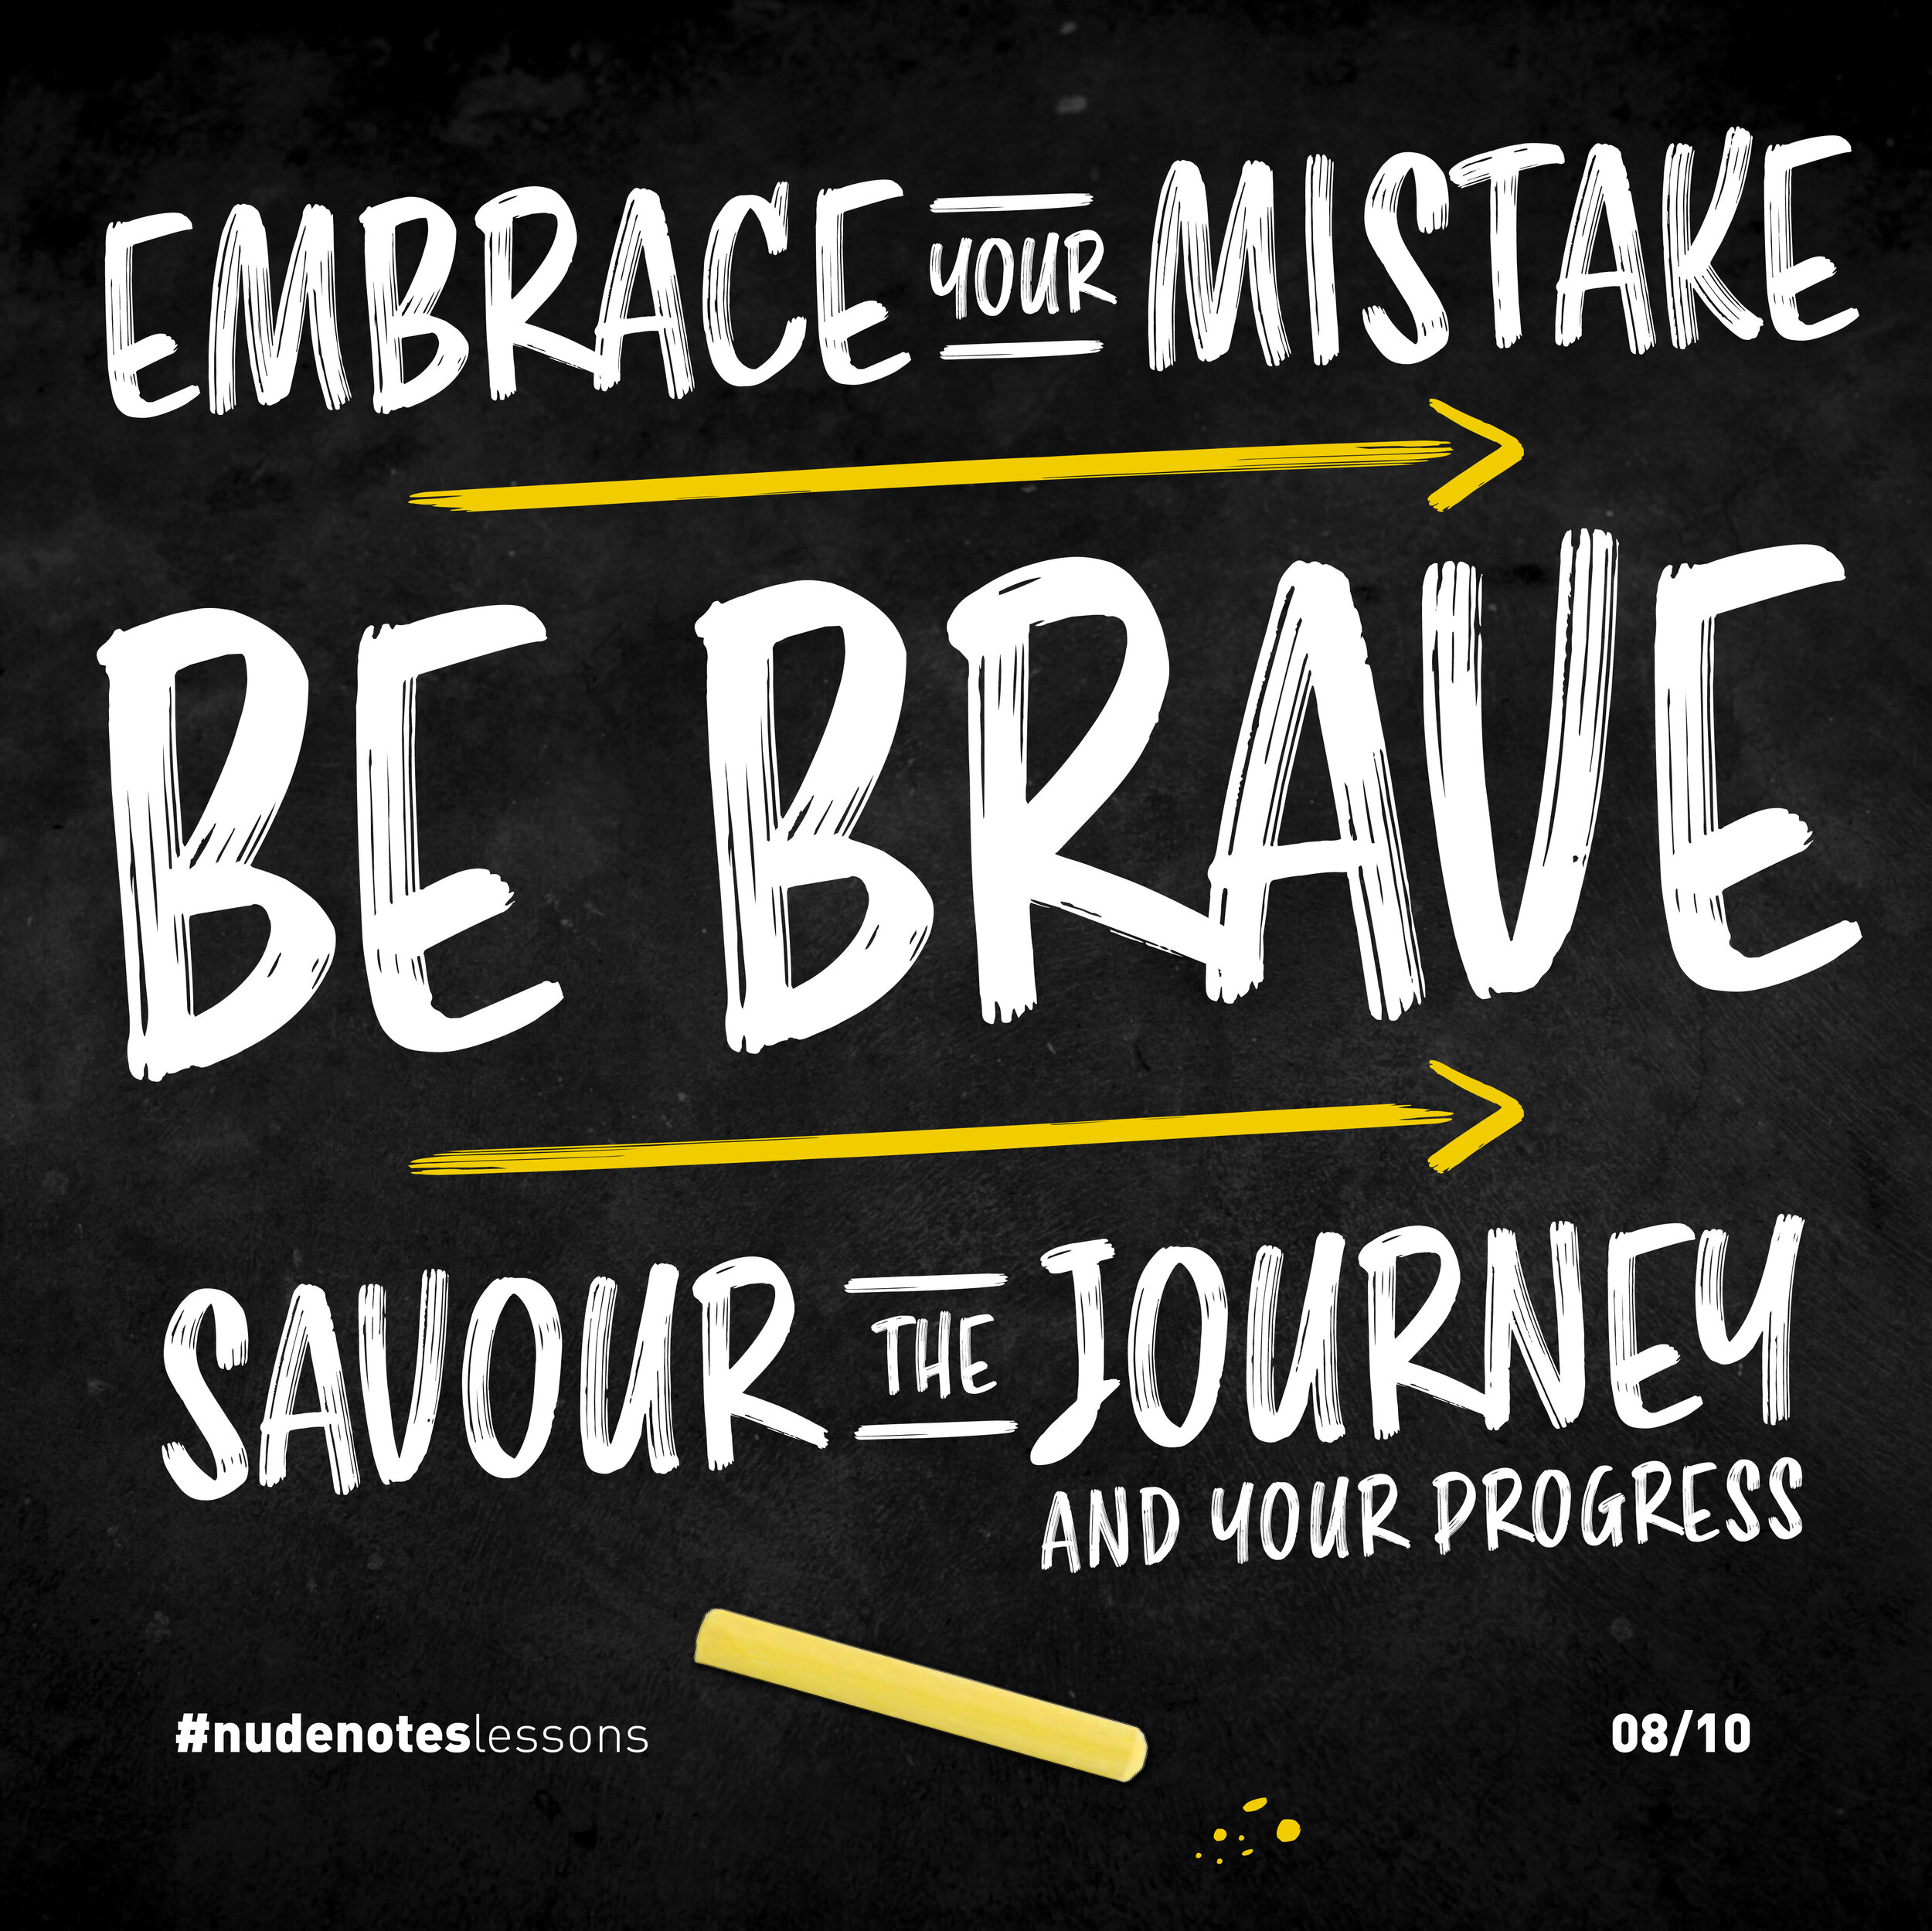
Be brave, embrace your mistakes, and savour the journey of progress.
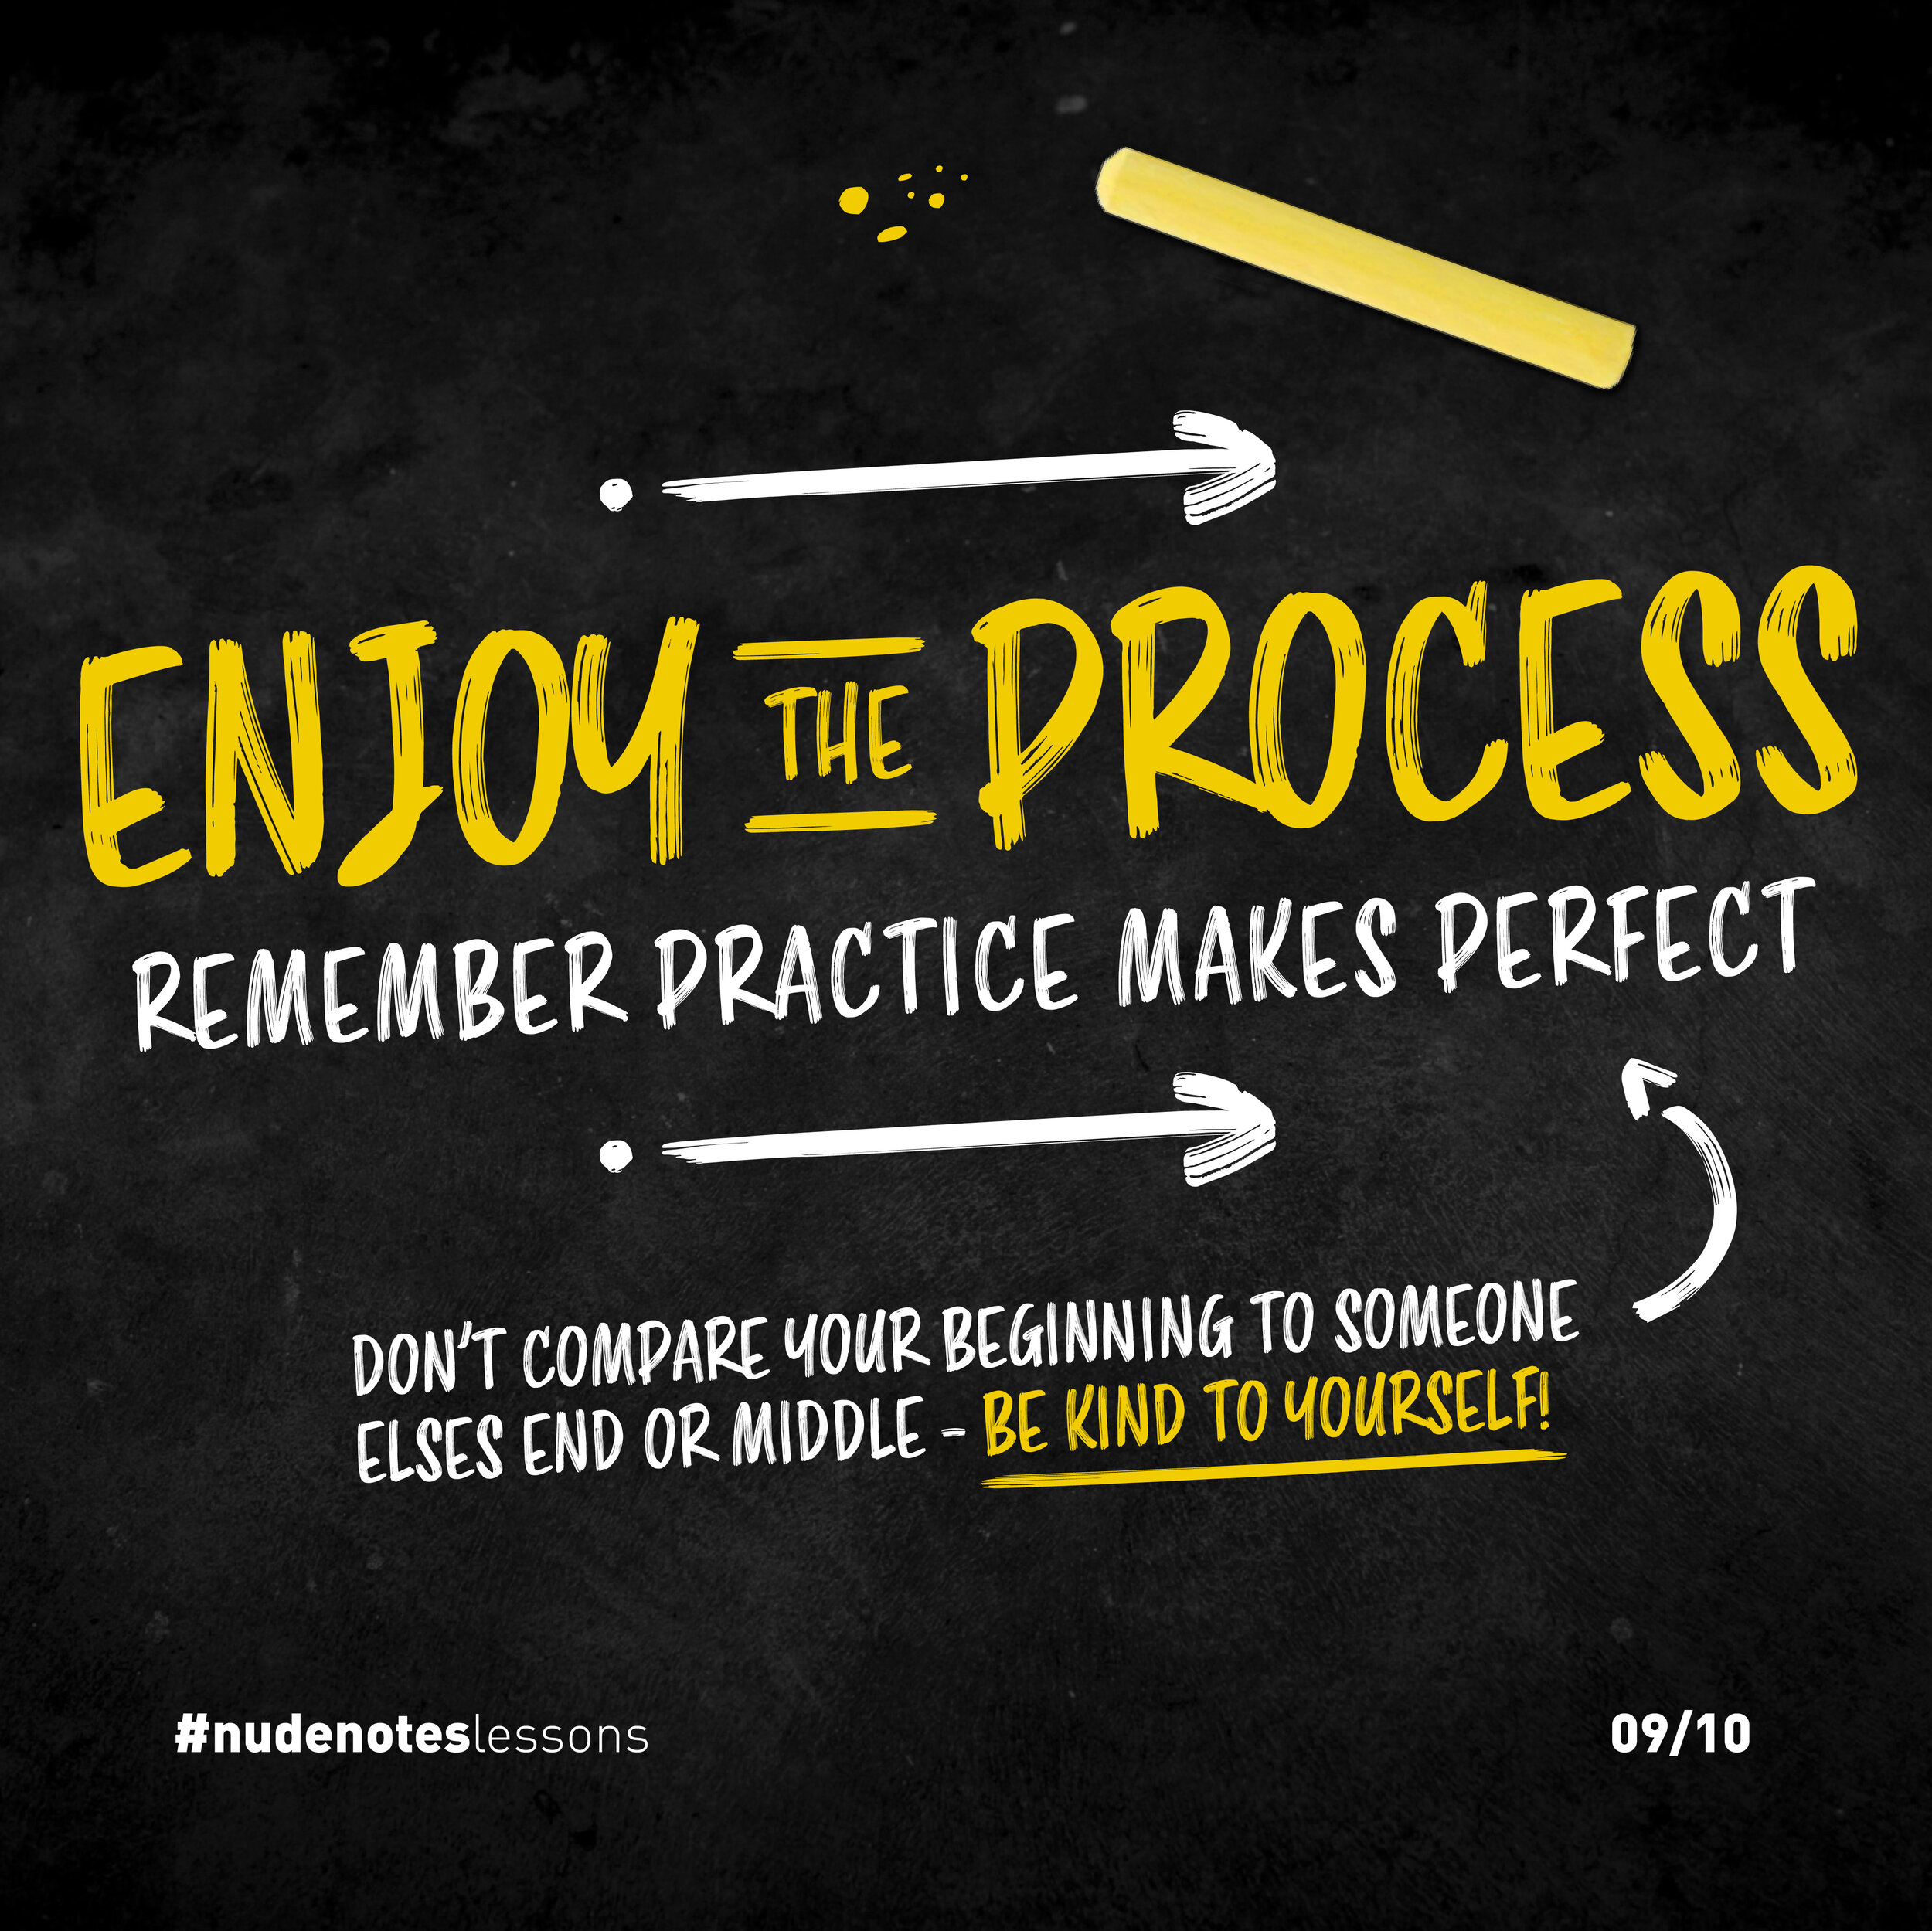
Enjoy the process of learning whilst making notes, and the more polished style sketchnotes that inspired you to give it a go will eventually come, just give it time.
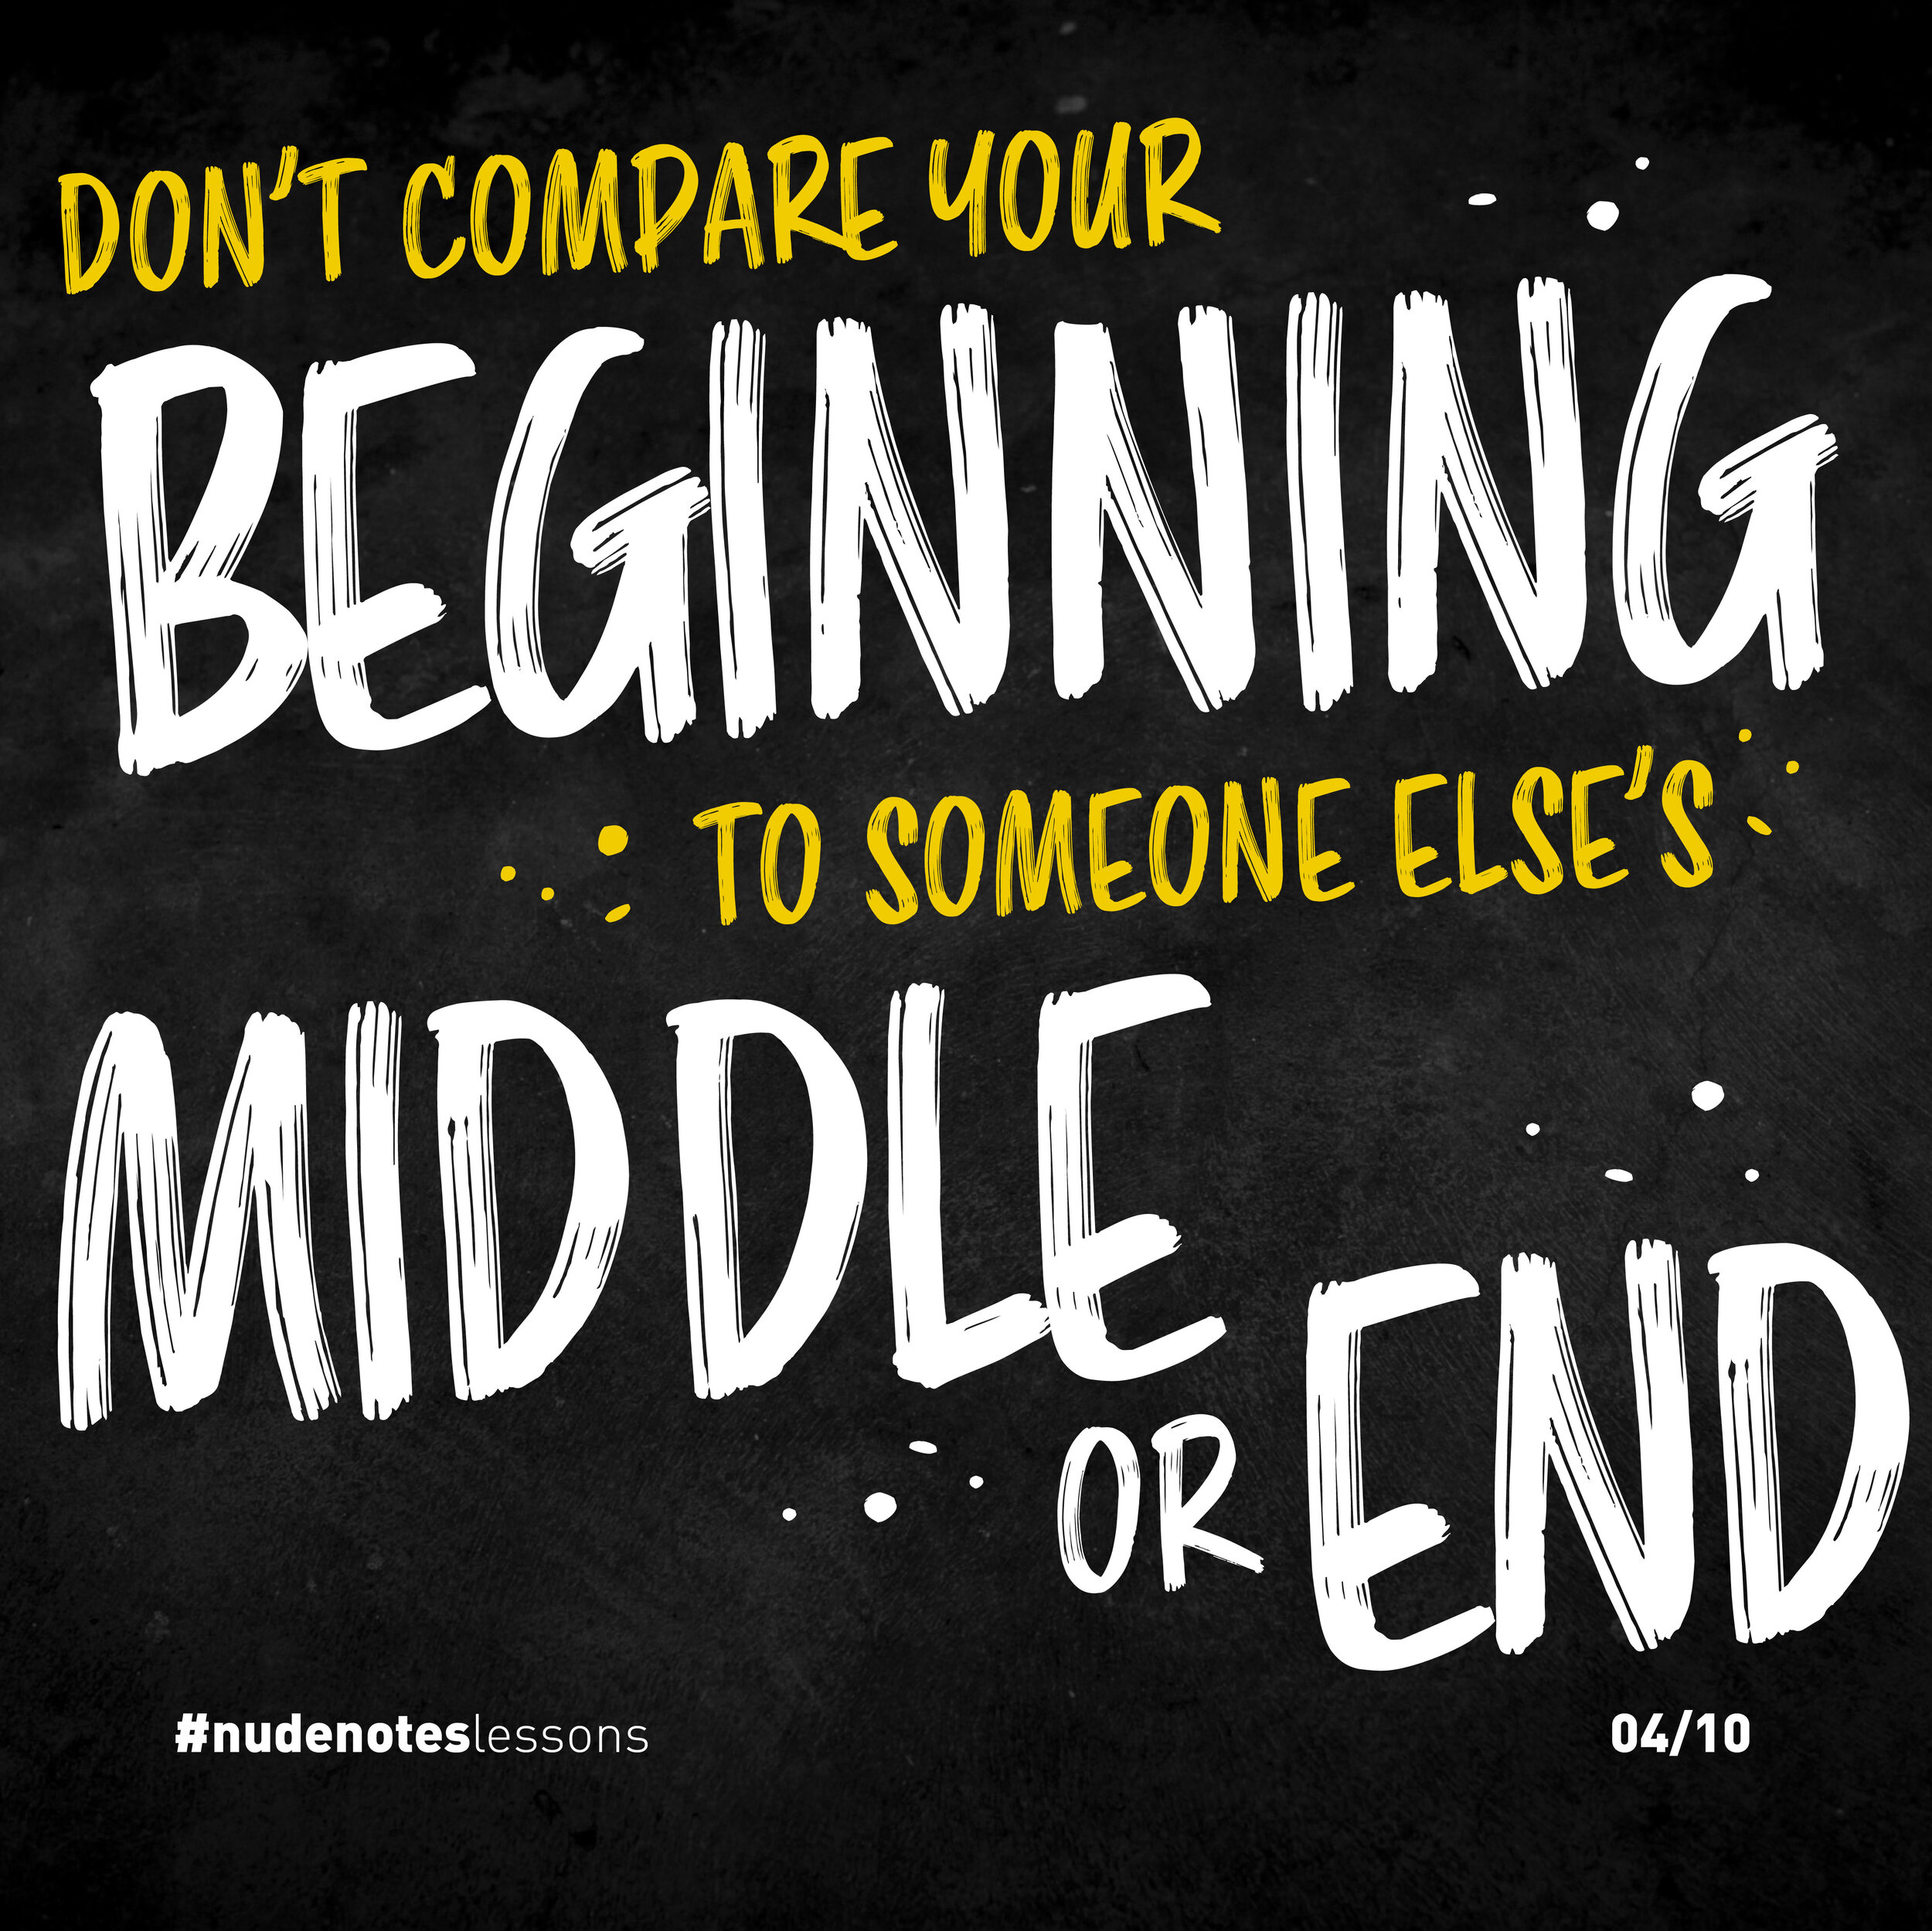
Remember: practice makes perfect, and don’t compare your beginning to someone else’s end or middle - be kind to yourself!
Practice, practice, practice
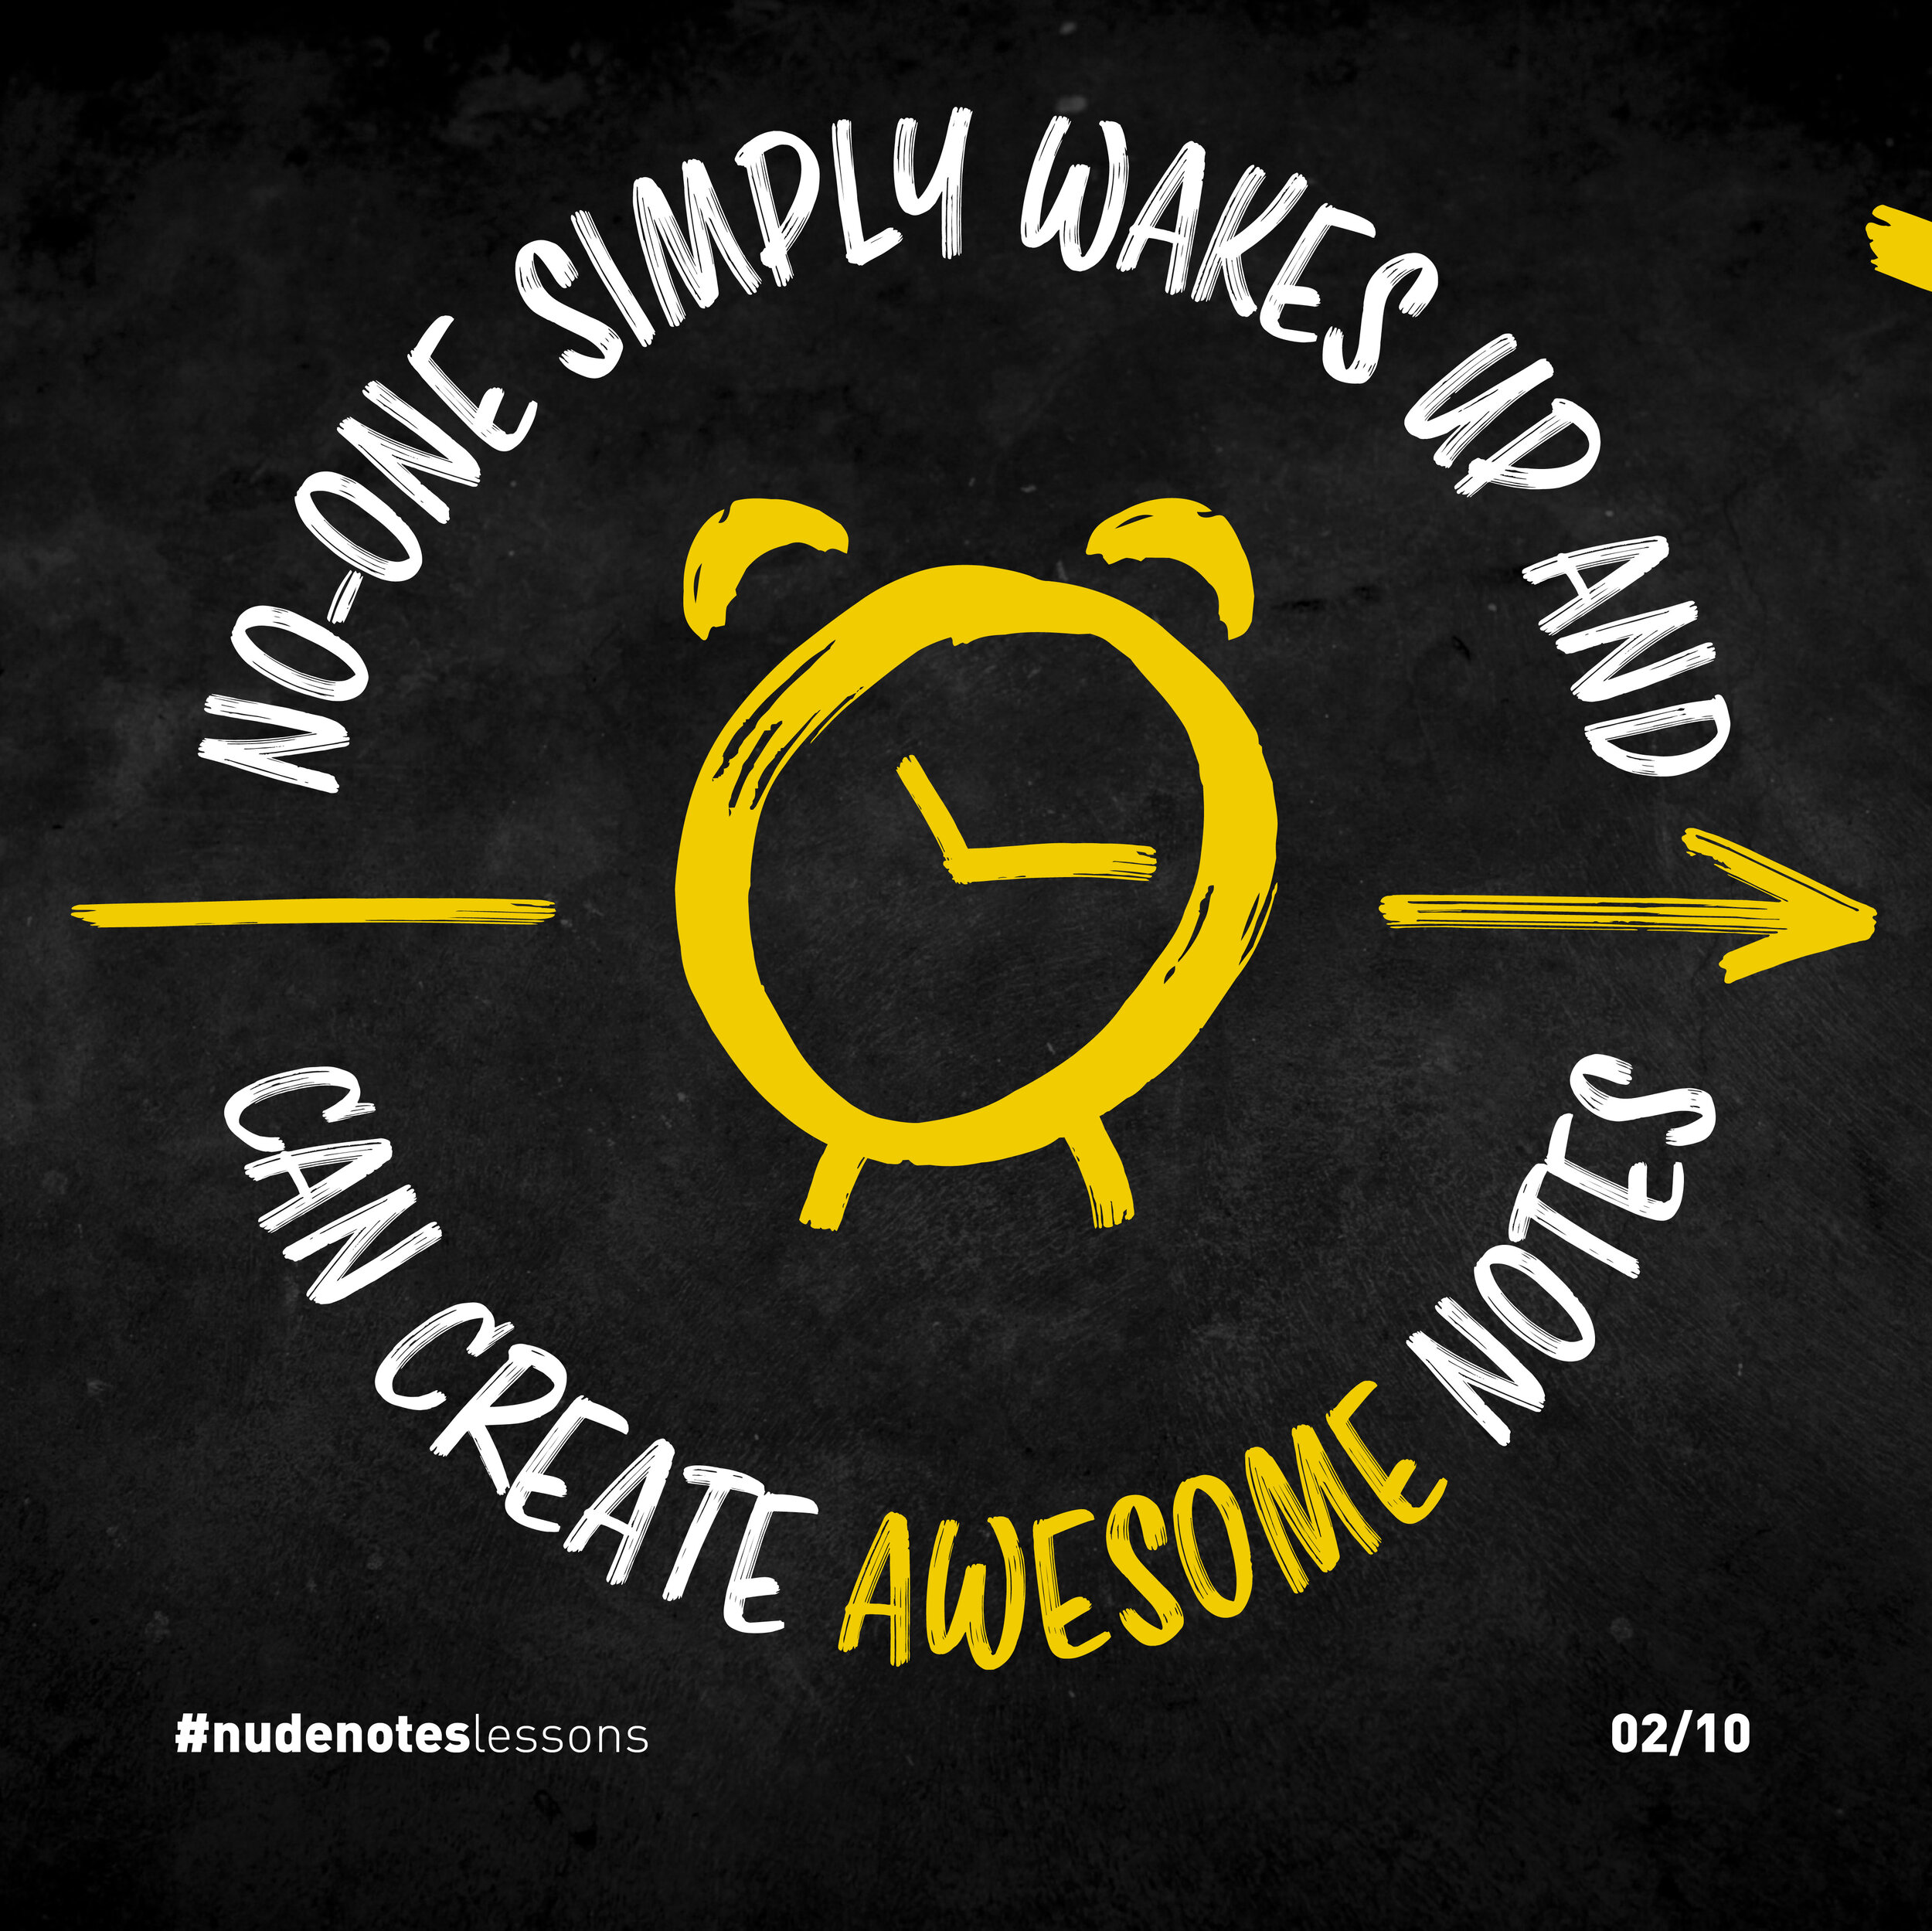
No-one simply wakes up and can create awesome sketchnotes.
It just doesn’t happen!
Nudenotes are the synergy of several skills, and getting the balance right which takes time.
The only way to improve is to practice and push your skills each time. you pick up a pen.
Make it part of your daily routine.
I know what you’re thinking: “Ain’t nobody got time for that!” - you do, but you may not realise it.
Here are some ways to make time:
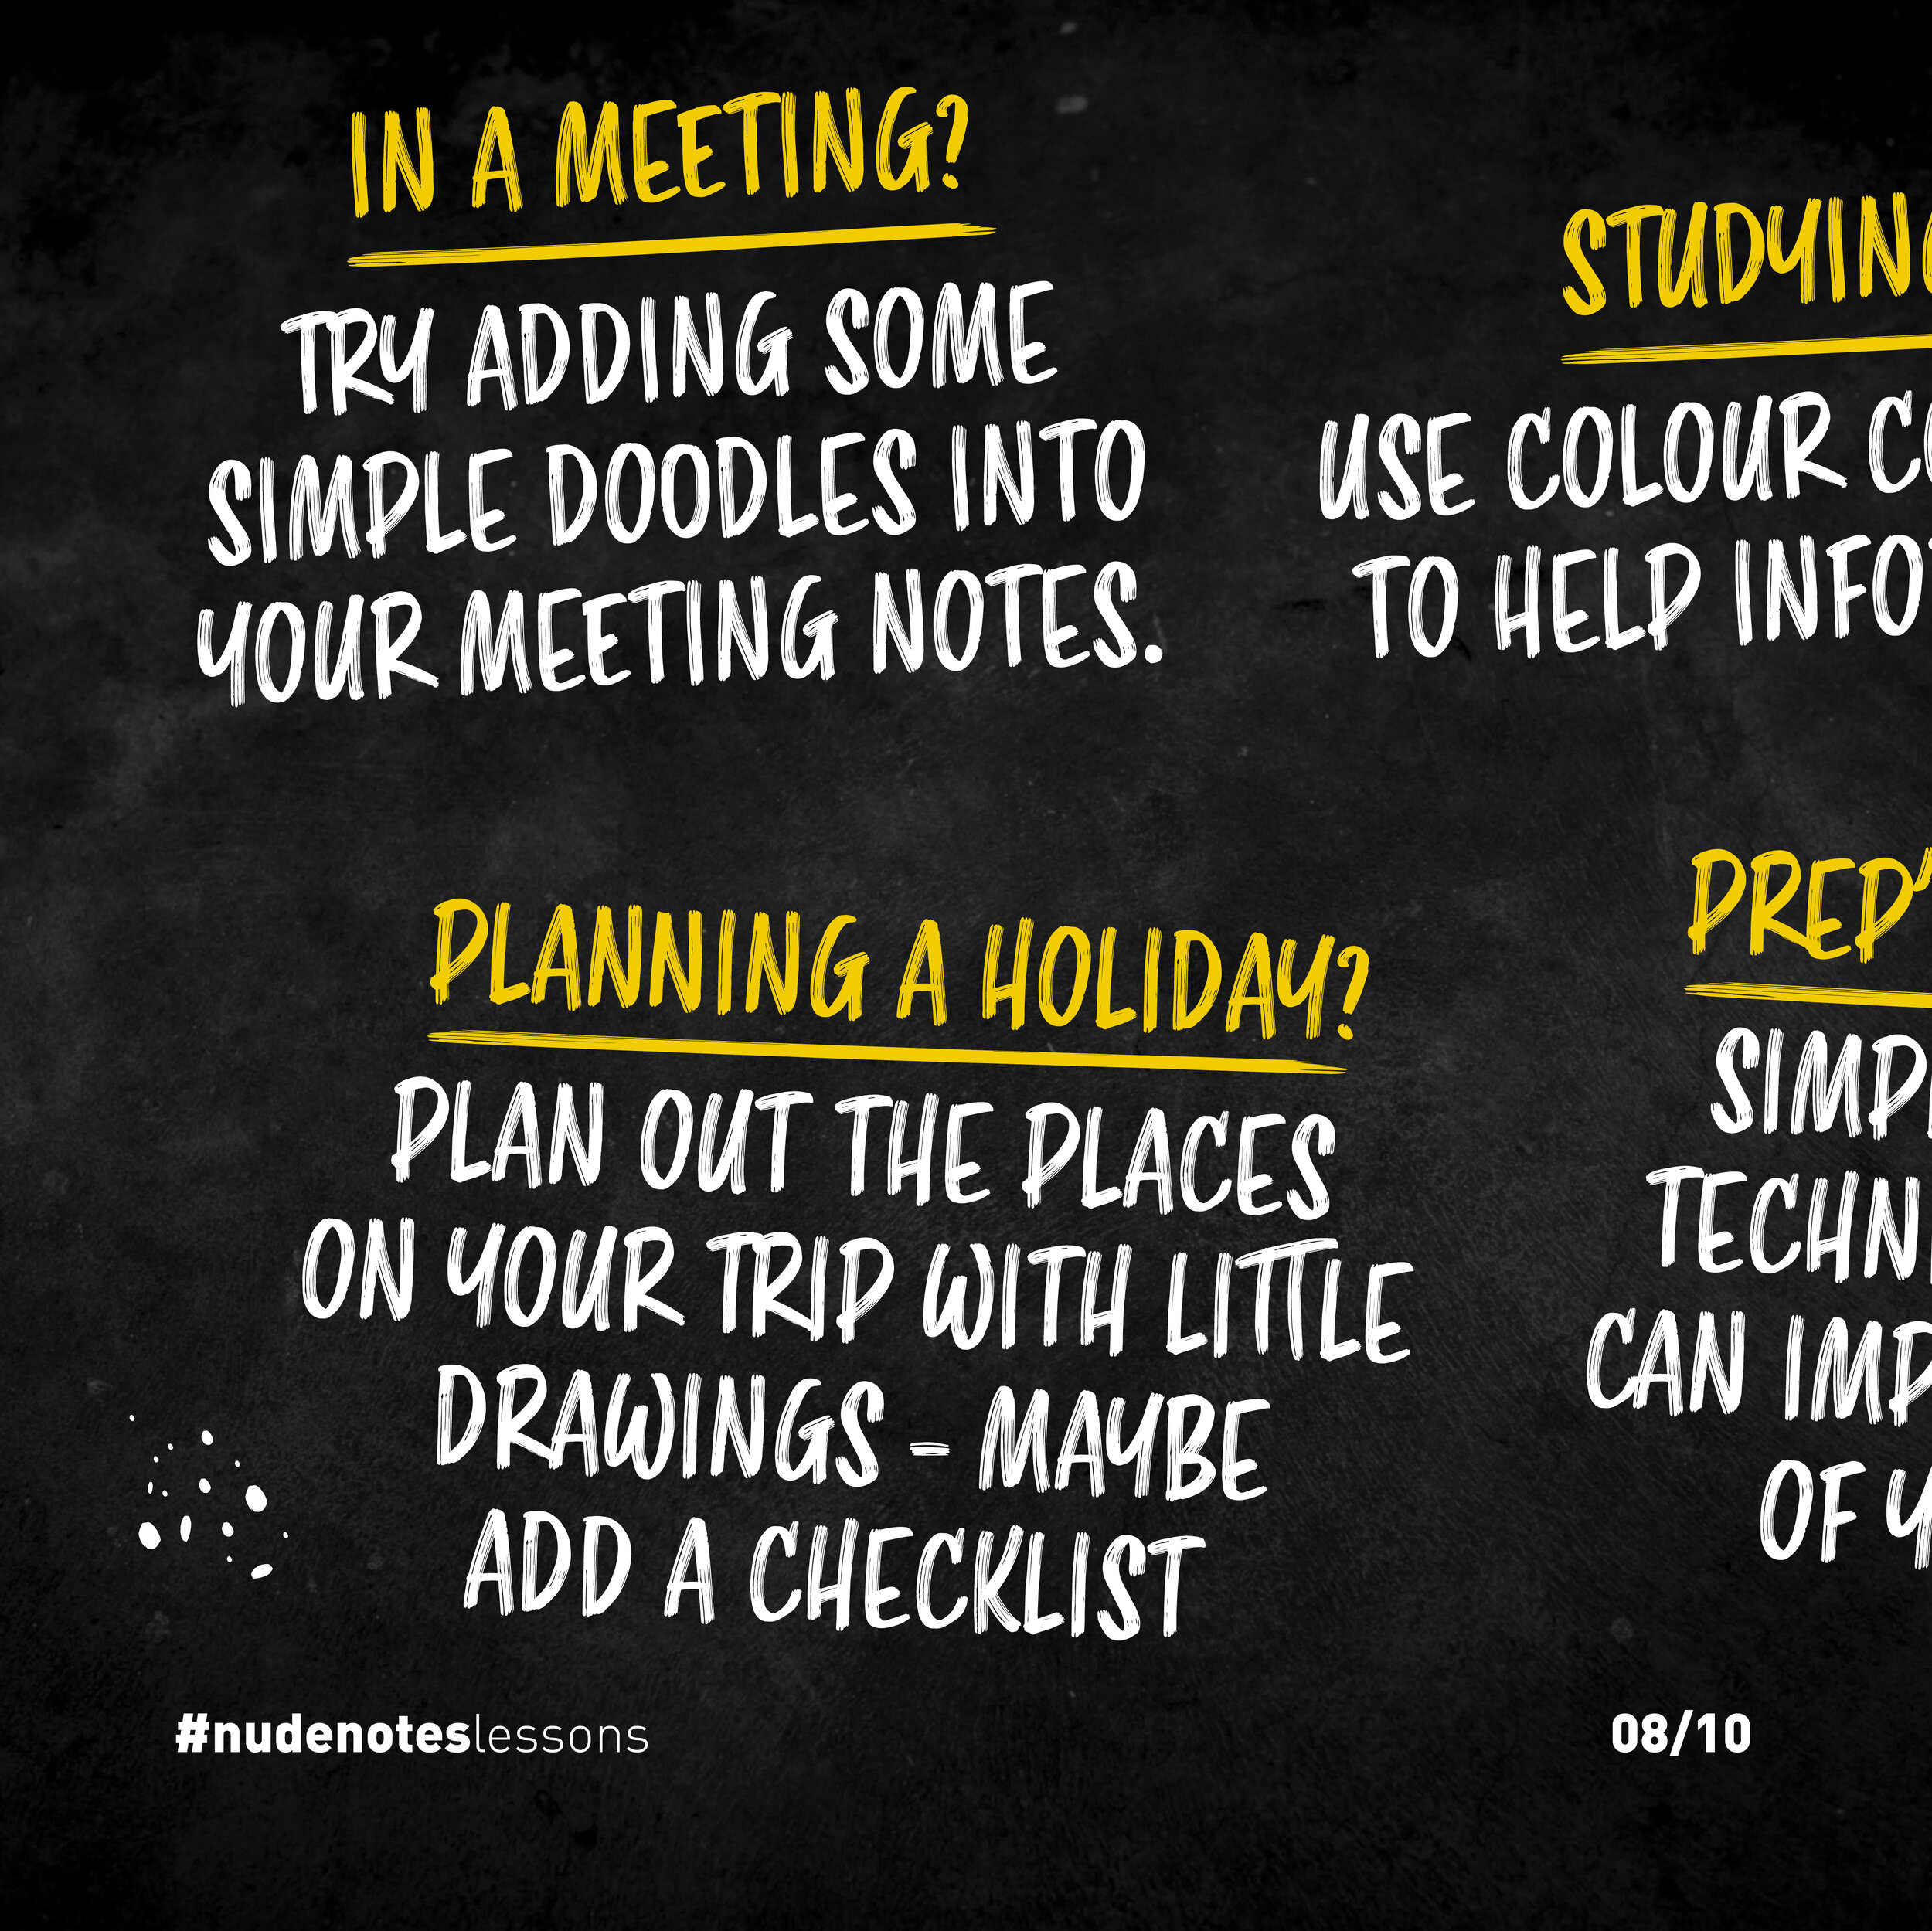
In a meeting? Try adding some simple doodles to your meeting notes.
Planning a holiday? Plan out the places on your trip with little drawings - maybe add a checklist.
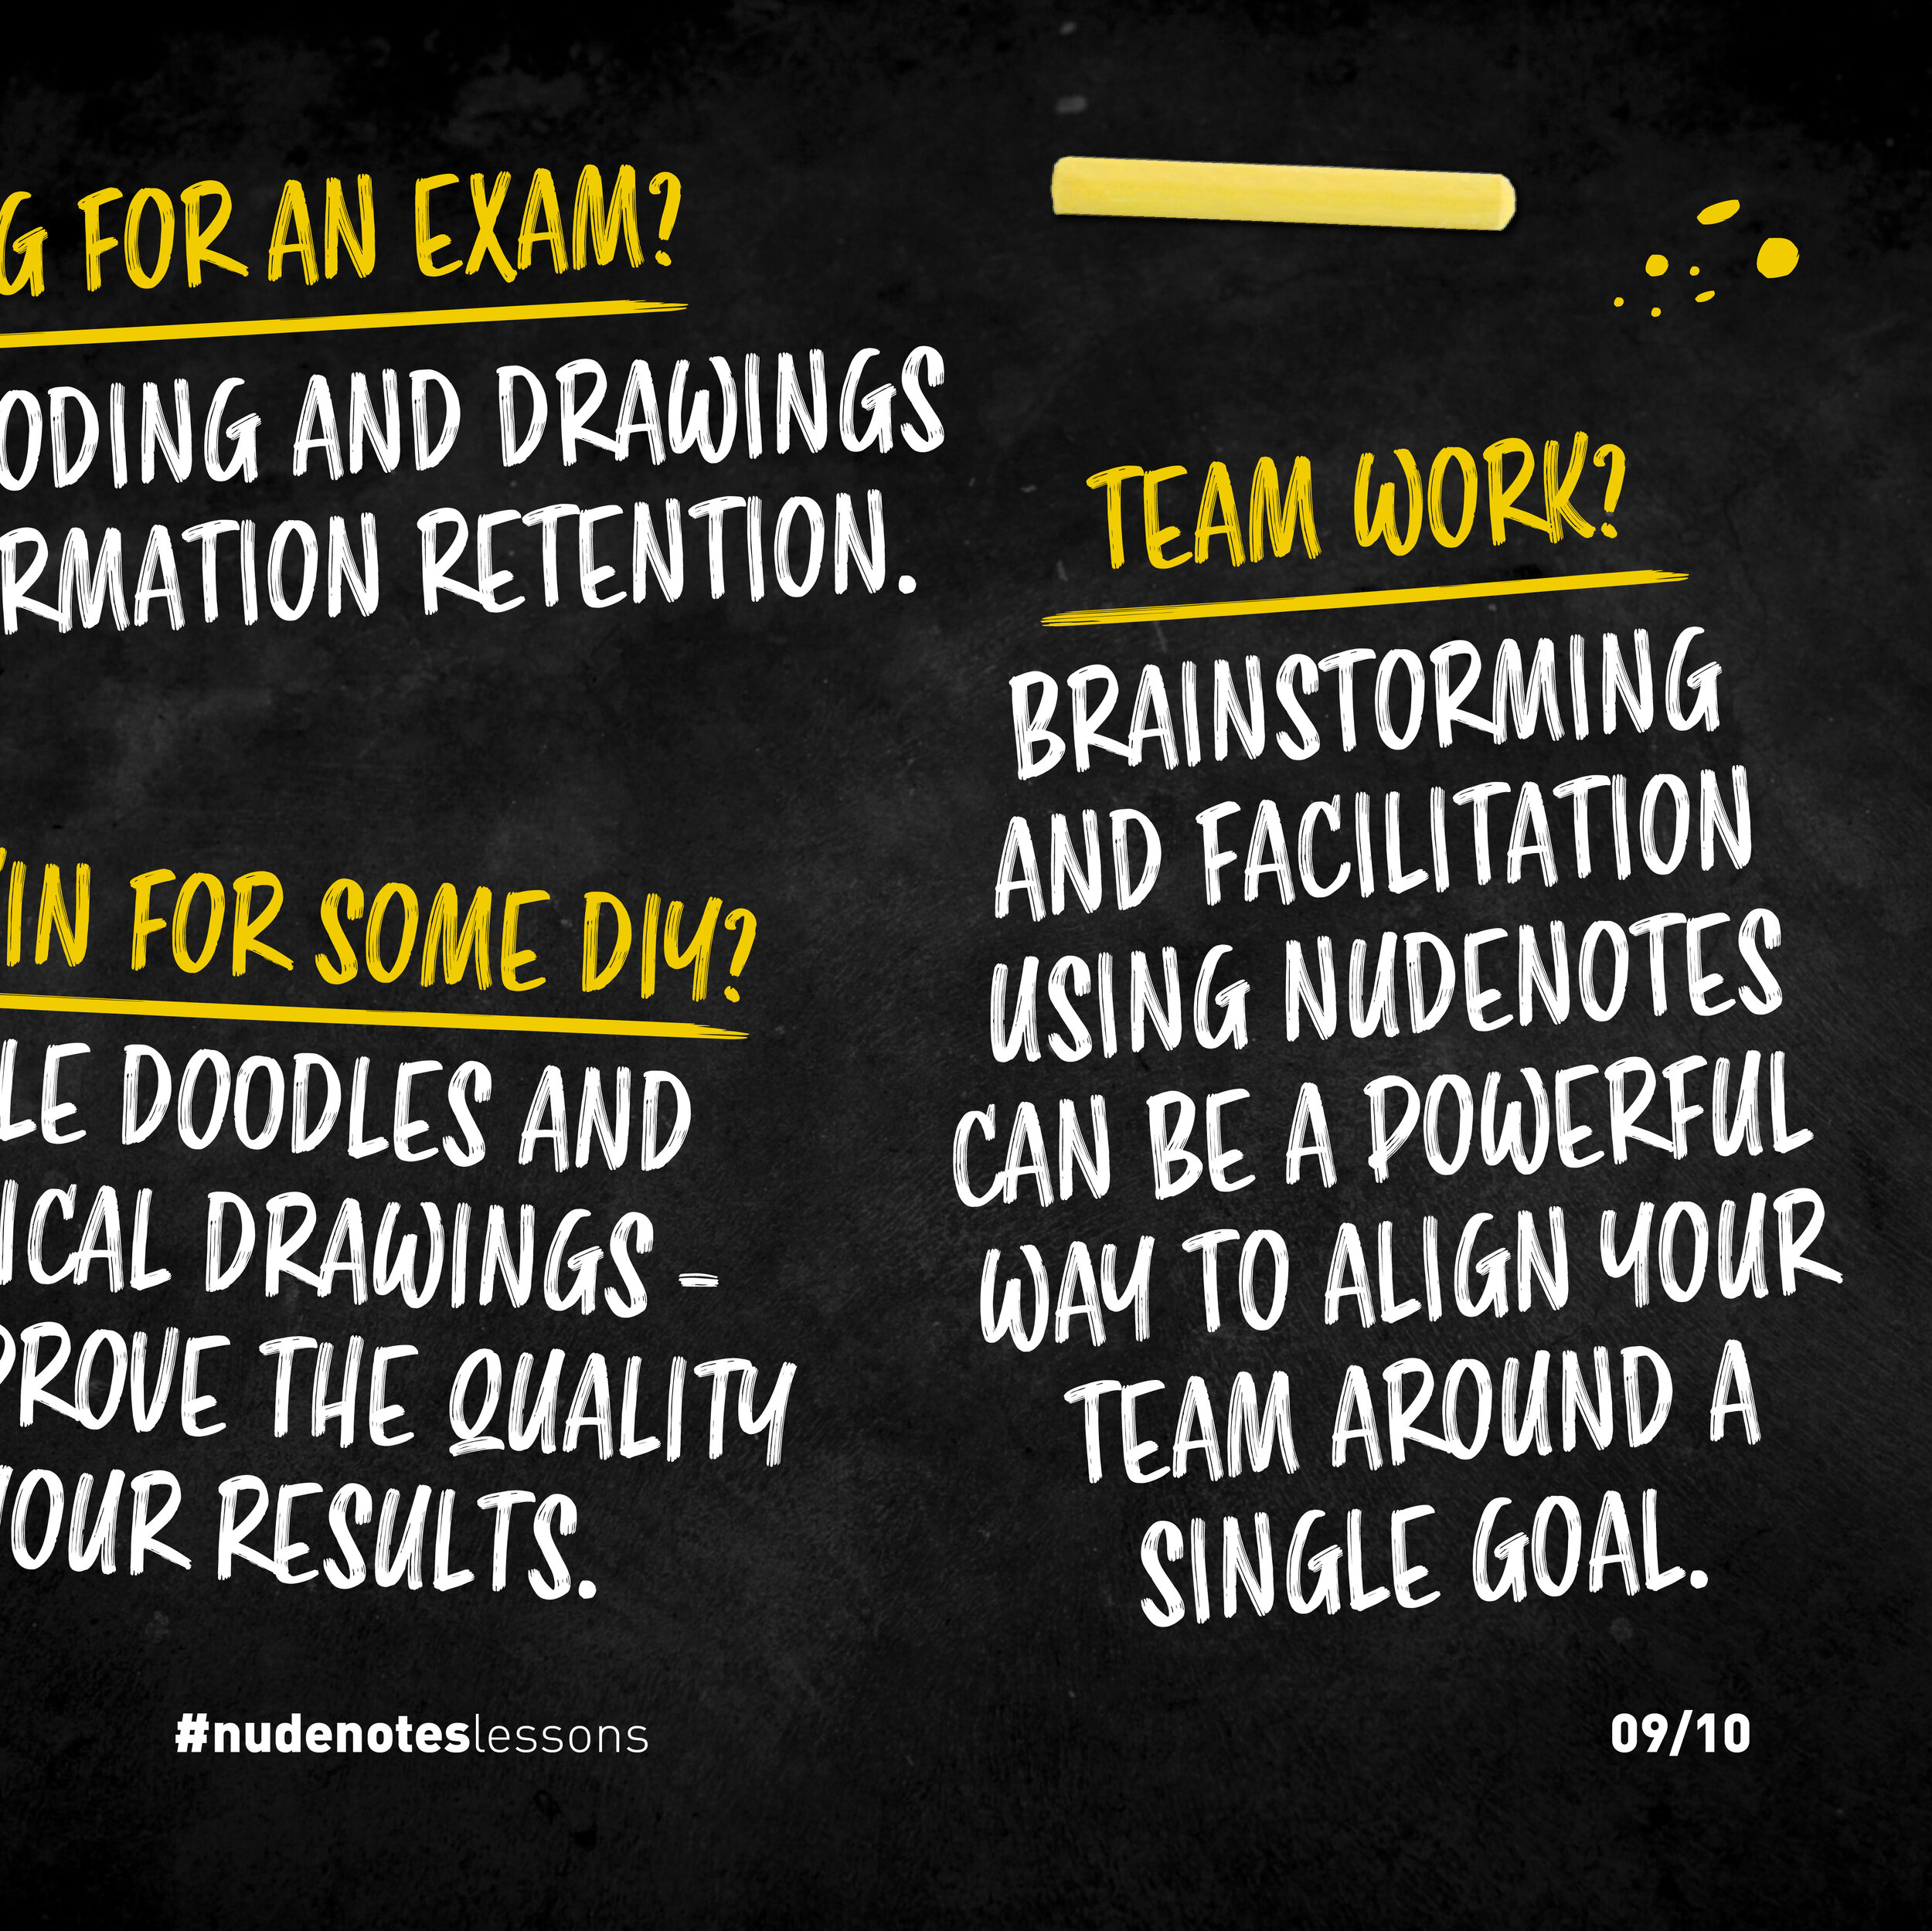
Studying for an exam? Use colour coding and drawings to help information retention.
Prepping for some DIY? Simple doodles and technical drawings can improve the quality of your results.
Team project? Brainstorming and facilitation using nudenotes can be a powerful way to align your team around a single goal.
So go on, get practising!
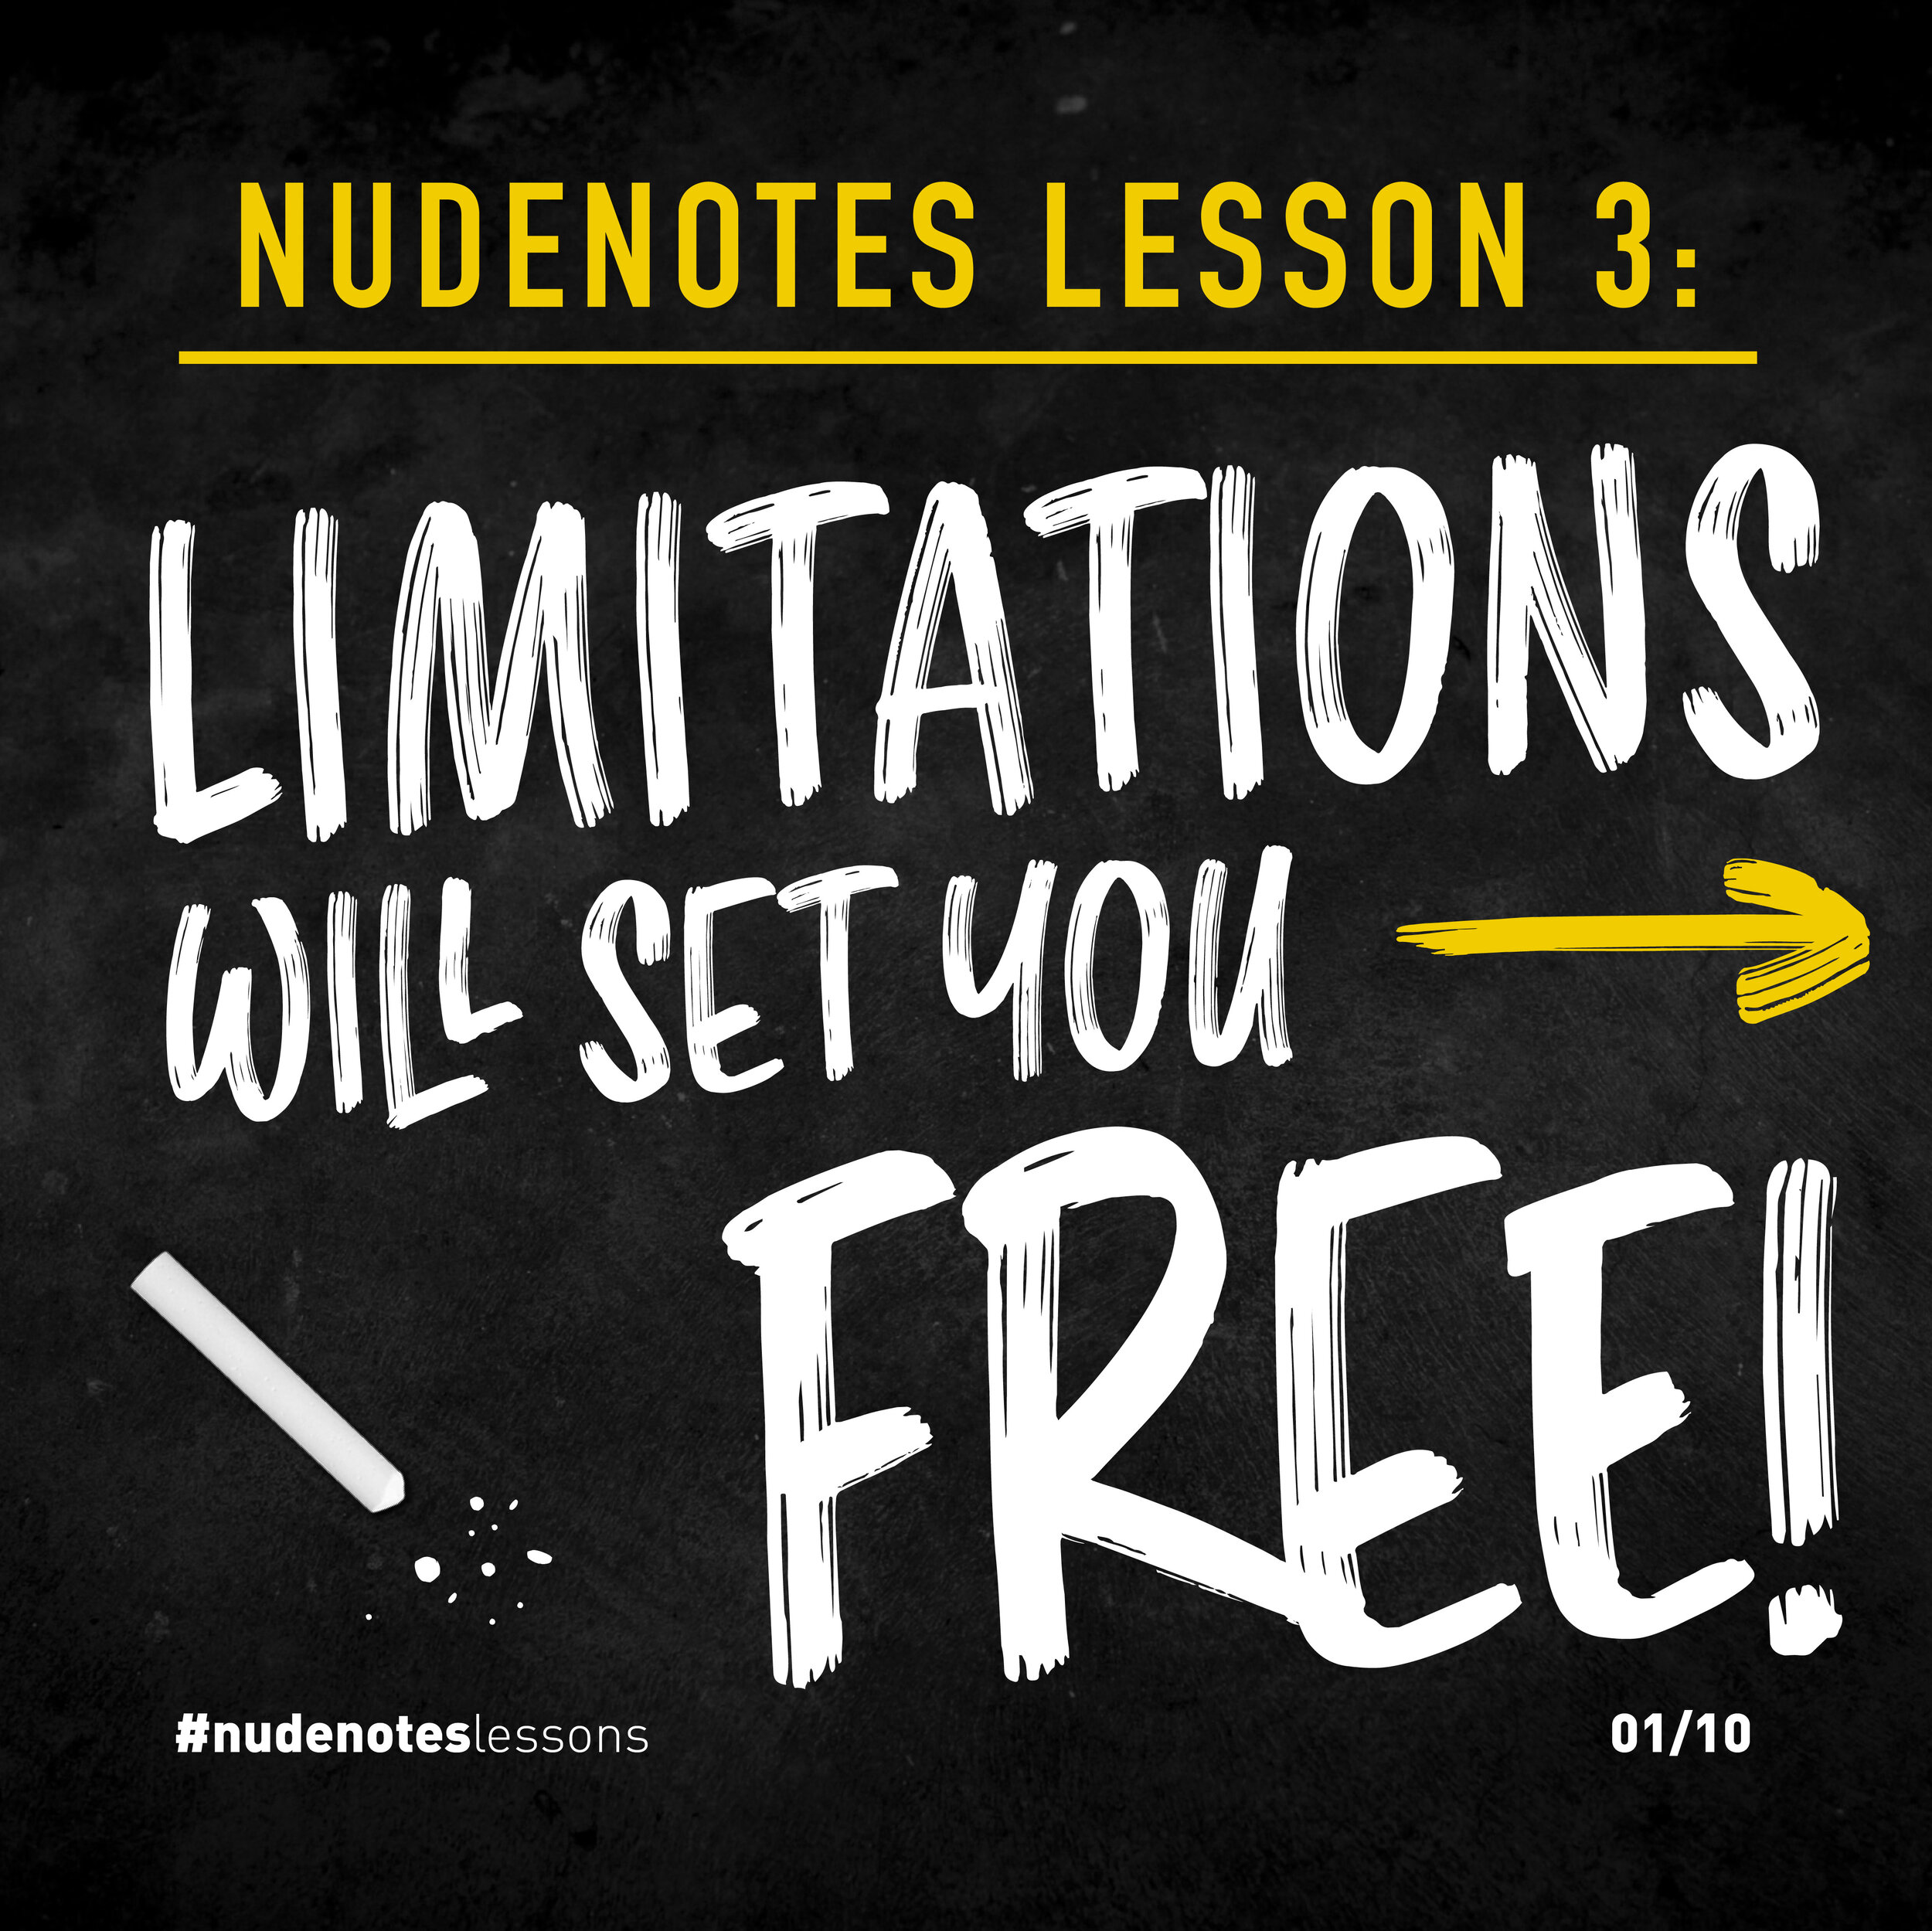
Limitations will set you free
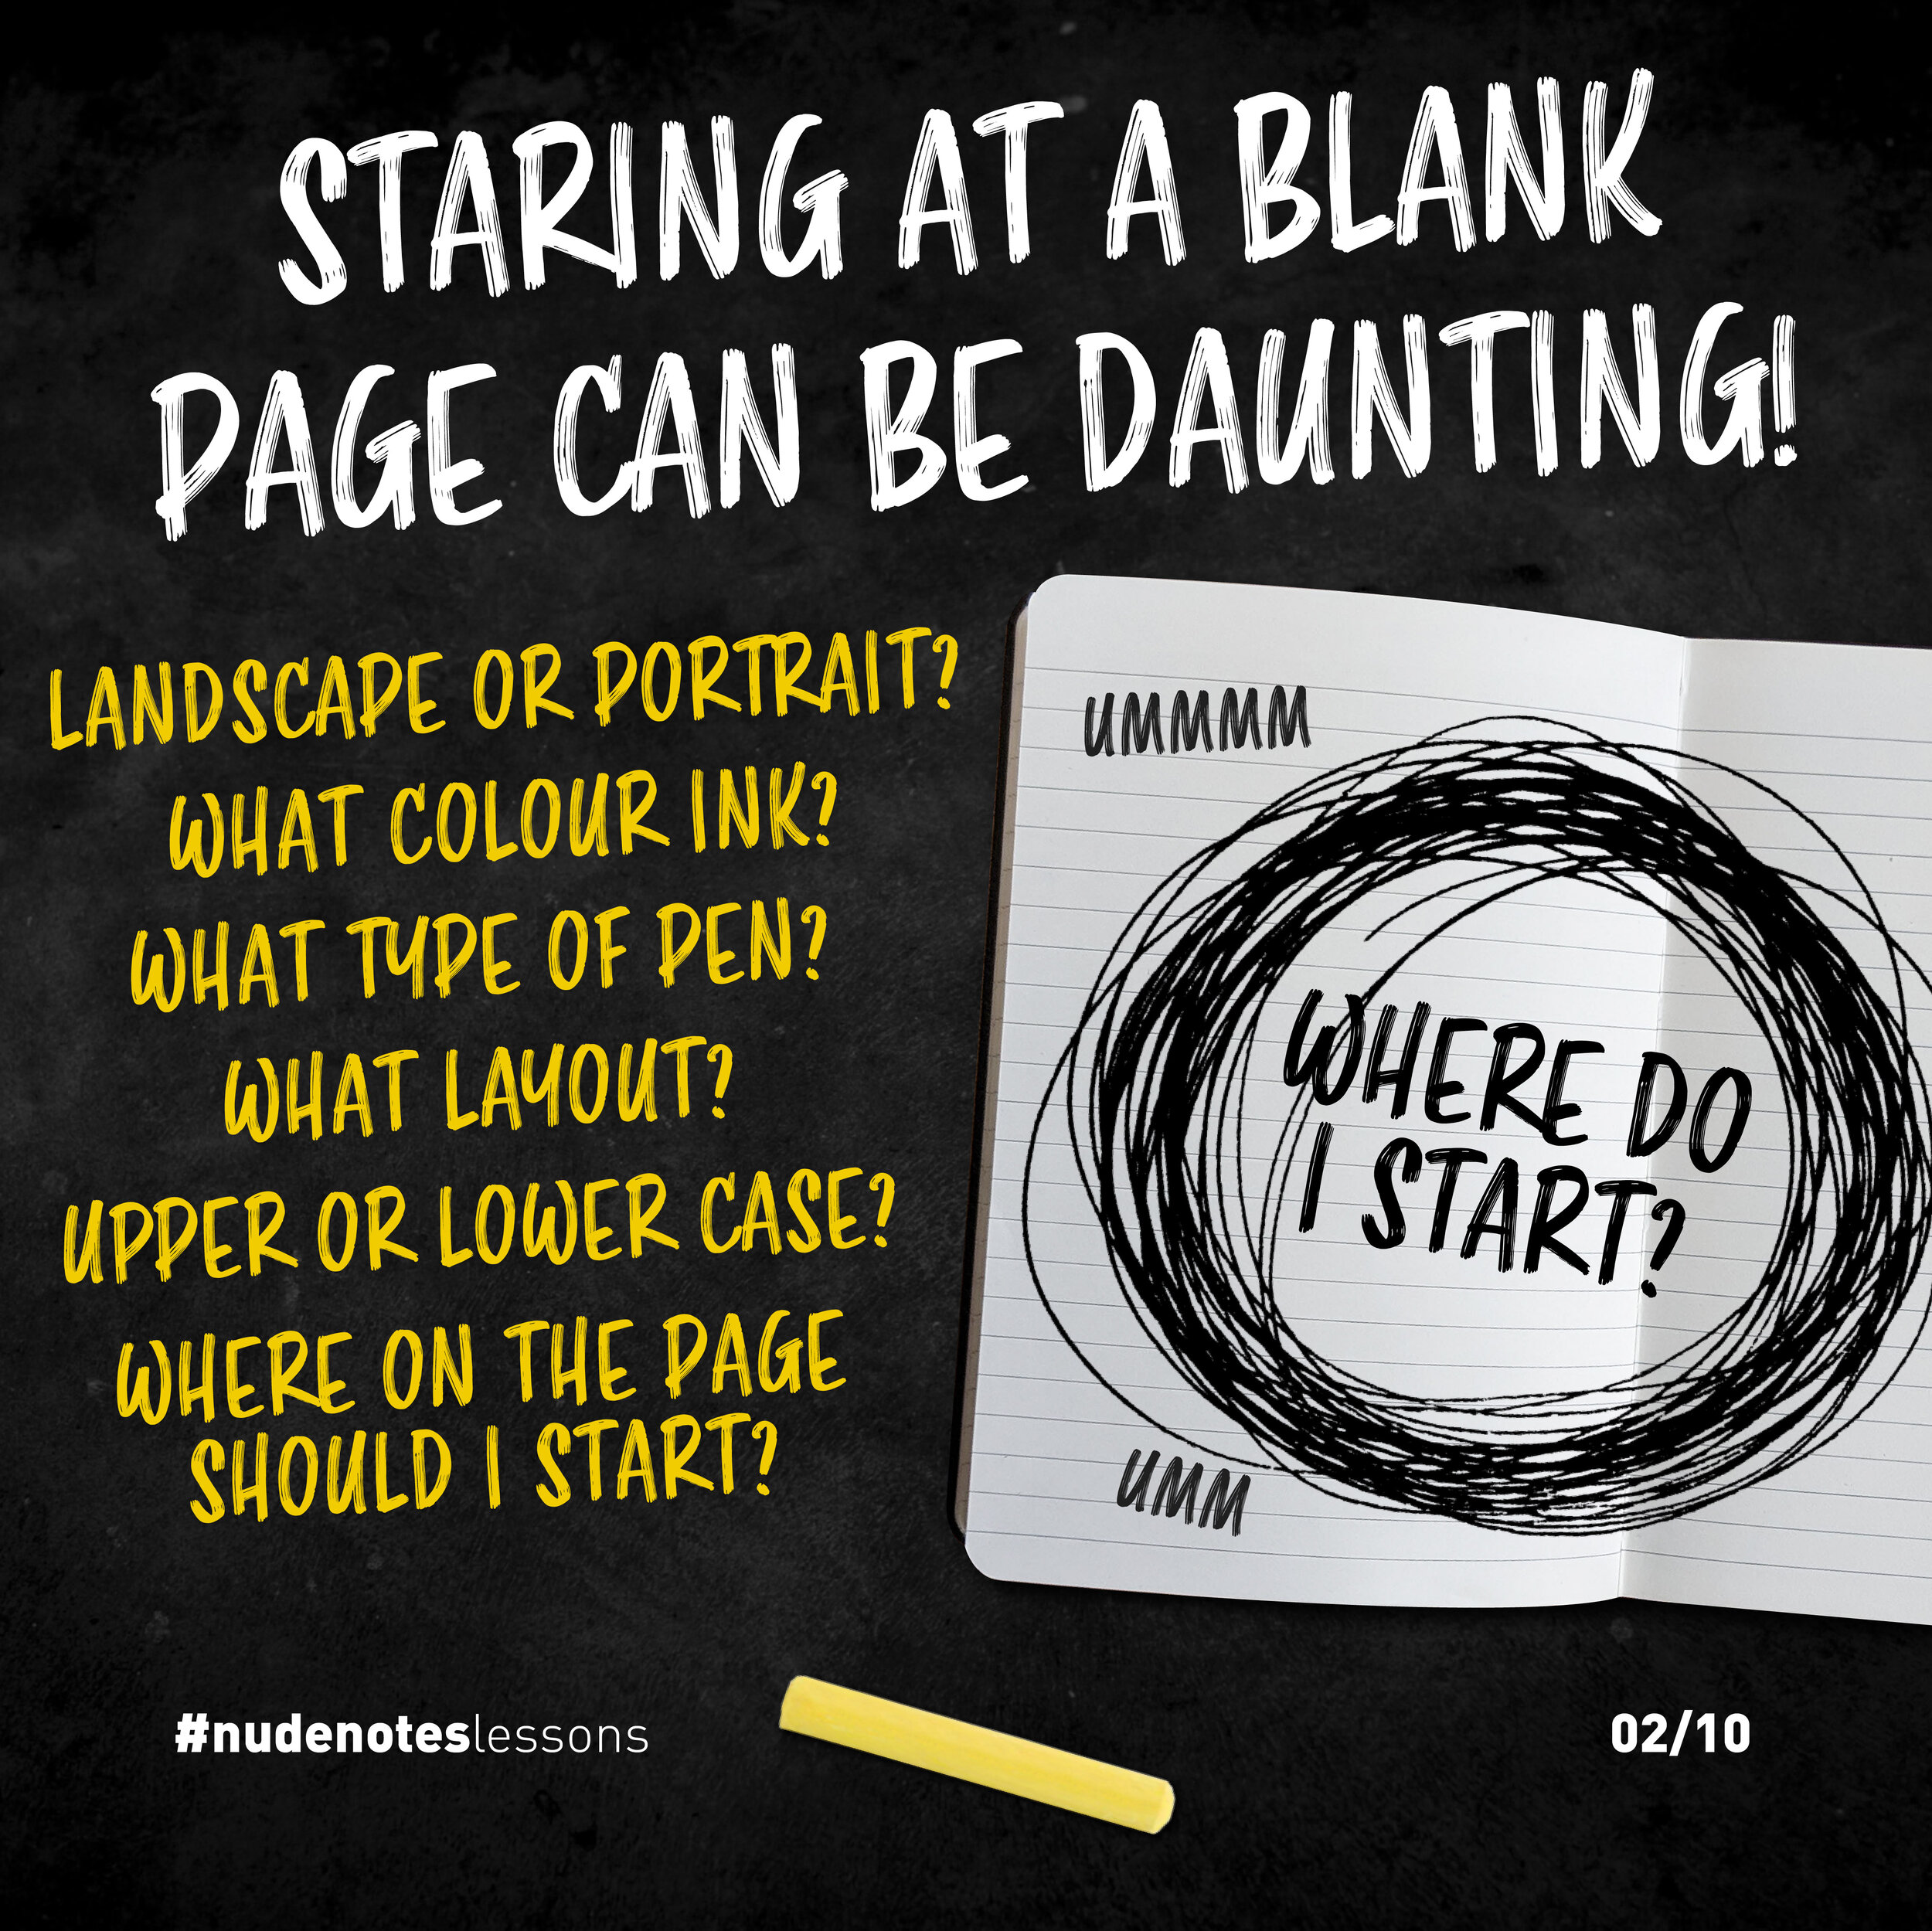
Staring at a blank page in your notebook can be daunting, with all the creative options in front of you:
Landscape or portrait?
What colour ink?
What type of pen?
What layout?
Upper or lower case?
Where on the page should I start?
Forget about how it looks, and focus on the content.
Just start.
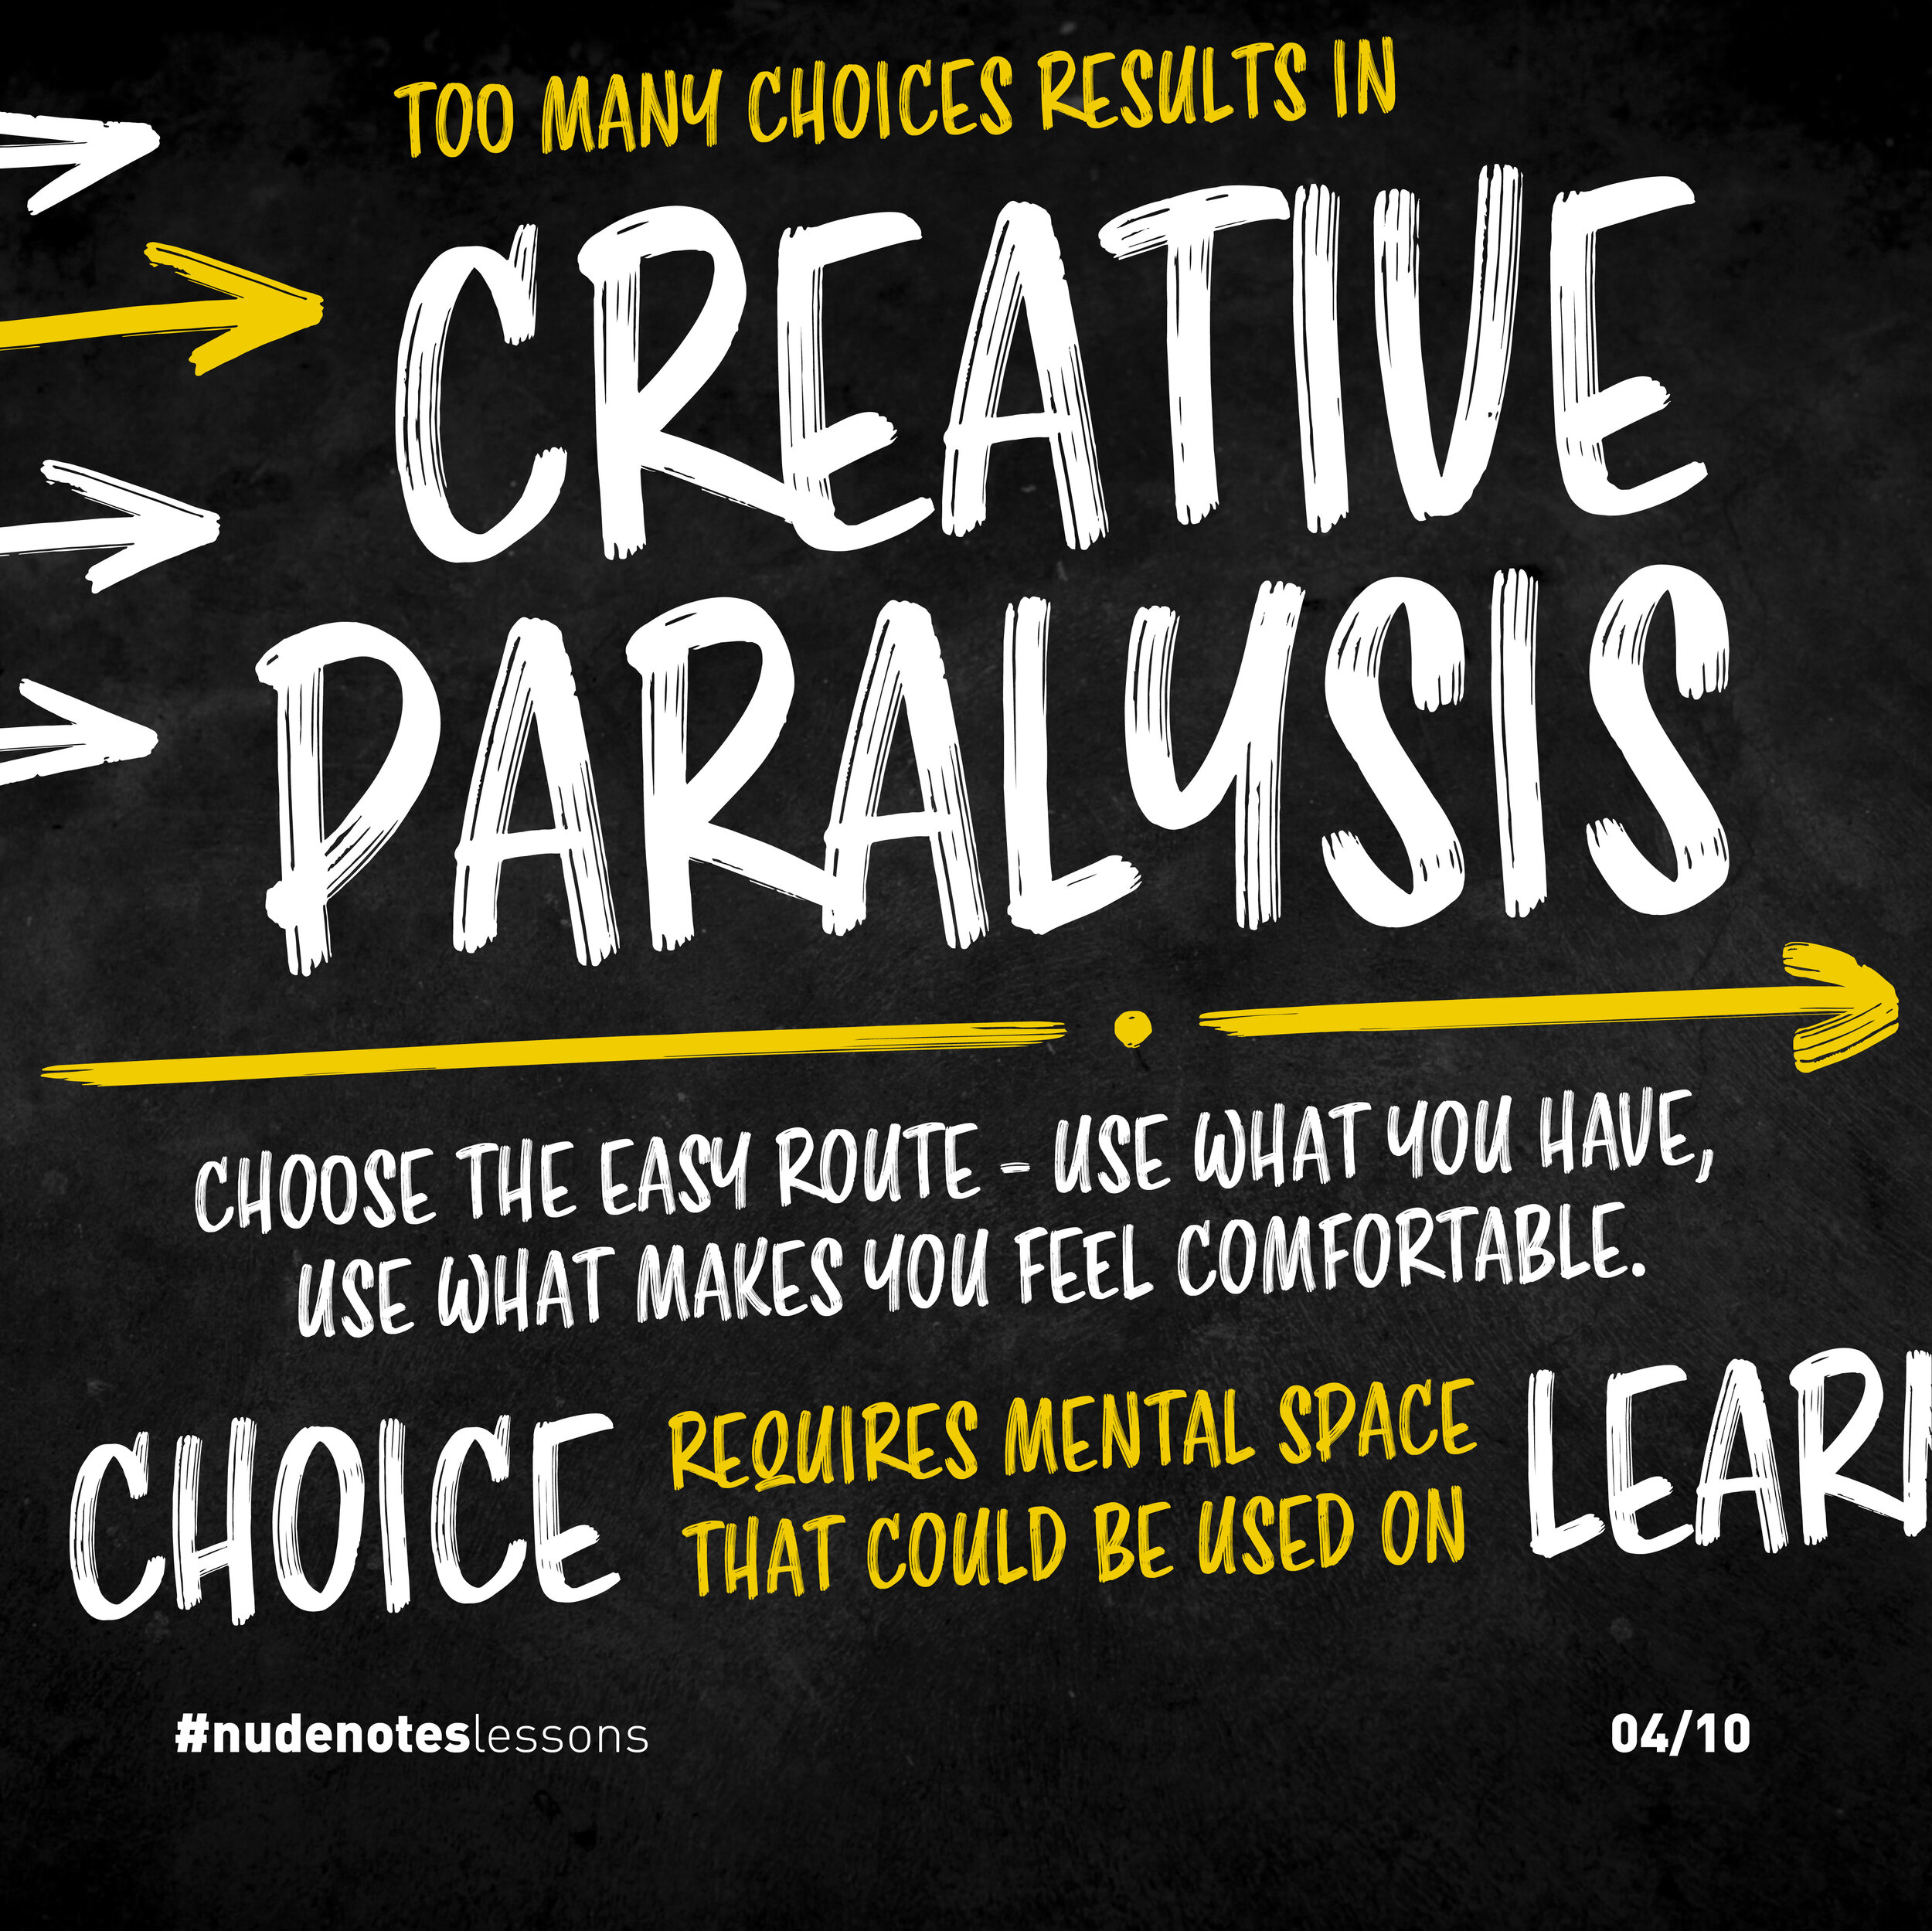
Too many choices results in creative paralysis.
Choose the easy route - use what you have, use what makes you feel comfortable.
Choice requires mental space that could be used on learning.
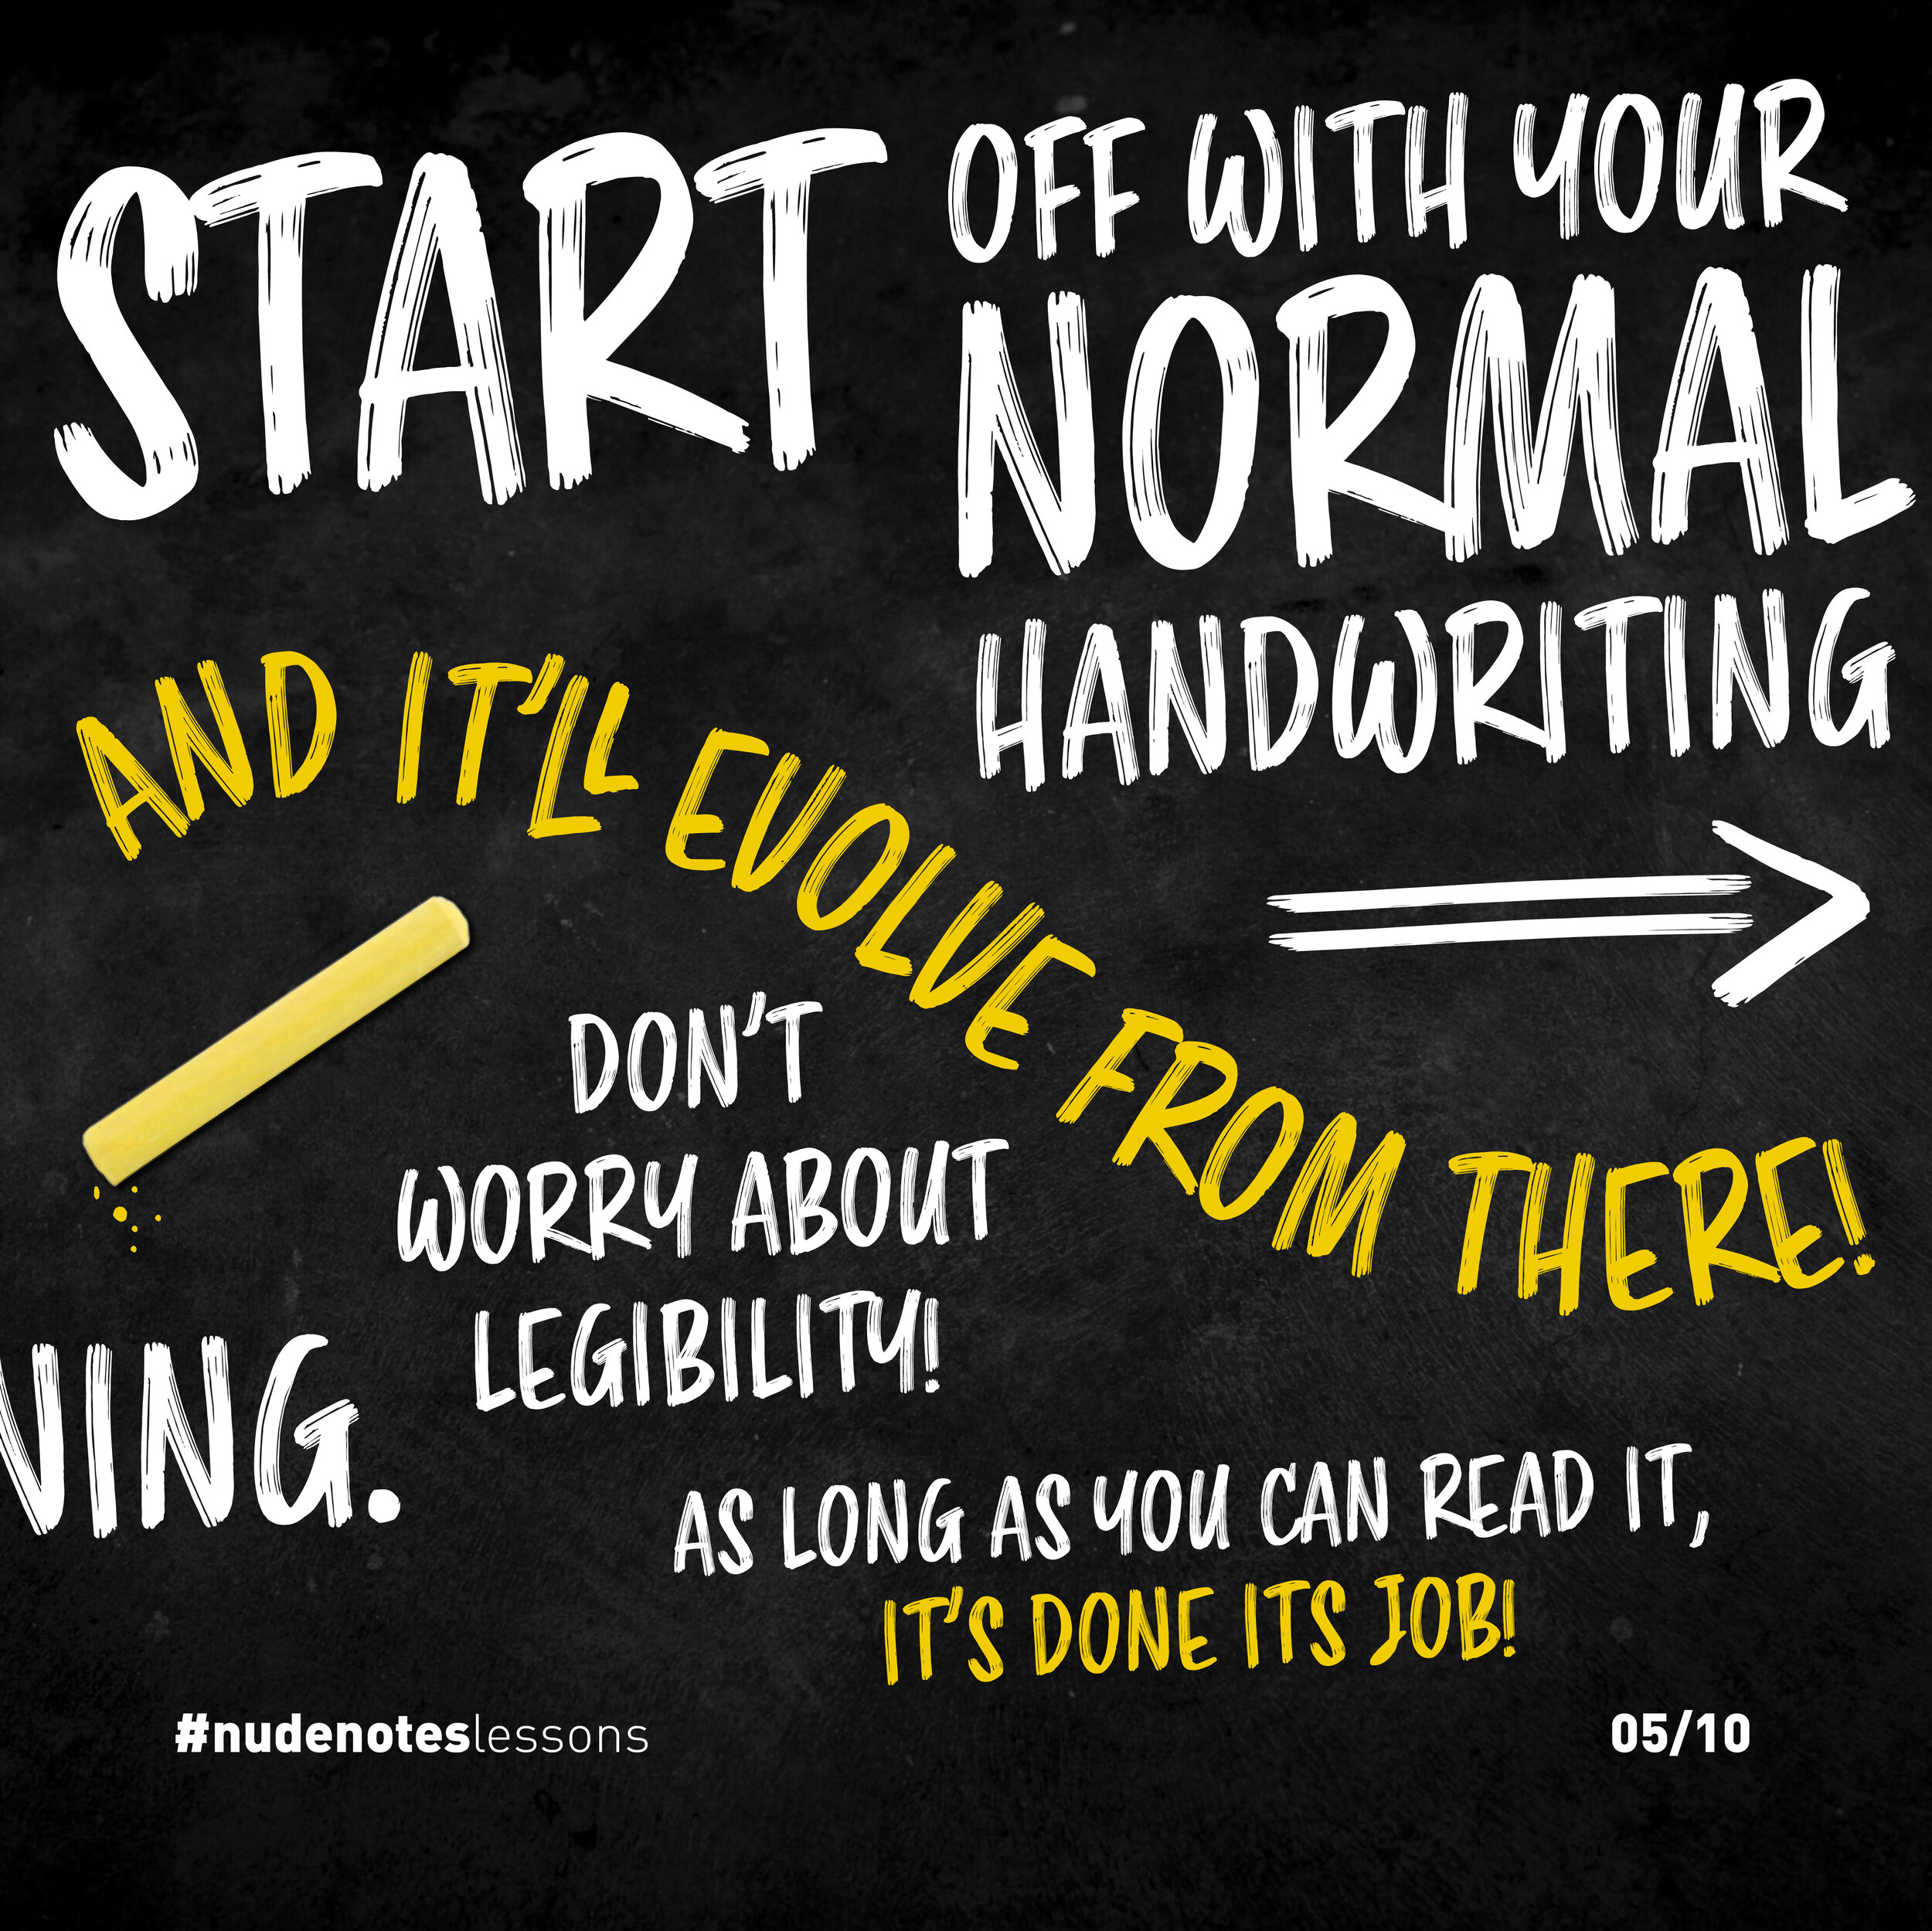
Start off with your normal handwriting, and it’ll evolve from there.
Don’t worry about legibility - as long as you can read it, it’s done its job.
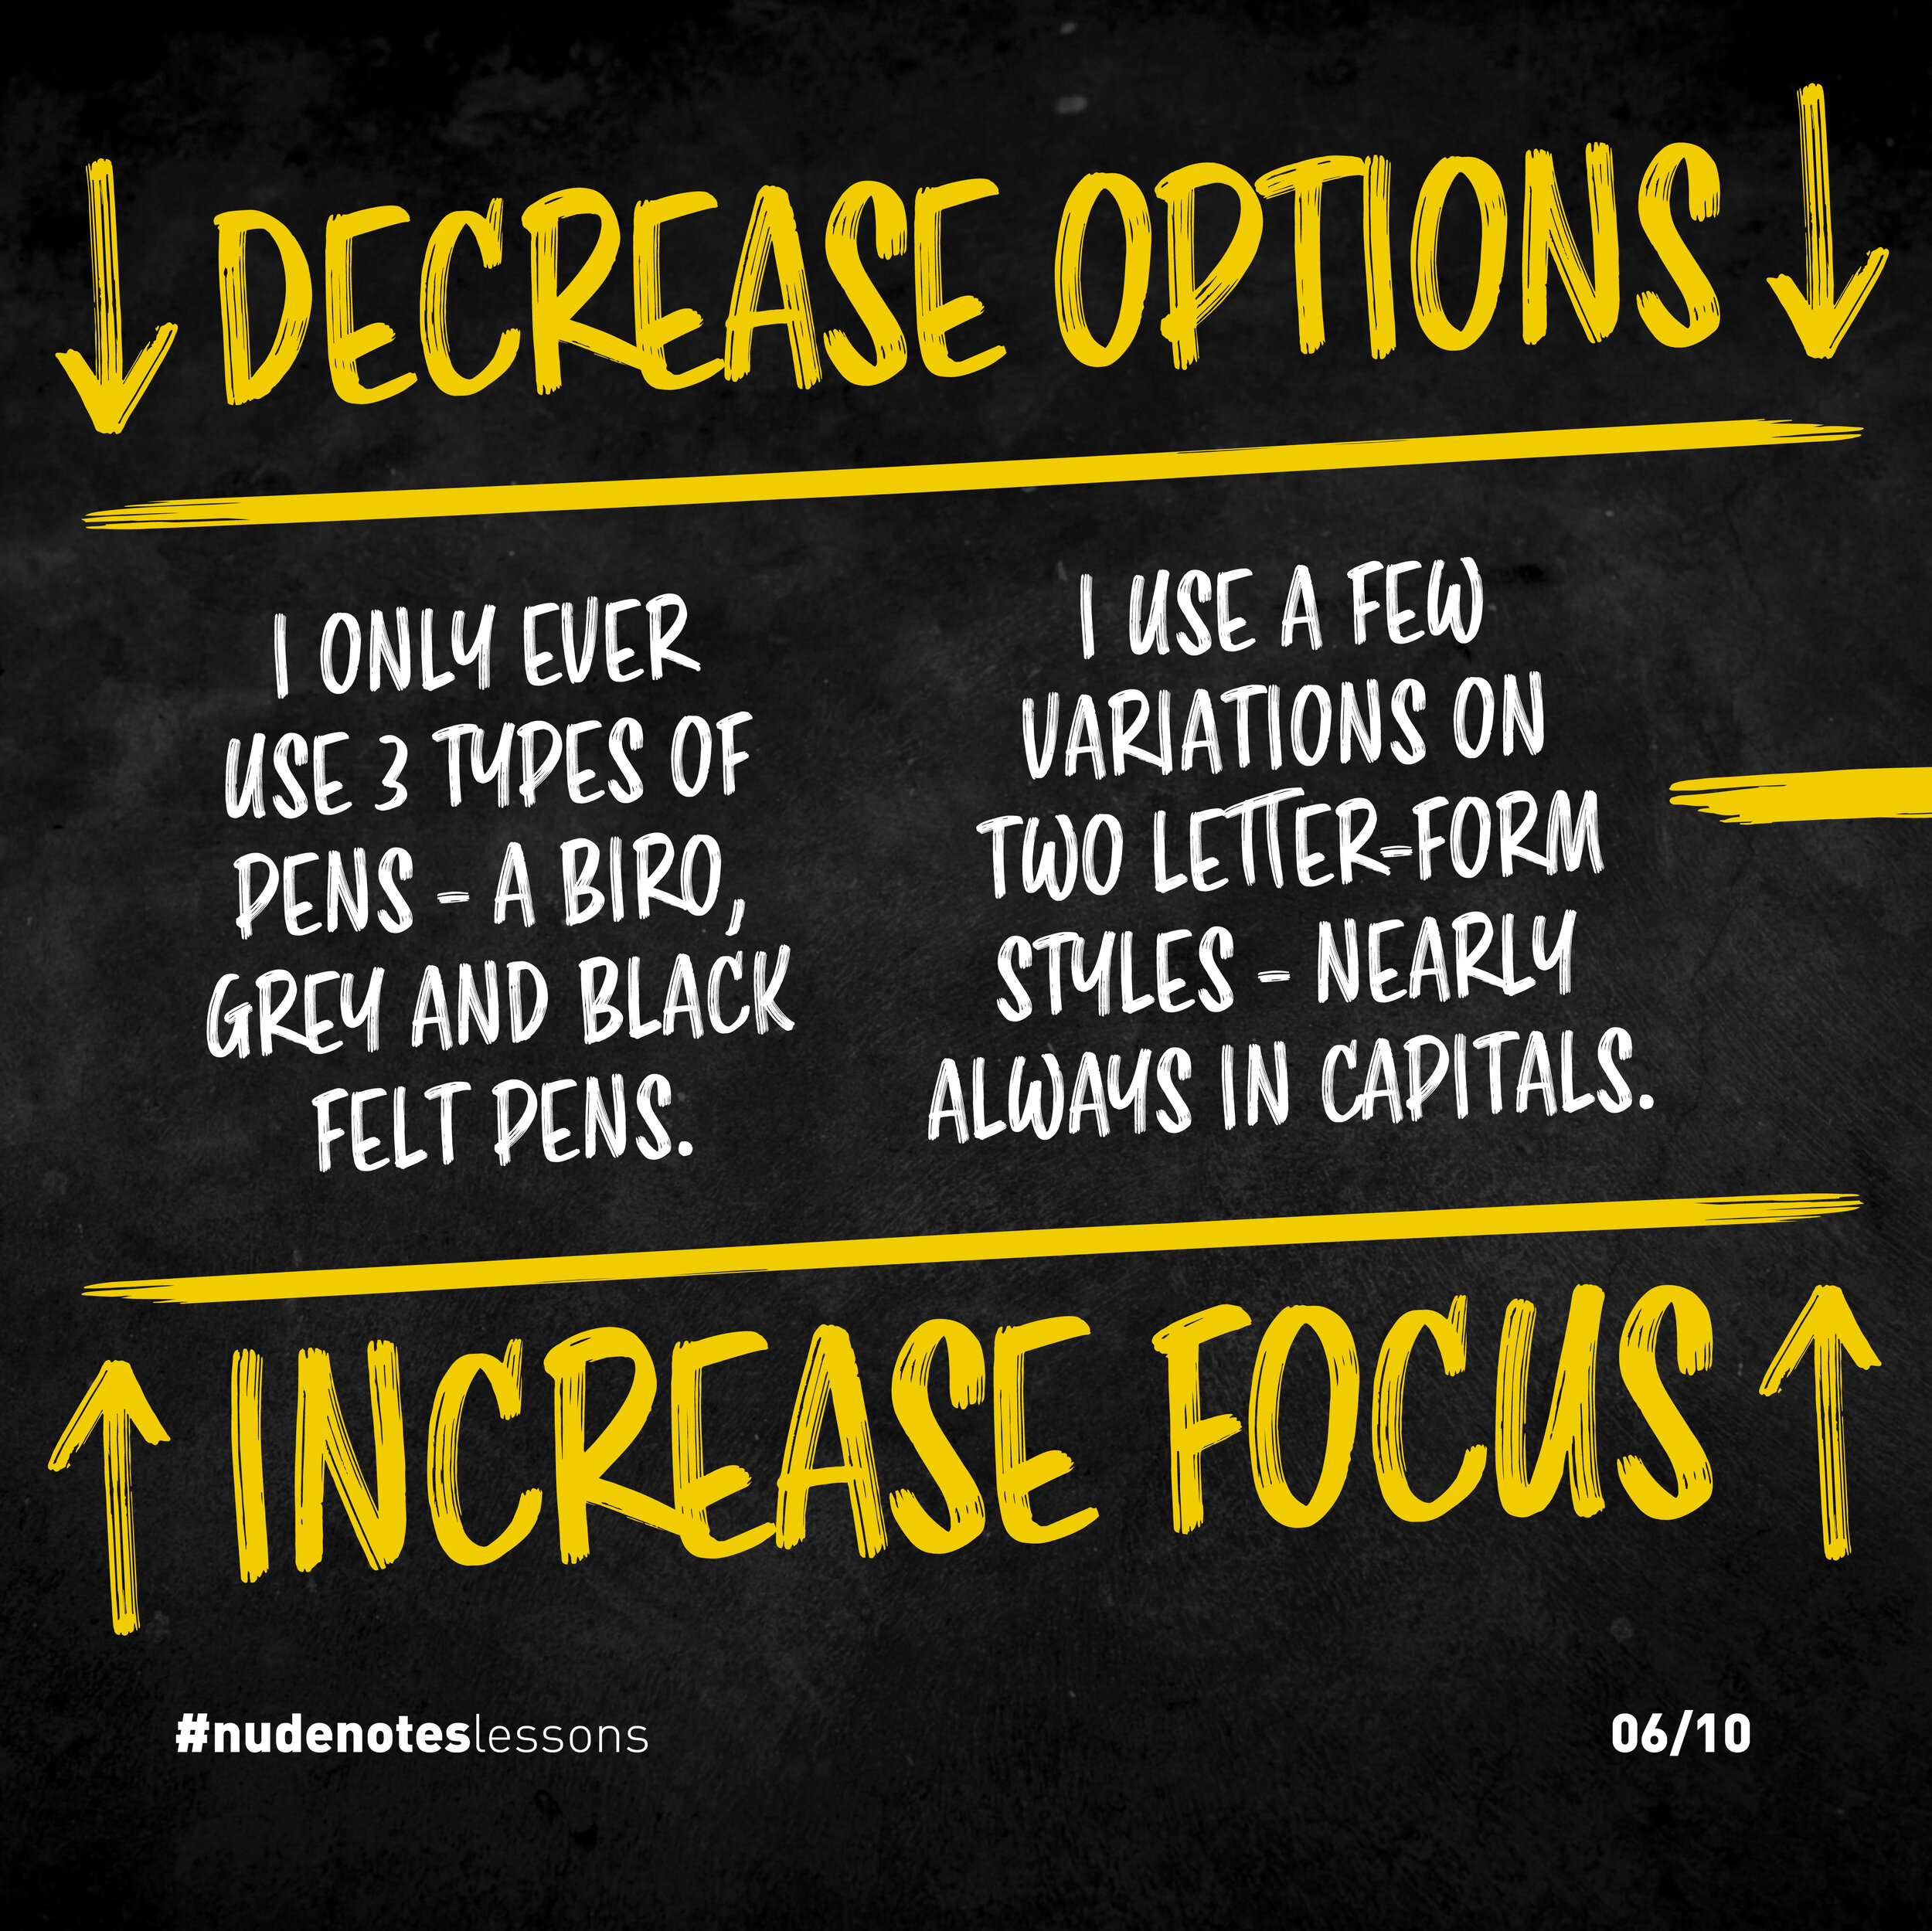
Decrease options, increase focus.
For my notes, I only use three pens: a black biro, and two felt pens - black and a grey.
I use a few variations on two letter-form styles - almost always in capitals
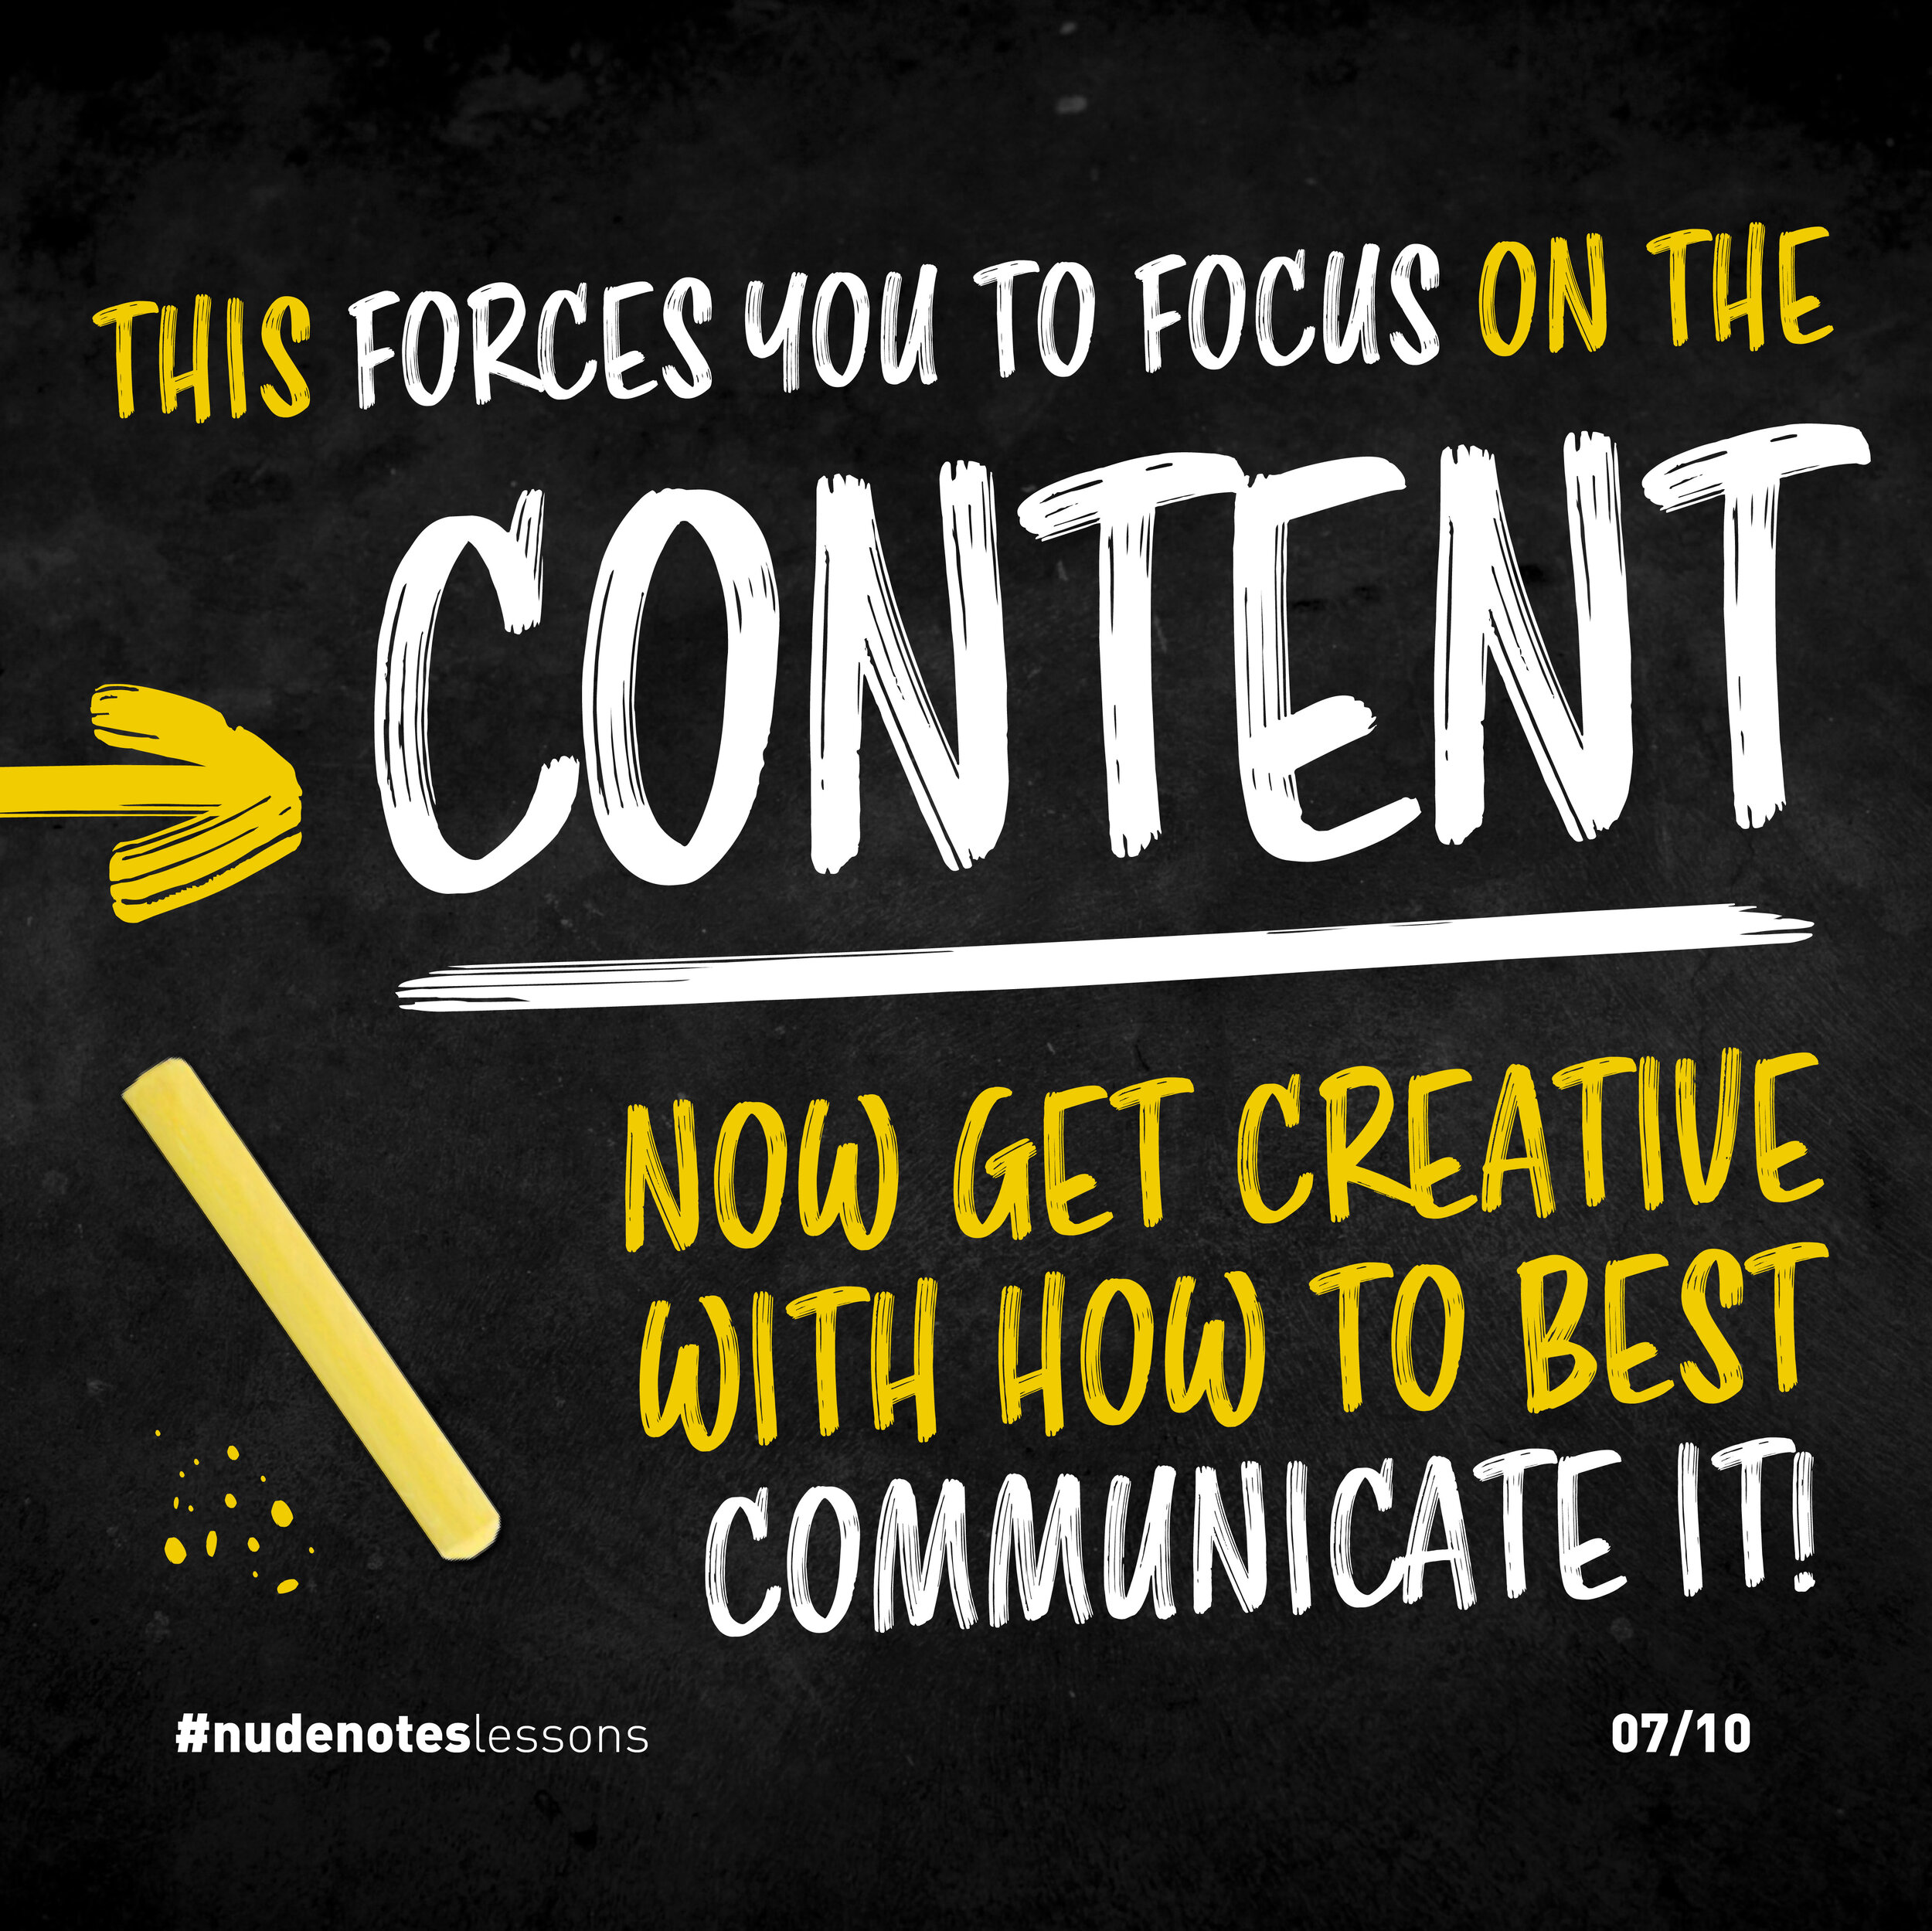
This forces you to focus on the content.
Now you can get creative with how best to communicate it!
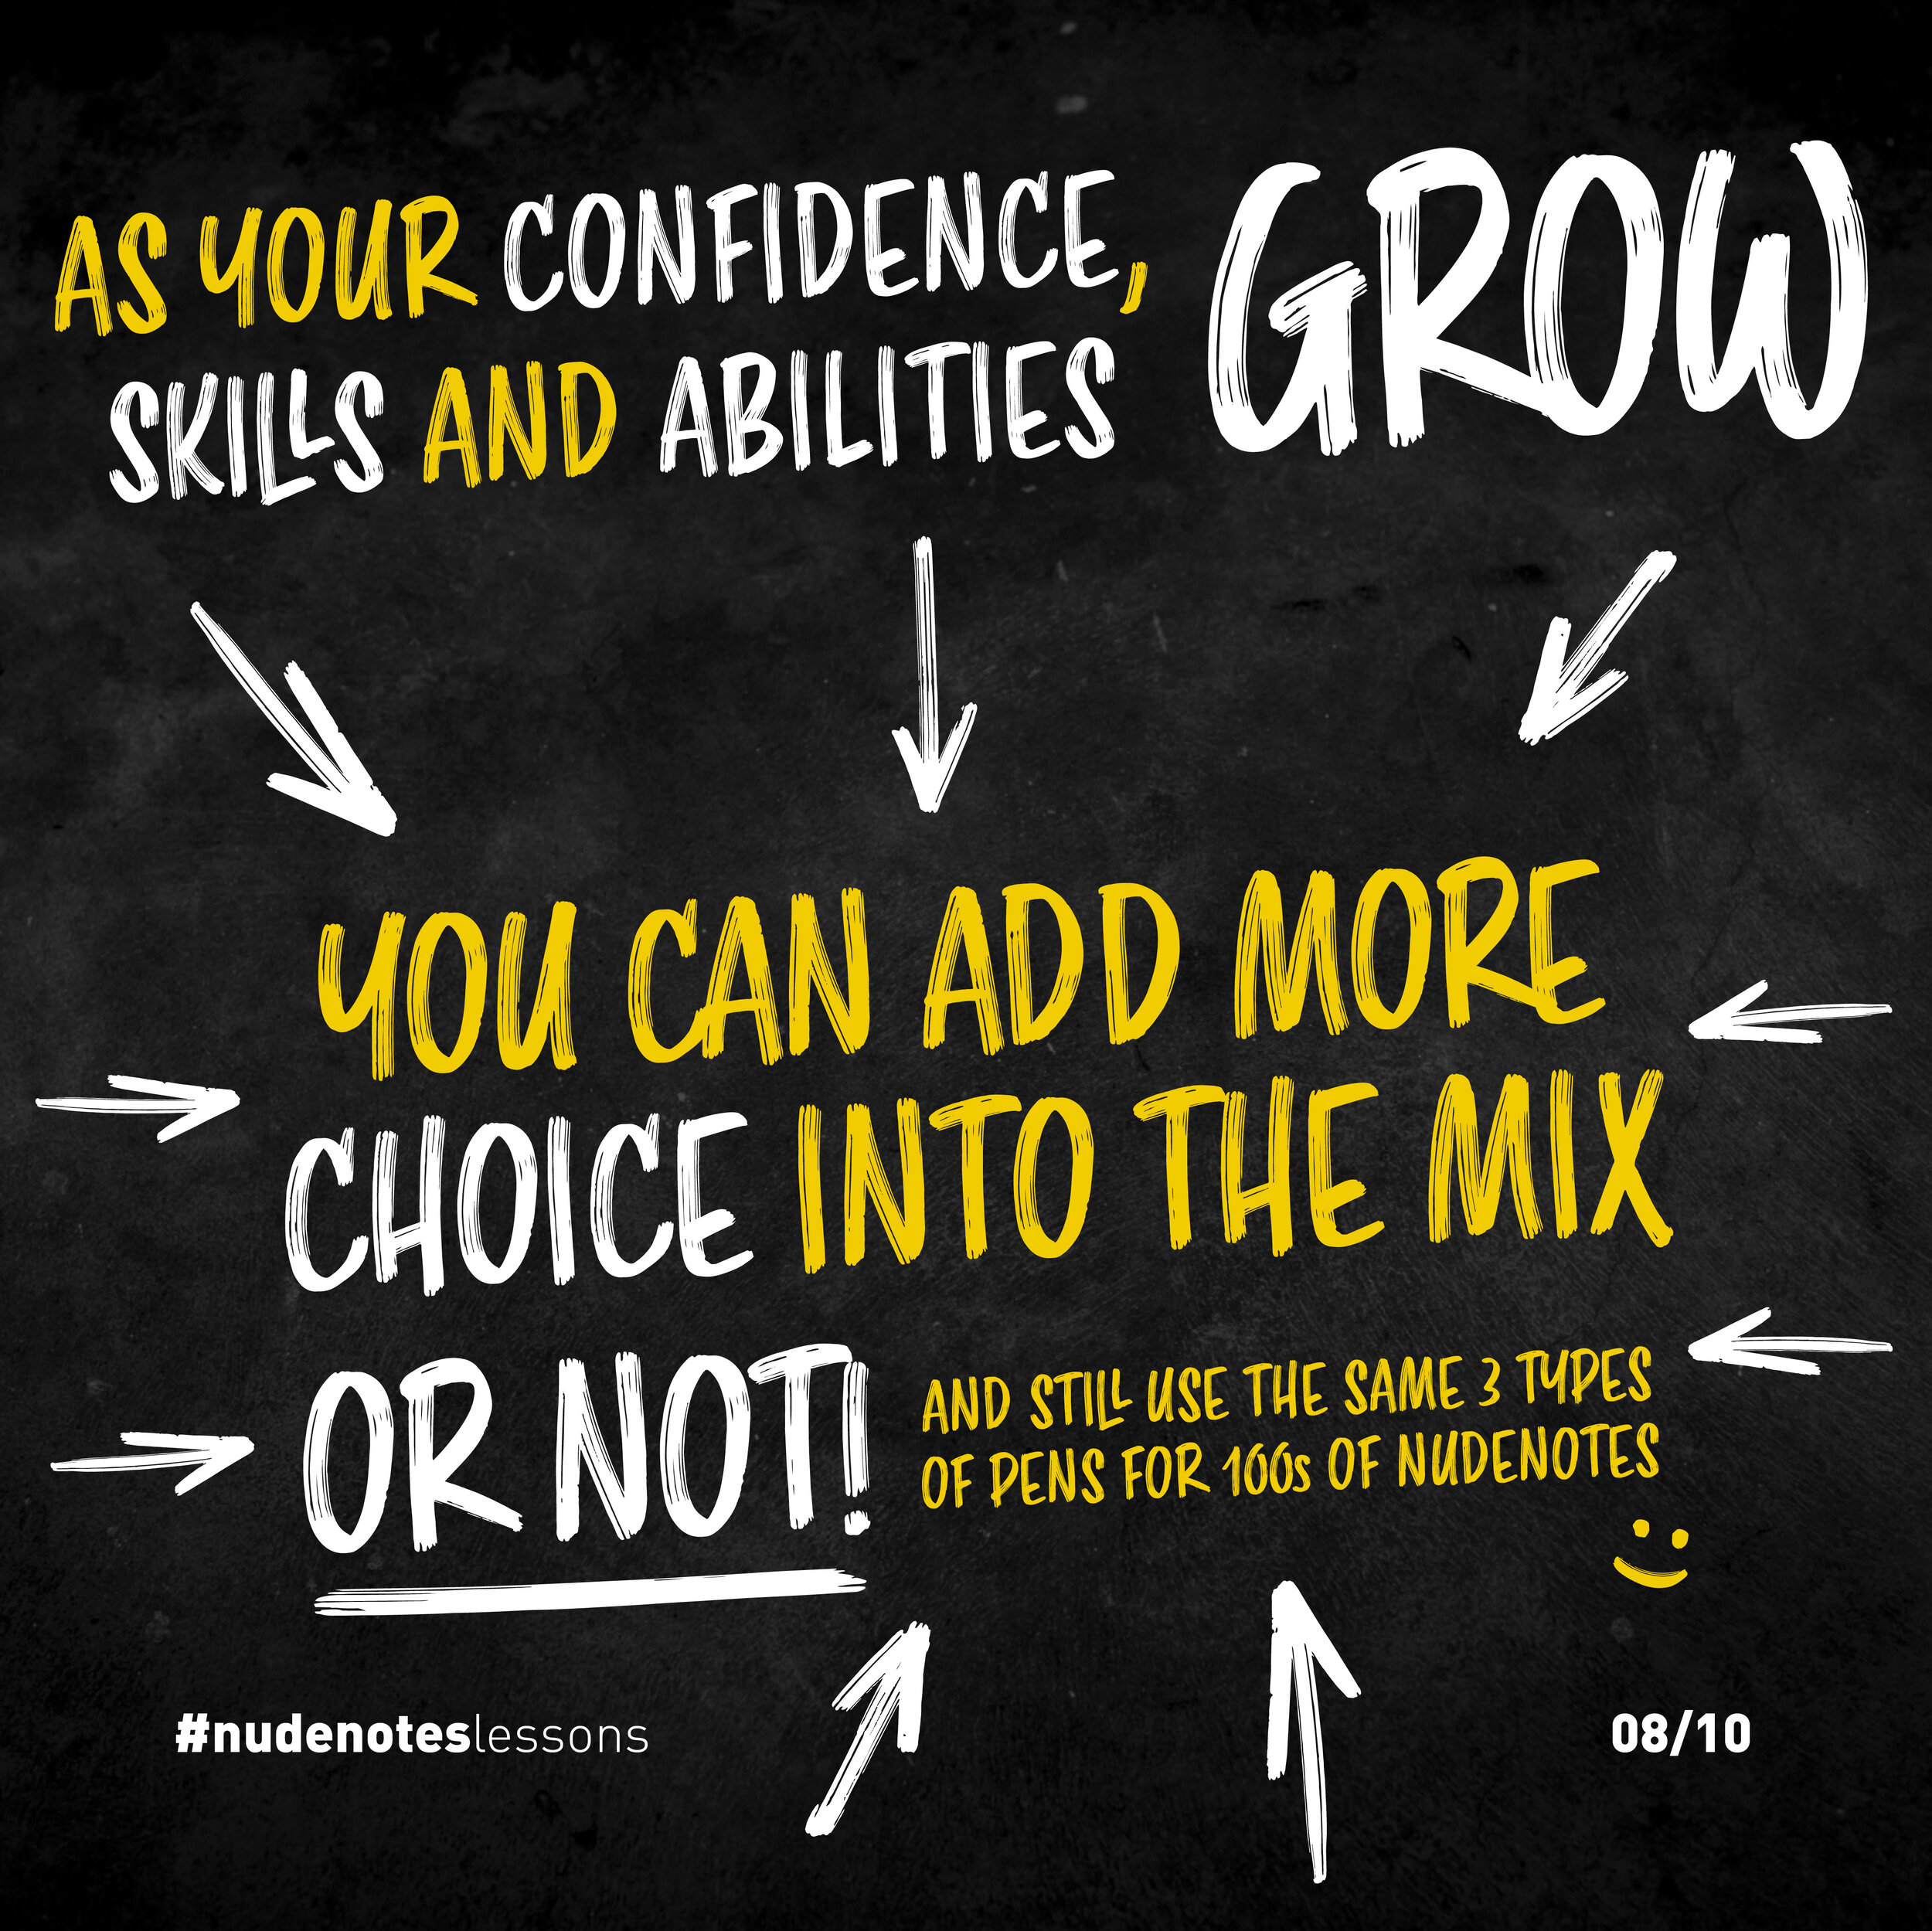
As your confidence, skills, and abilities grow, you can add more choice into the mix - or not!
Since starting nudenotes in 2017, I still use the same three types of pens for hundreds of notes.
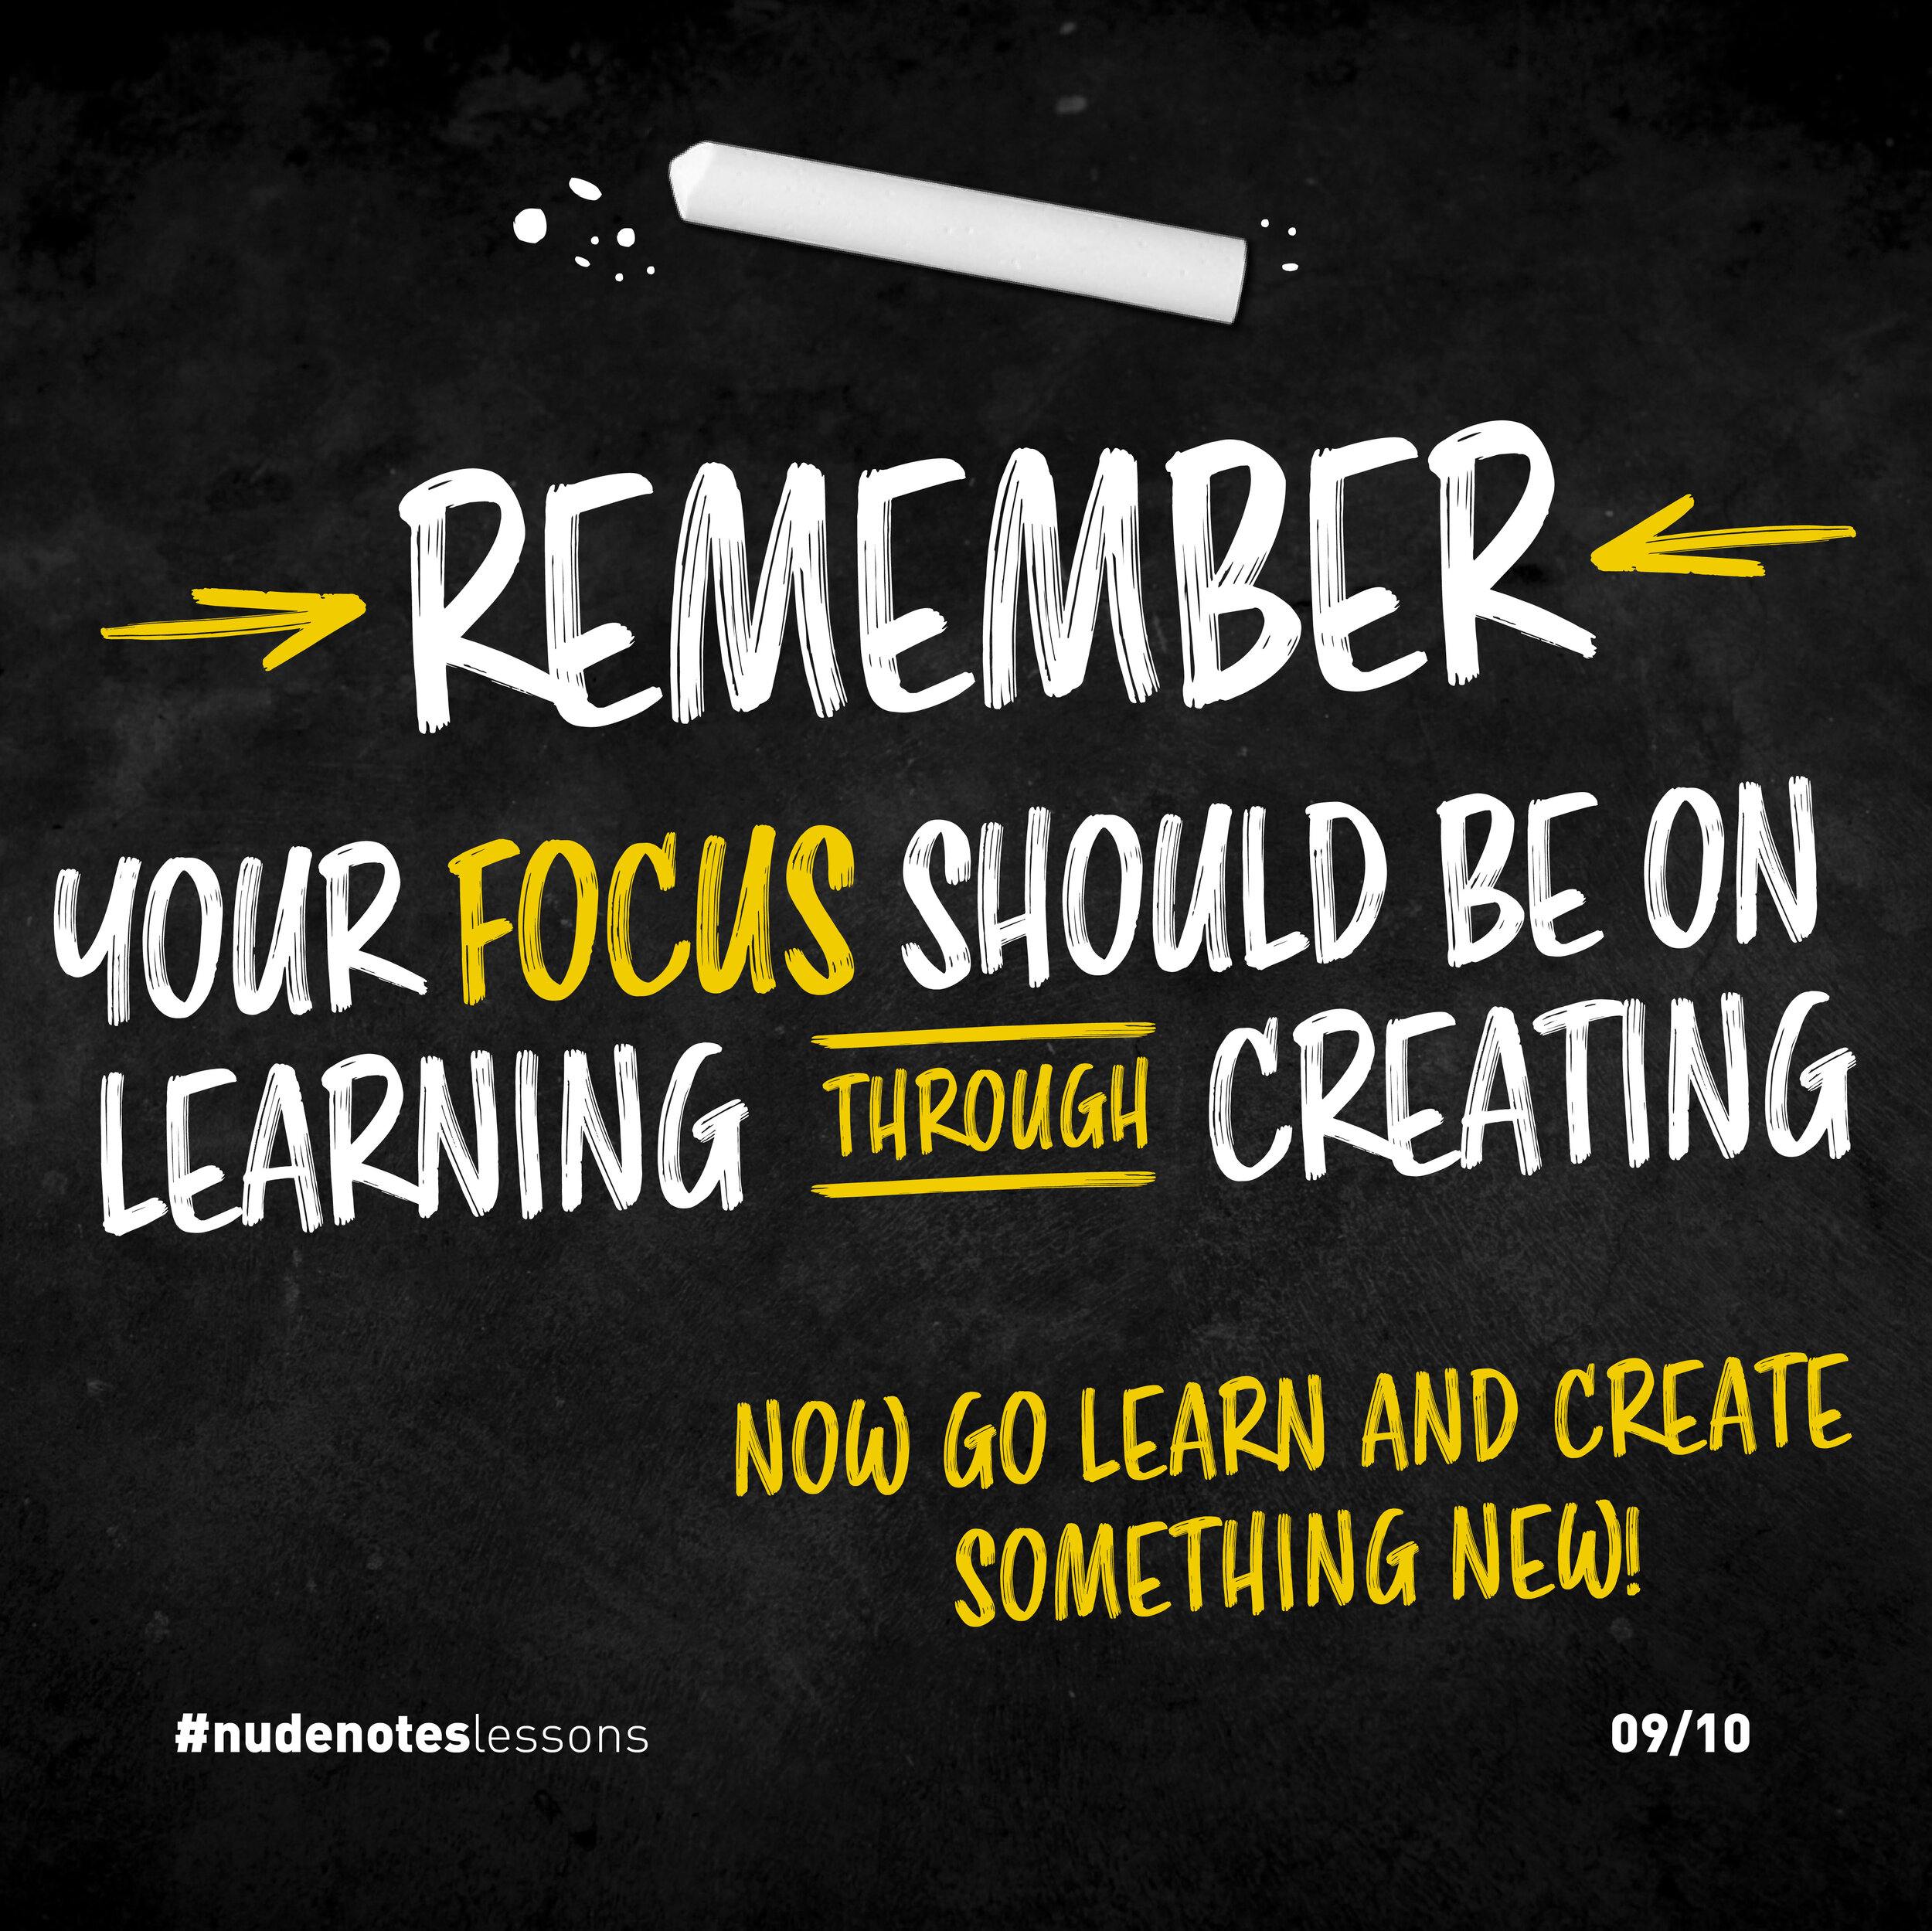
Remember, your focus should be on learning through creating.
Now go learn and create something new!
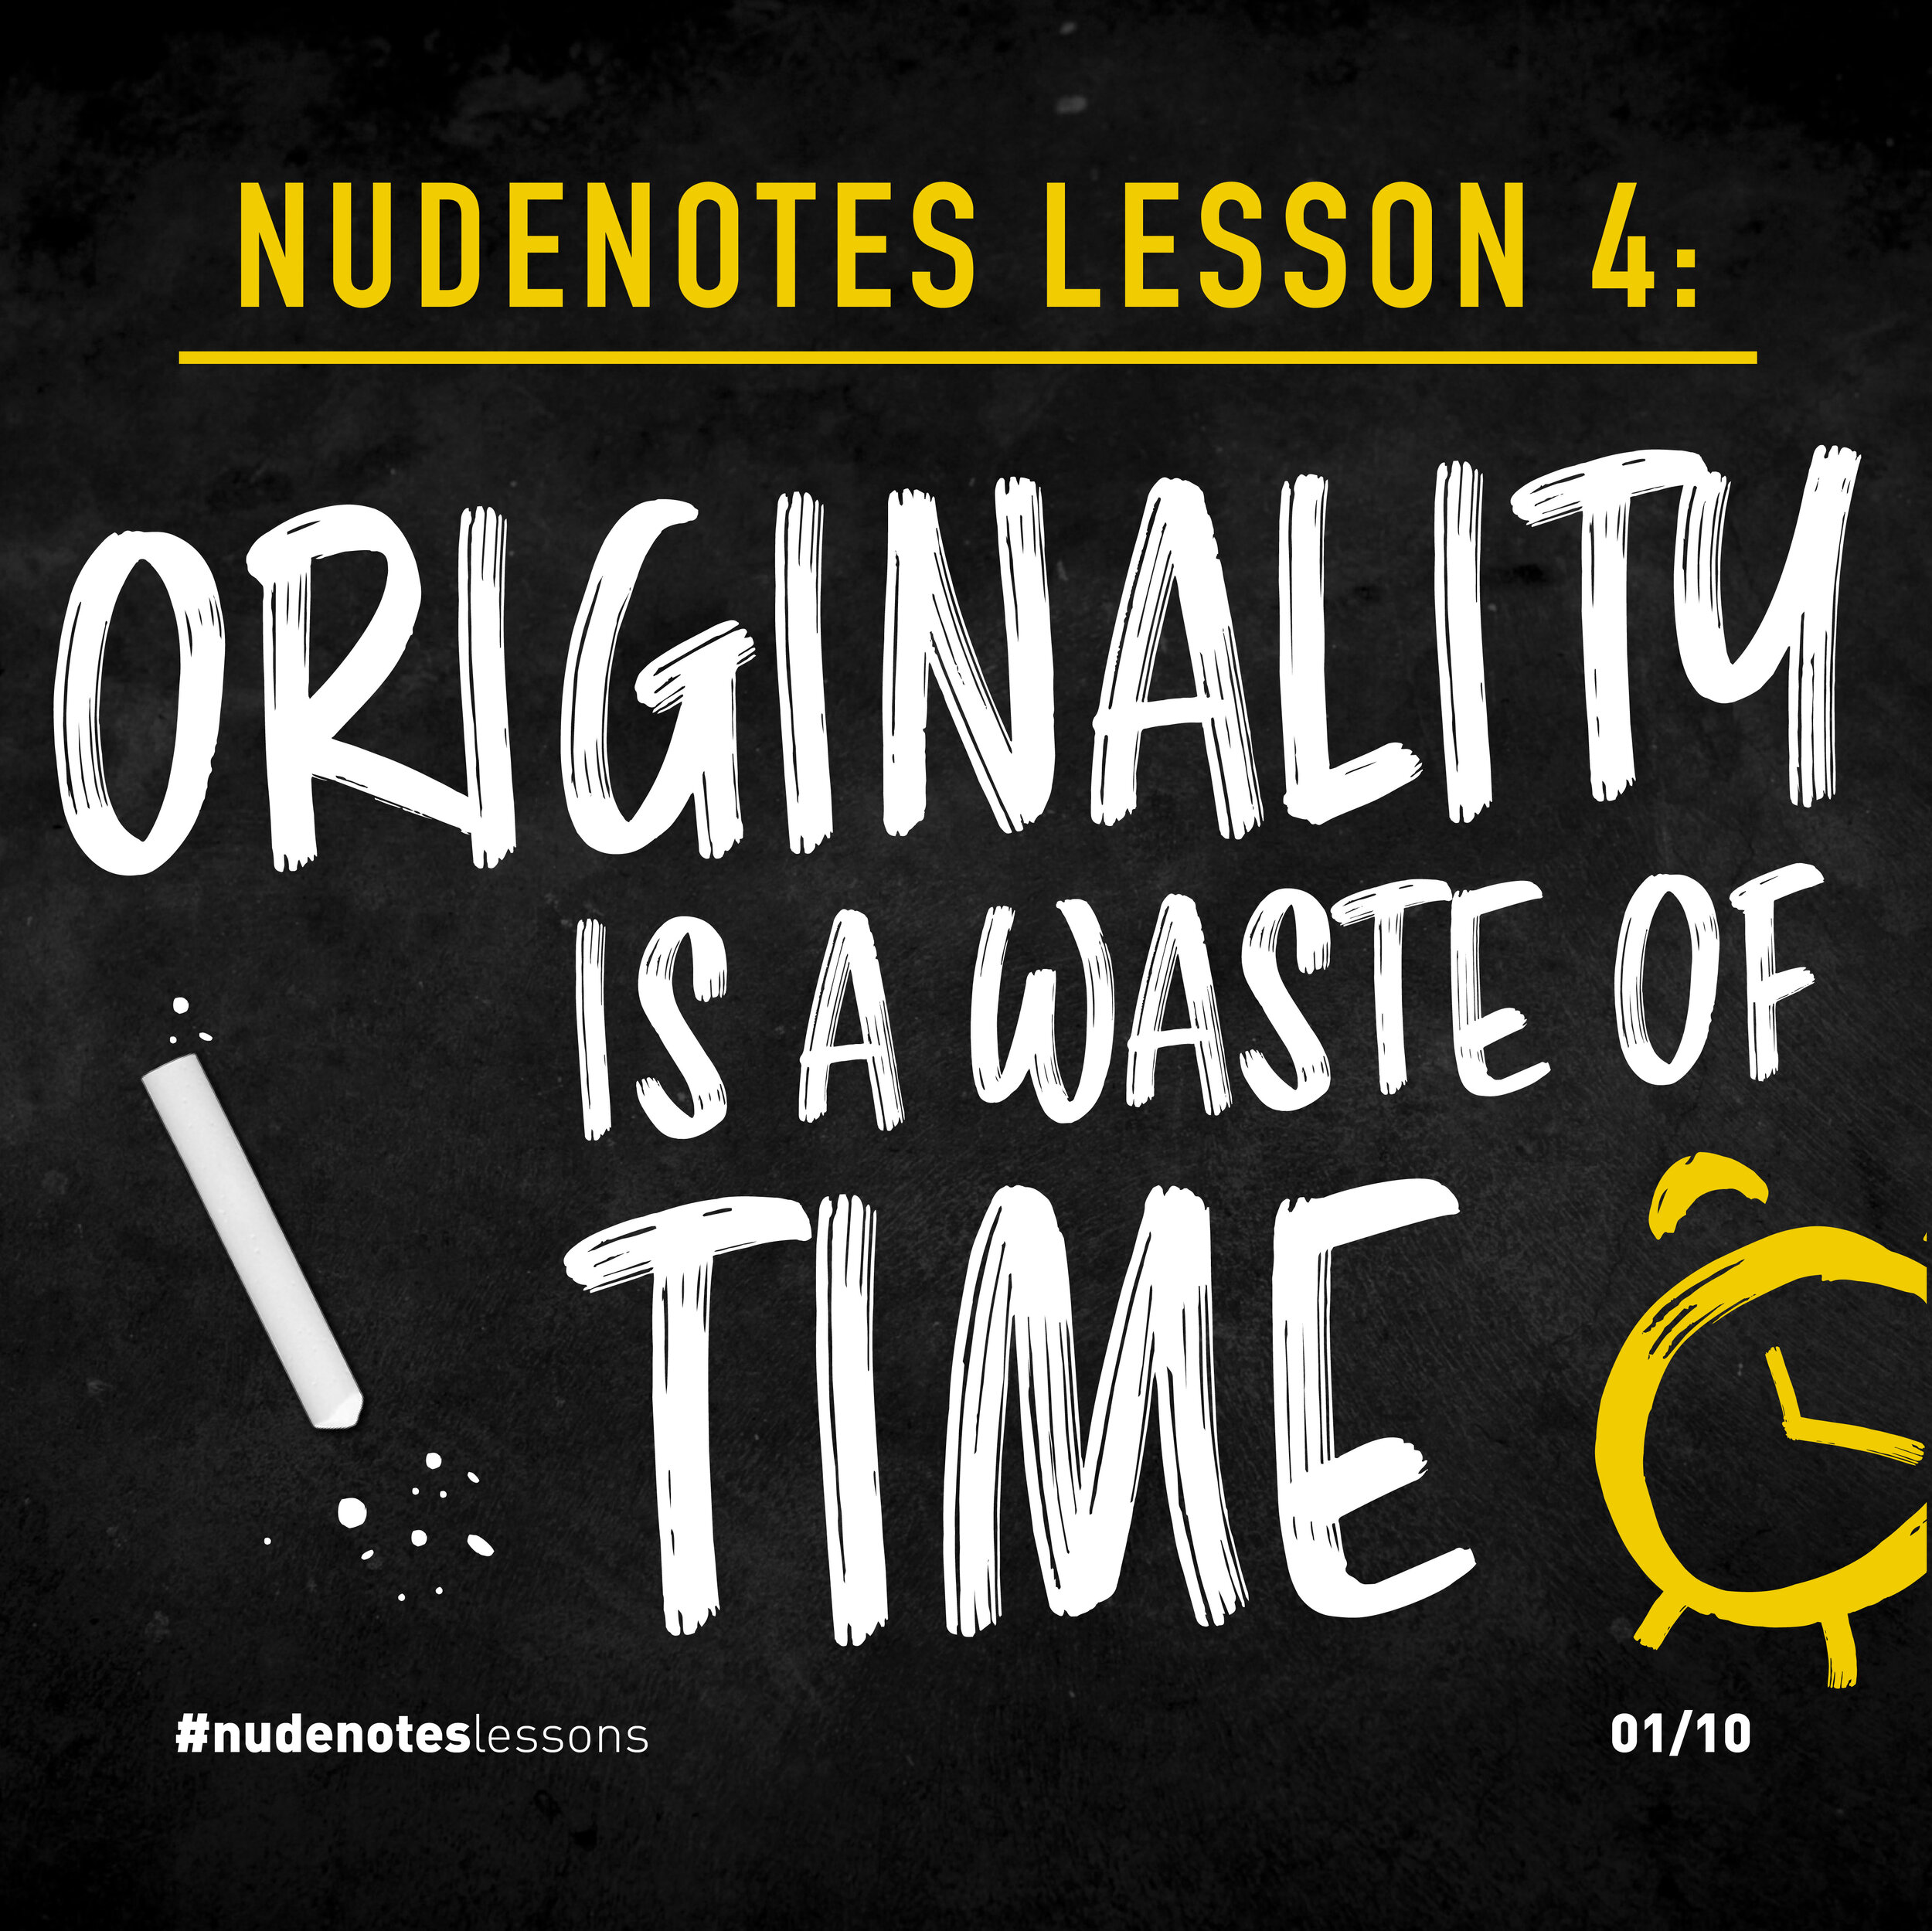
Originality is a waste of time
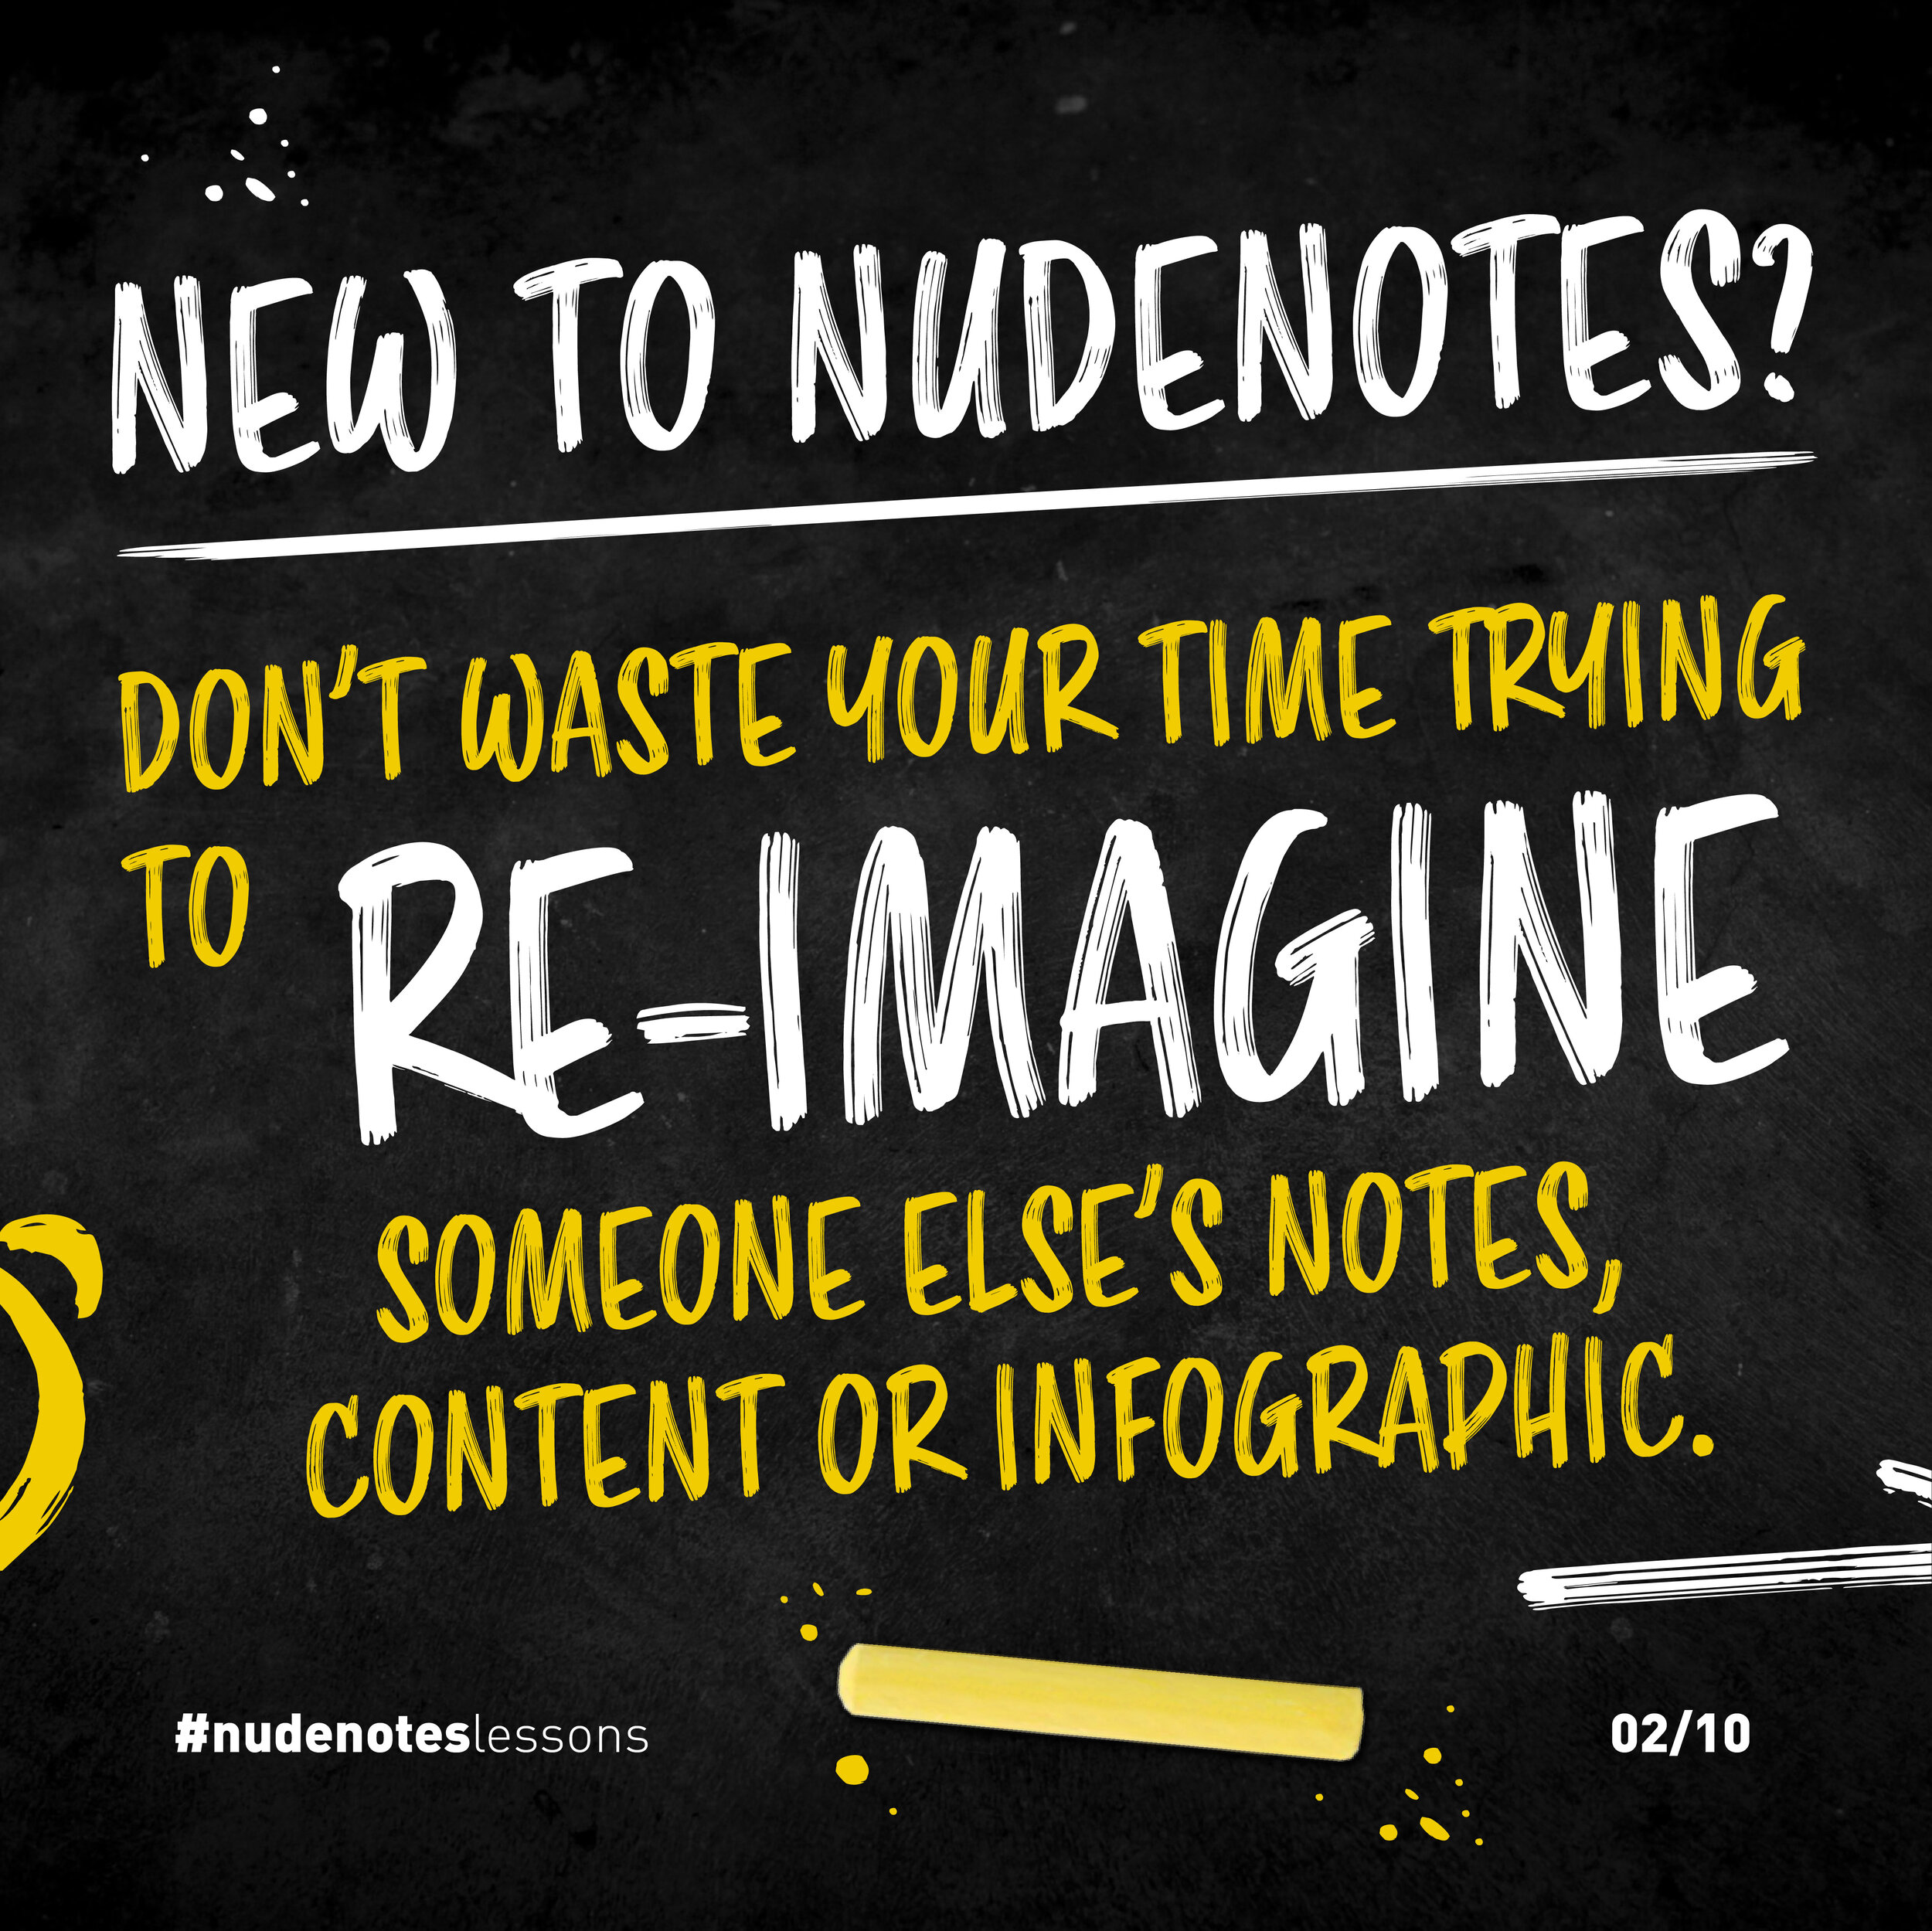
New to nudenotes?
Don’t waste your time trying to re-imagine someone else’s notes, infographic or content.
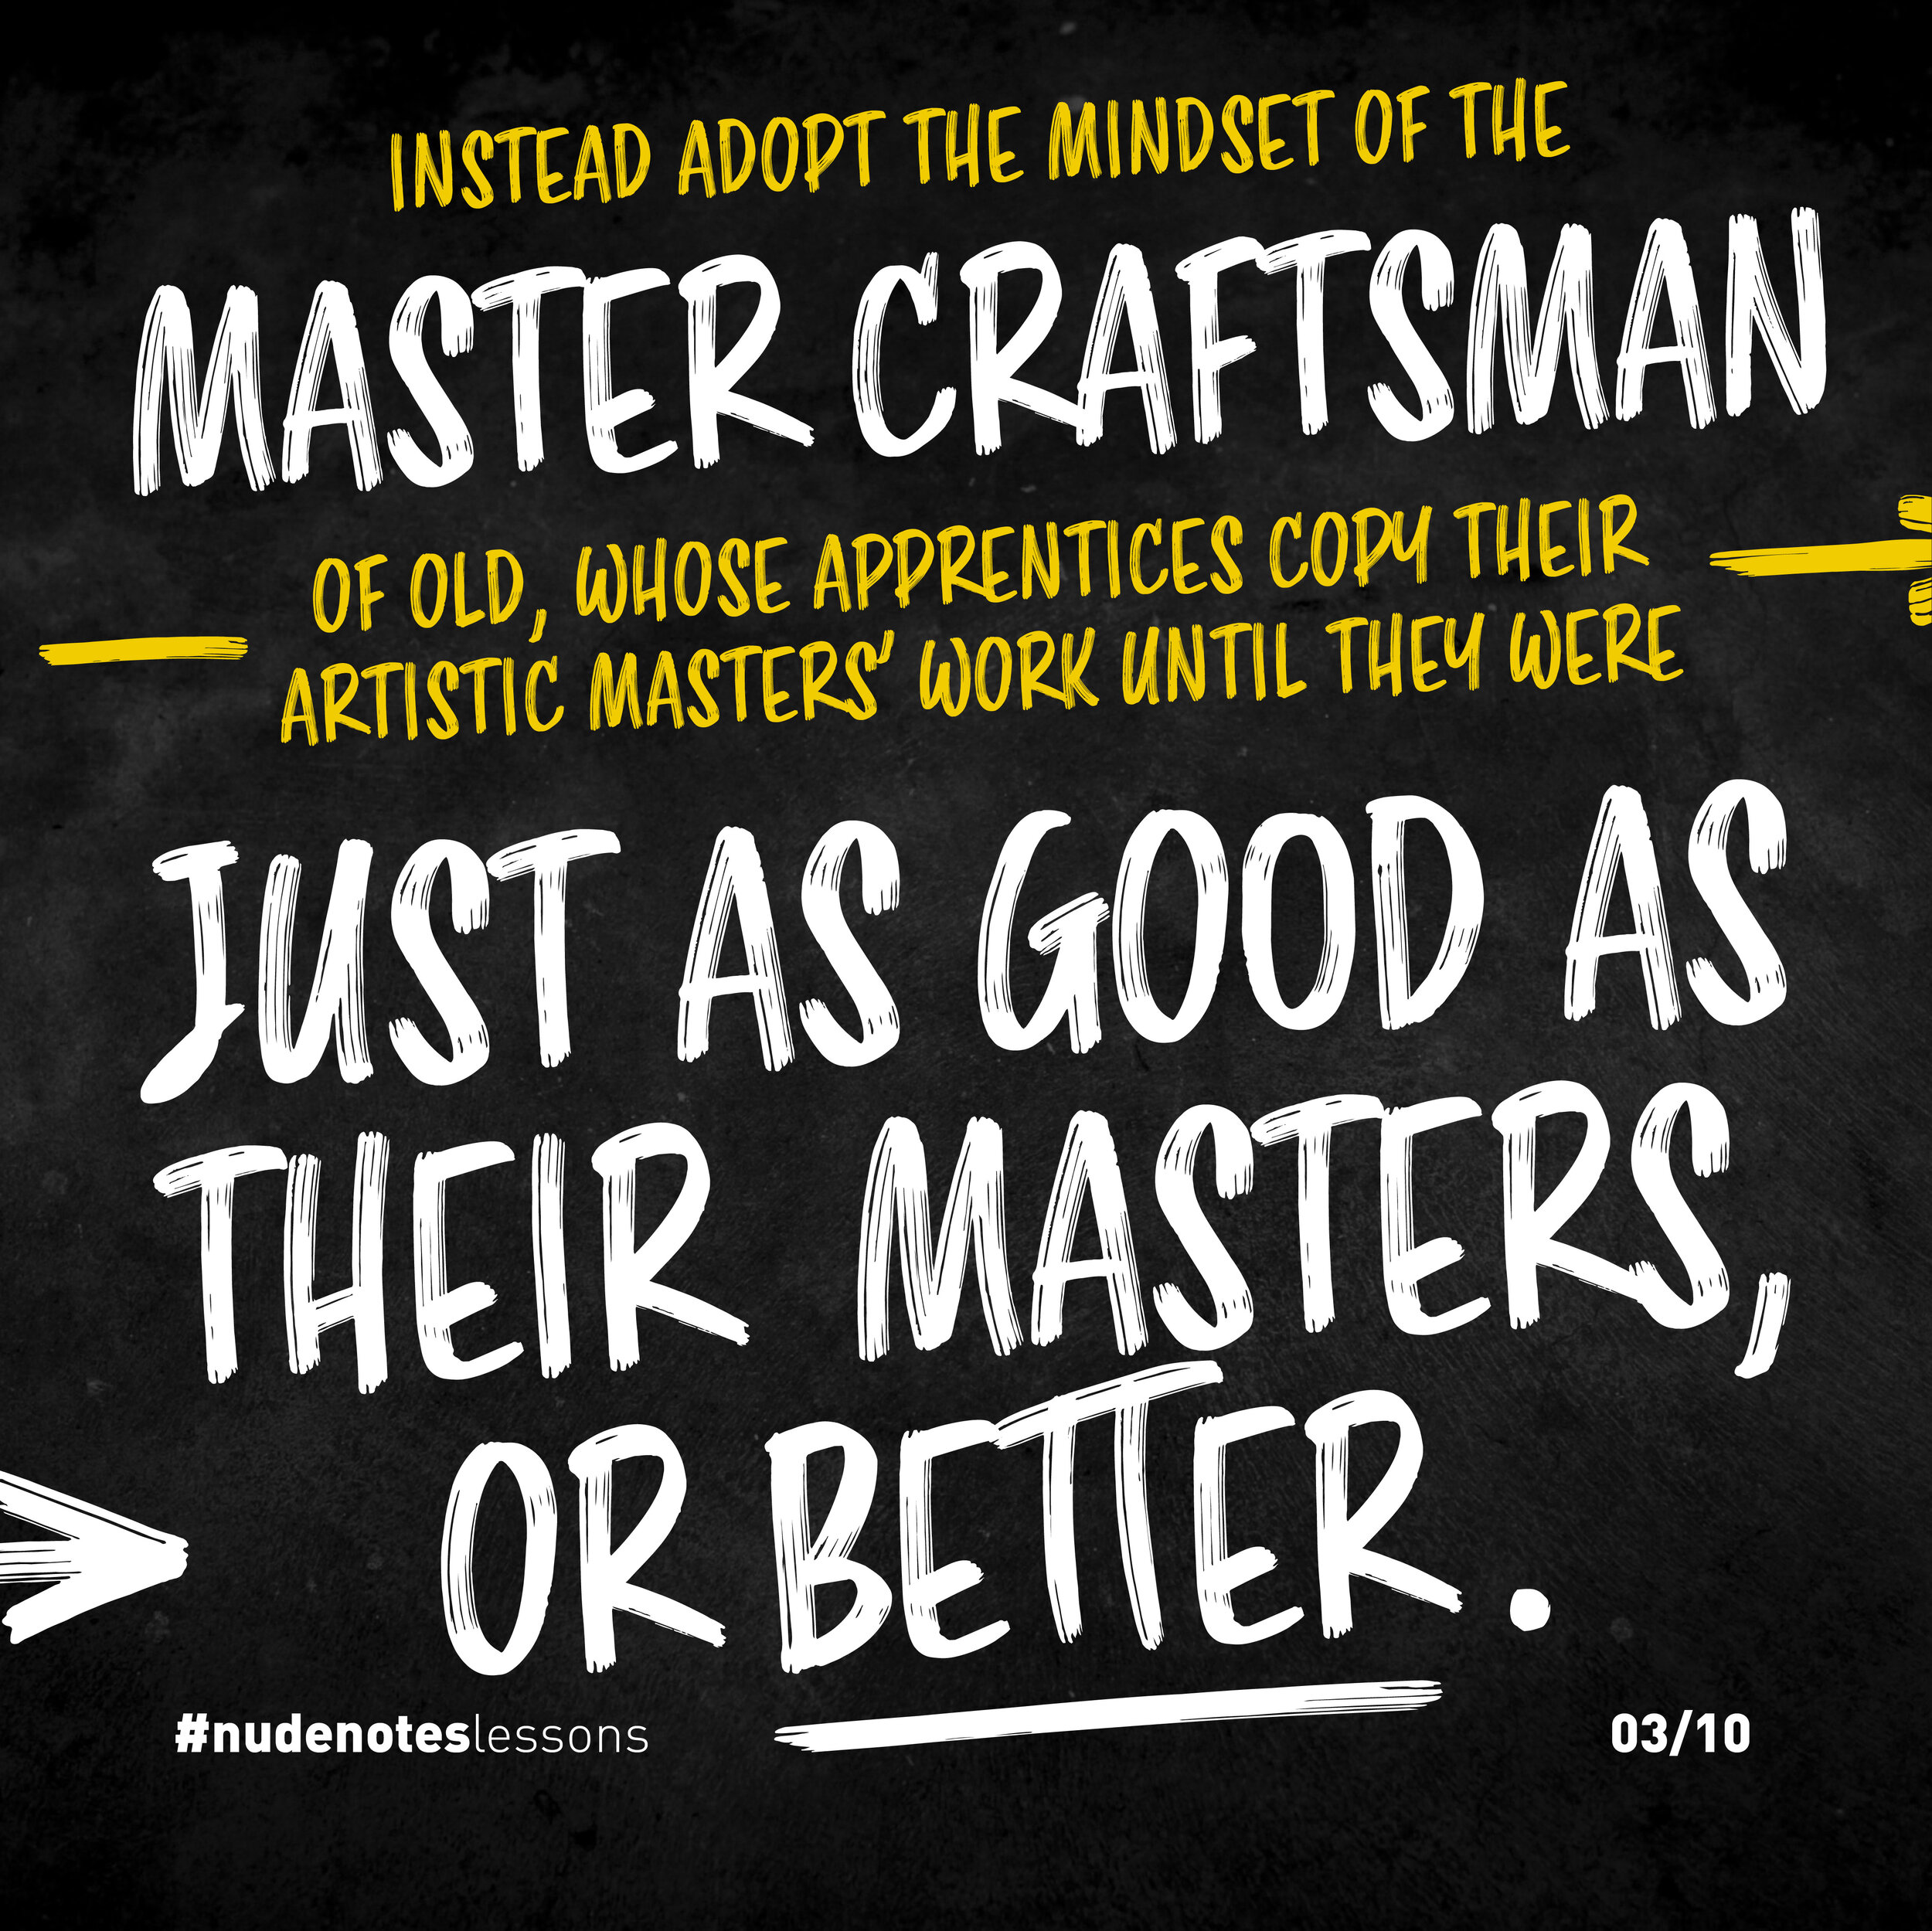
Instead, adopt the mindset of the master craftsmen of old, whose apprentices copy their artistic masters’ work until they were just as good as their masters, or better.
As humans, this is how we learn - by copying.
But this copying needs to be active, not passive, by watching and trying it out for ourselves.
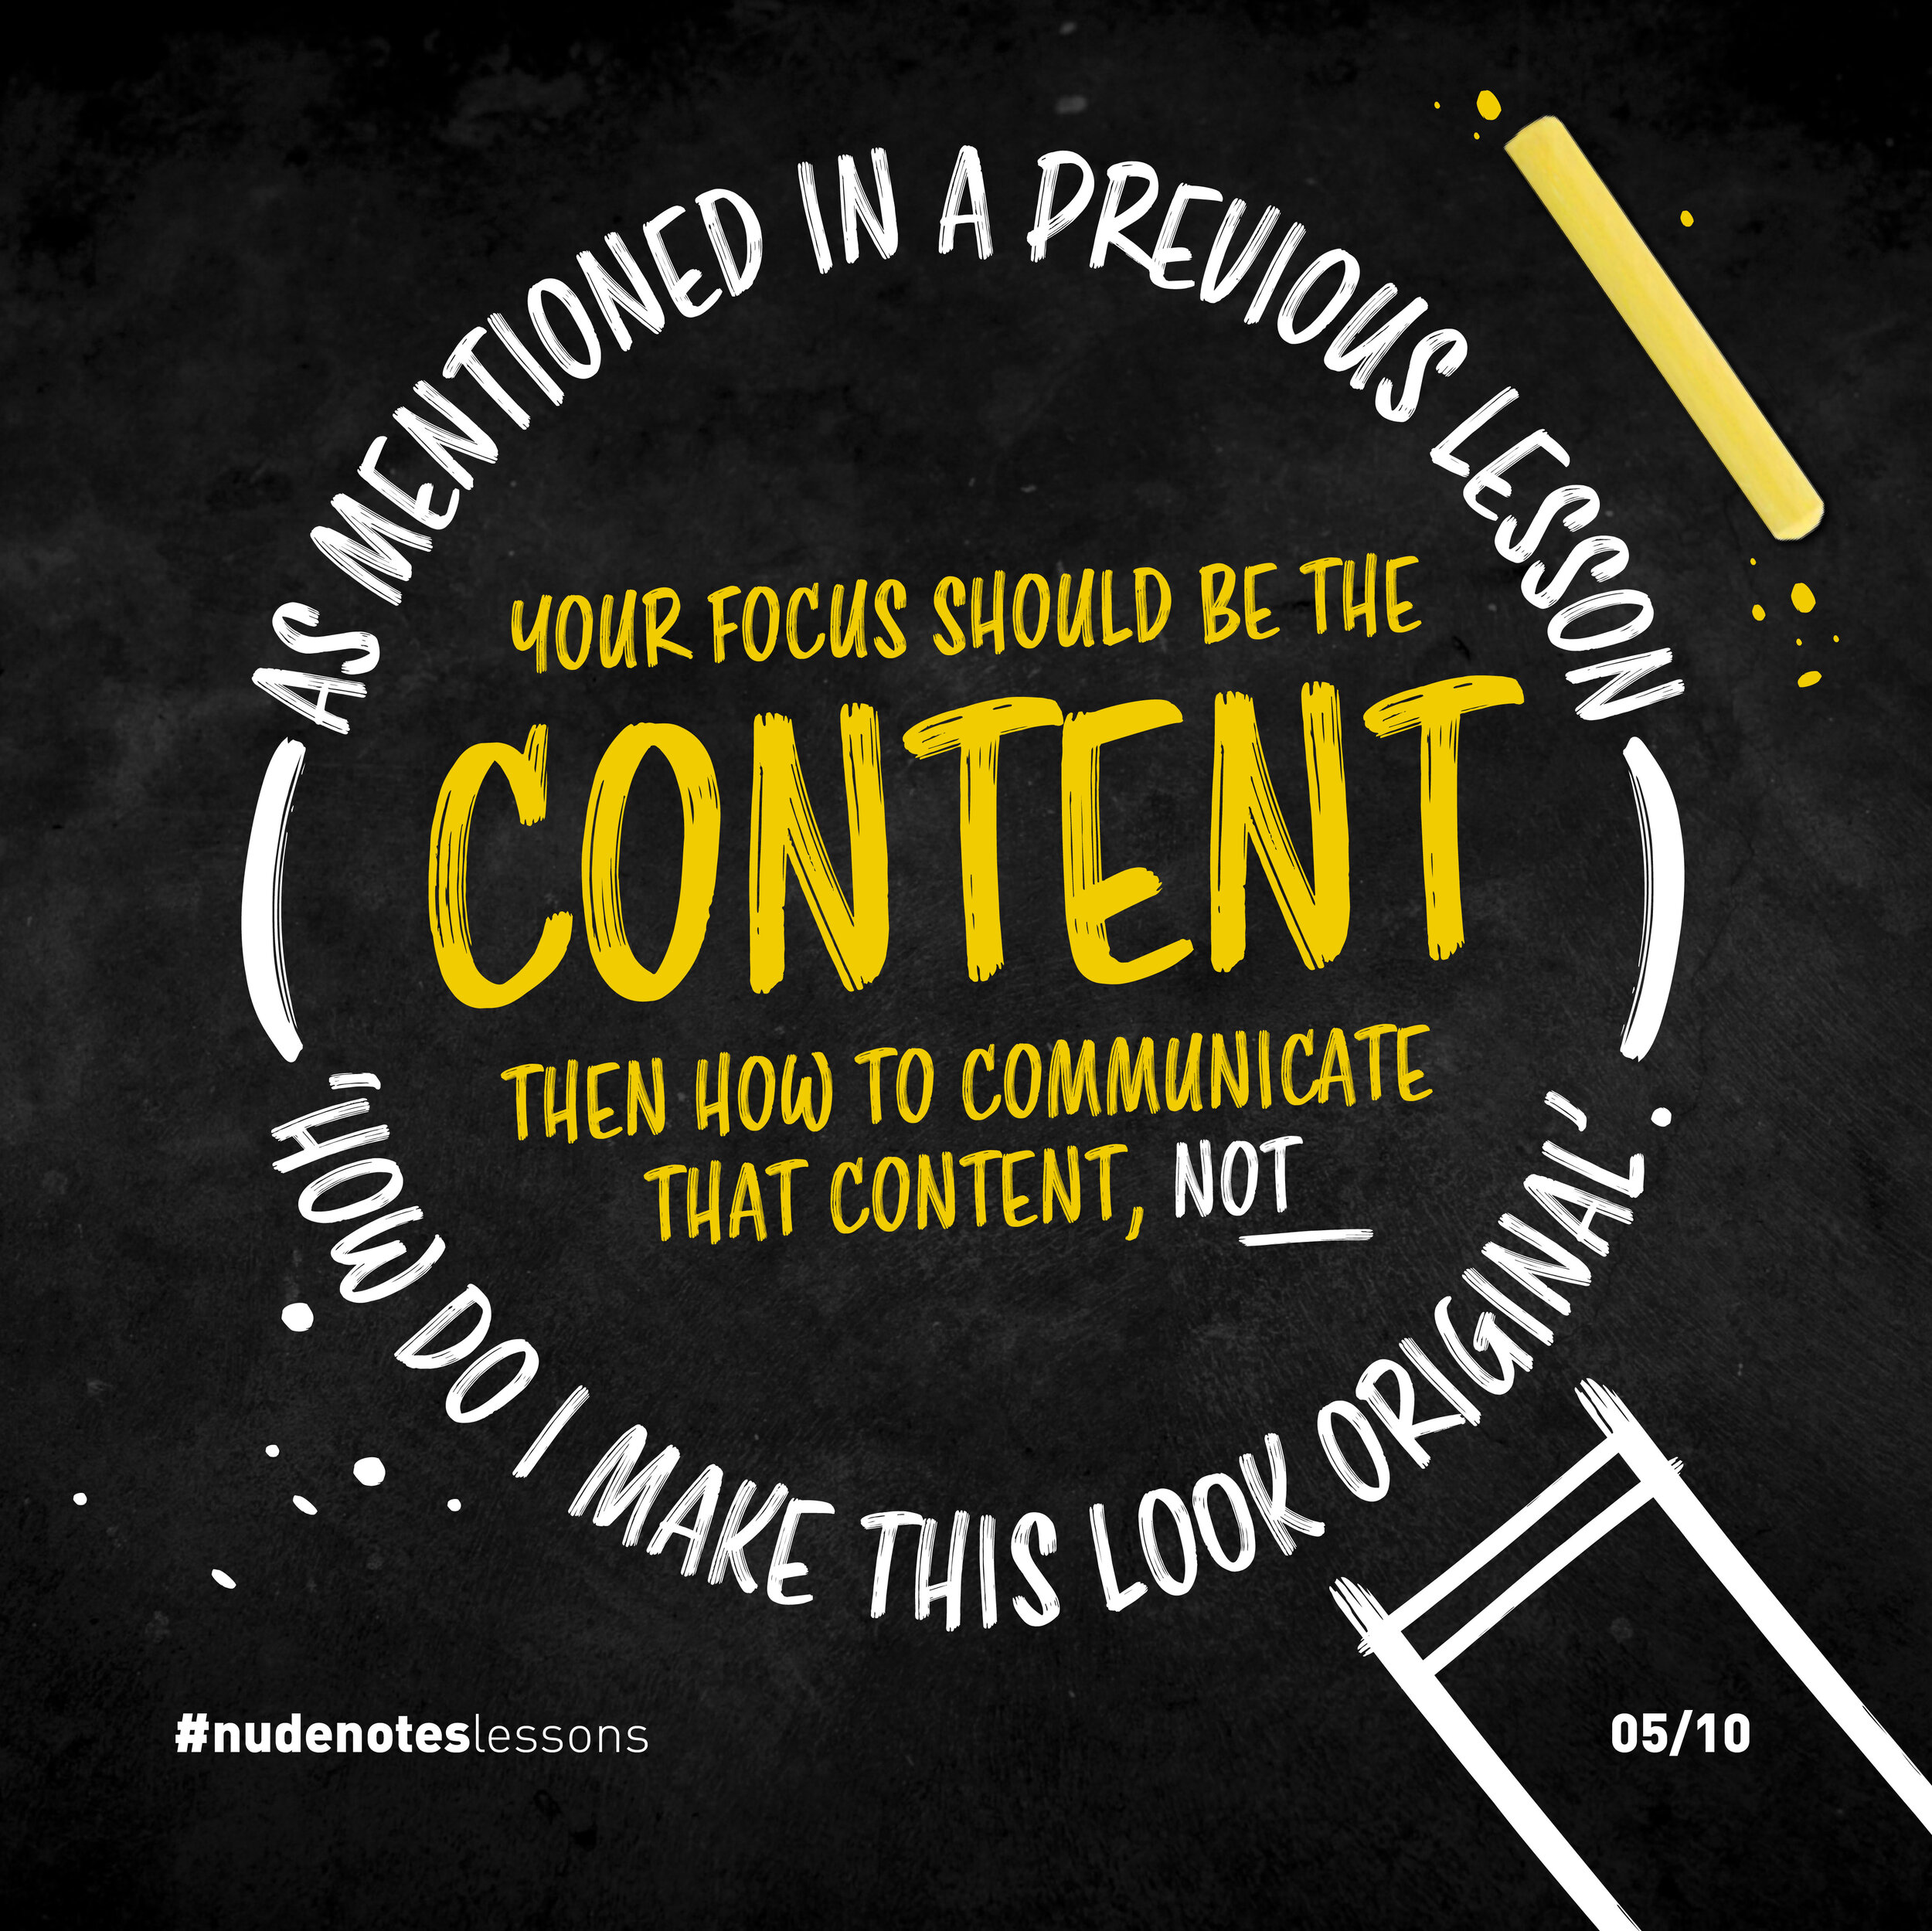
As I mentioned earlier, your focus should be on the content, then how to communicate that content, not ‘how do I make this look original’.
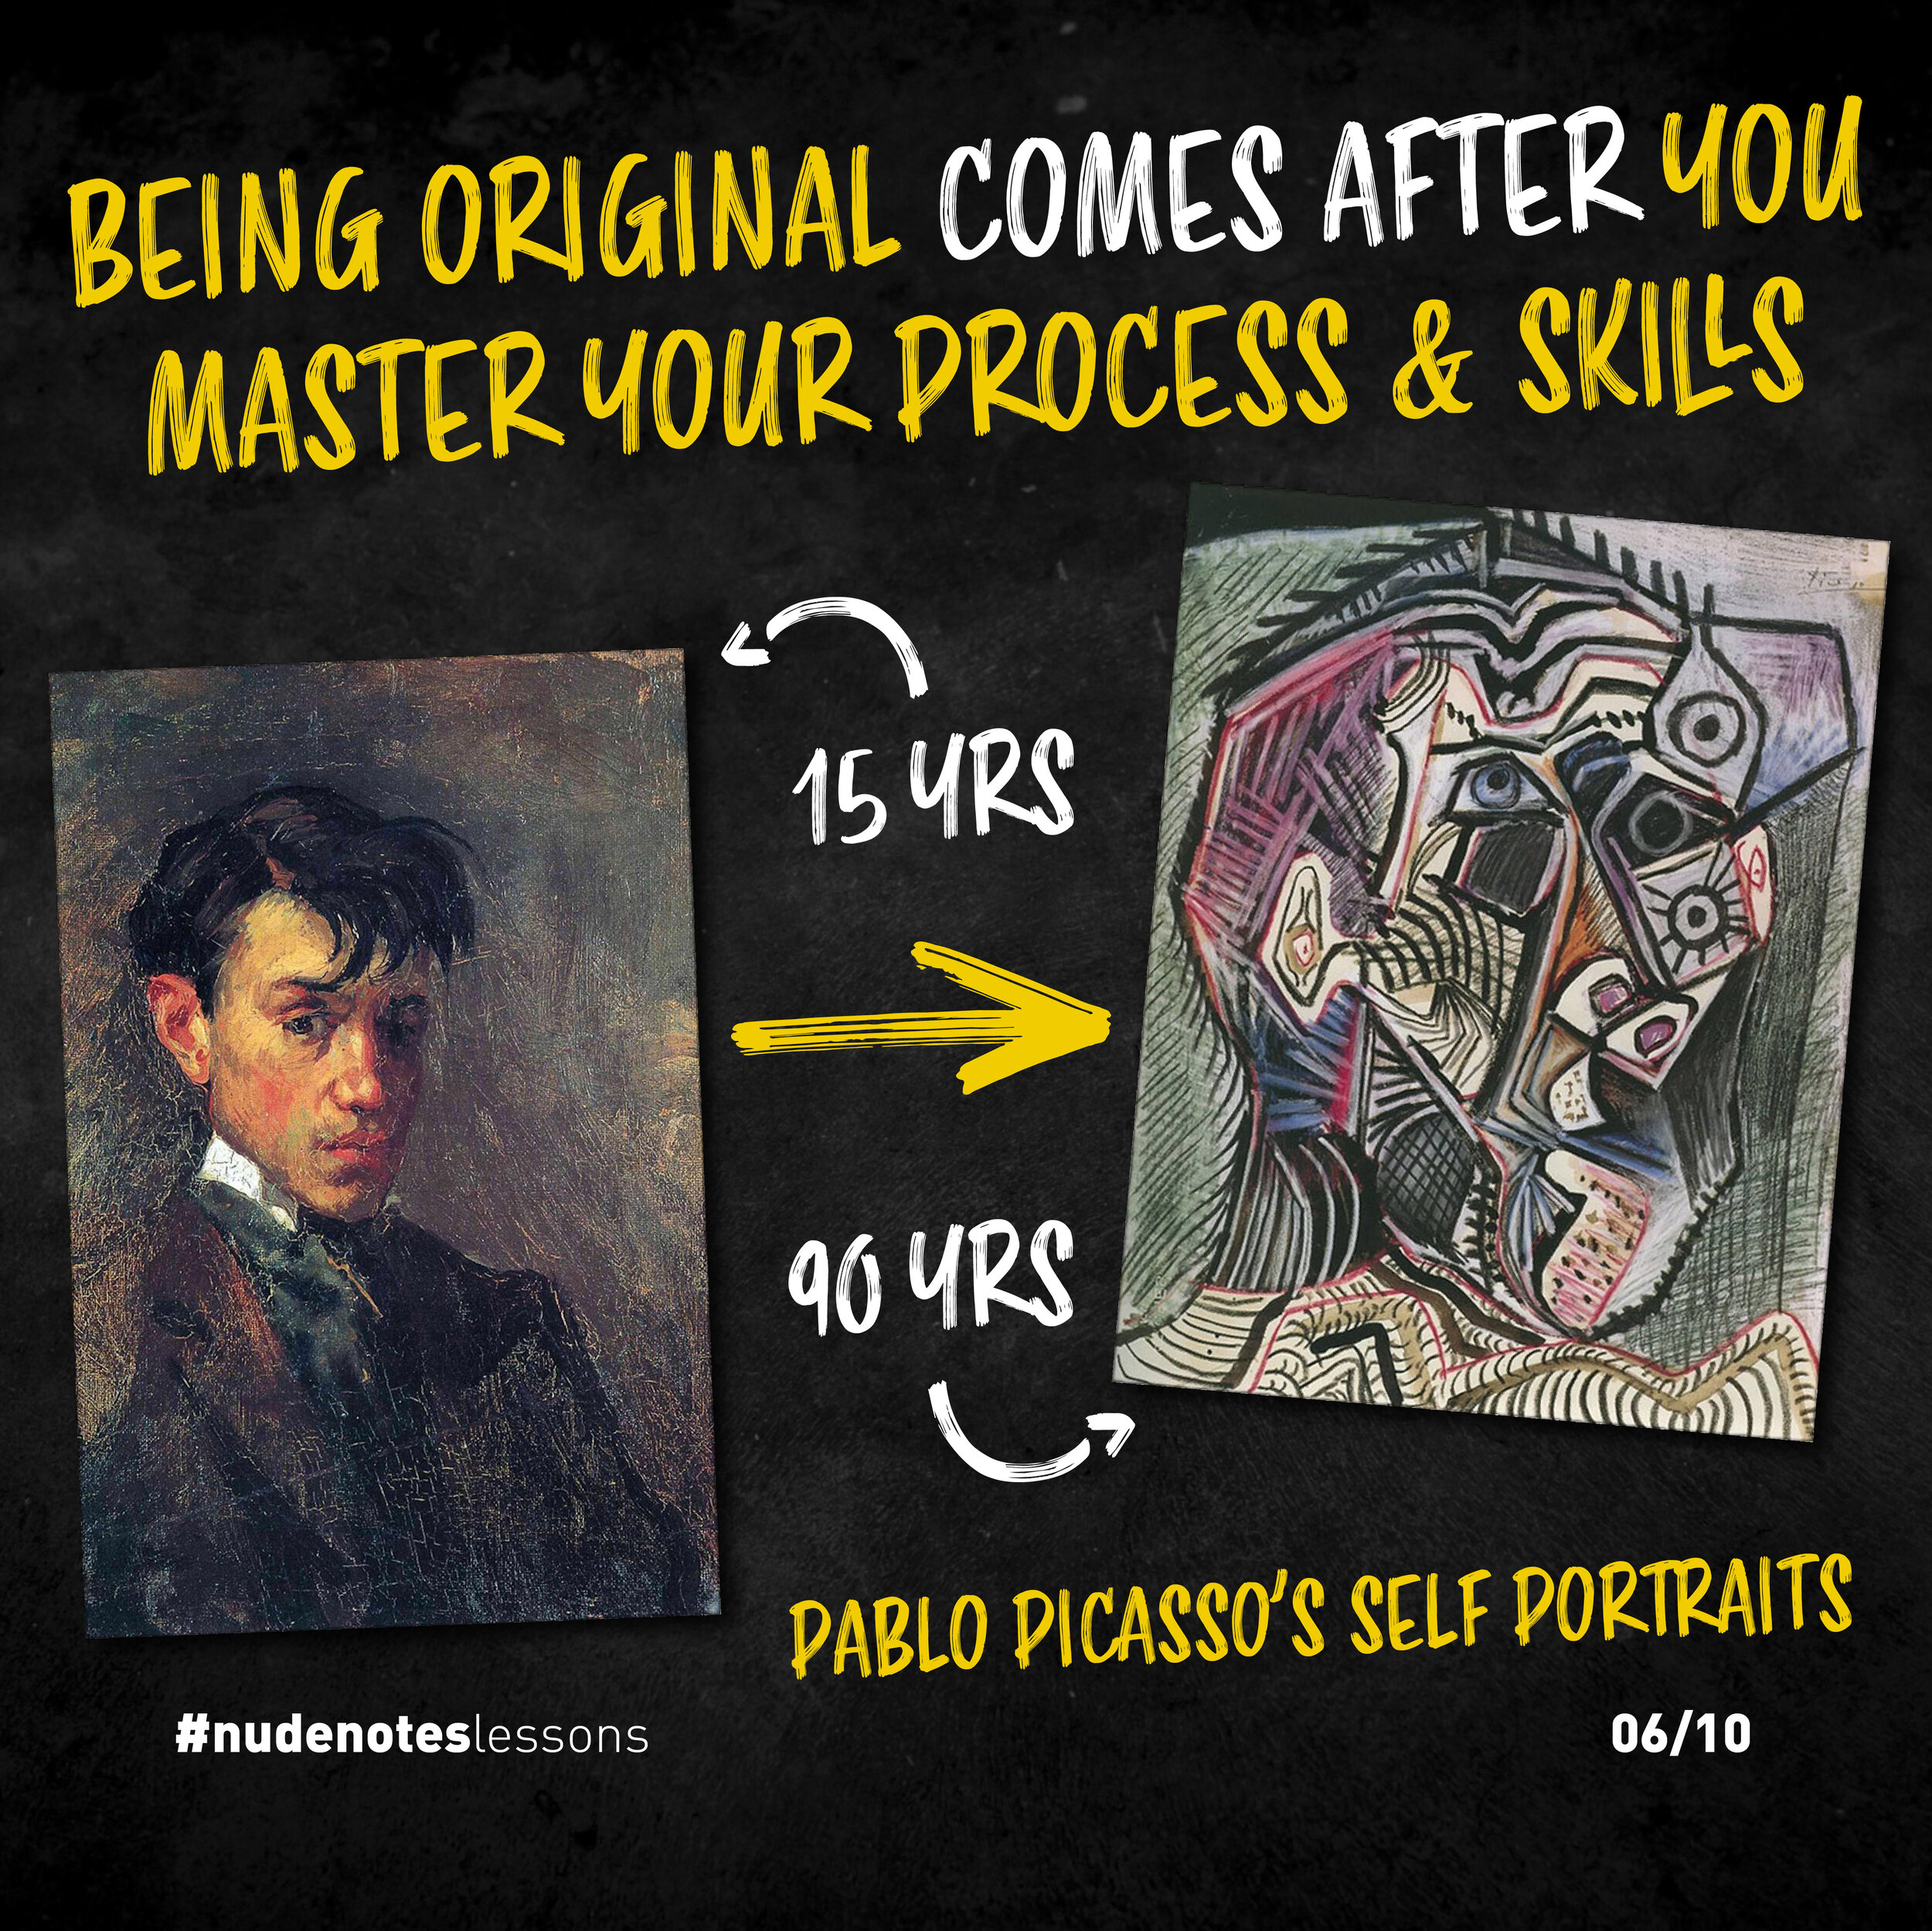
Being original comes after you master your process and skills - just look at Picasso's early work.
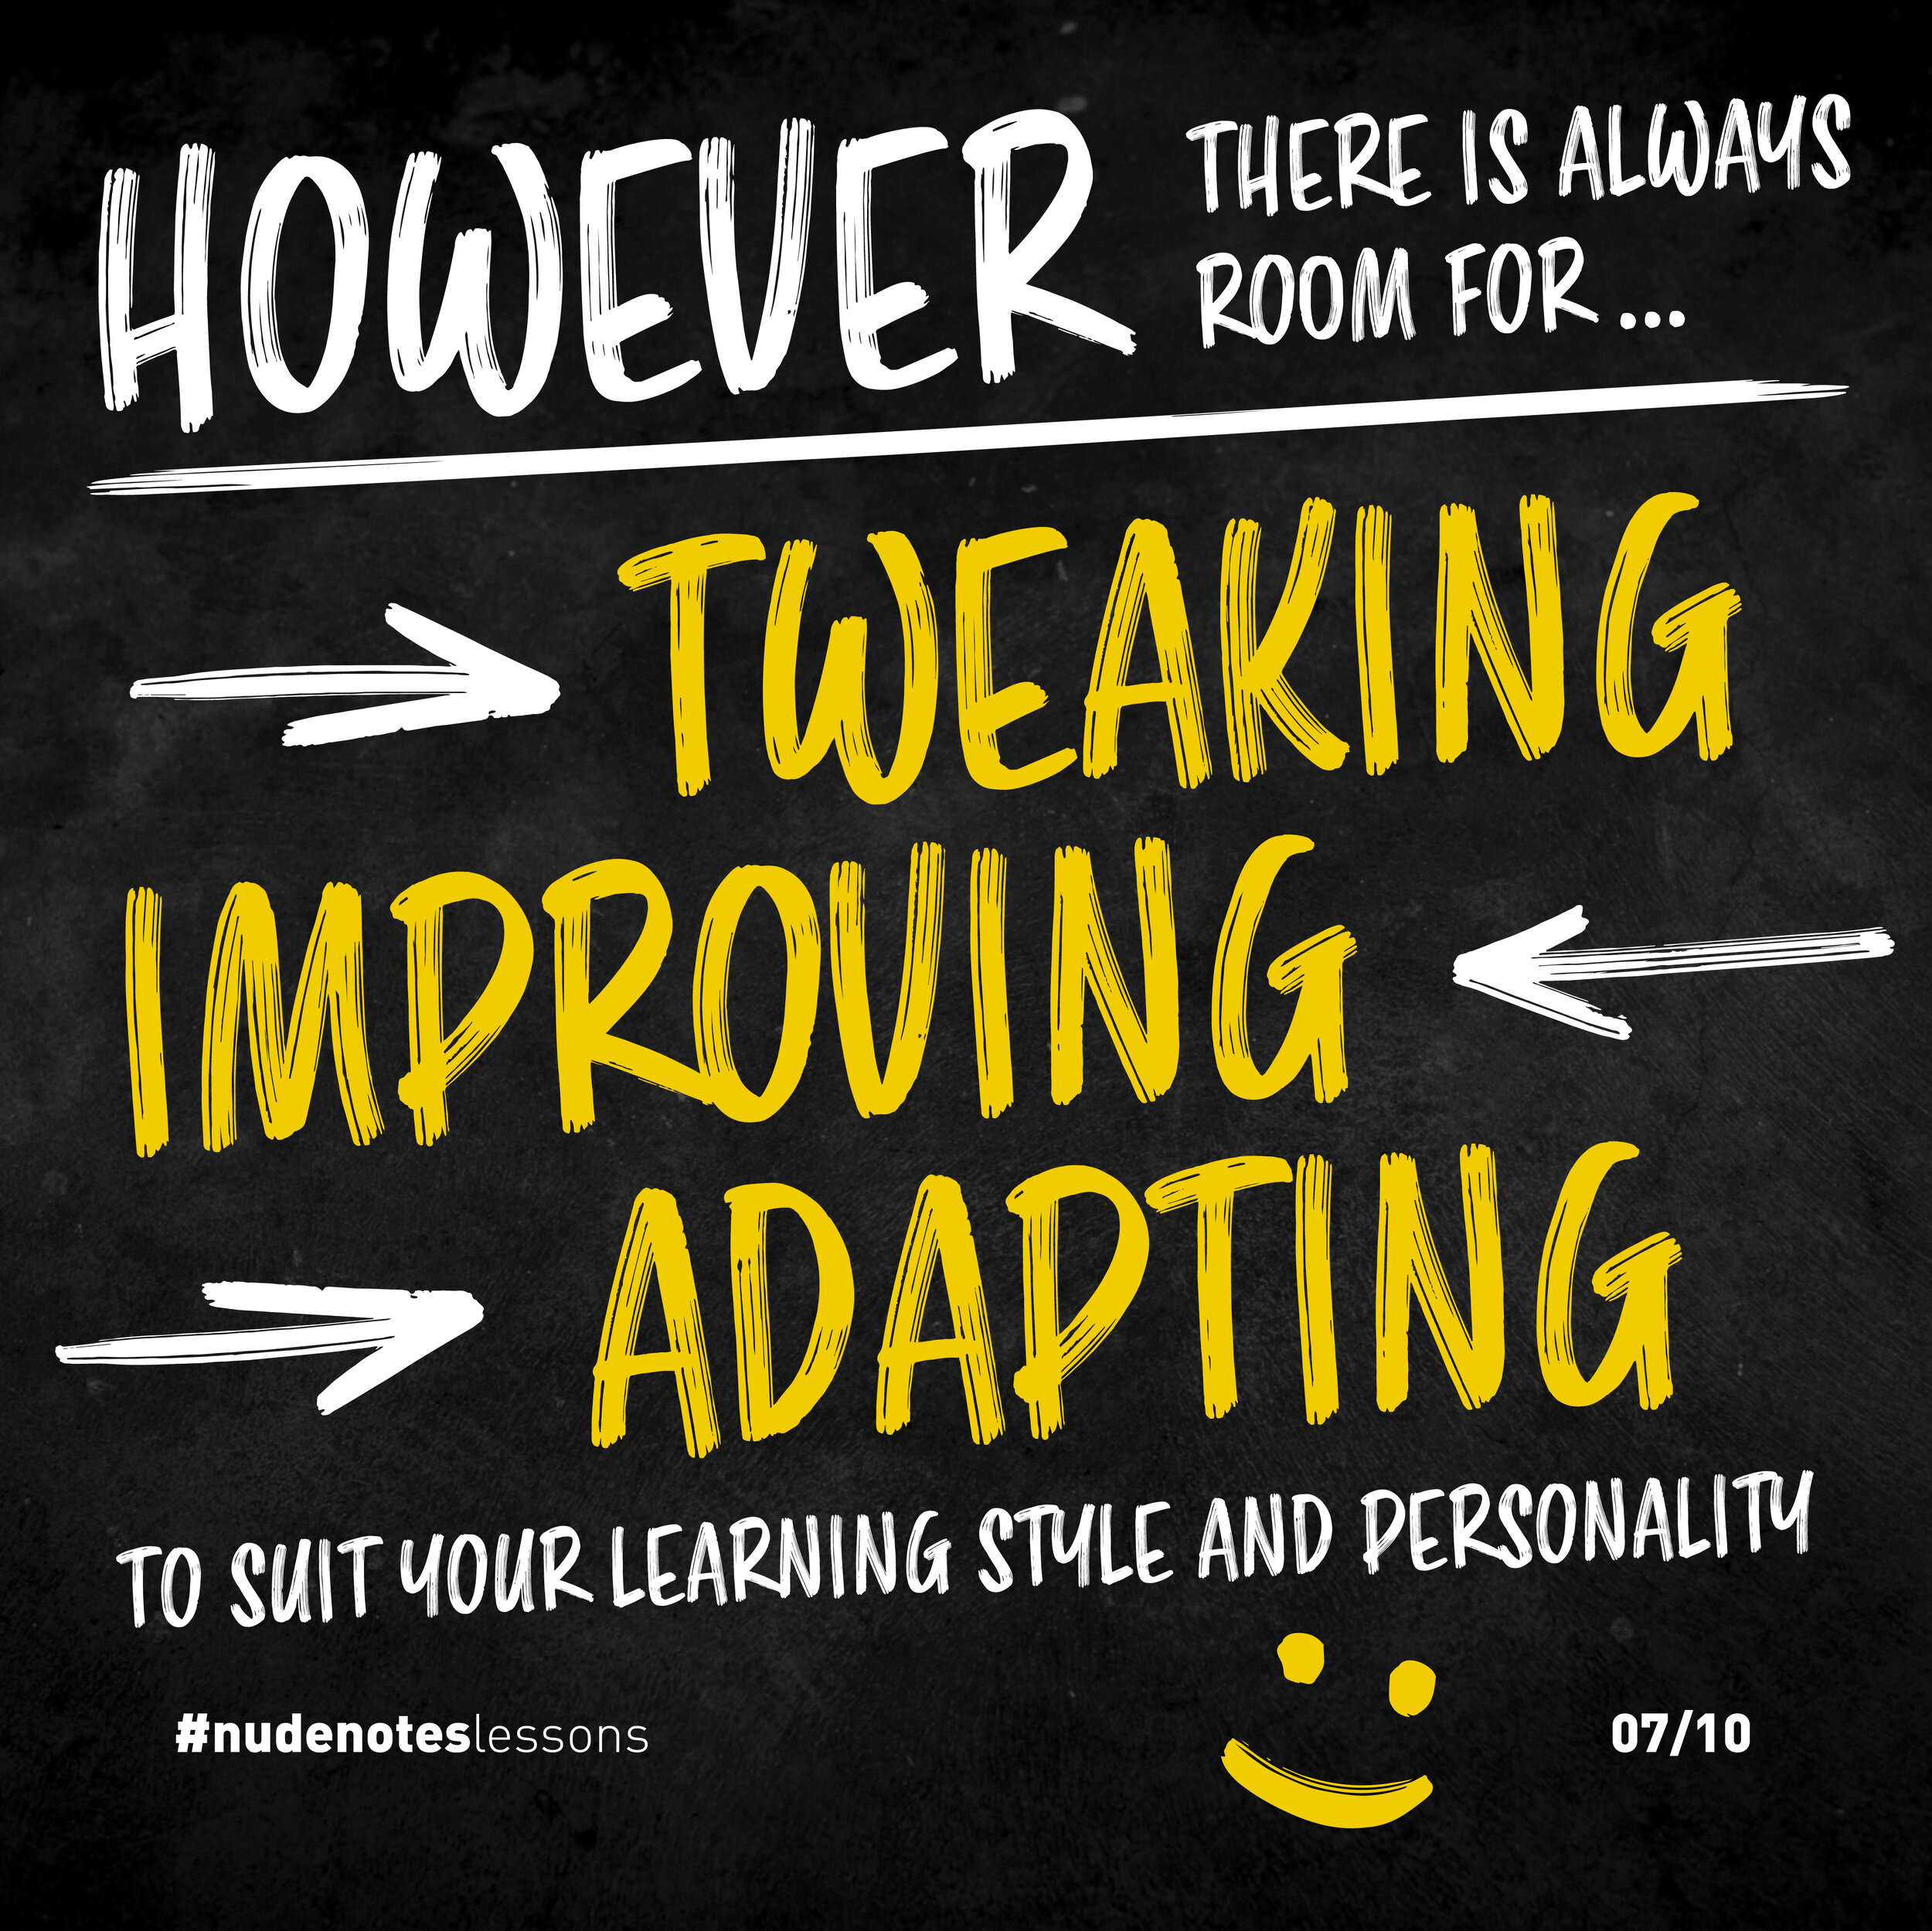
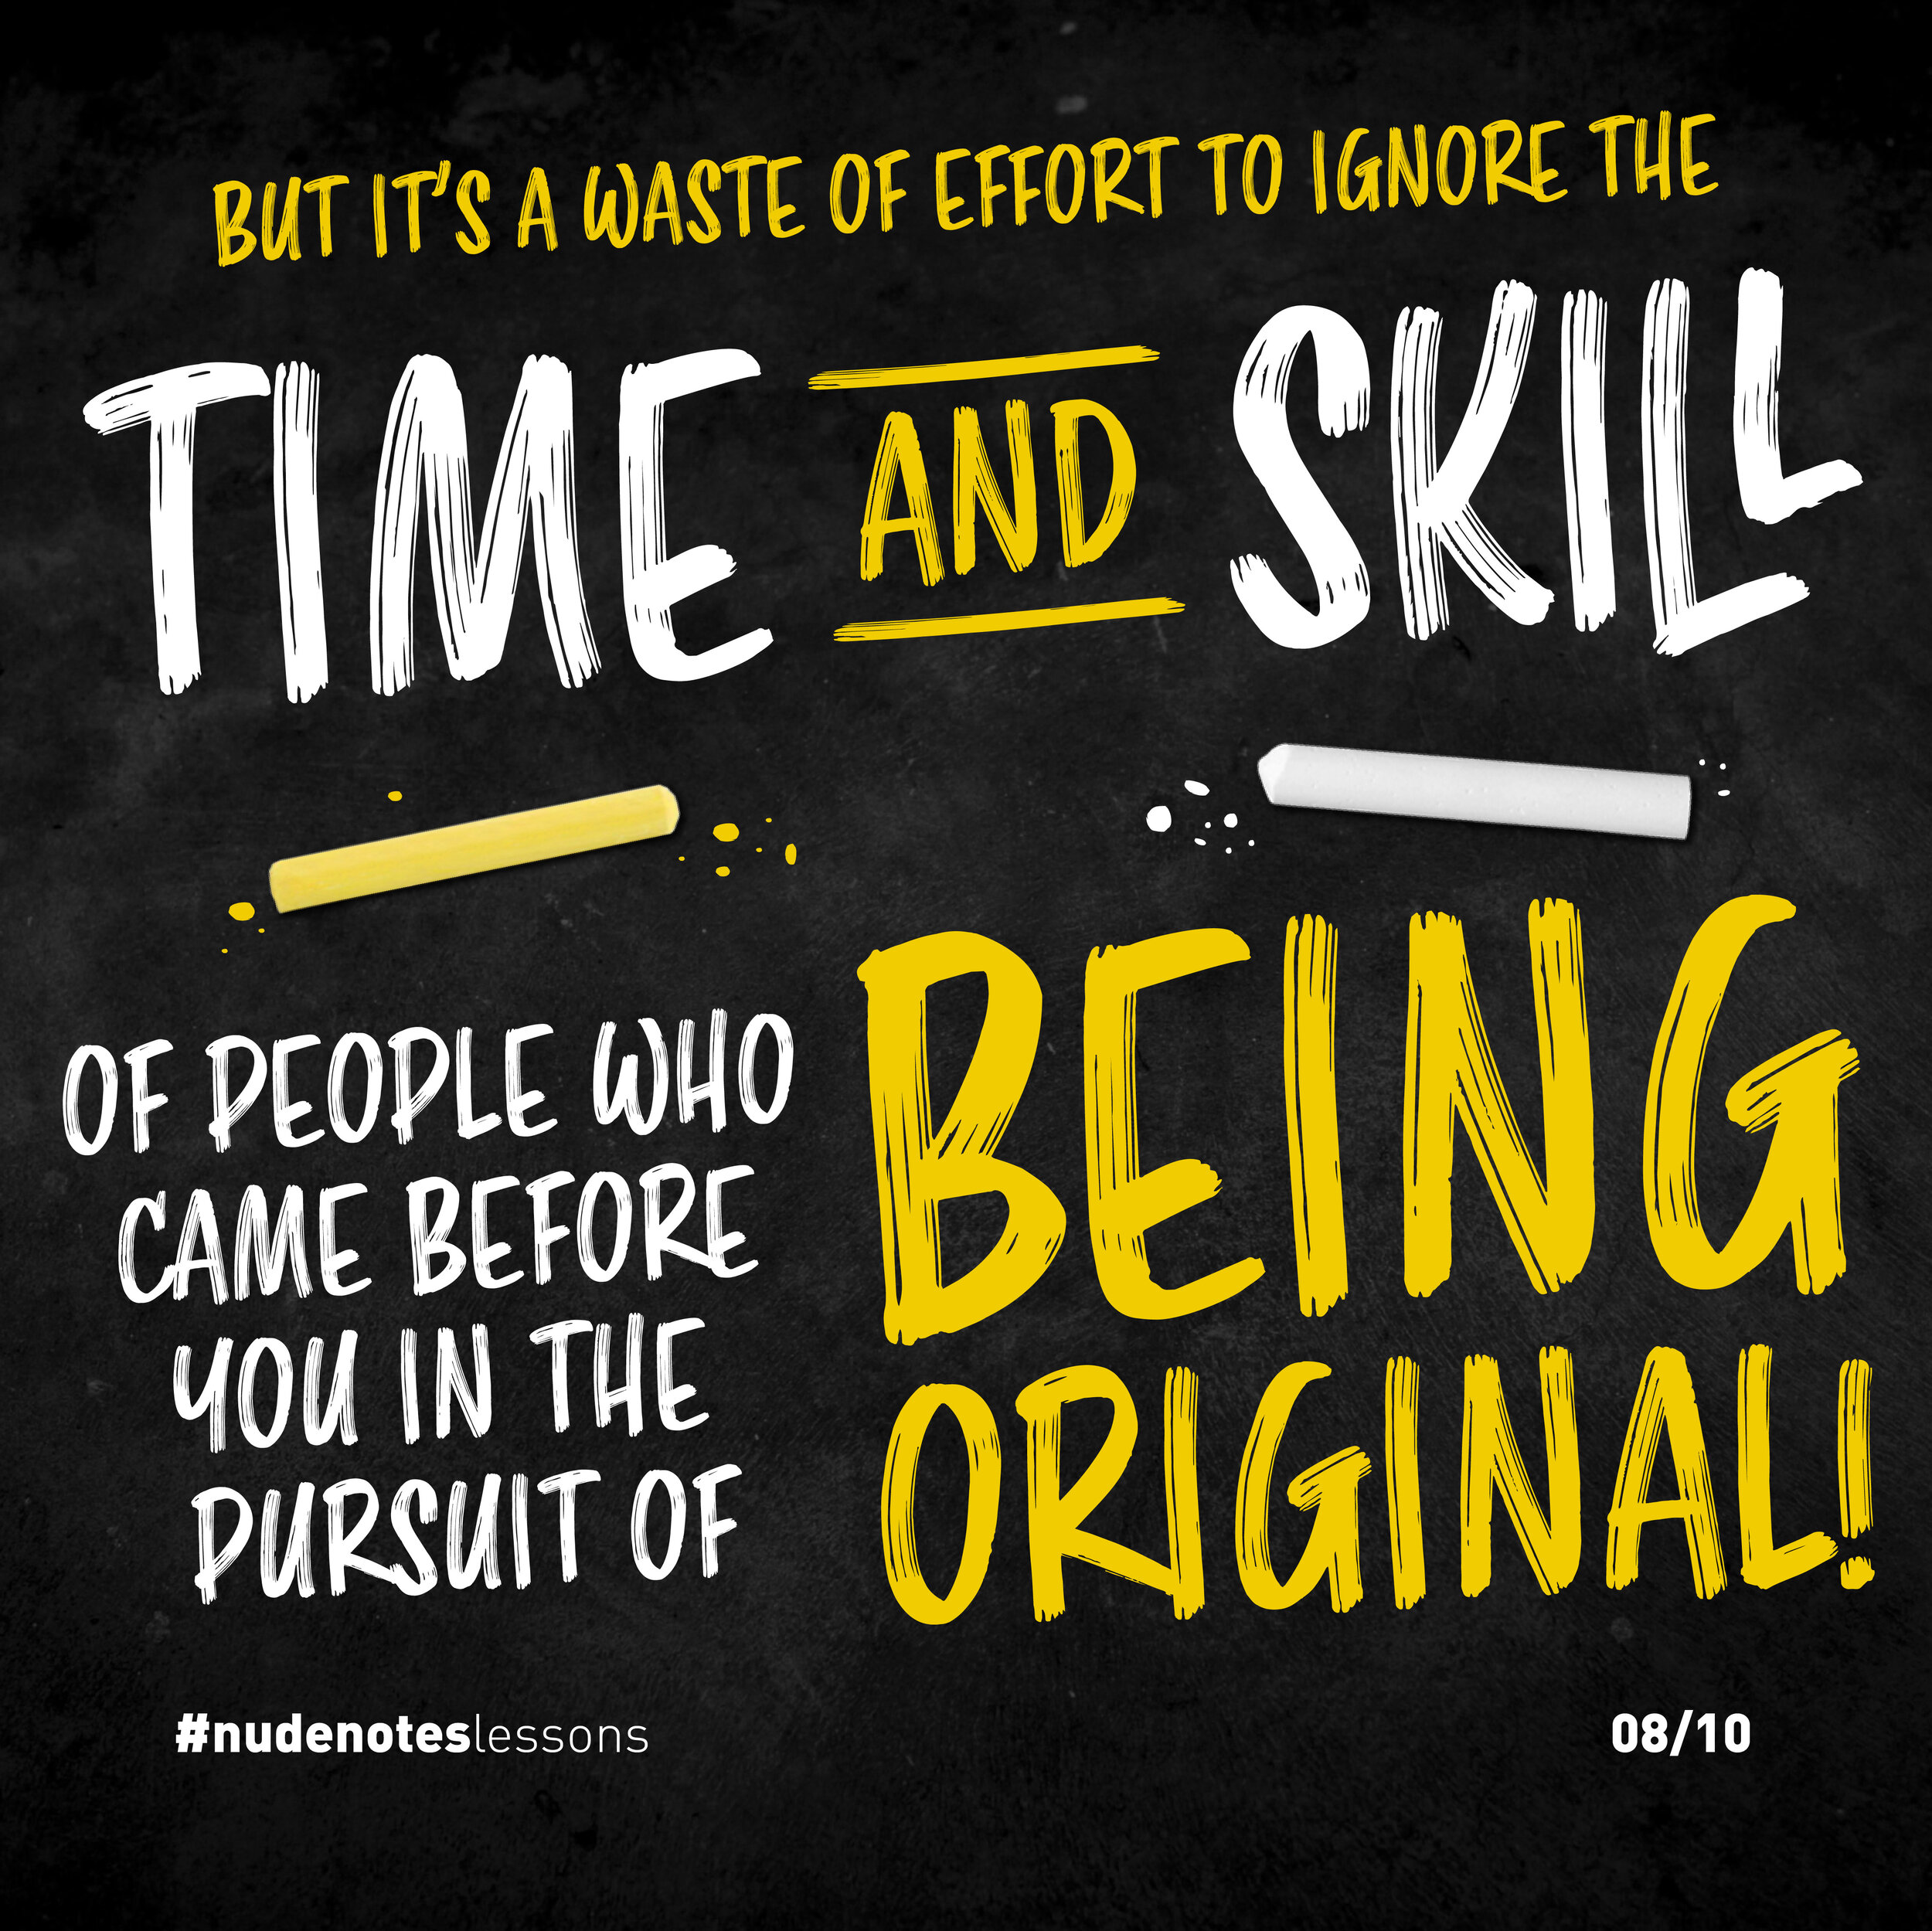
That being said, you can tweak, improve and adapt to your own tastes, to suit your learning style and personality, but it's a waste of effort to ignore the time and skill of people who came before you in the pursuit of 'being original'.
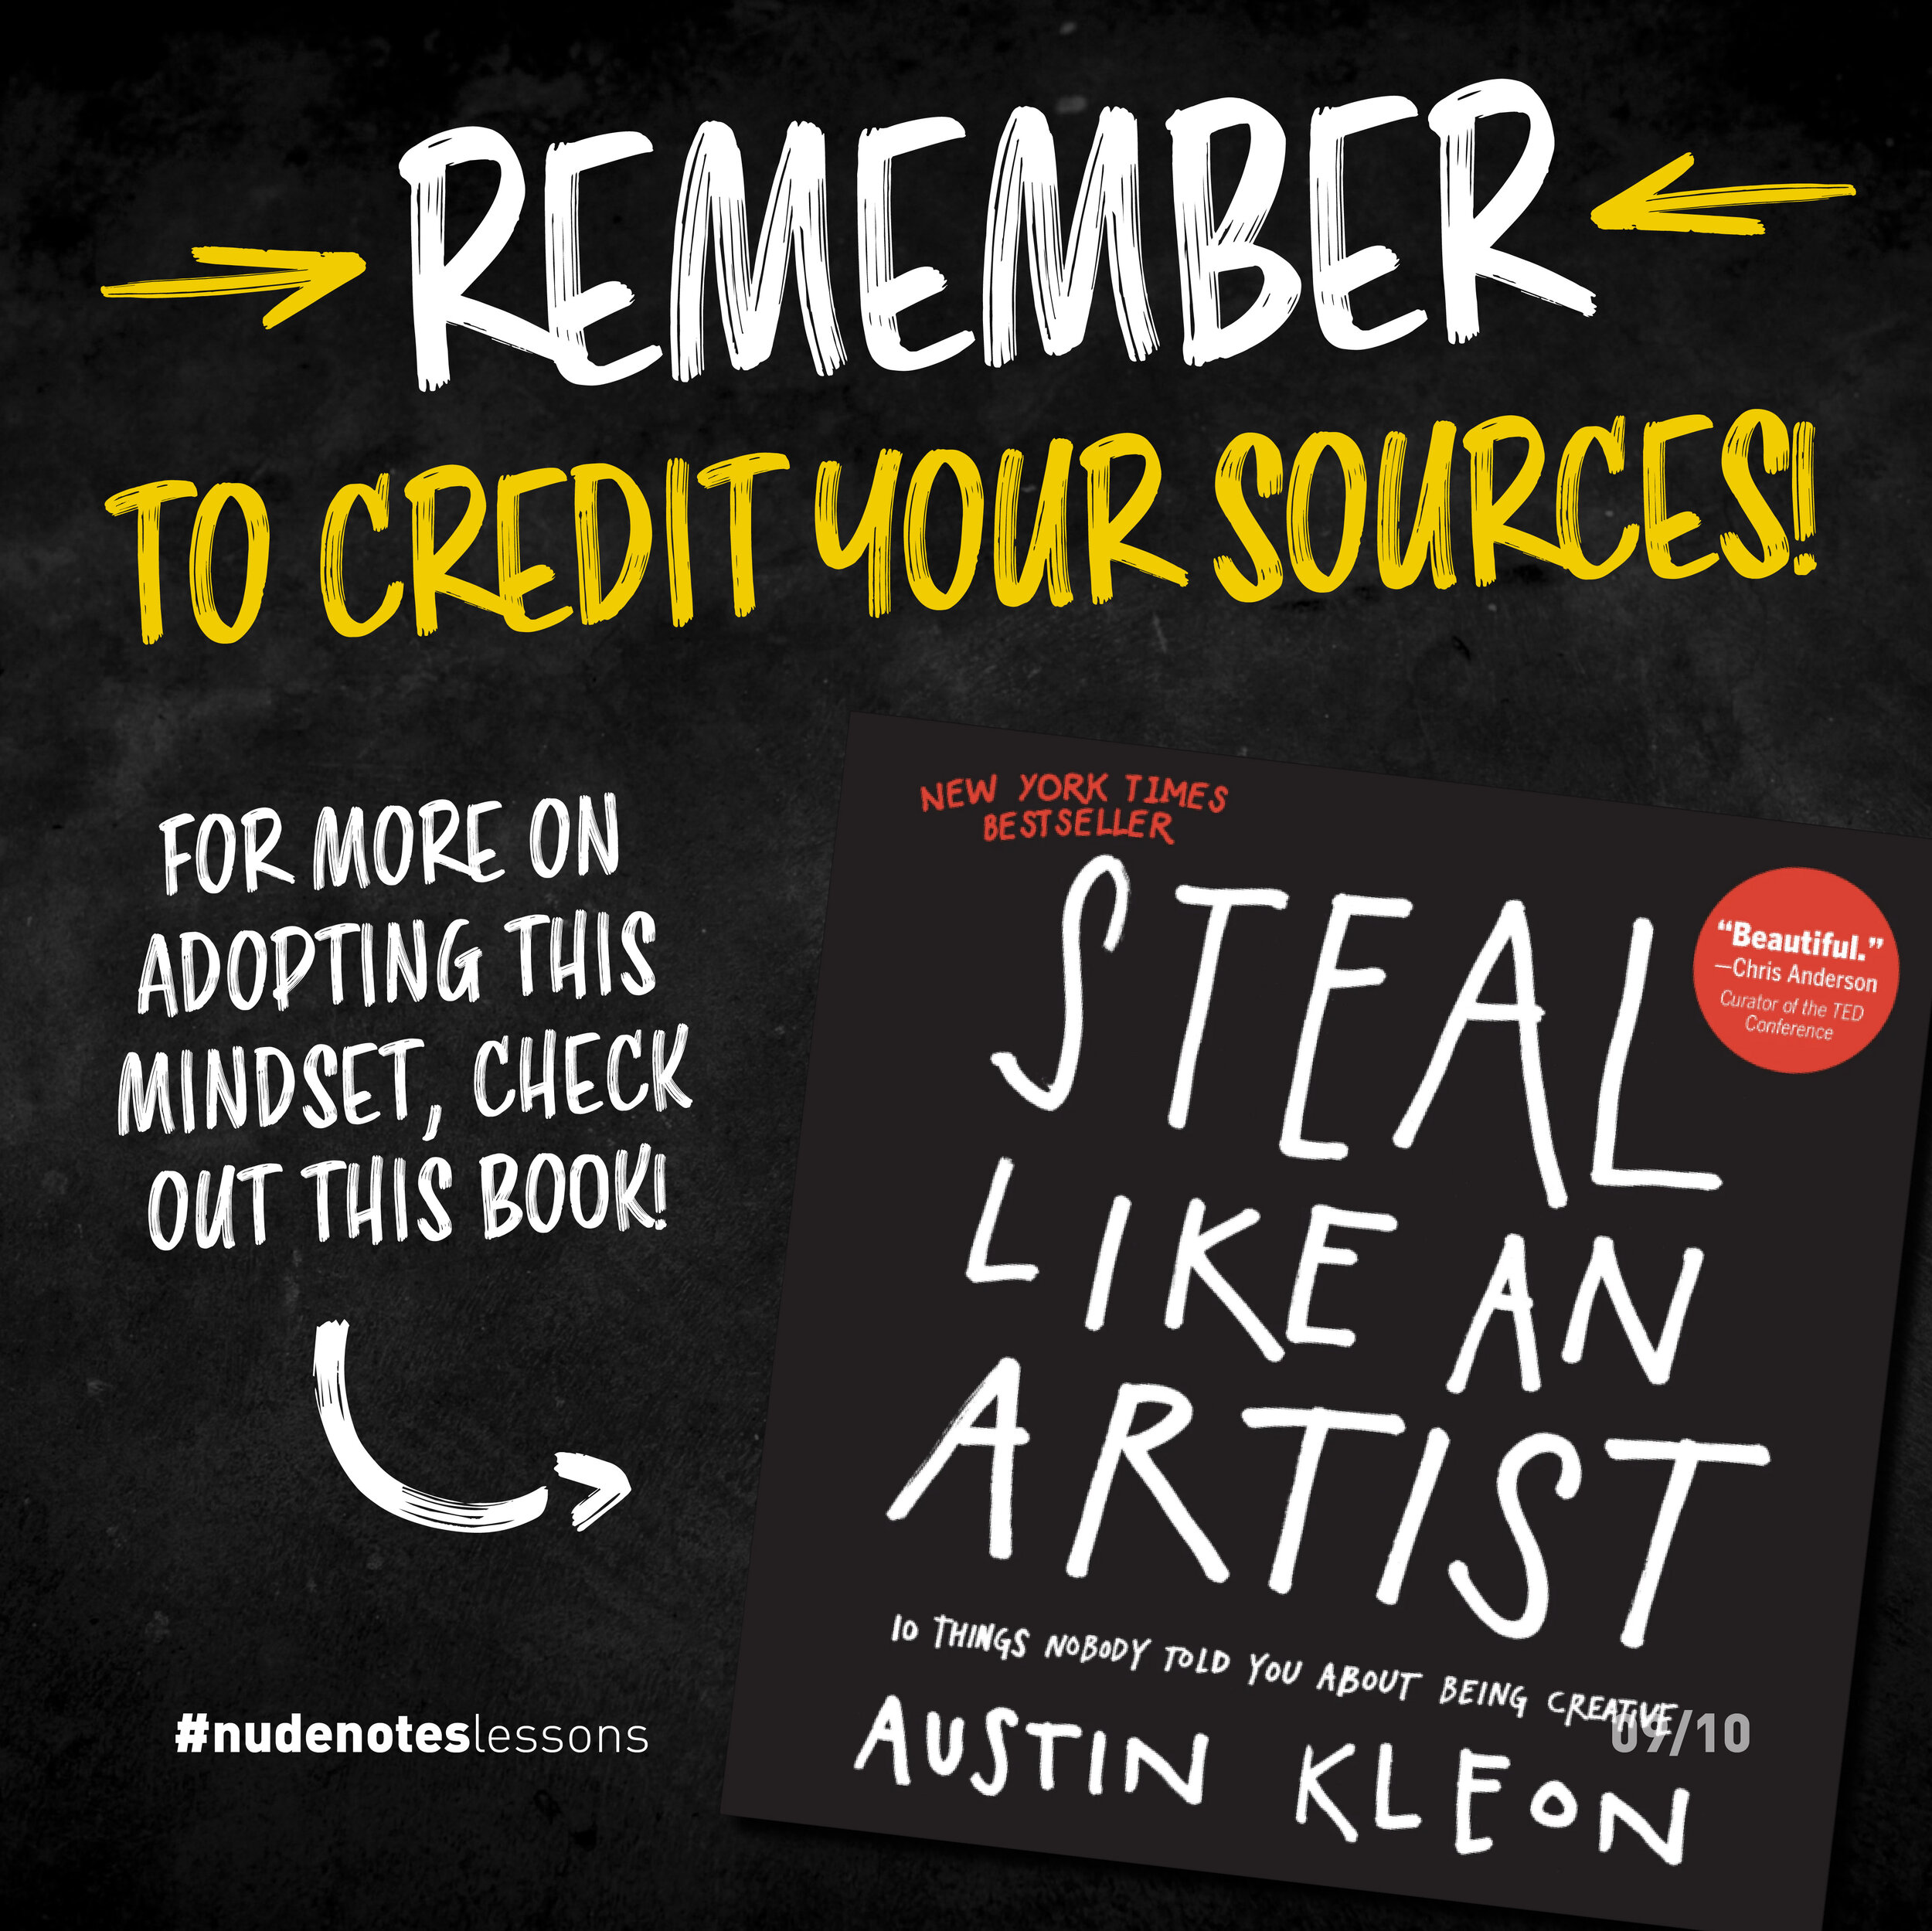
Just always remember to credit your sources!
For more on adopting this mindset, check out Steal Like an Artist by Austin Kleon.
Give credit where it's due
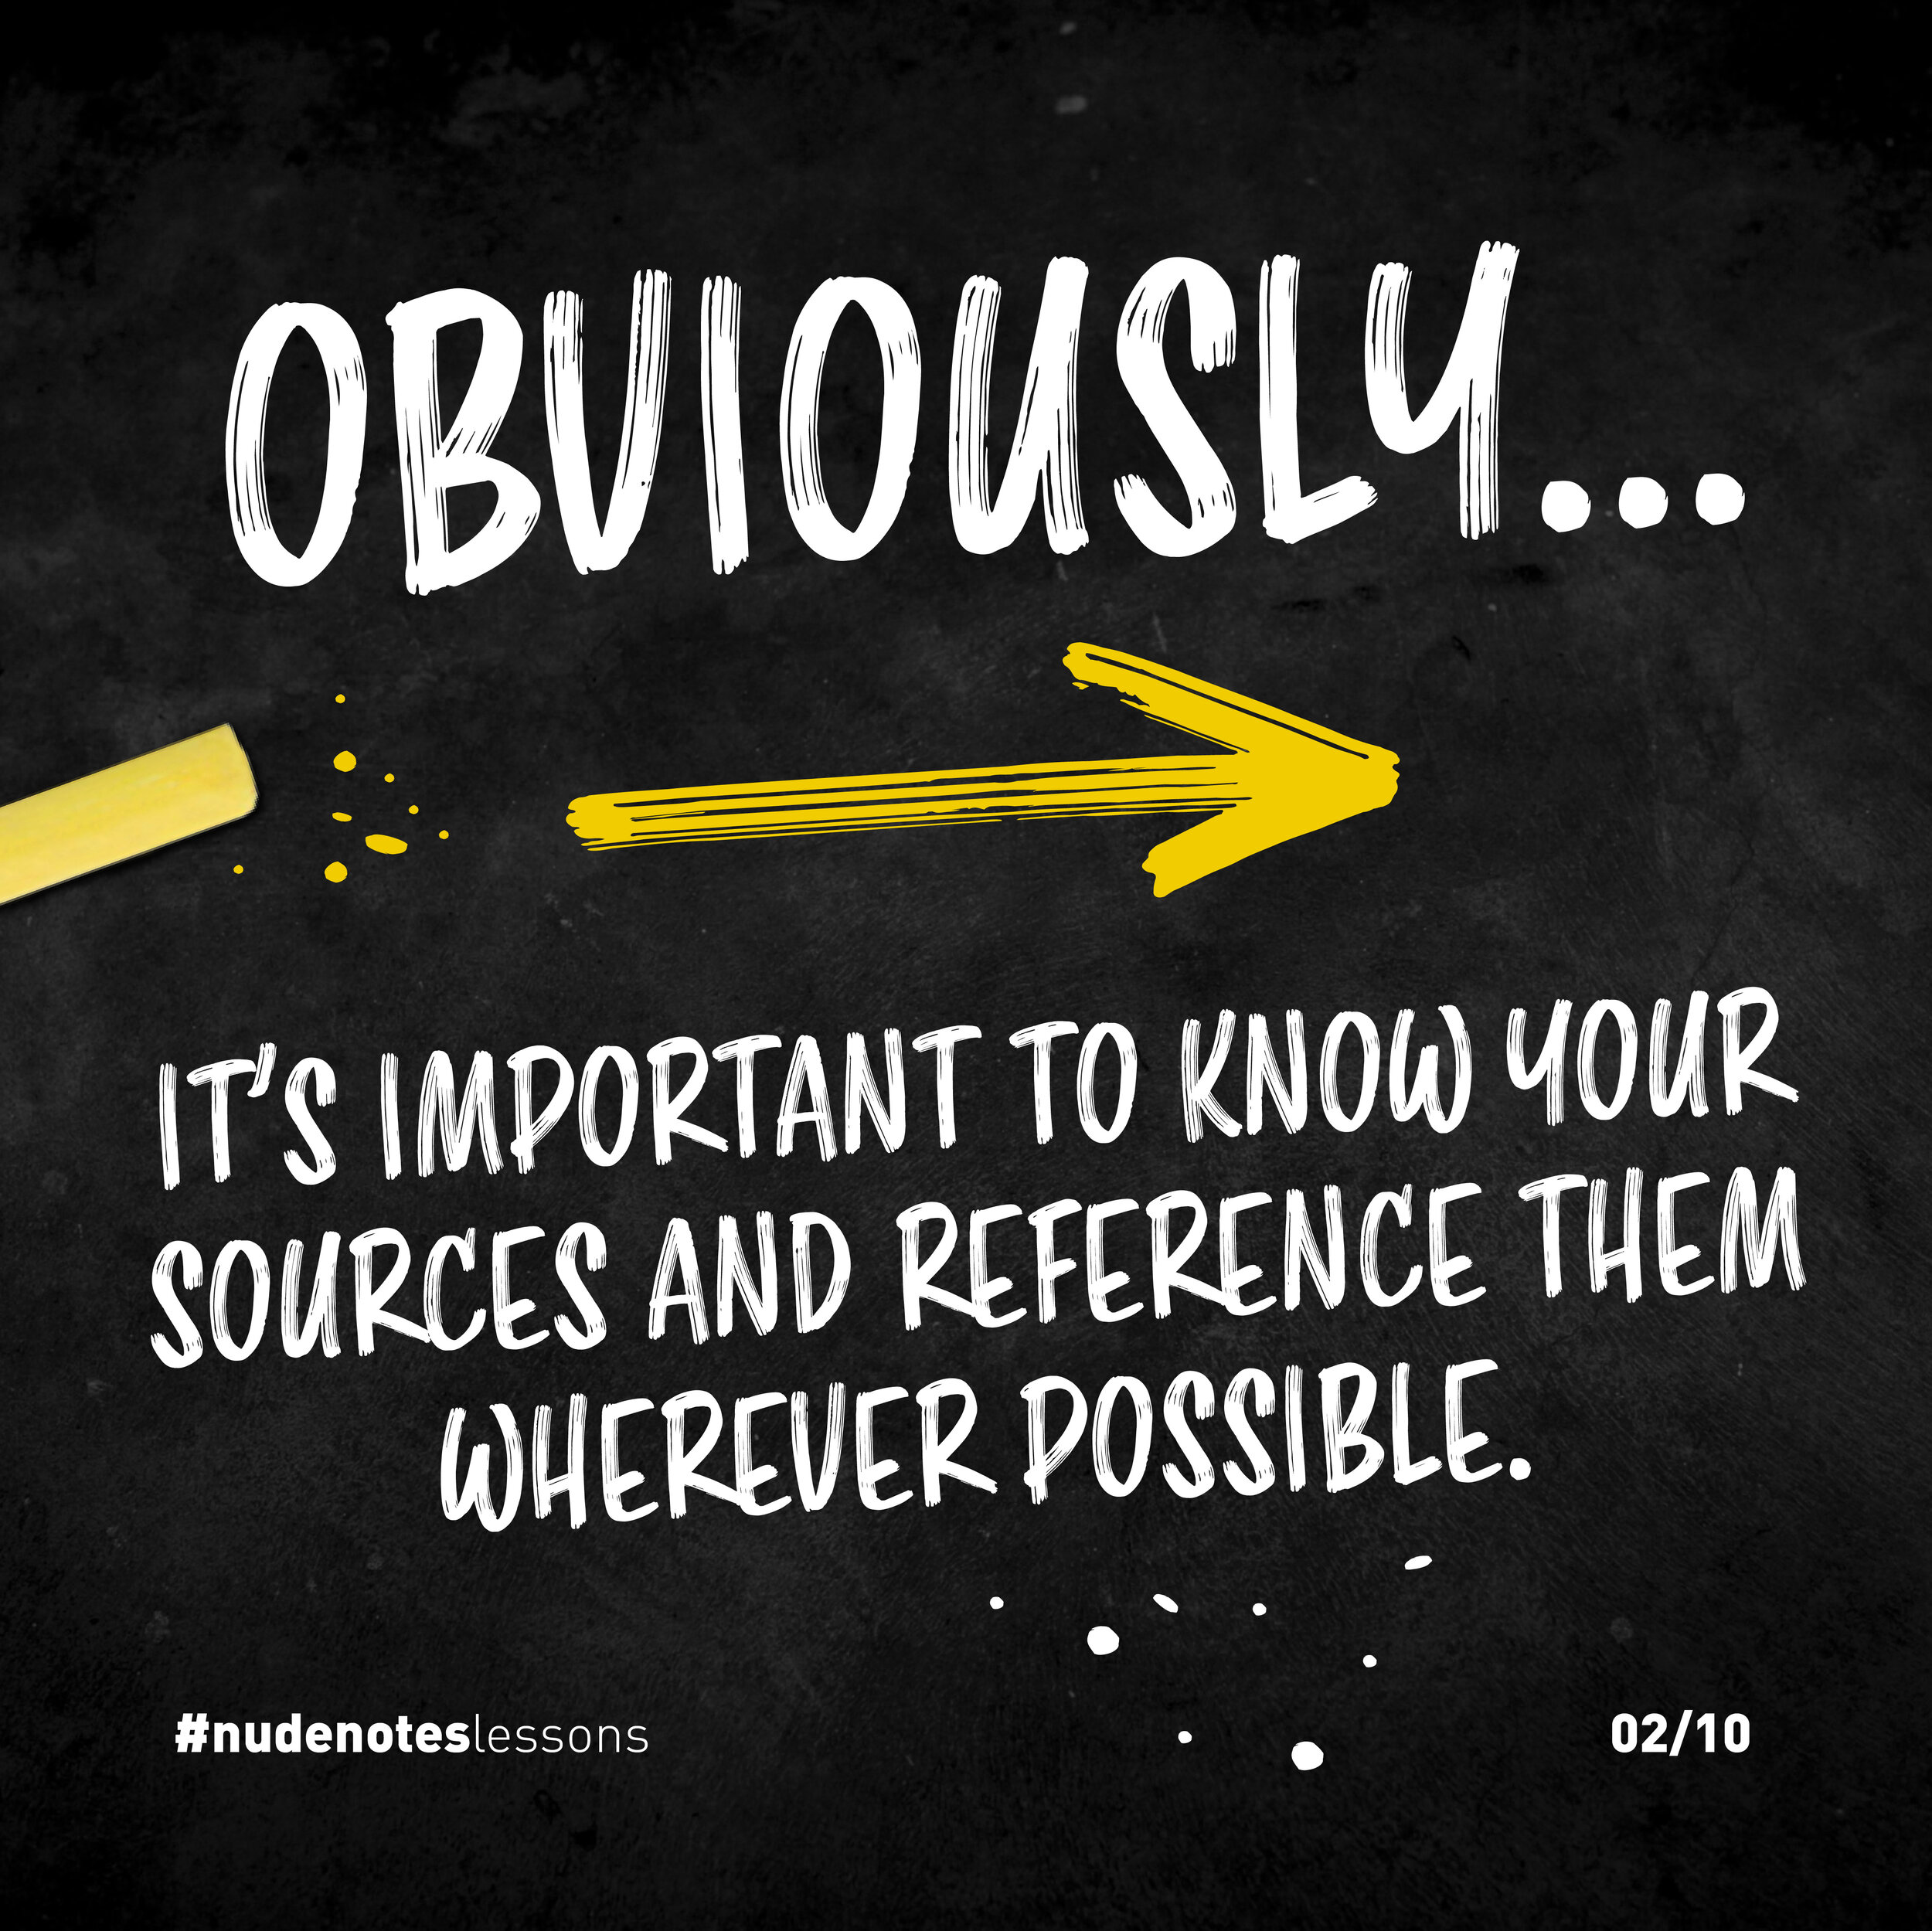
Obviously, it’s important to know your sources and reference them wherever possible.
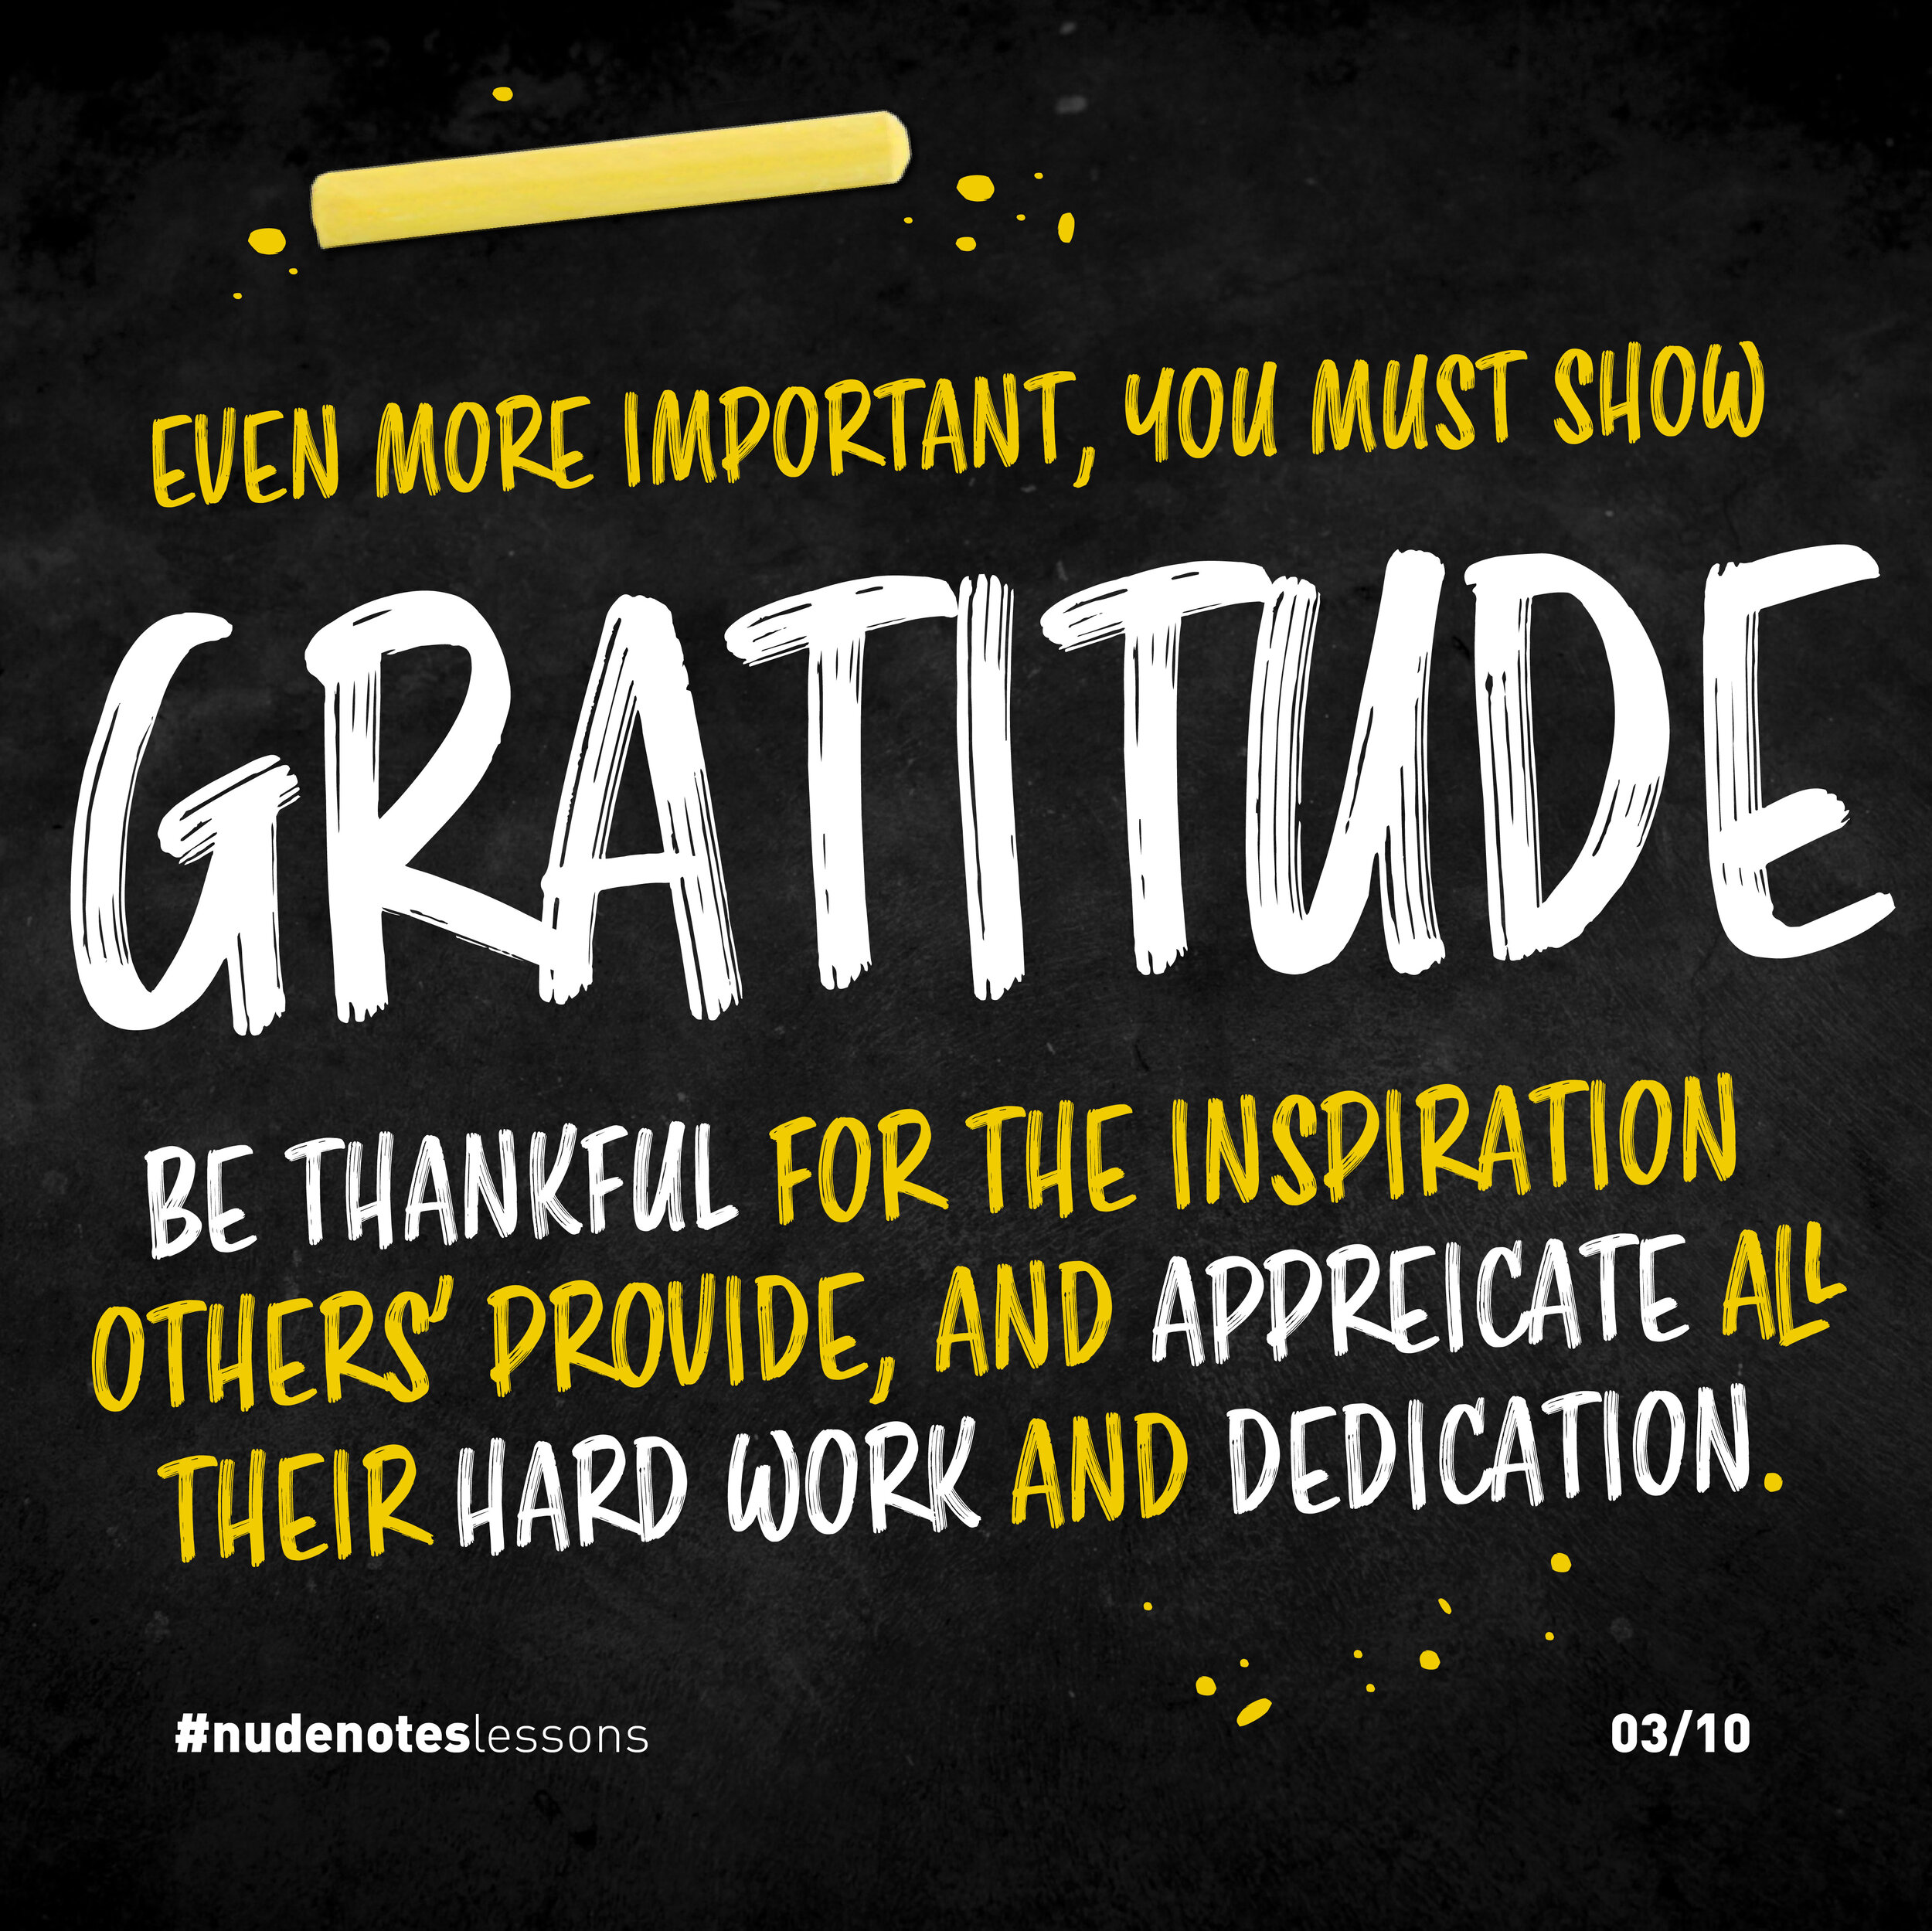
Even more important, you must show gratitude.
Be thankful for the inspiration others provide, and appreciate all their hard work and dedication.
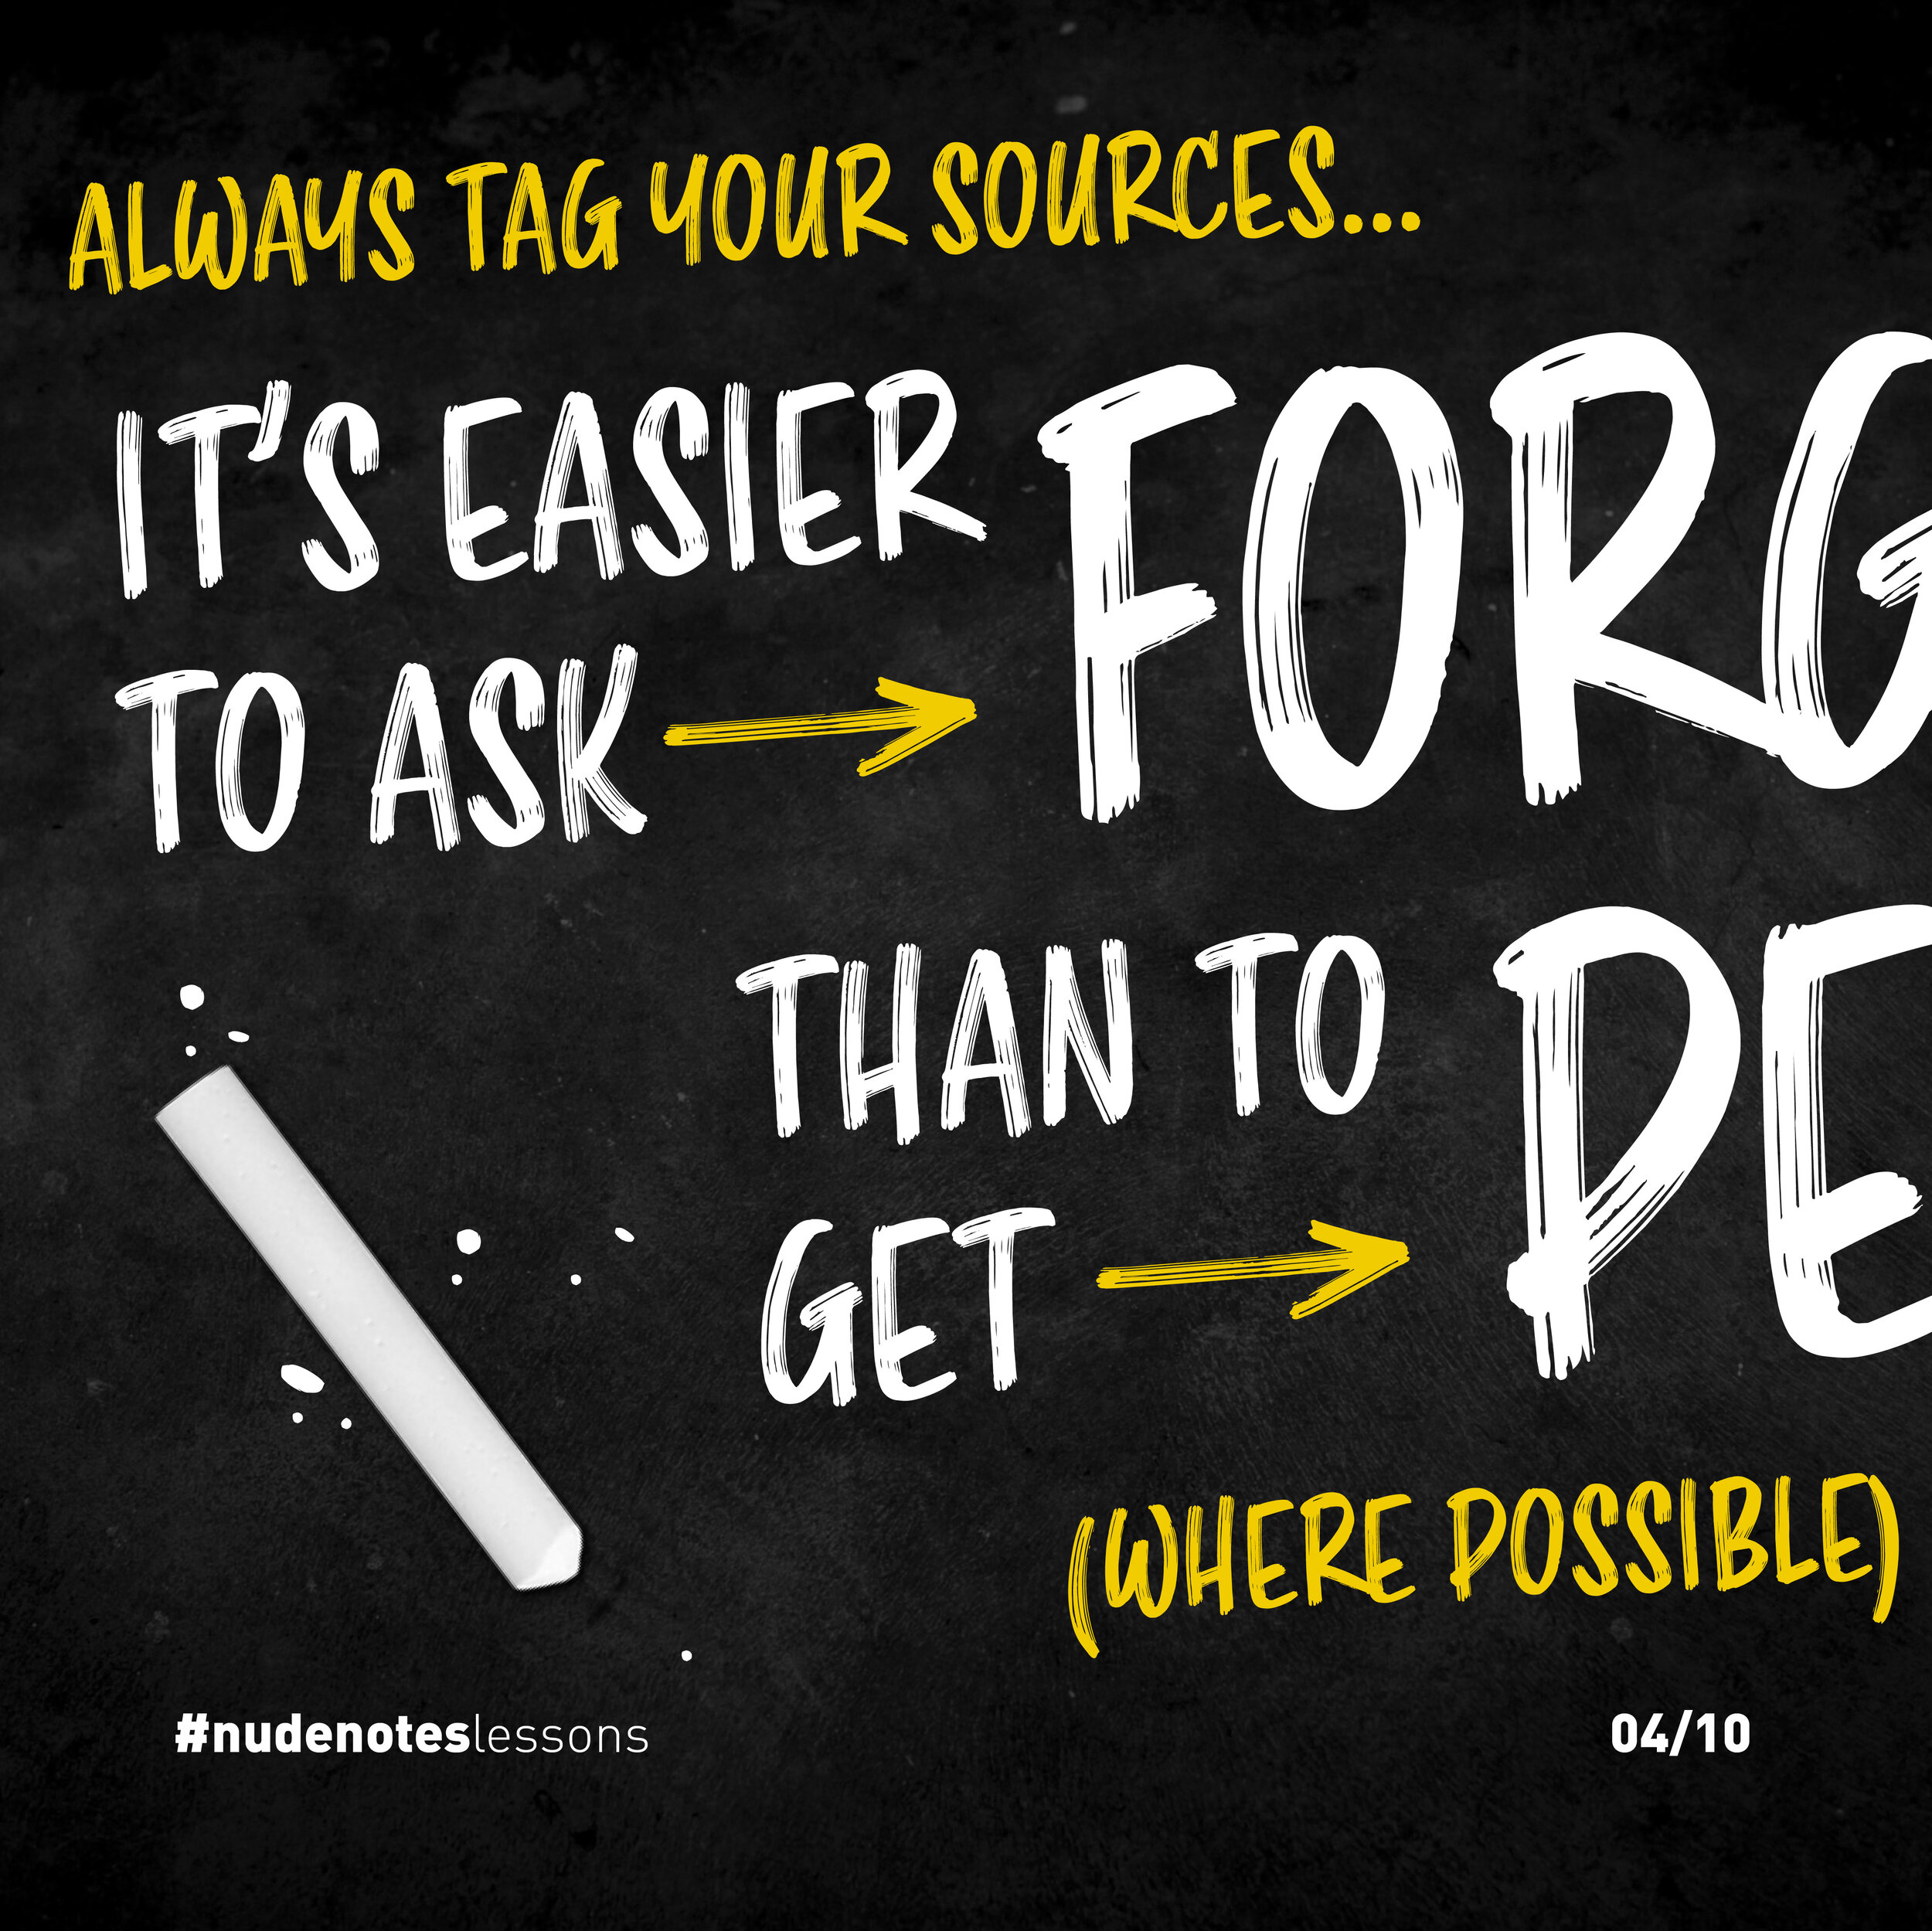
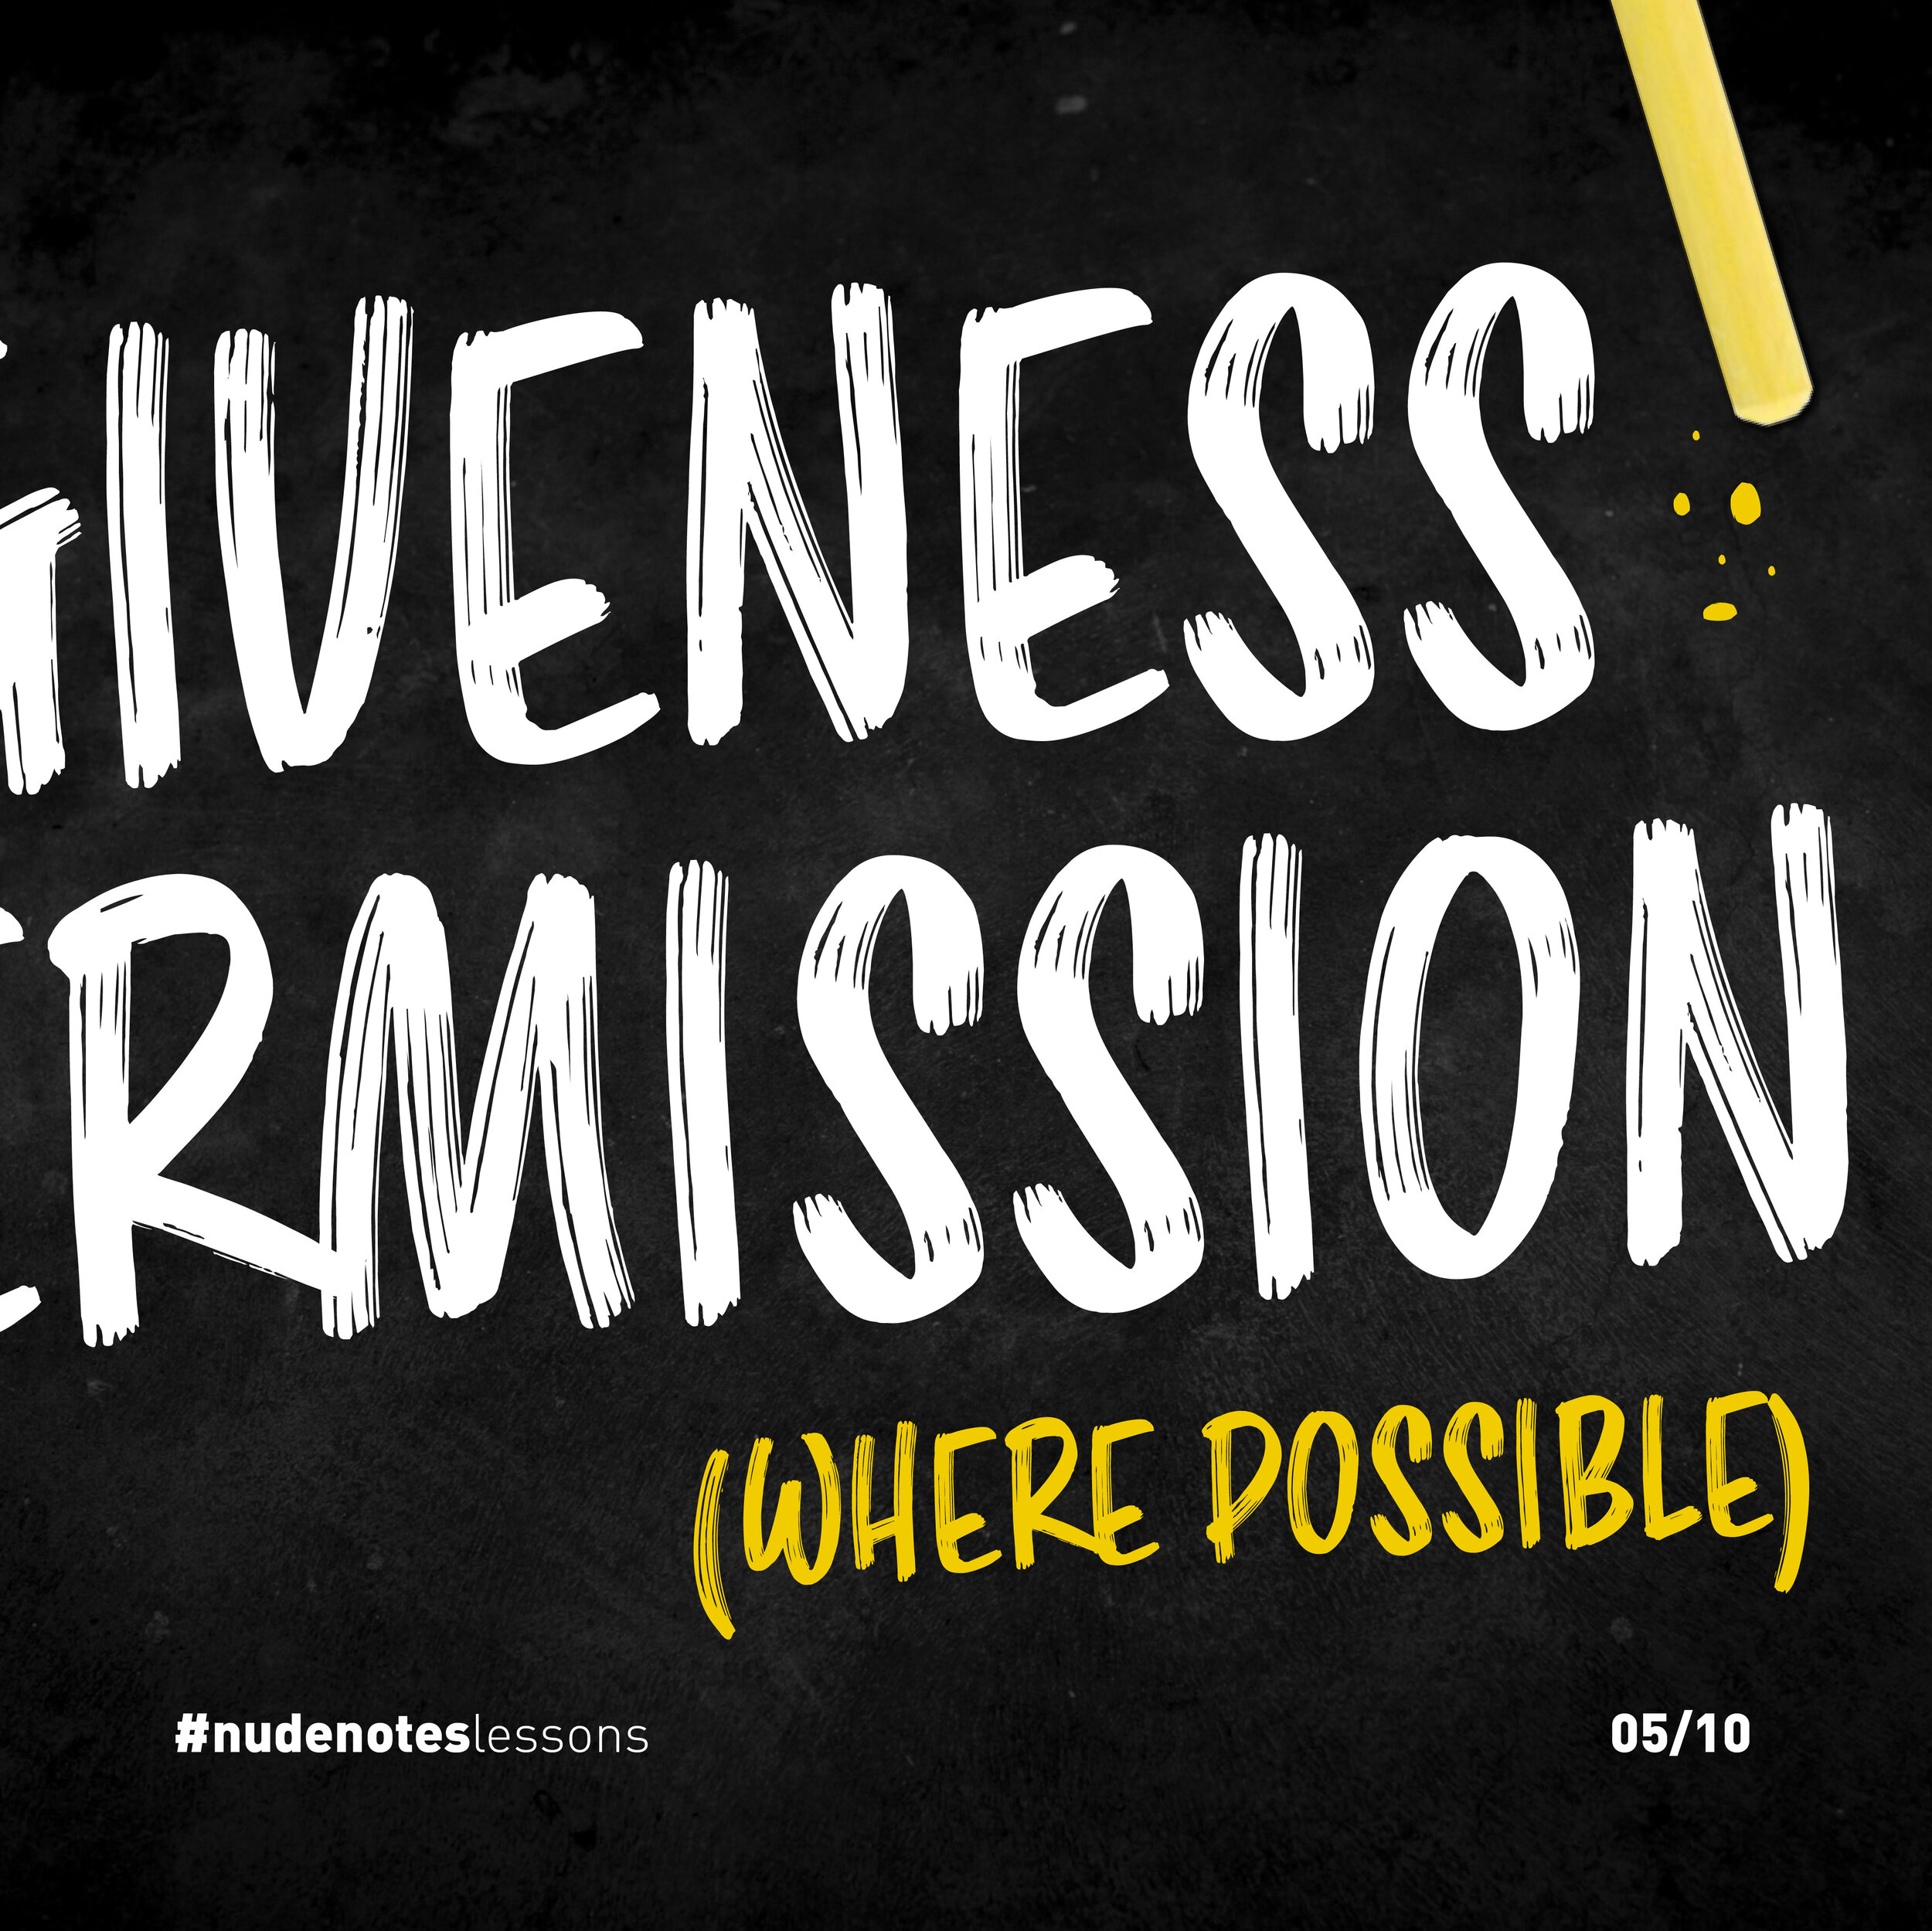
Always tag your sources - it’s easier to ask forgiveness thank to get permission.
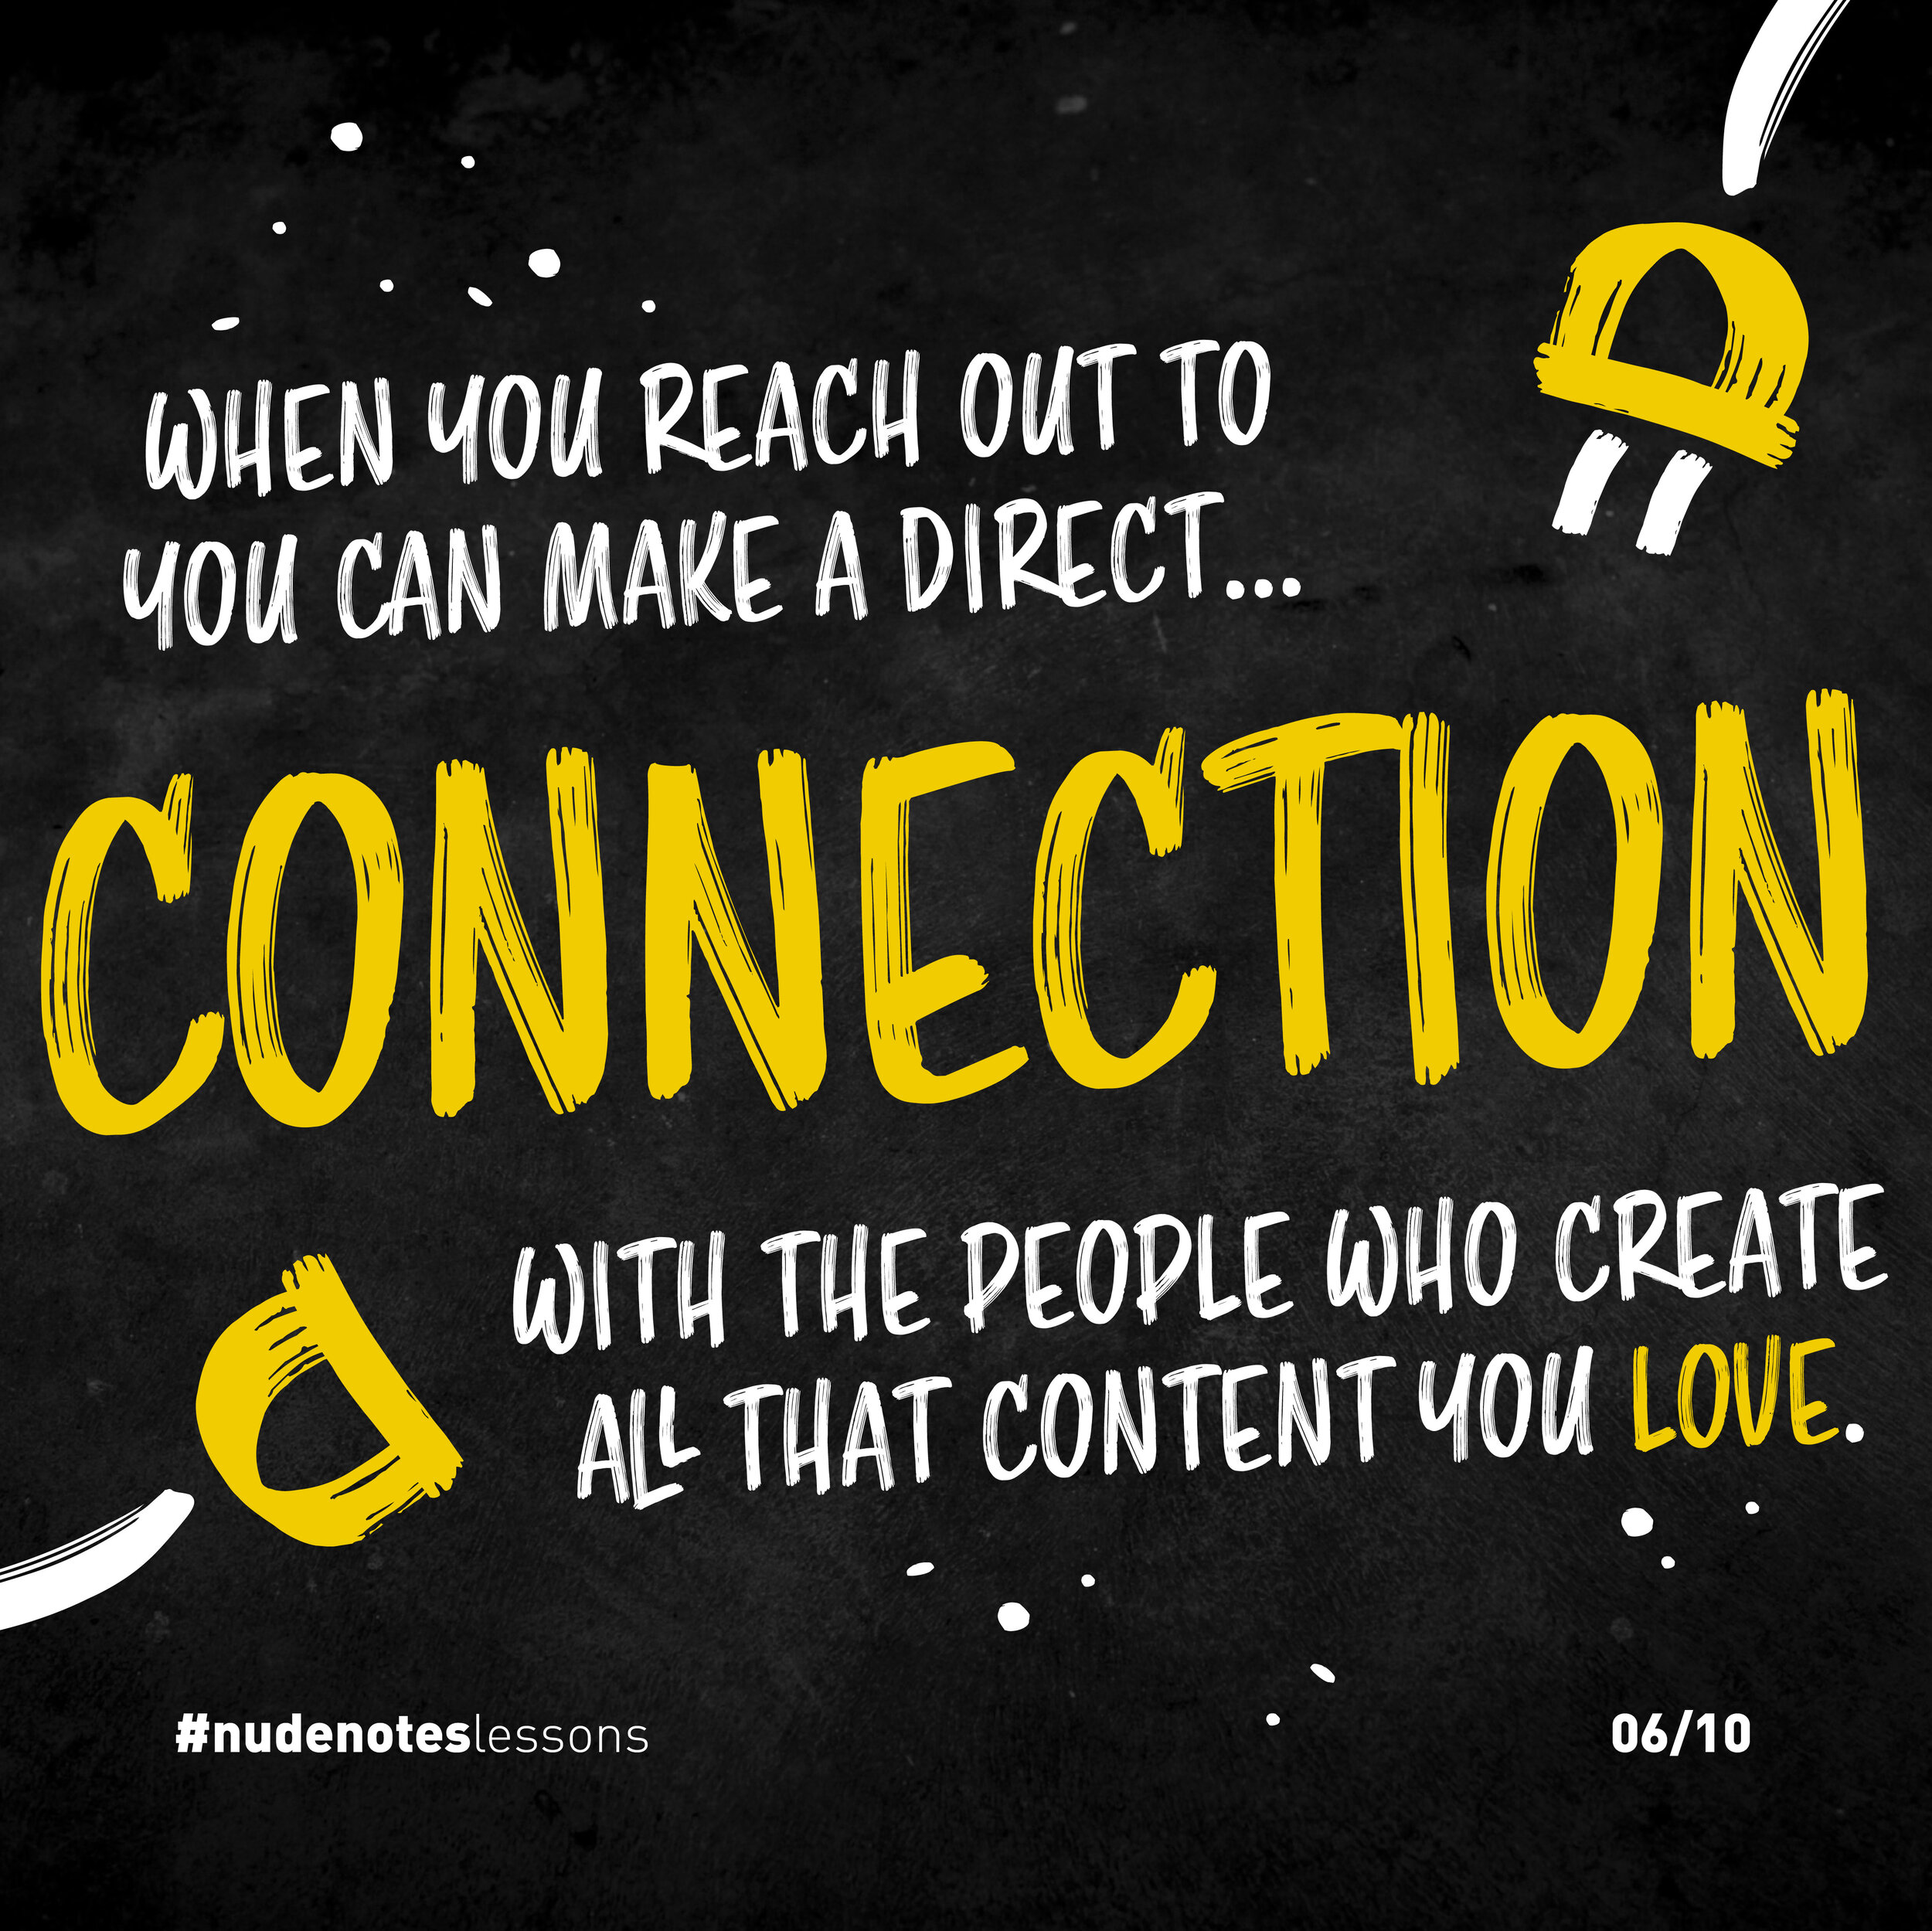
When you reach out, you can make a direct connection with the people who create the content you love.
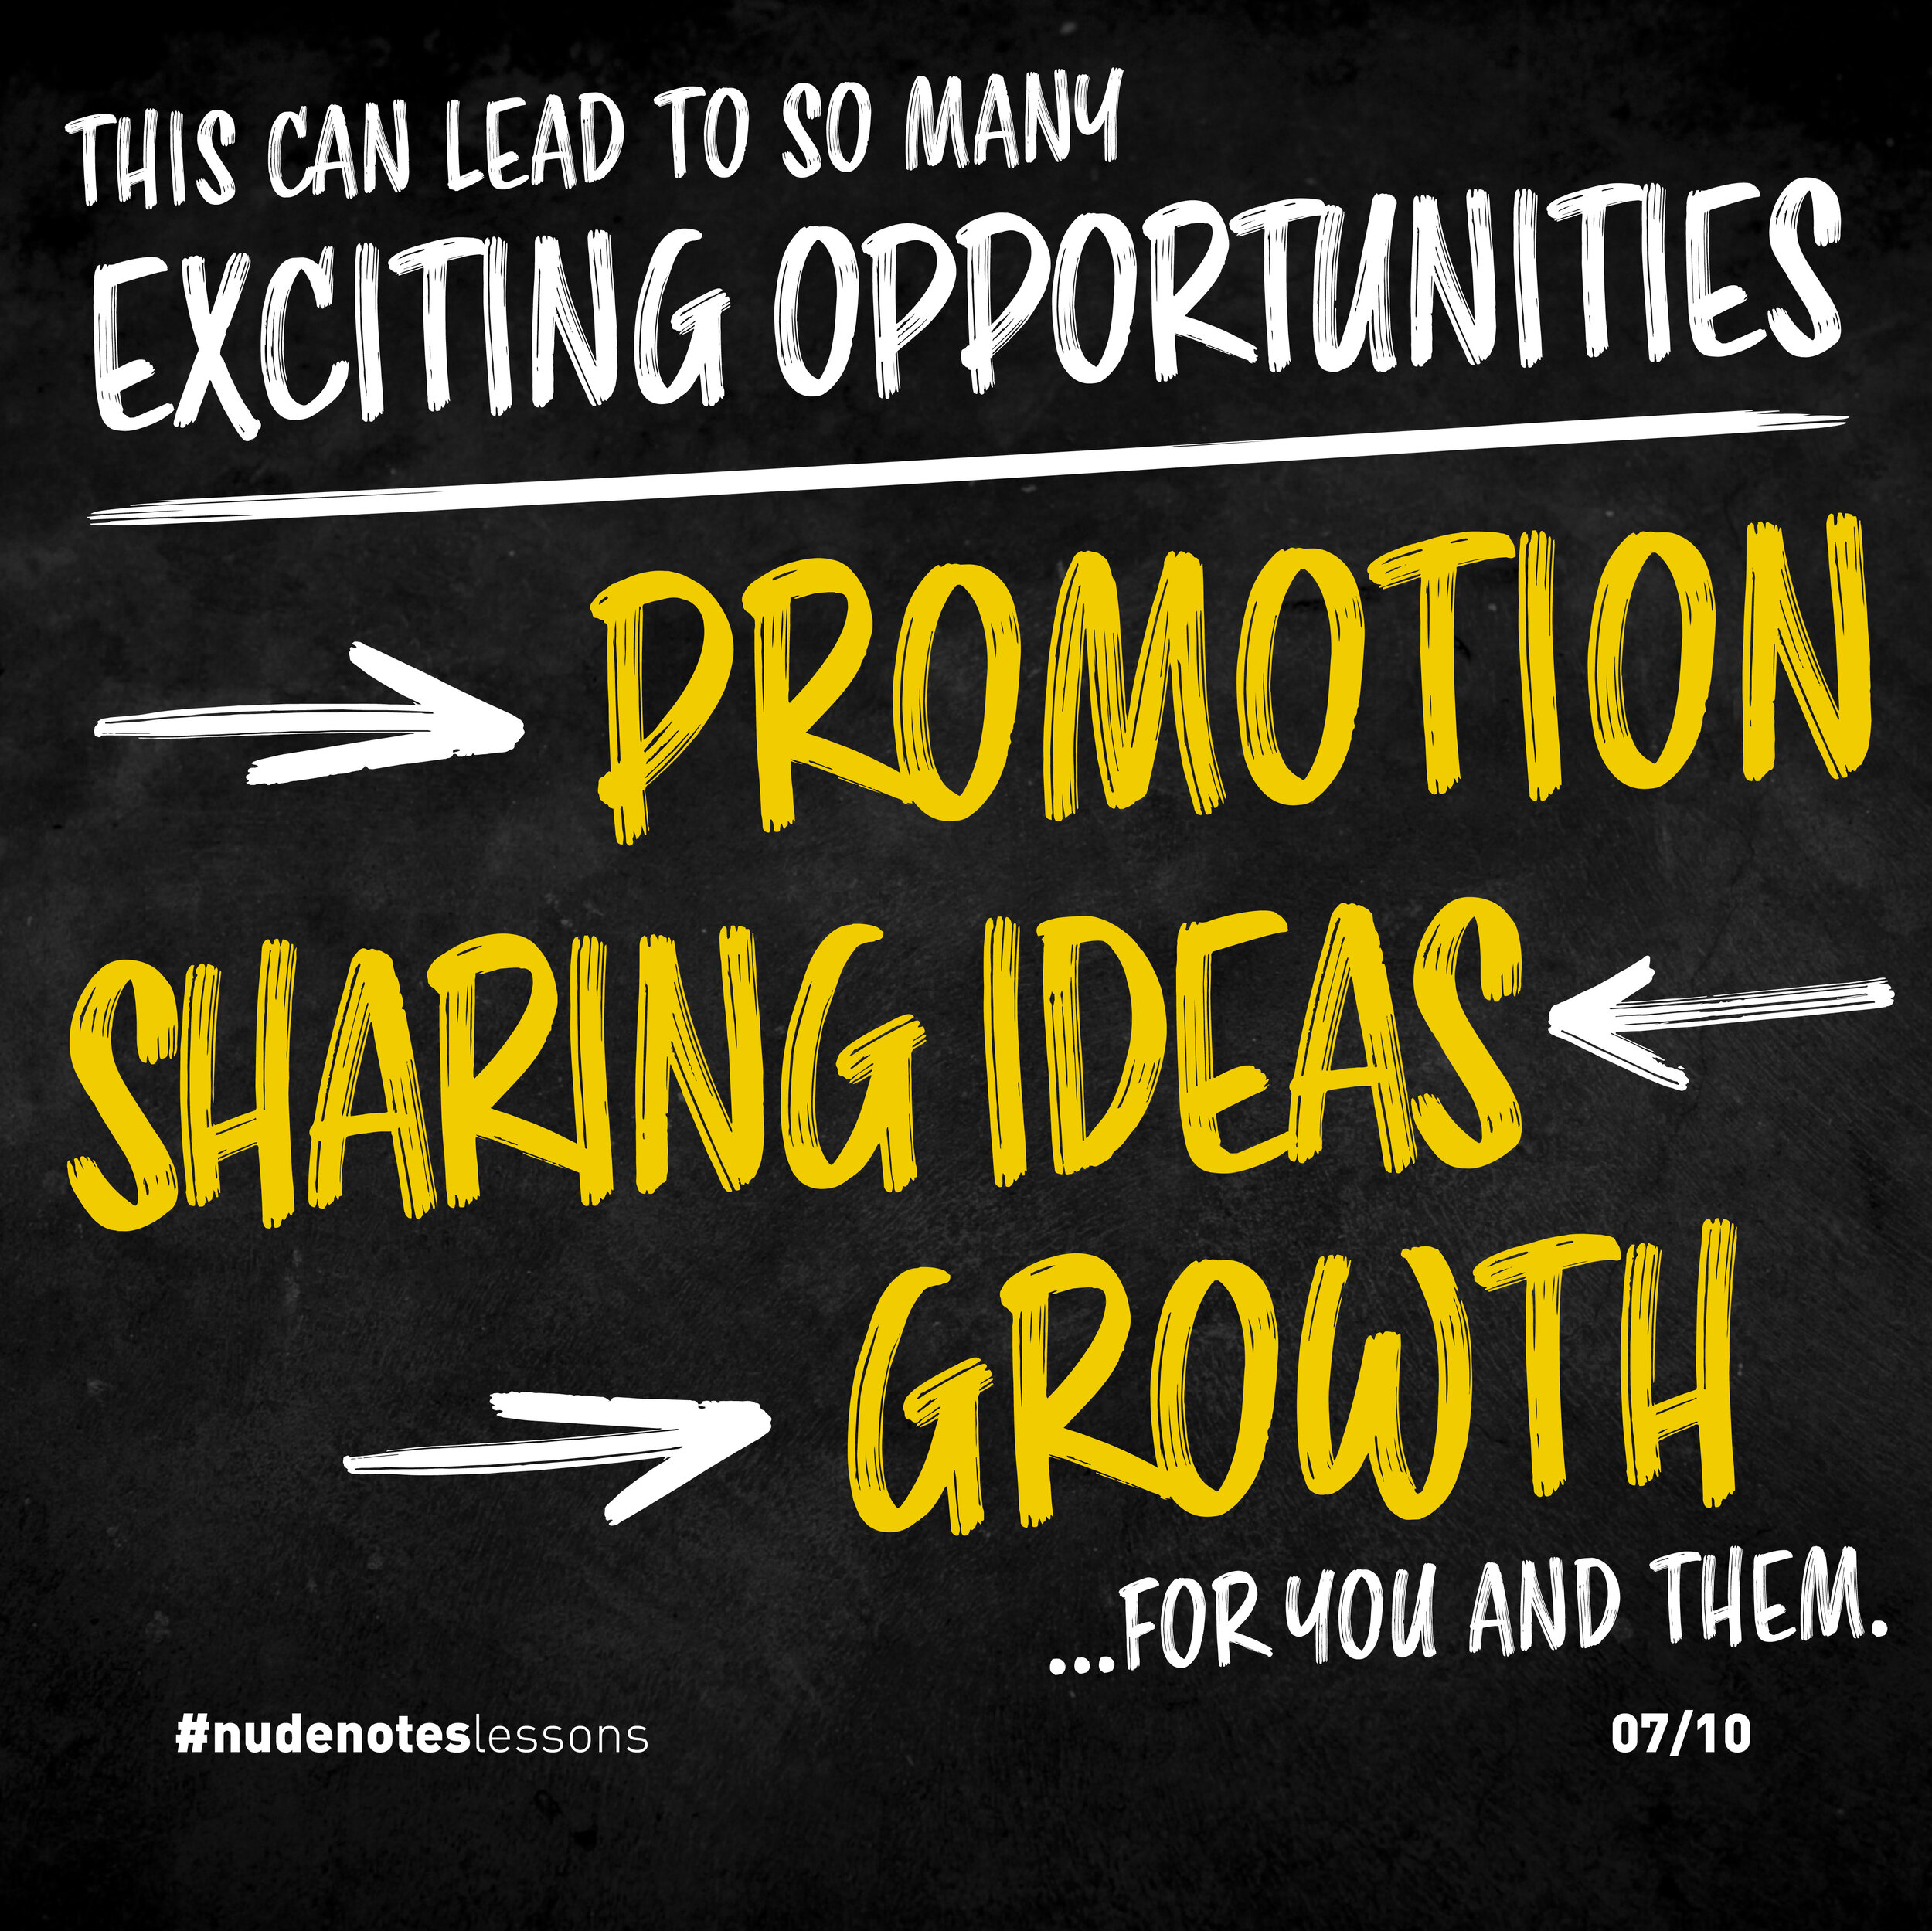
This can lead to so many exciting opportunities: promotion, sharing ideas, growth - for you and for them.
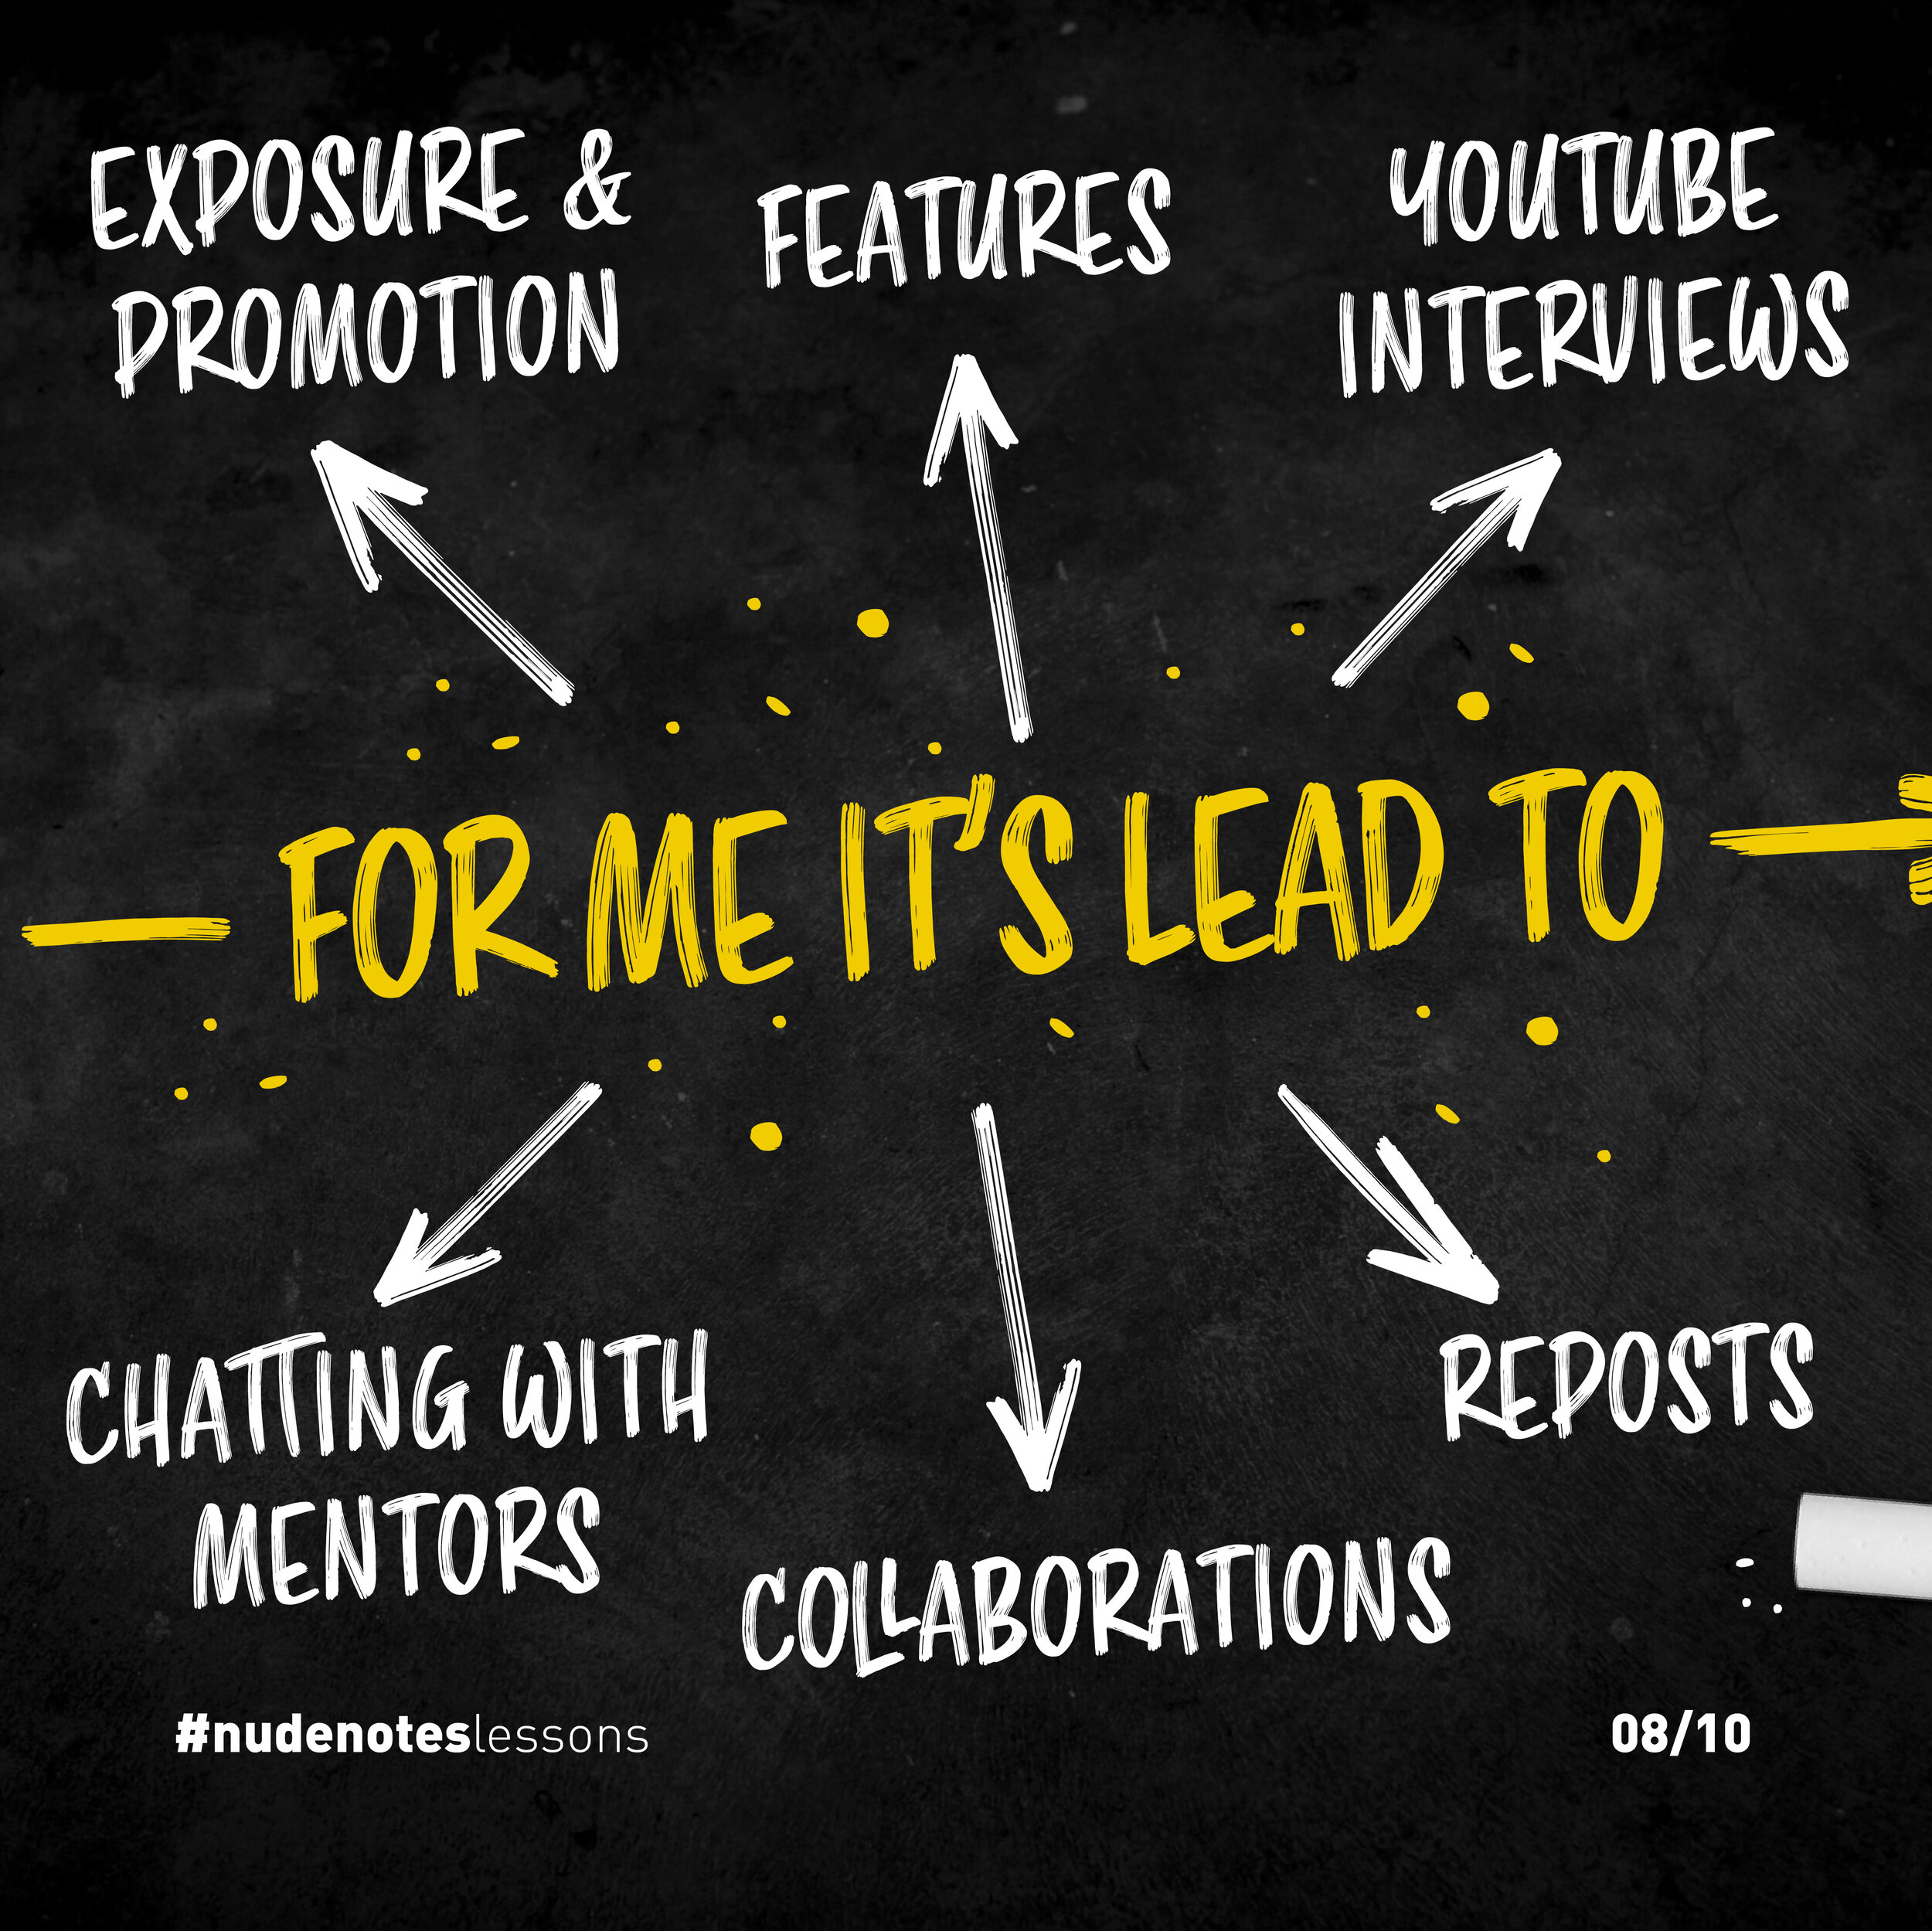
For me, it’s lead to exposure and promotion, features, YouTube interviews, chatting with mentors, collaborations, and reposts.
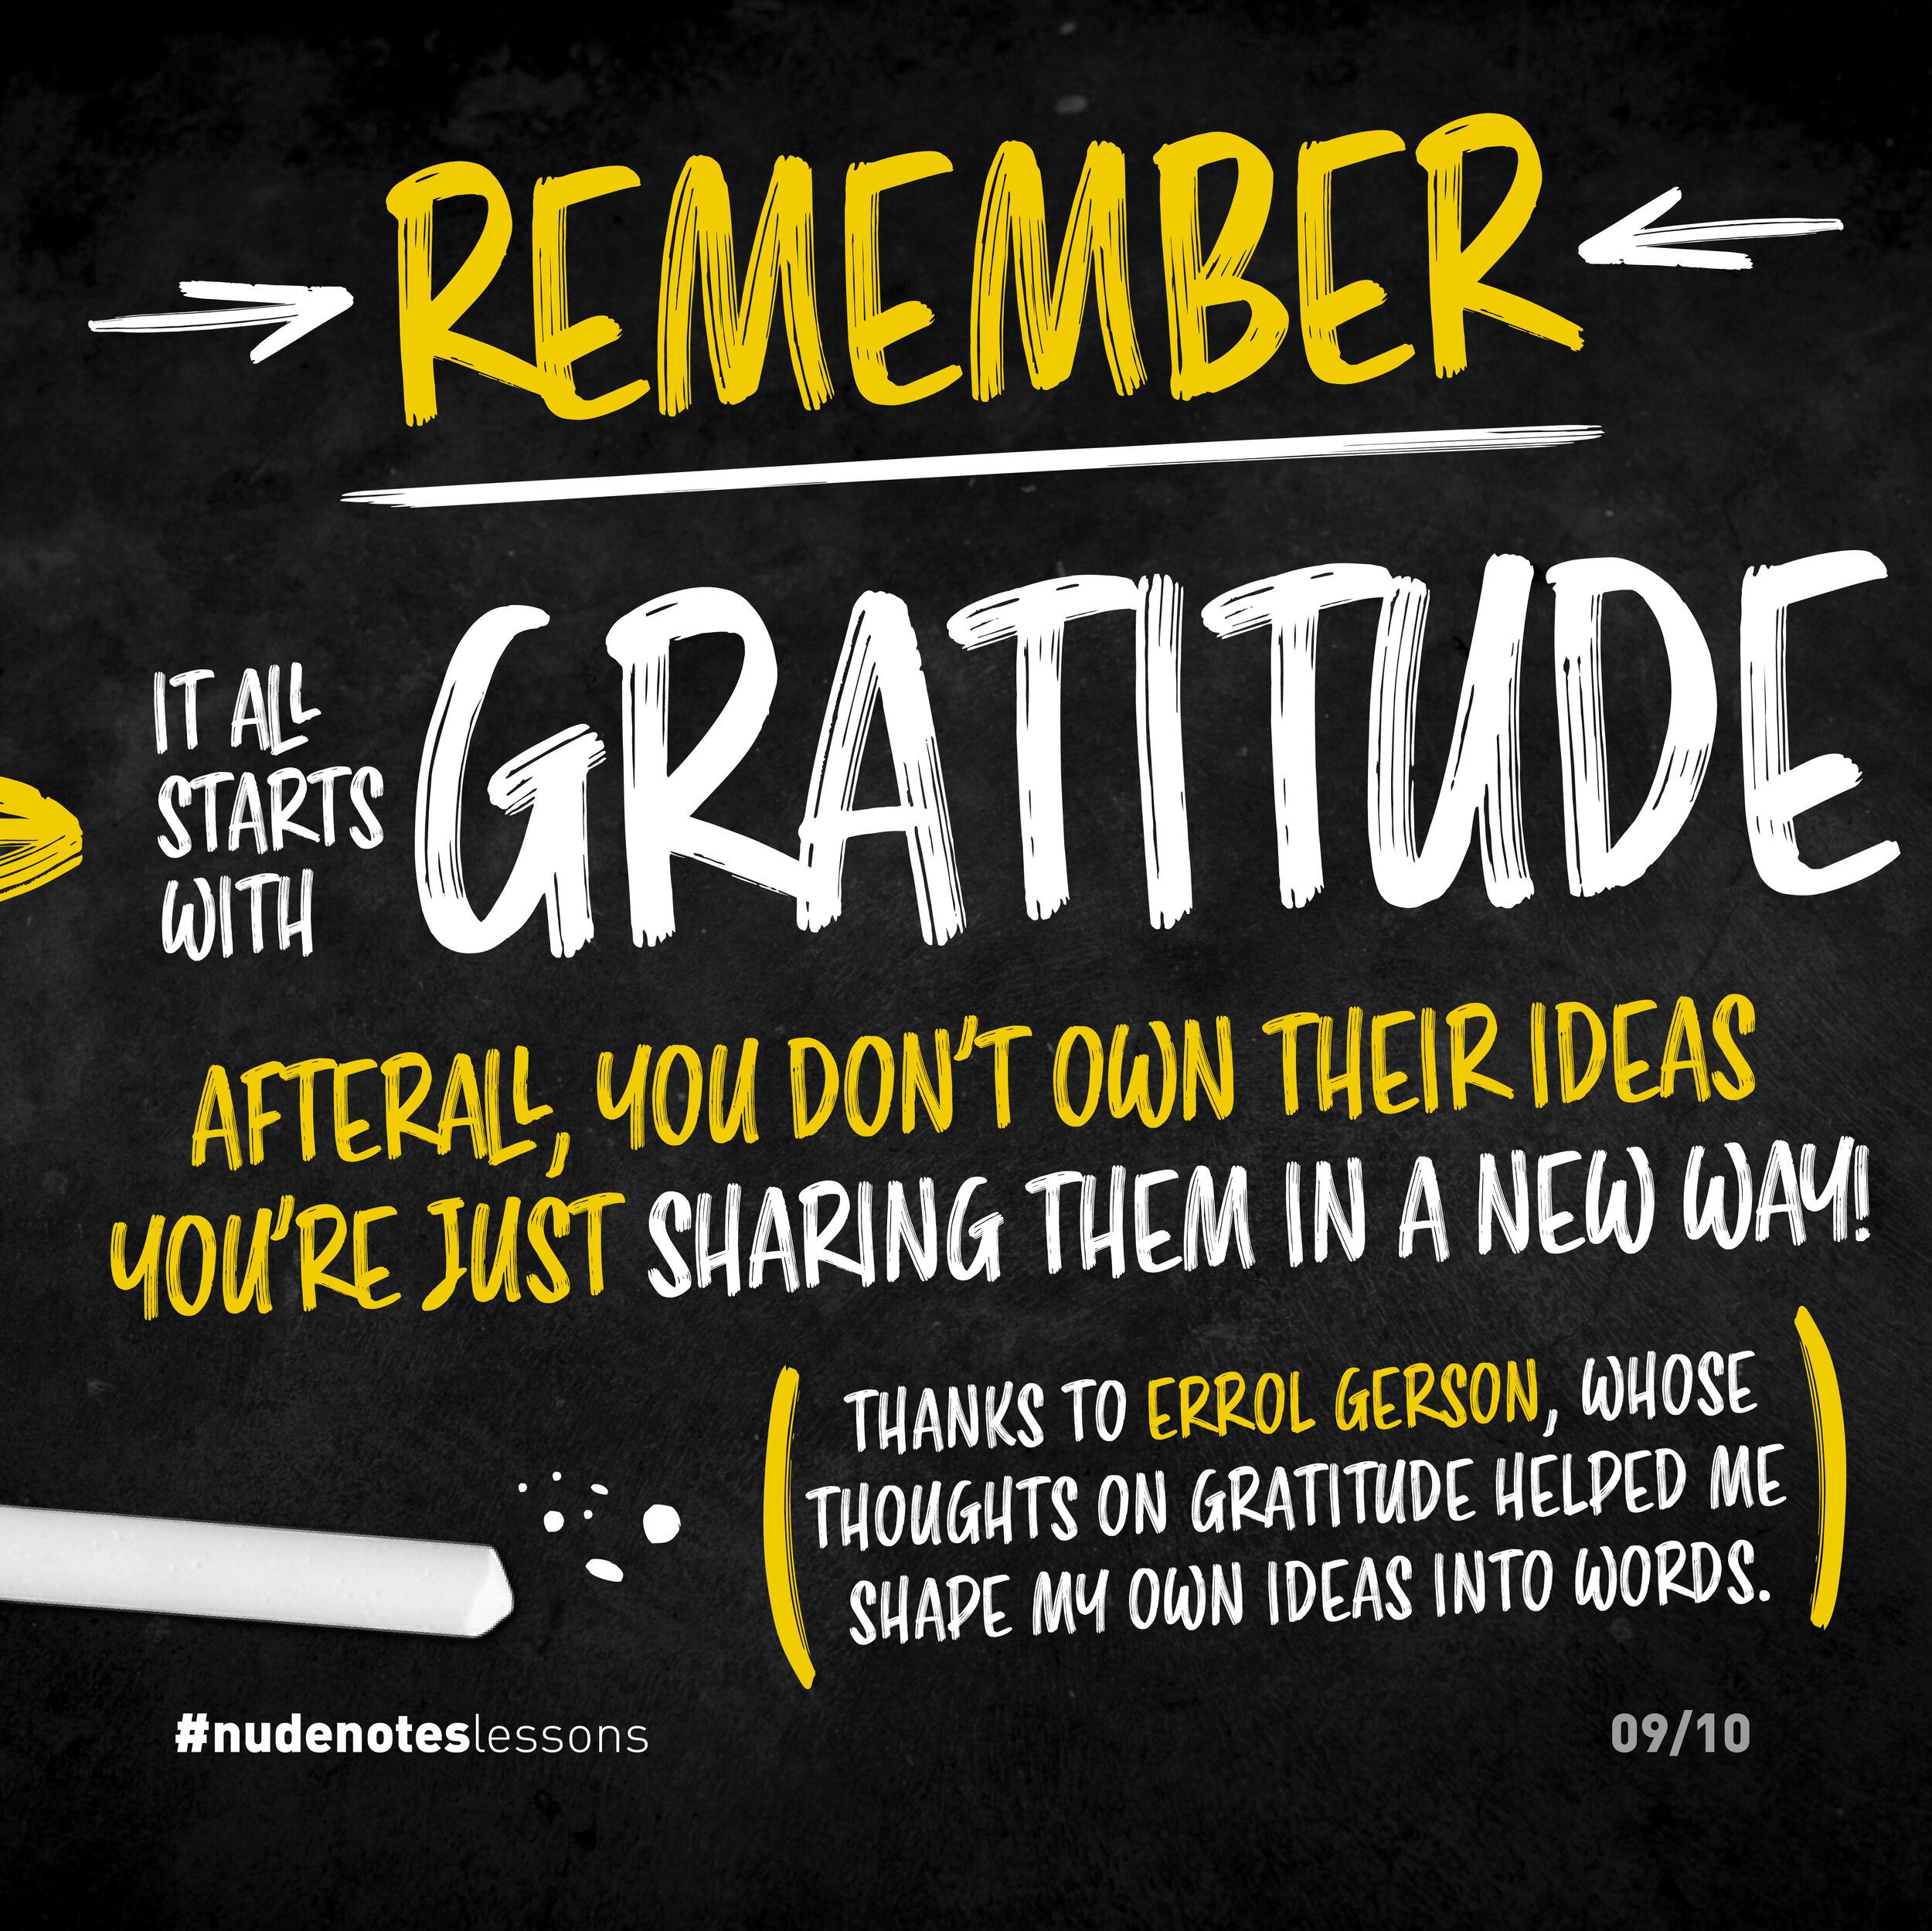
Remember, it all starts with gratitude.
After all, you don’t own their ideas, you’re just sharing them in a new format.
Special thanks to Errol Gerson, whose thoughts on gratitude helped me shape my own ideas and words.
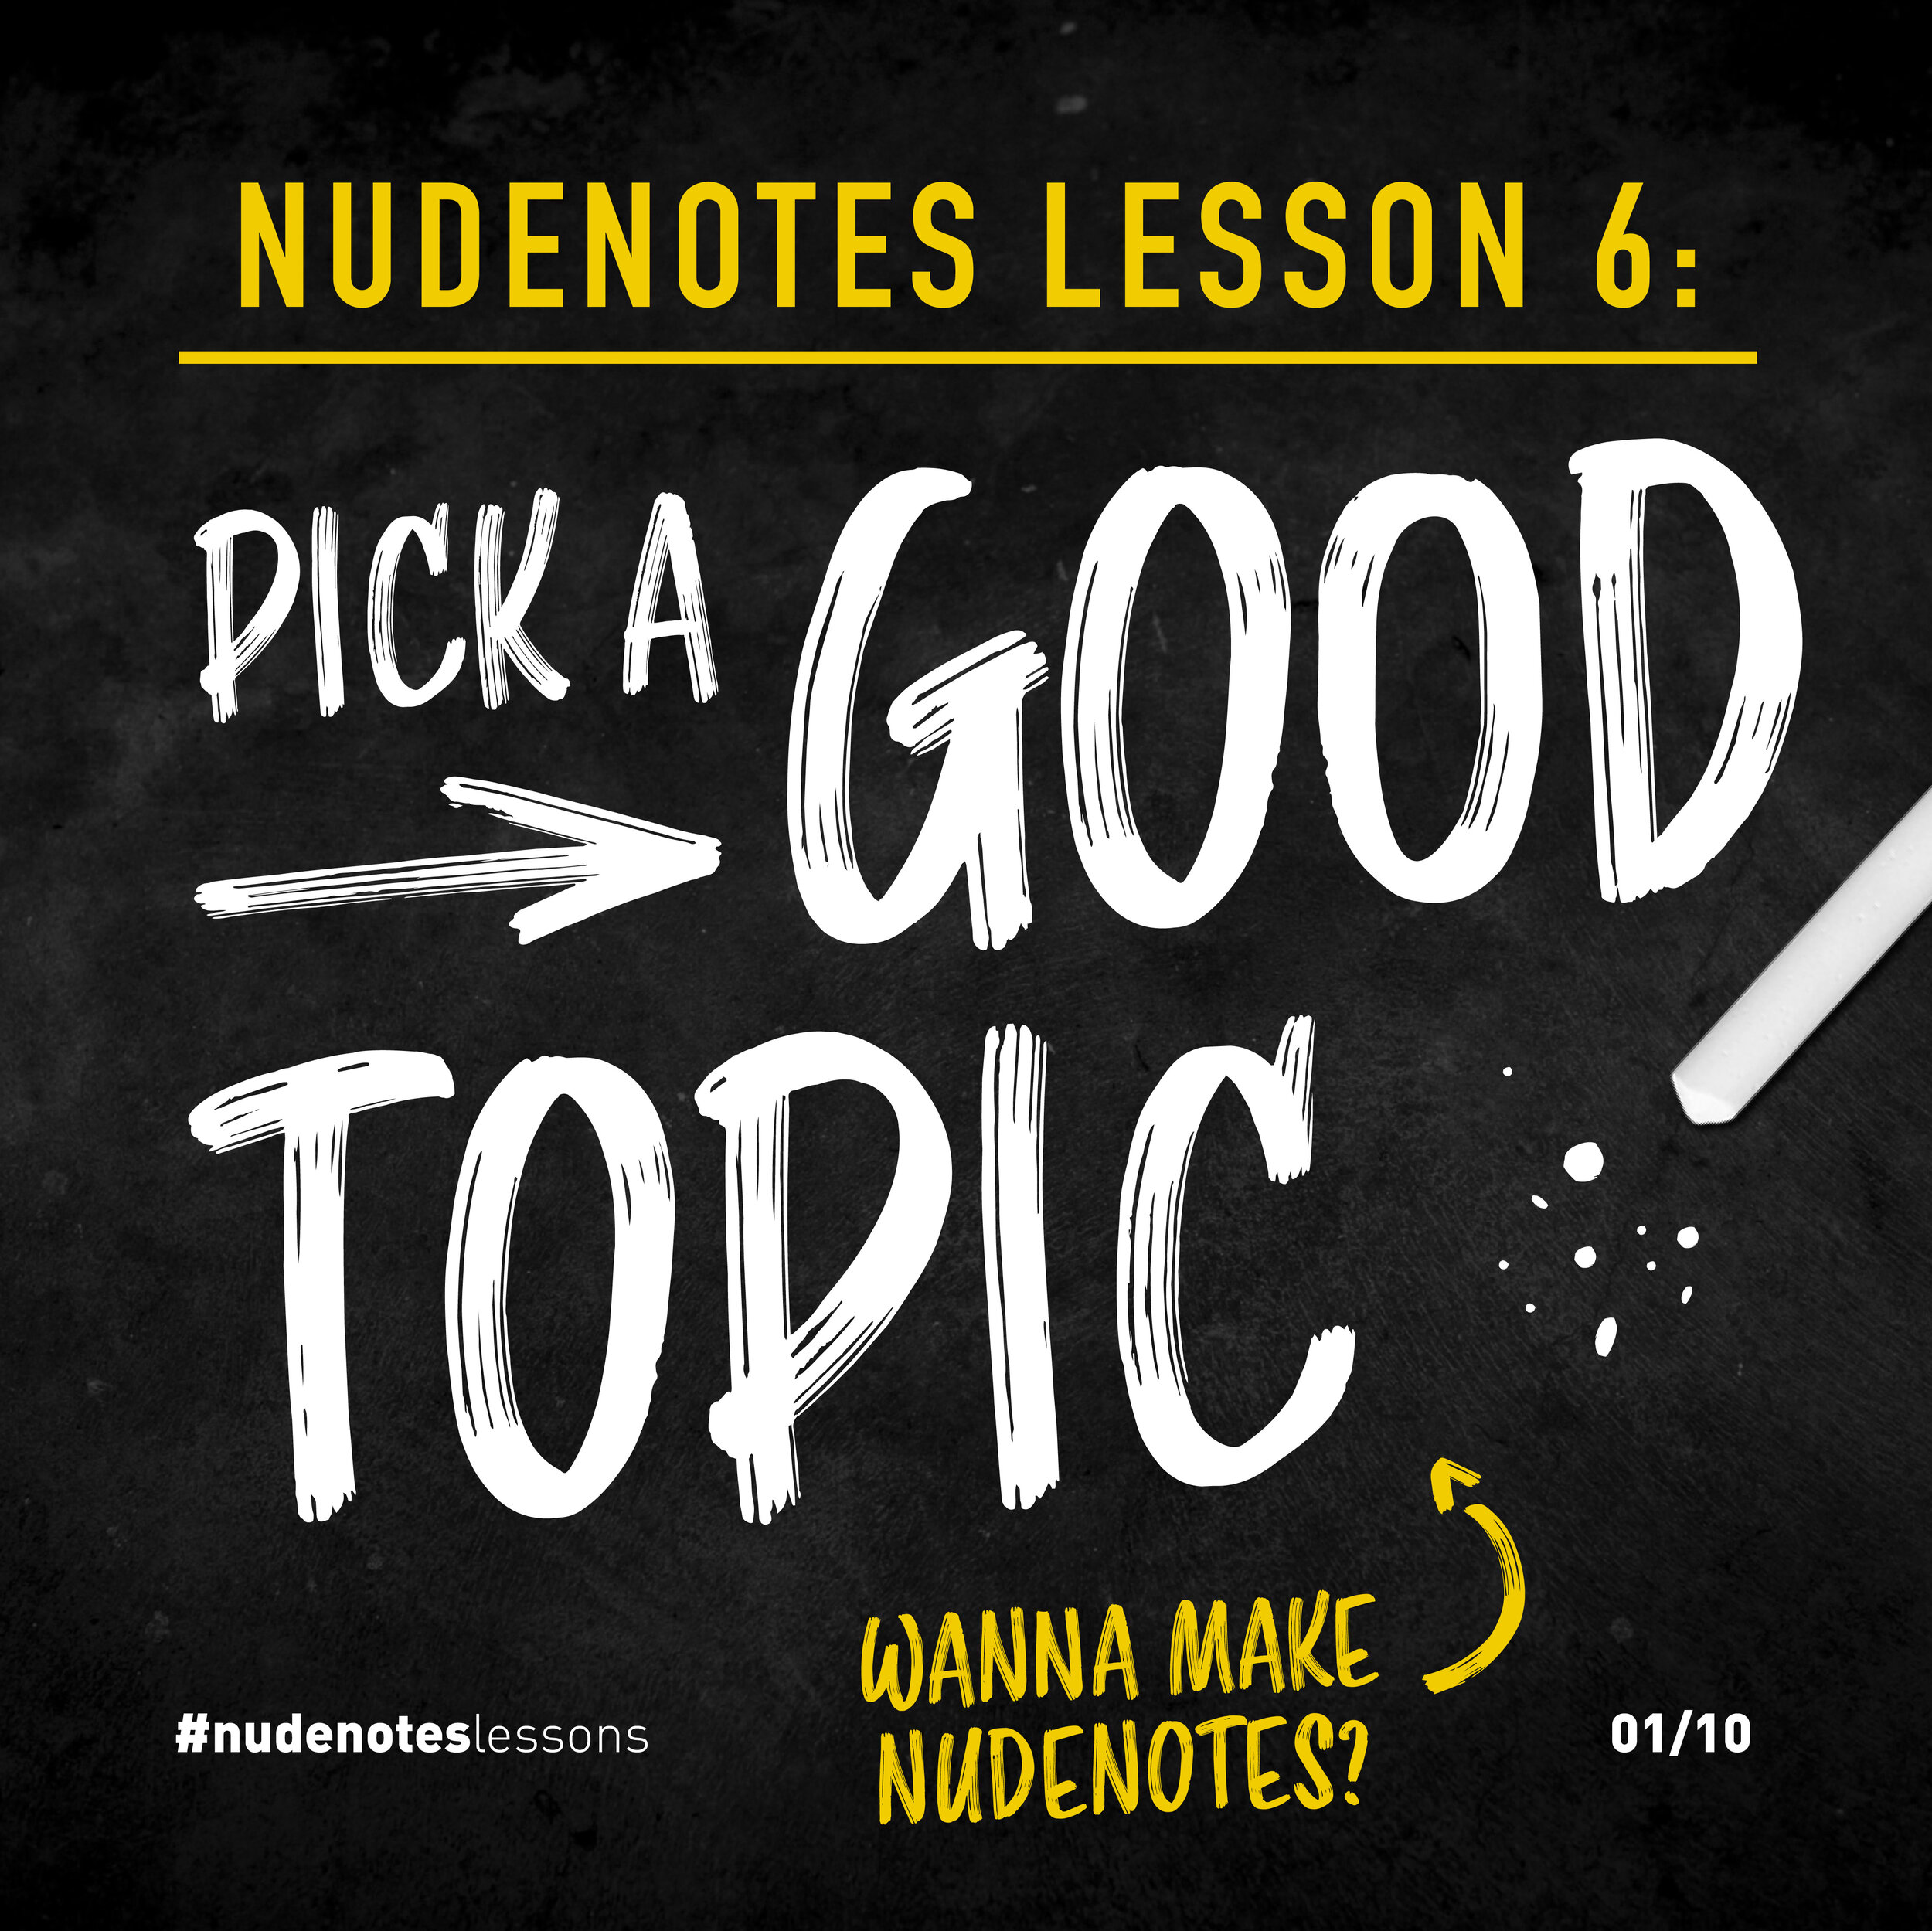
Pick a good topic
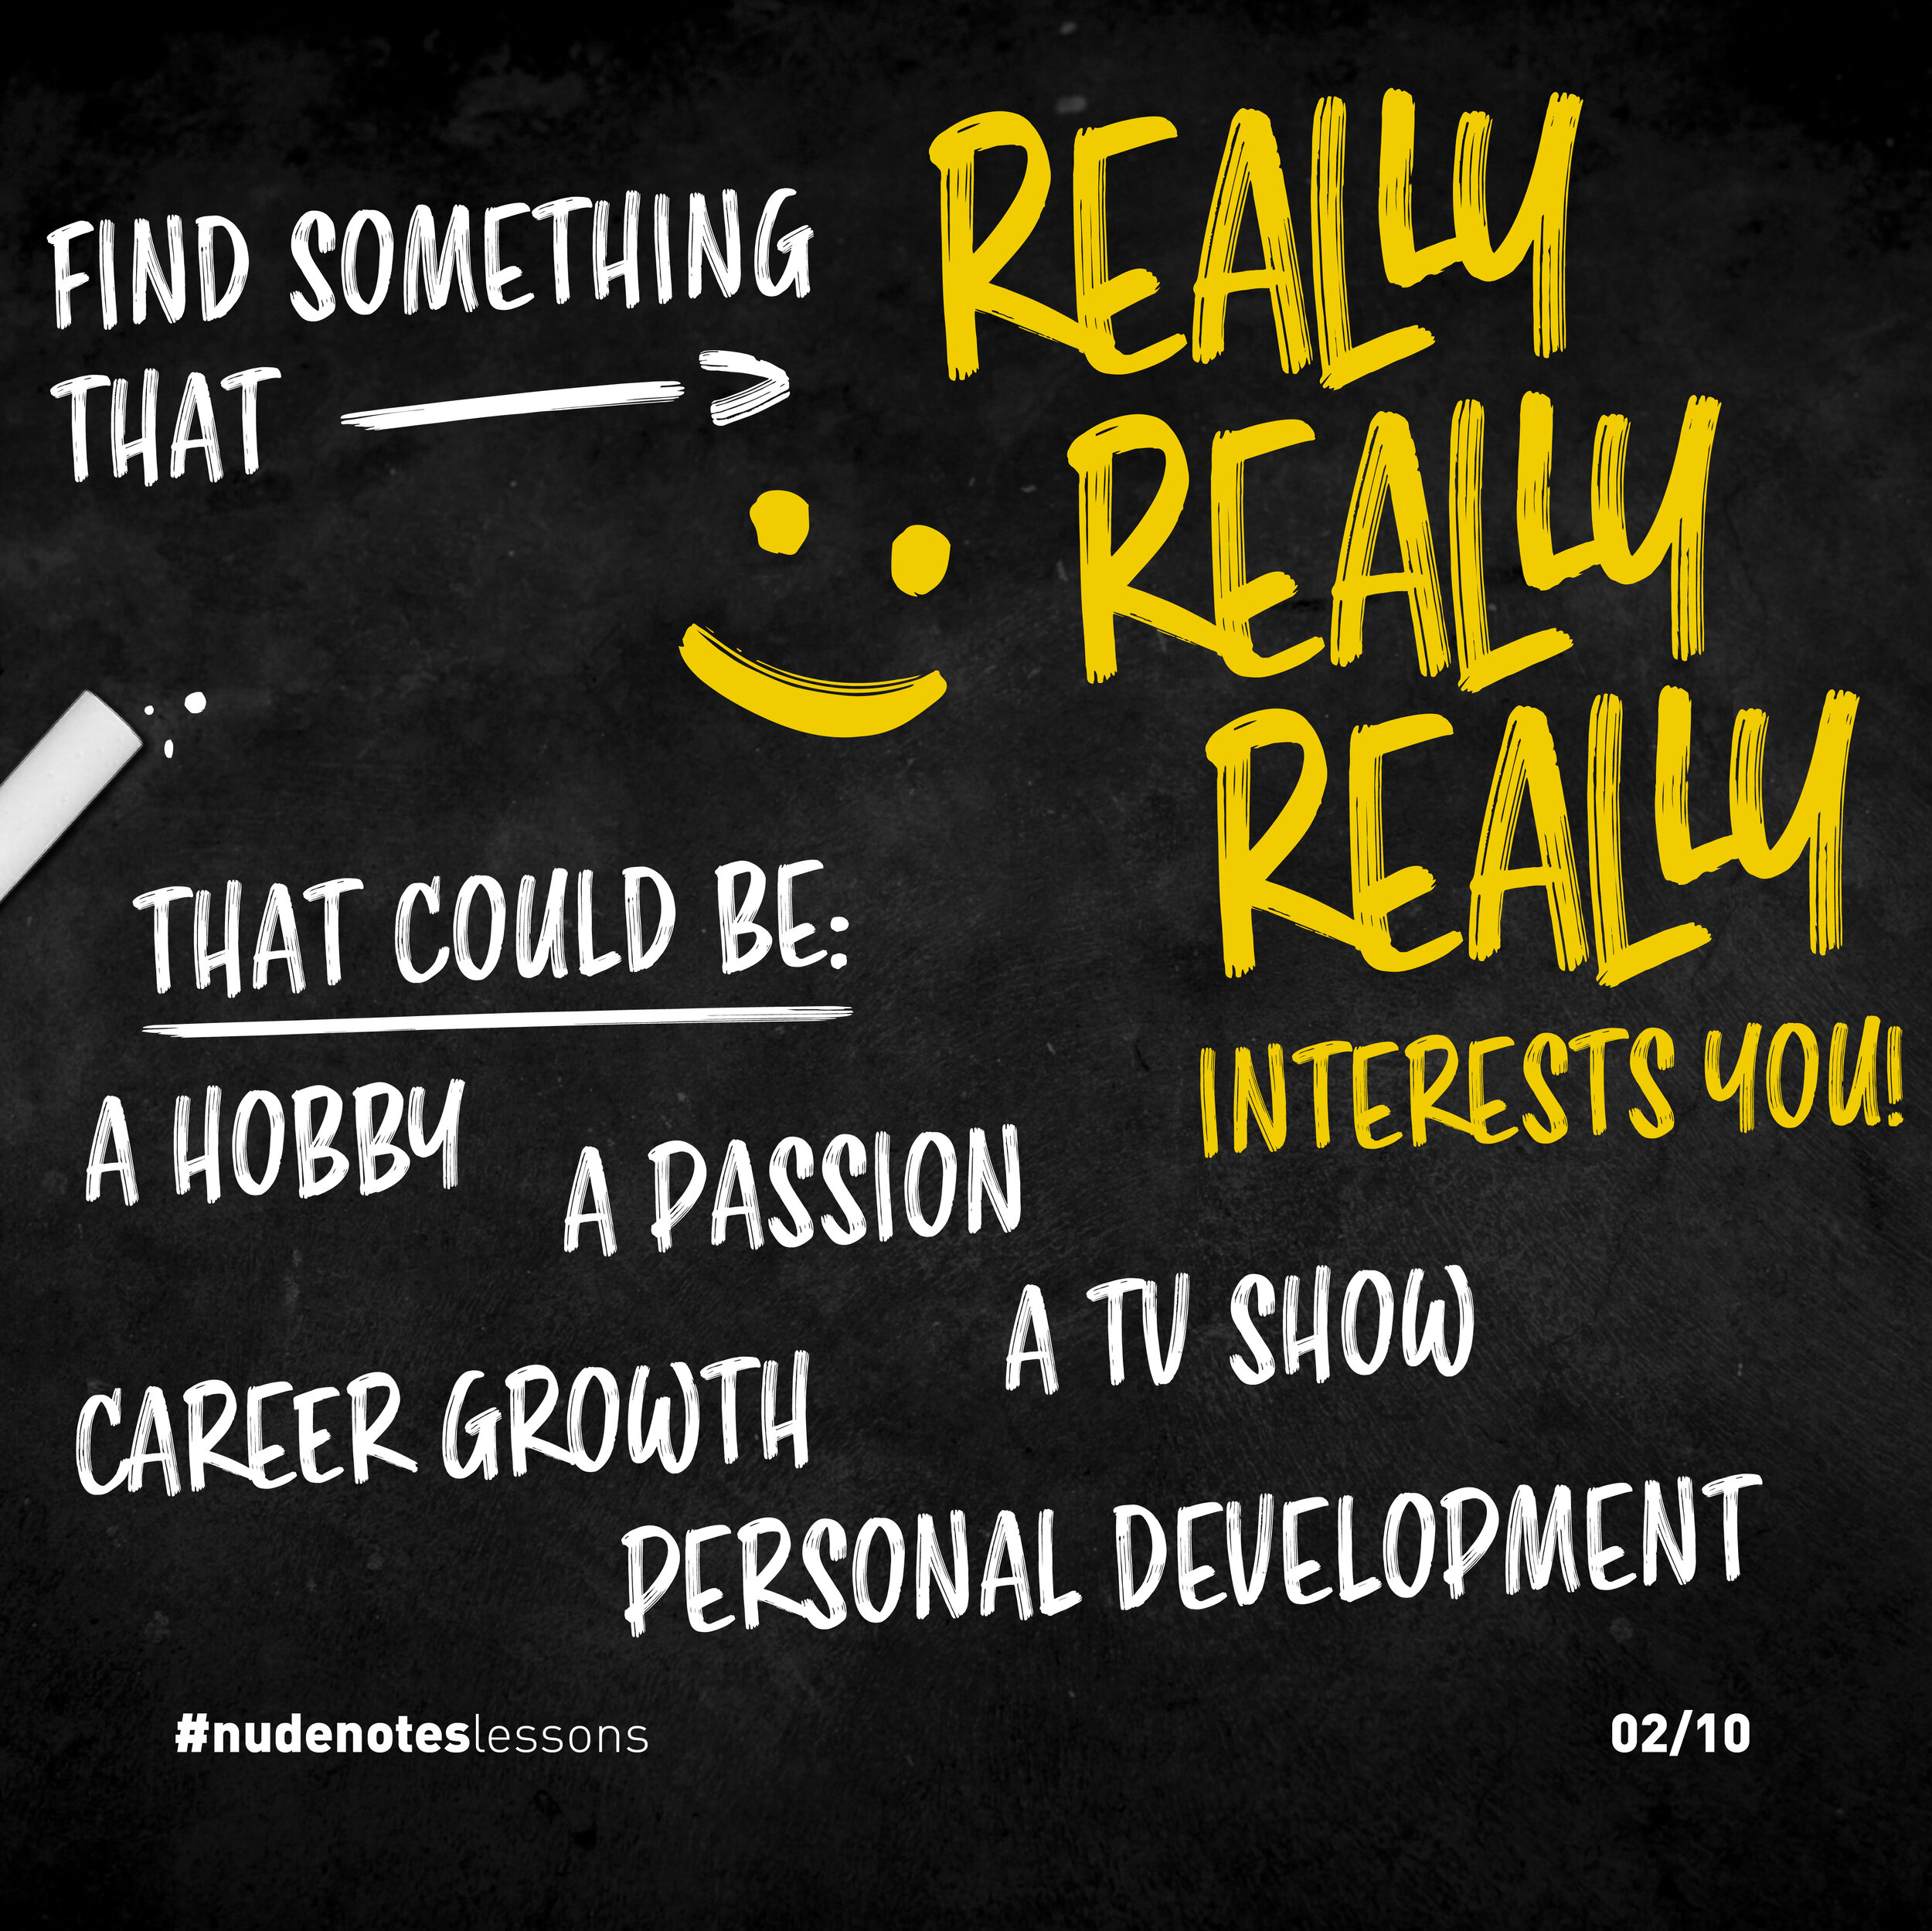
Find something that really interests you.
It could be on a hobby, passion, career growth, TV show, personal development… the list goes on.
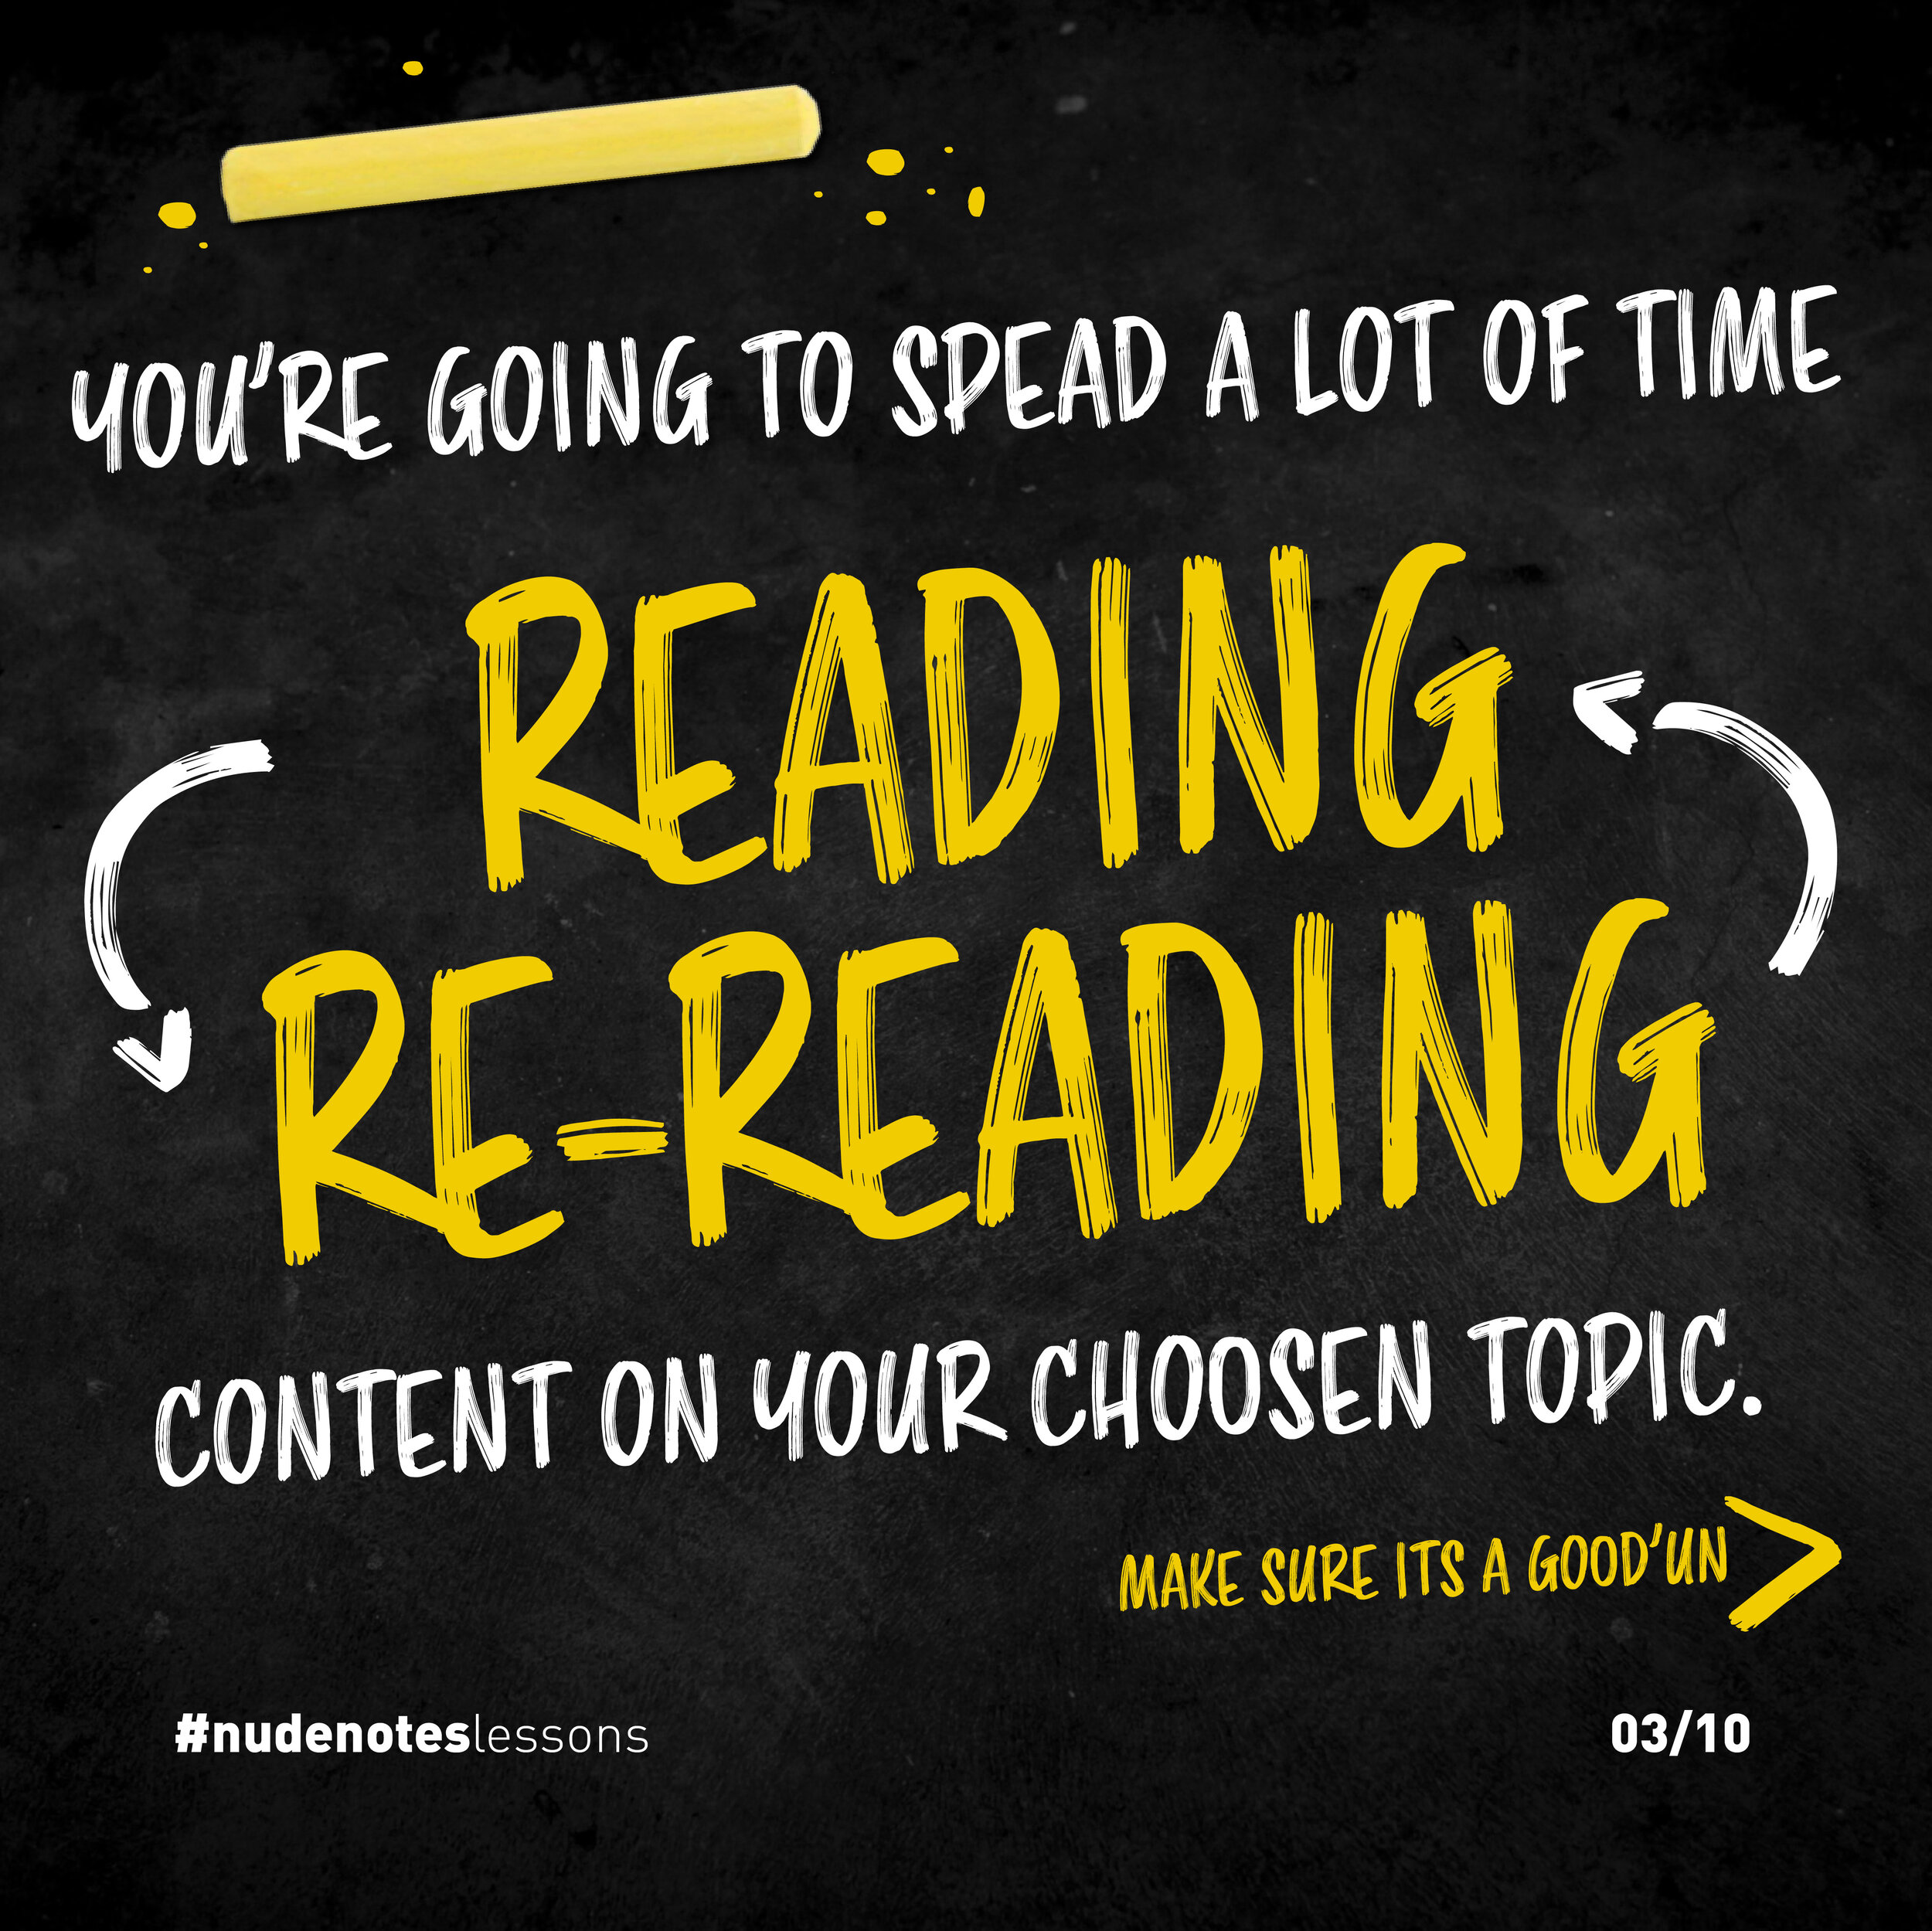
You’re going to spend a lot of time reading and re-reading content on your chosen topic, so make sure it’s a good one.
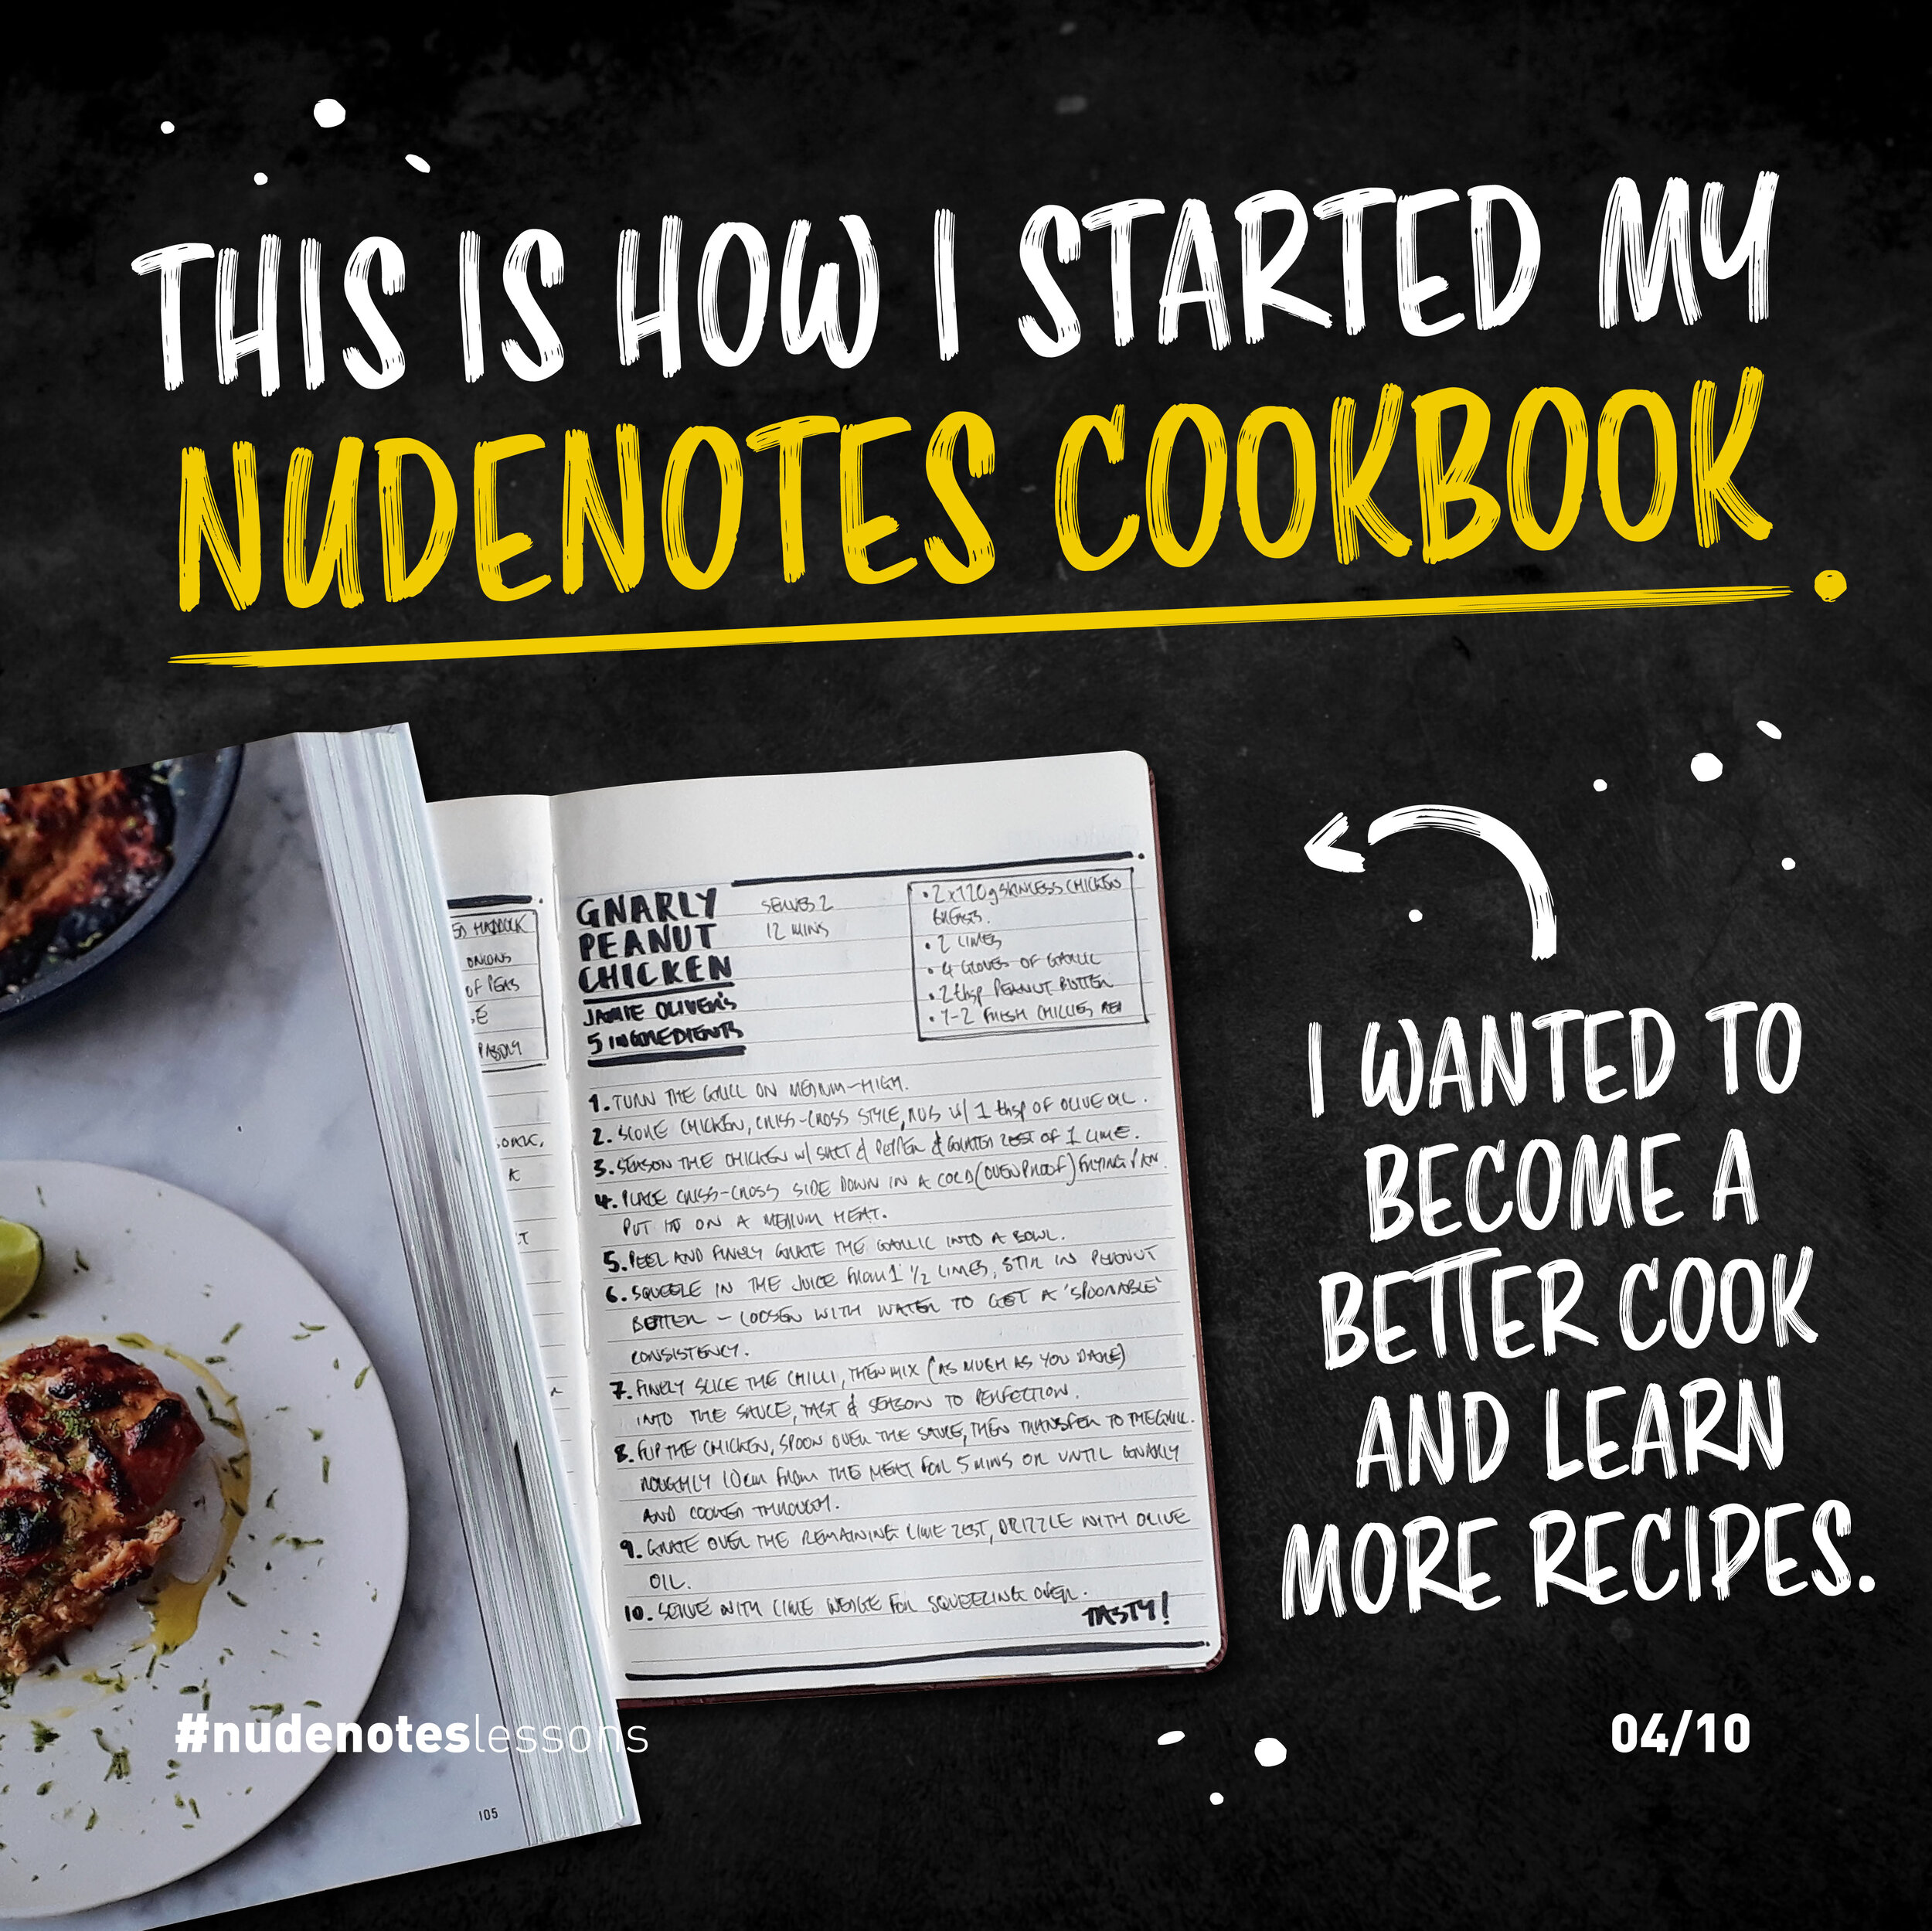
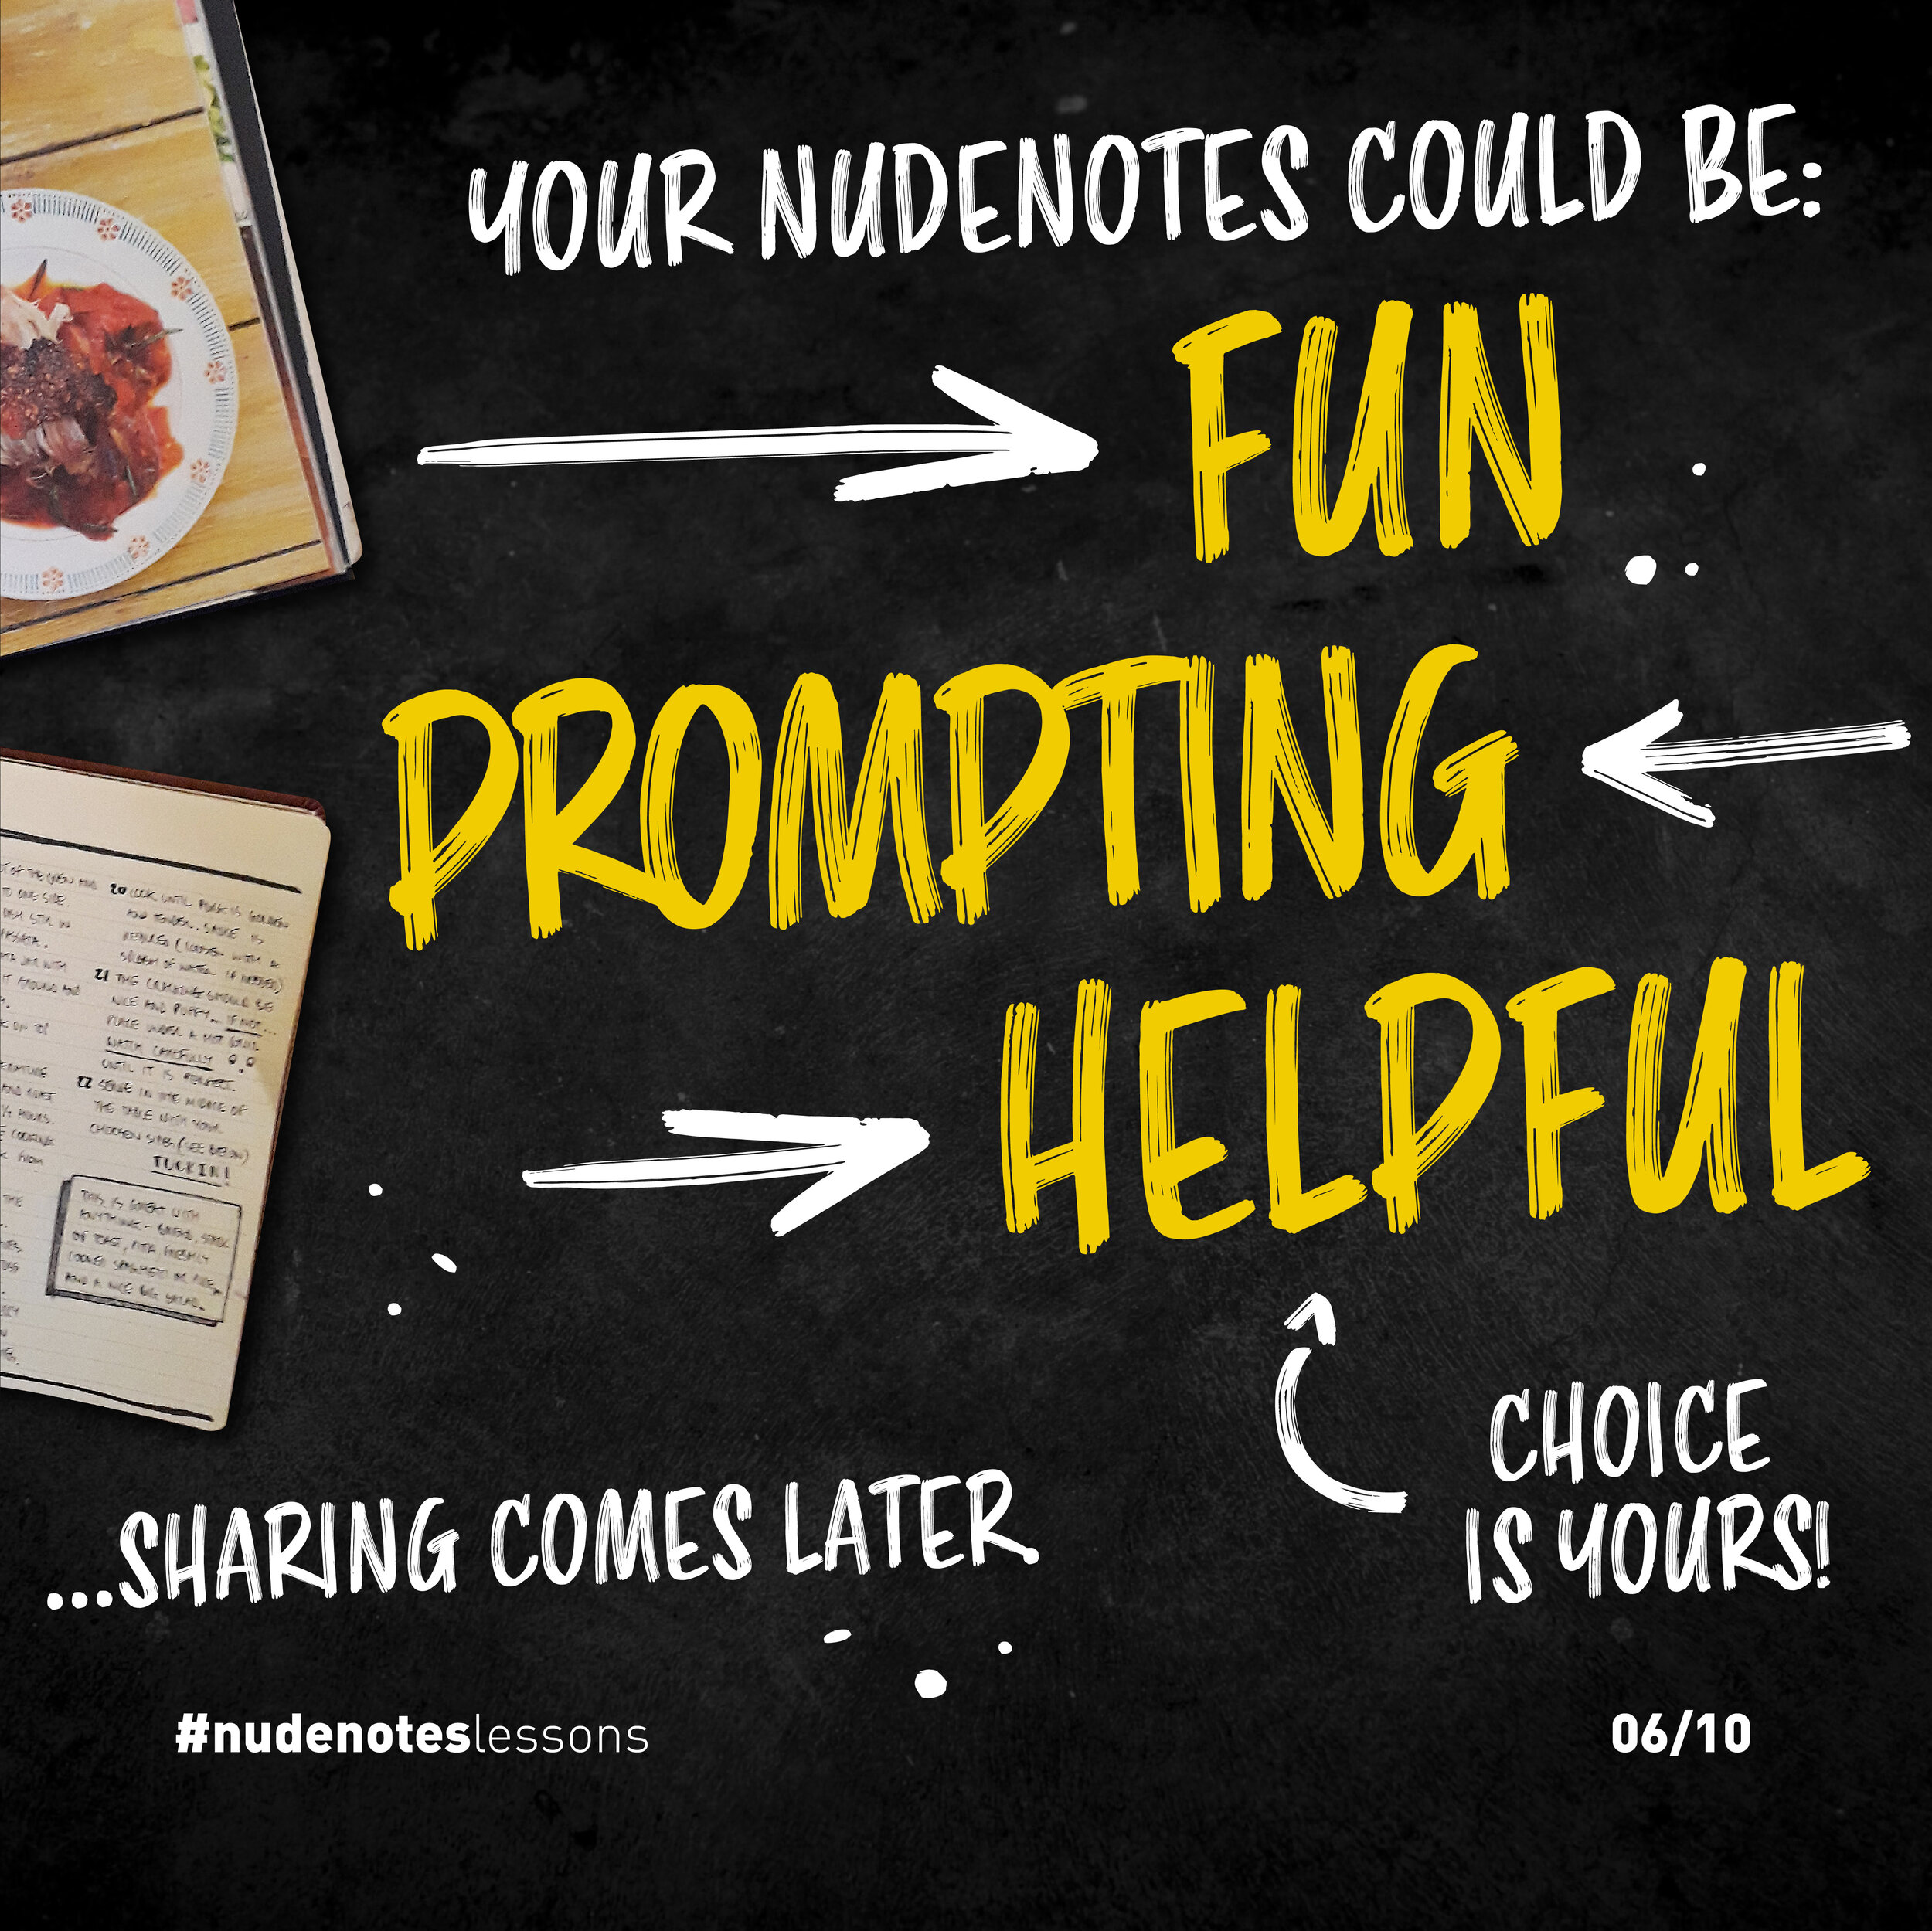
This is how I started my nudenotes cookbook.
I wanted to become a better cook, and learn more recipes.
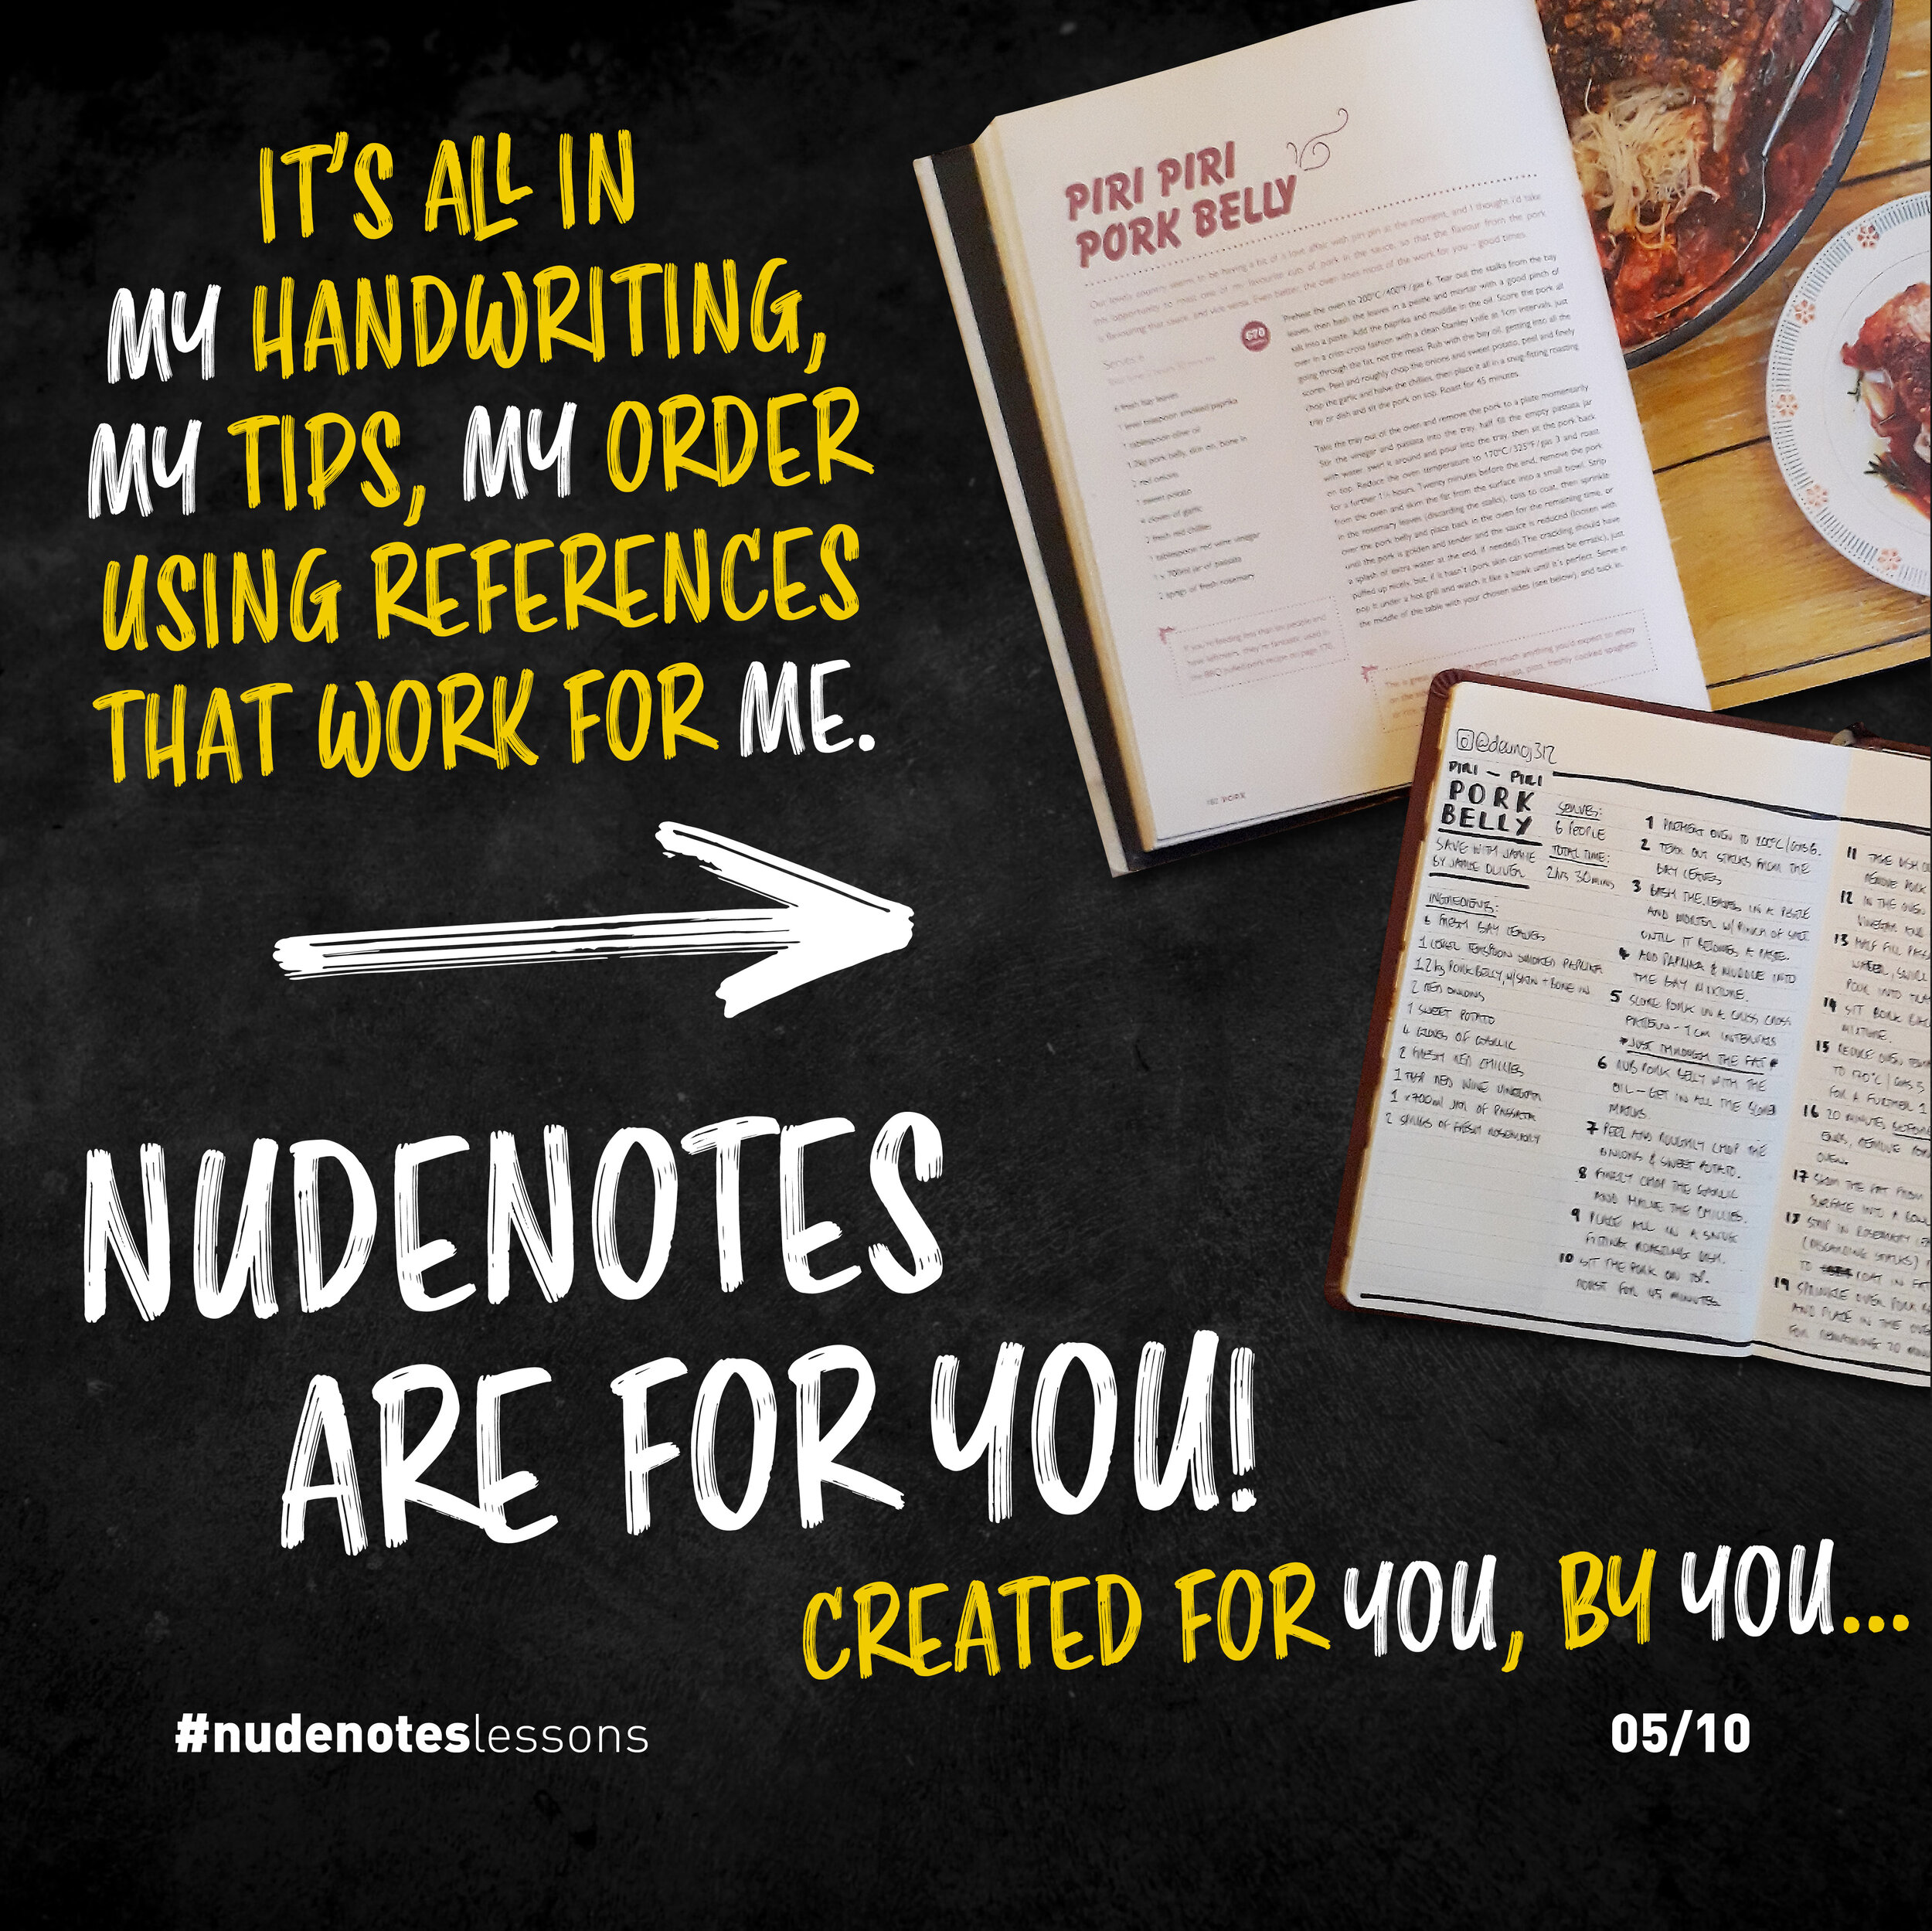
It’s all in my handwriting, with my tips and my order, using references that work for me.
Nudenotes are for you - created by you, for you (sharing comes later).
Your nudenotes could be fun, prompting, helpful.. the choice is yours.
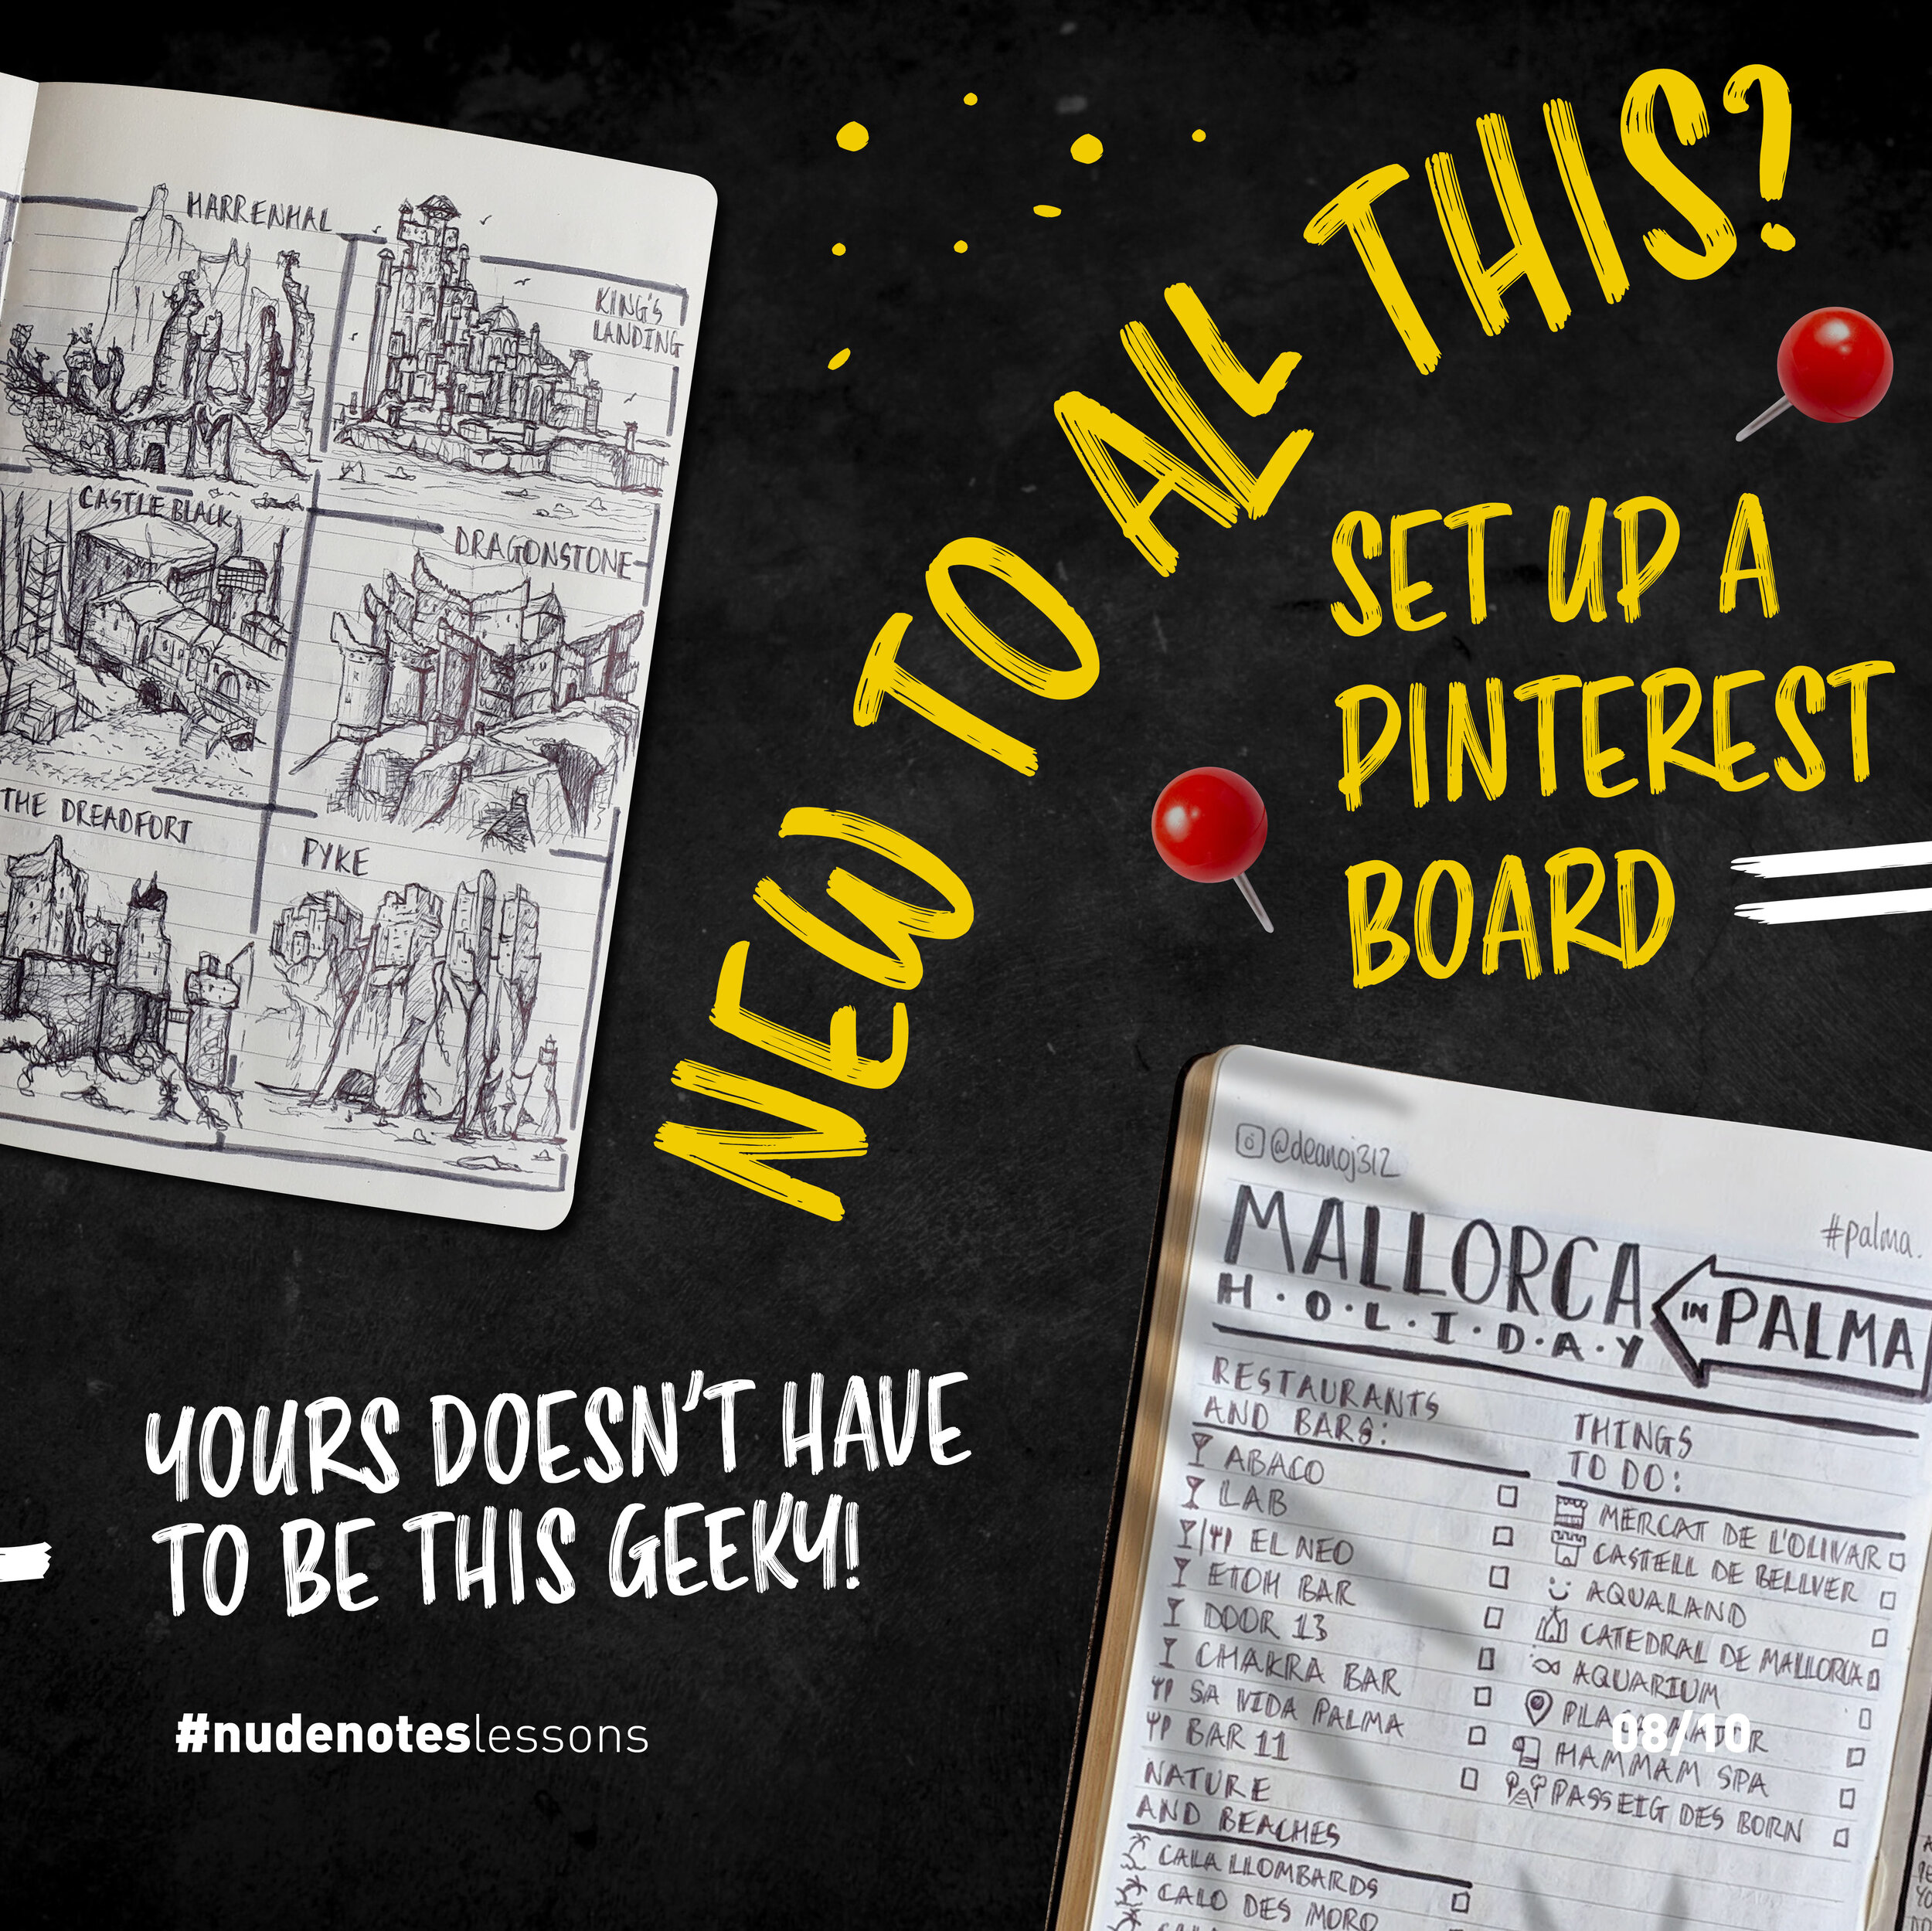
I’ve even done nudenotes on Game of Thrones, DIY projects, plans for holidays, the list is endless.
Of course, yours don’t have to be that geeky!
If you’re new to all this, set up a Pinterest board, it’s great for gathering and organising all your sources.
(Here is link to my own Pinterest inspiration board.)
Your nudenotes and their inspiration will become a handy resource for you and anyone else who sees it.
Look out for infographics
Infographics are absolute golden nuggets of inspiration, just waiting to be discovered.
They’re the synergy of information and graphic design, just like nudenotes!
They can be used as a shortcut to creating nudenotes, as all the legwork has already been done for you.
Someone has spent hours distilling a tonne of research down to bite-sized pieces, laying them all out in an aesthetically pleasing, easy-to-read way.
Lean into it, don’t ignore all that work, and use what you can from it: the layout, story, visuals, typography… anything that catches your eye.
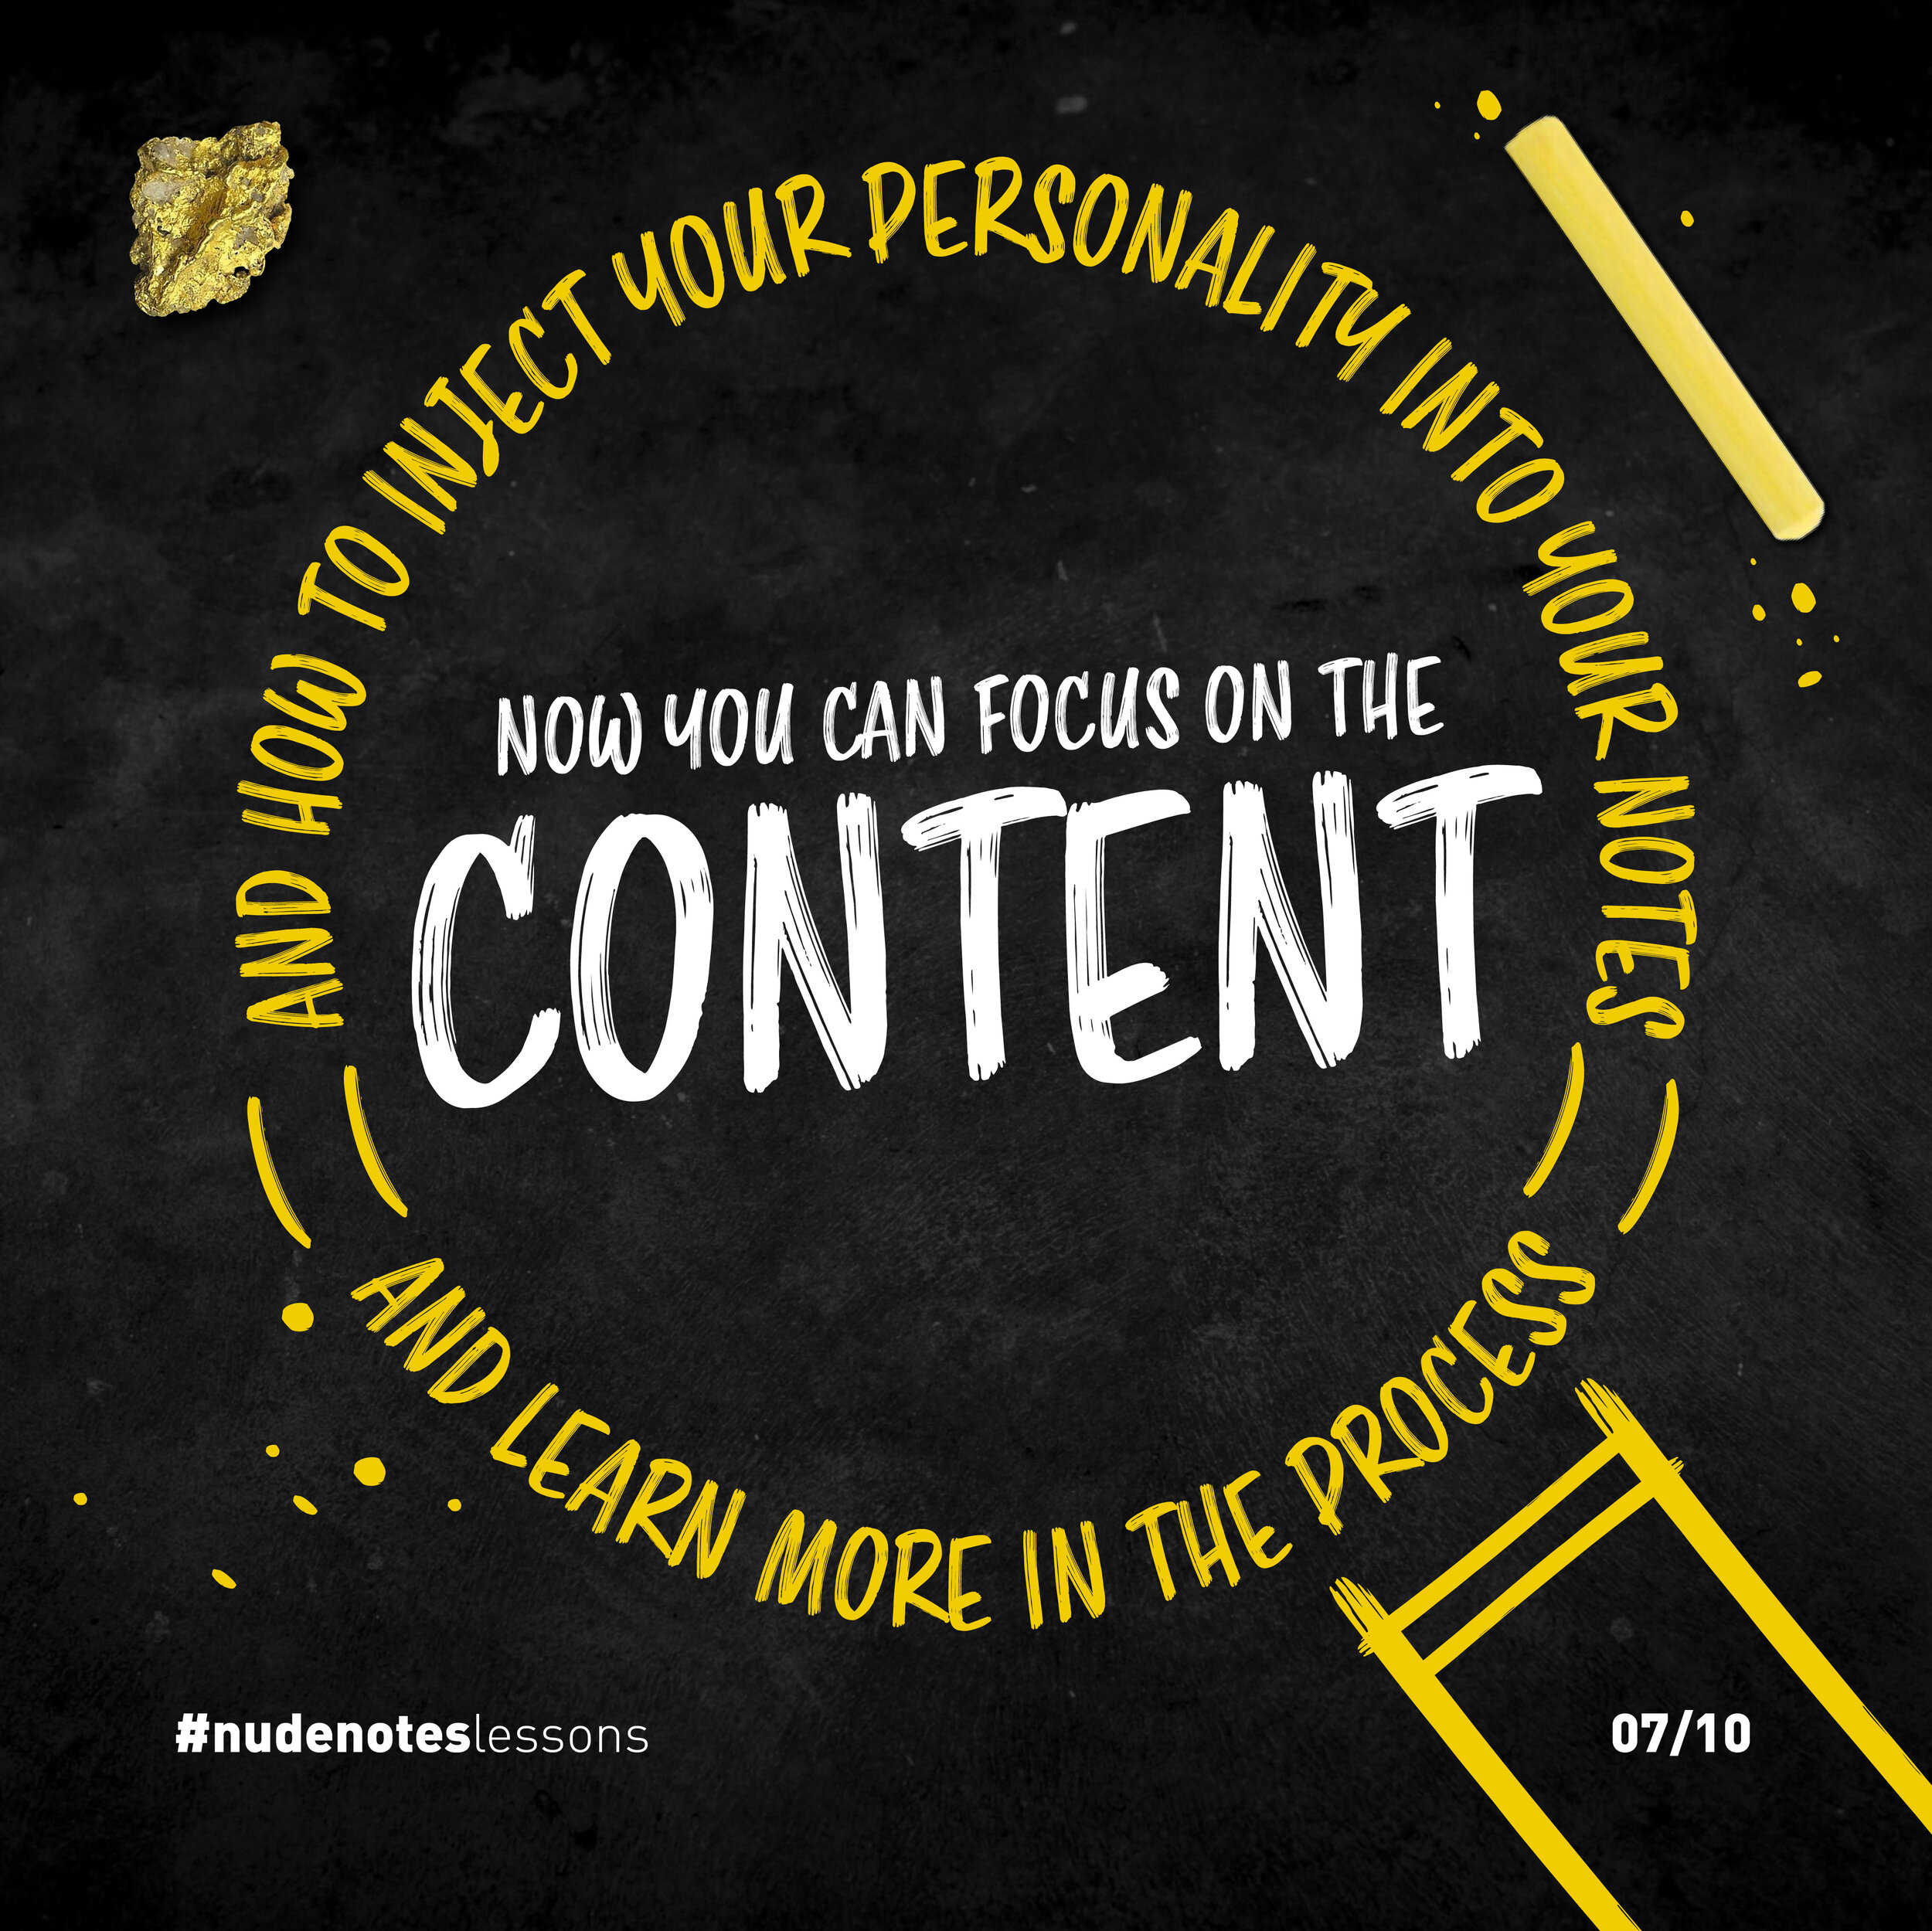
Now you can focus on the content, and how to inject your personality into your notes, and learn more in the process.
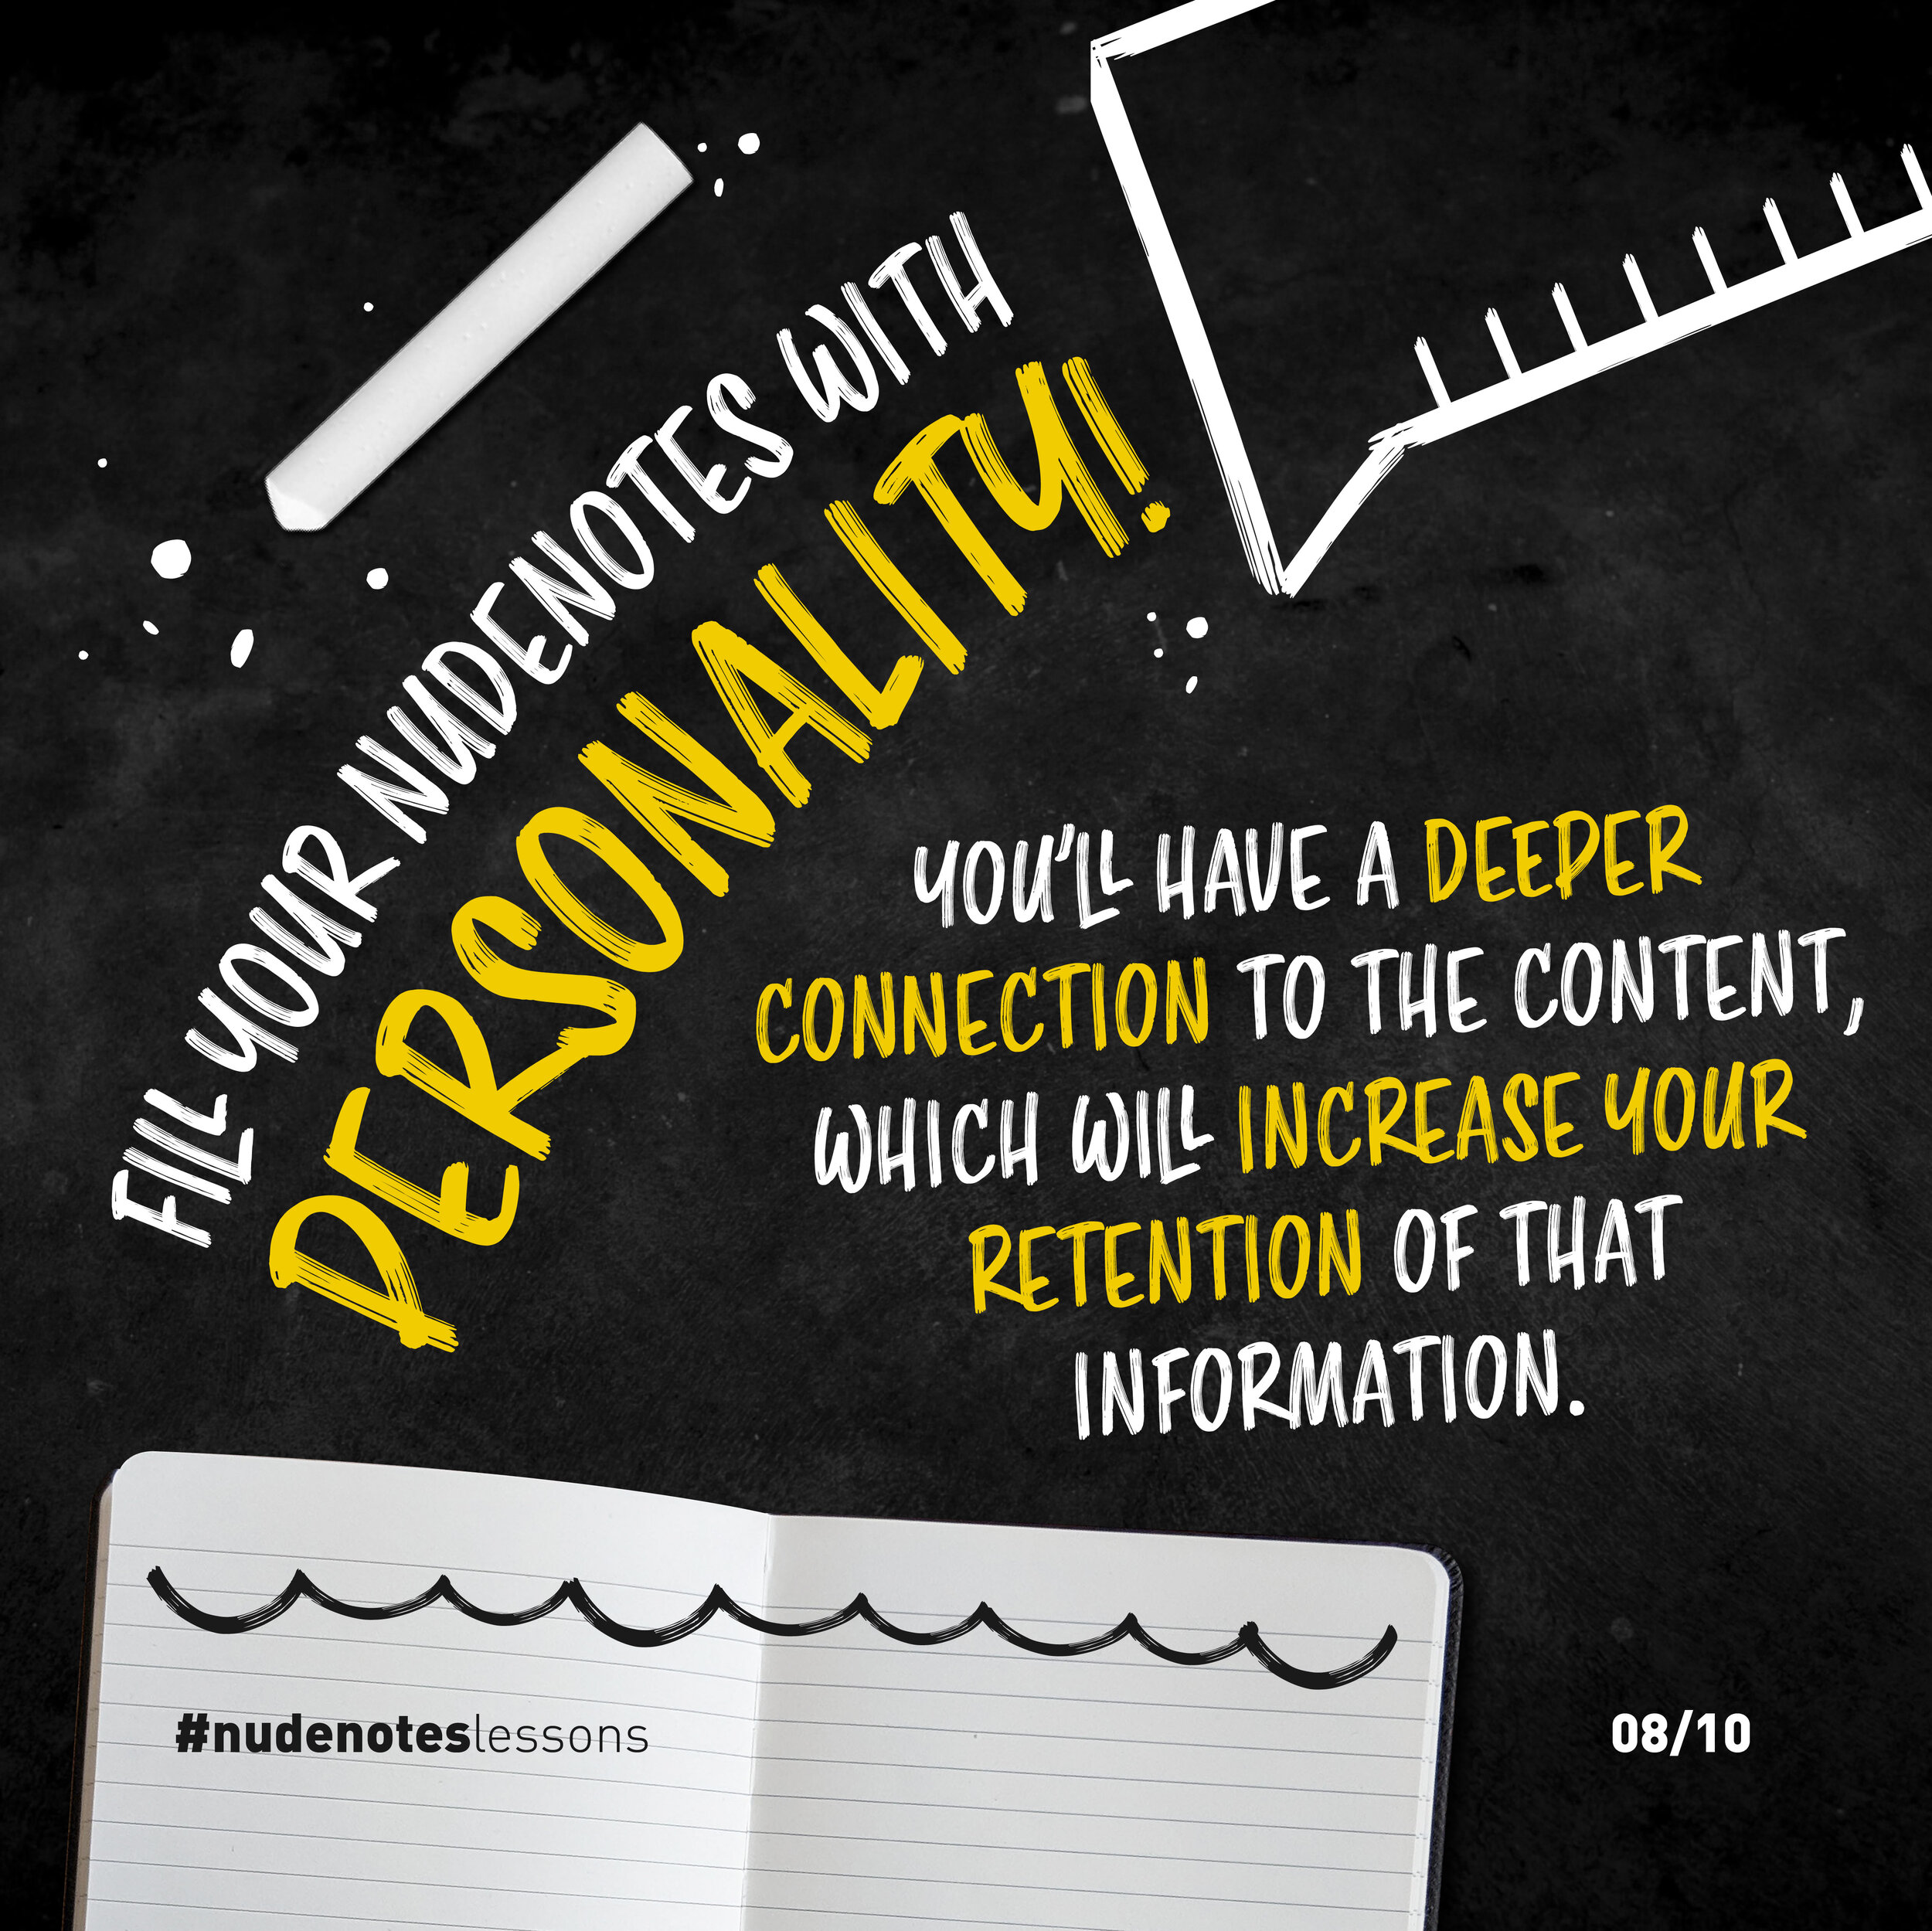
Fill your nudenotes with personality - you’ll have a deeper connection to the content, which will increase your retention of that information.
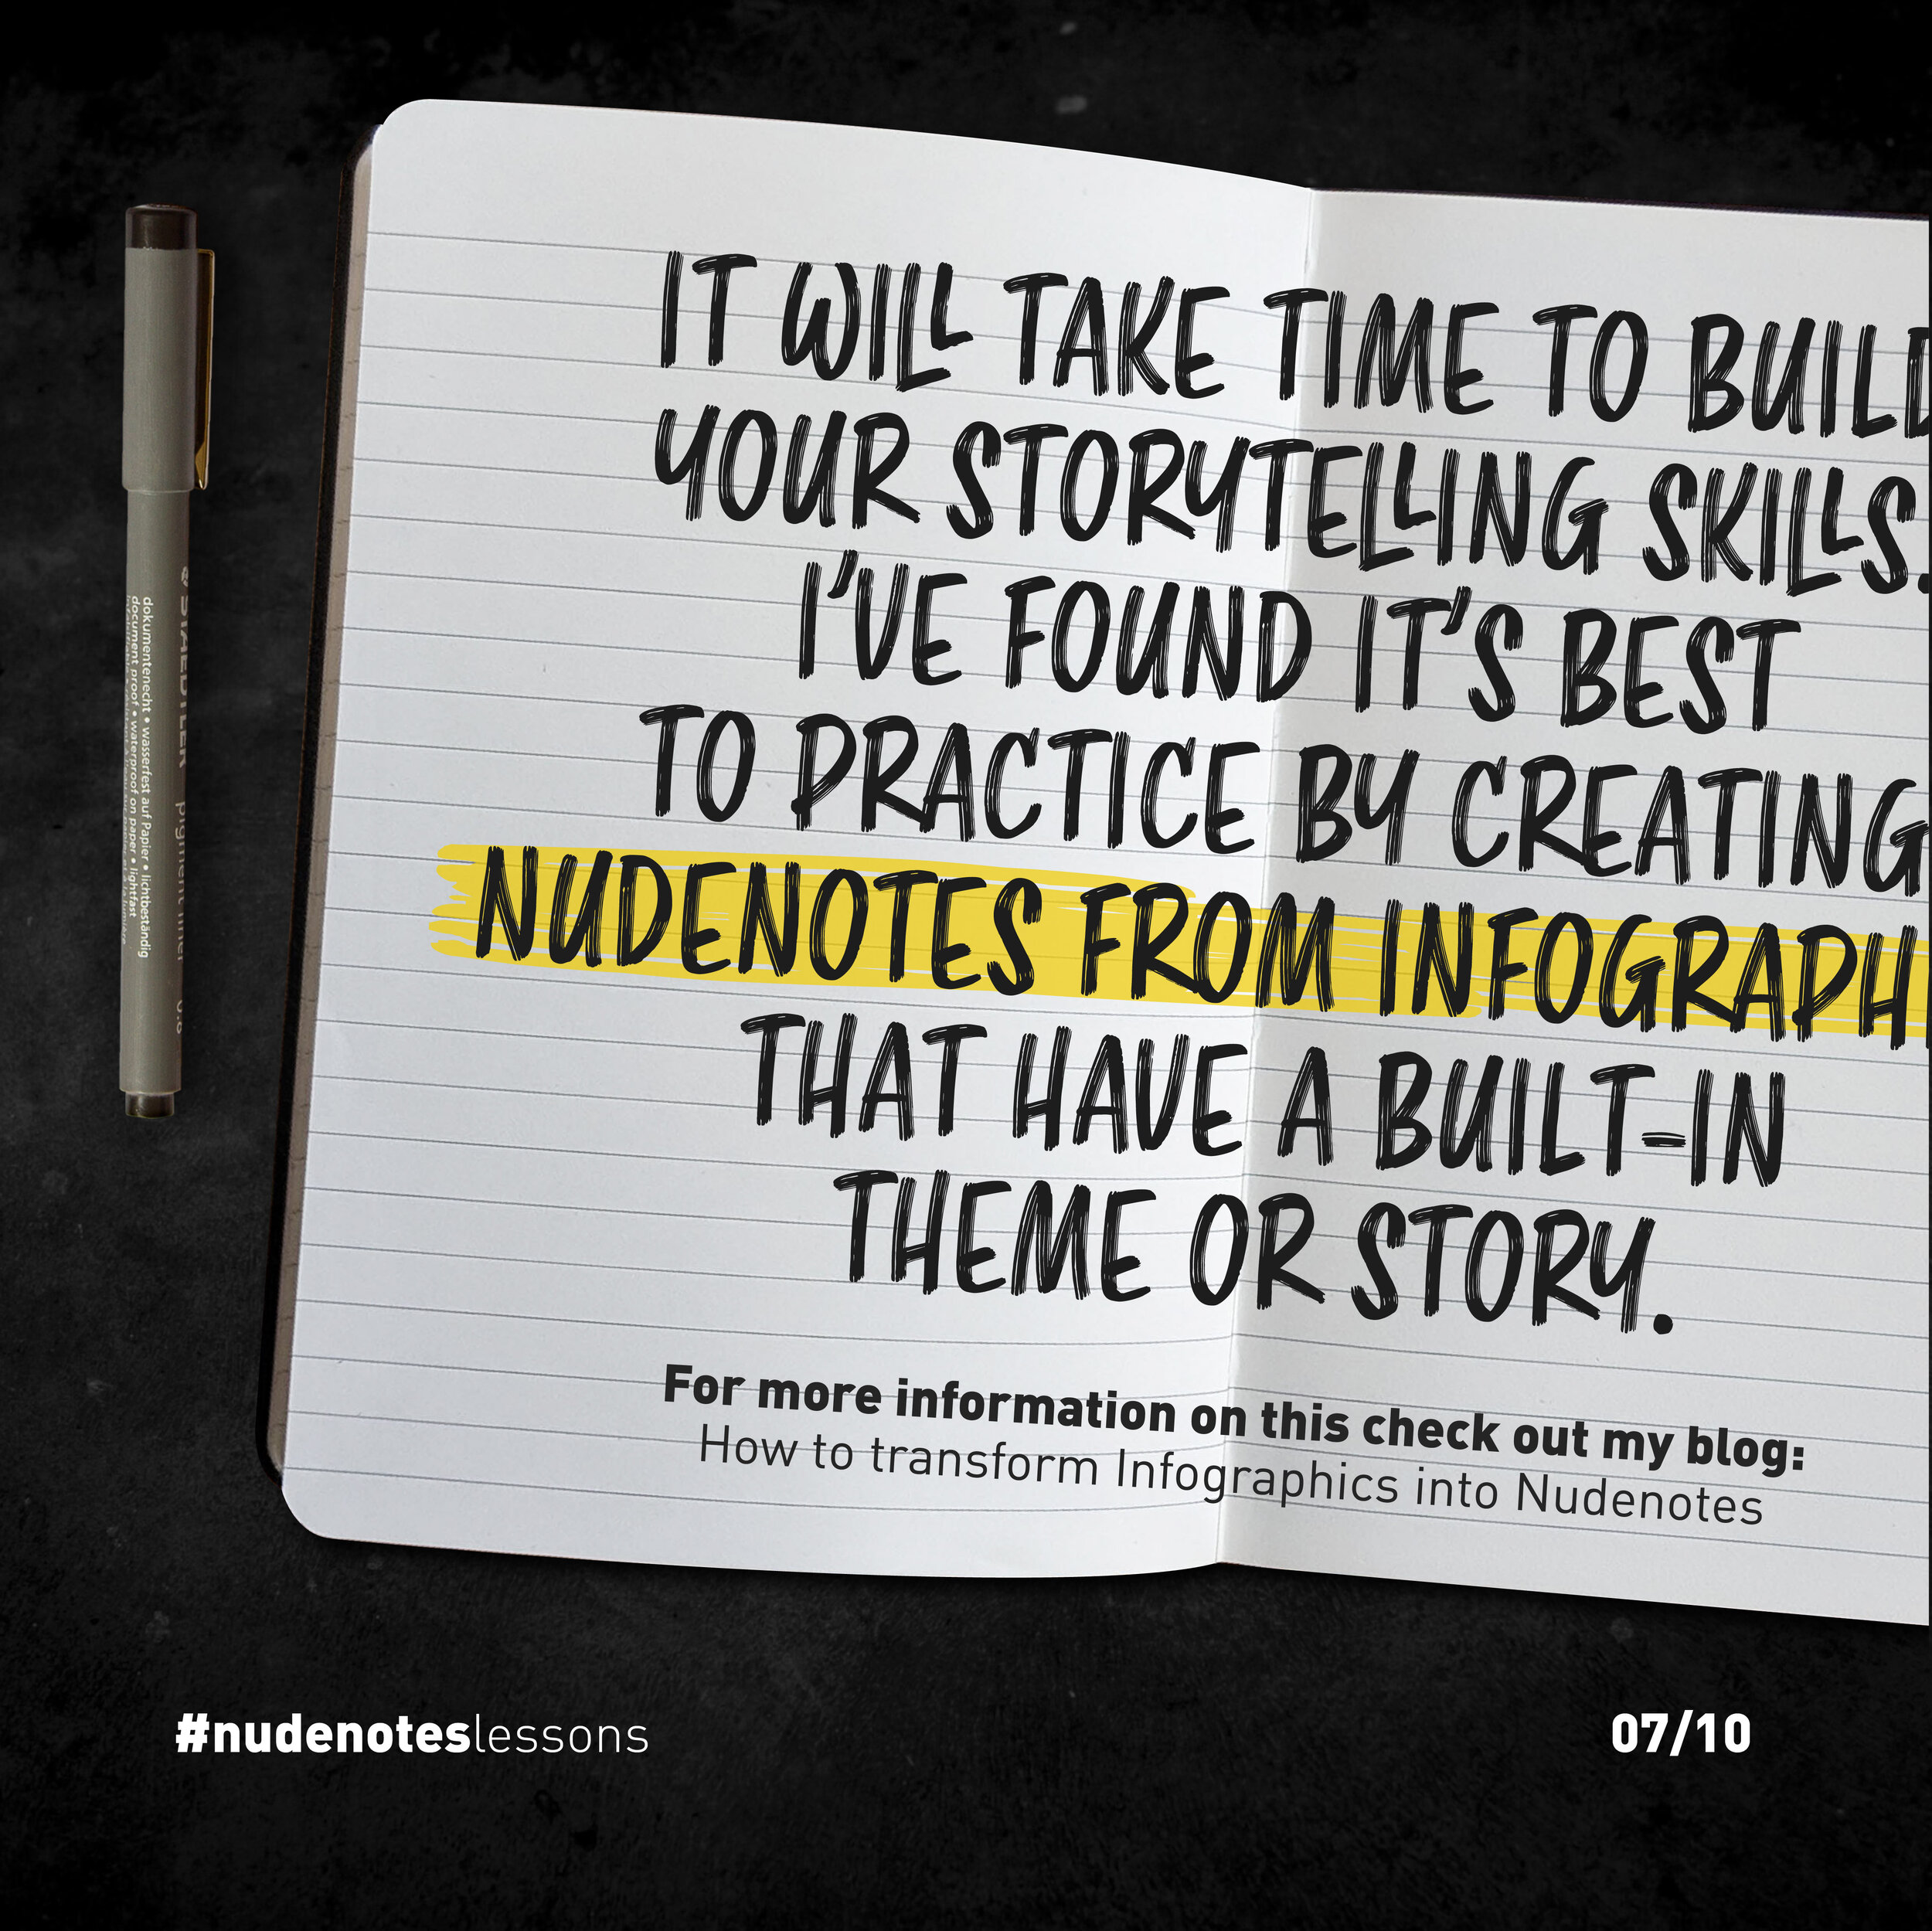
For more information on transforming infographics into nudenotes - check out my blog which talks about just that.
Work that grid
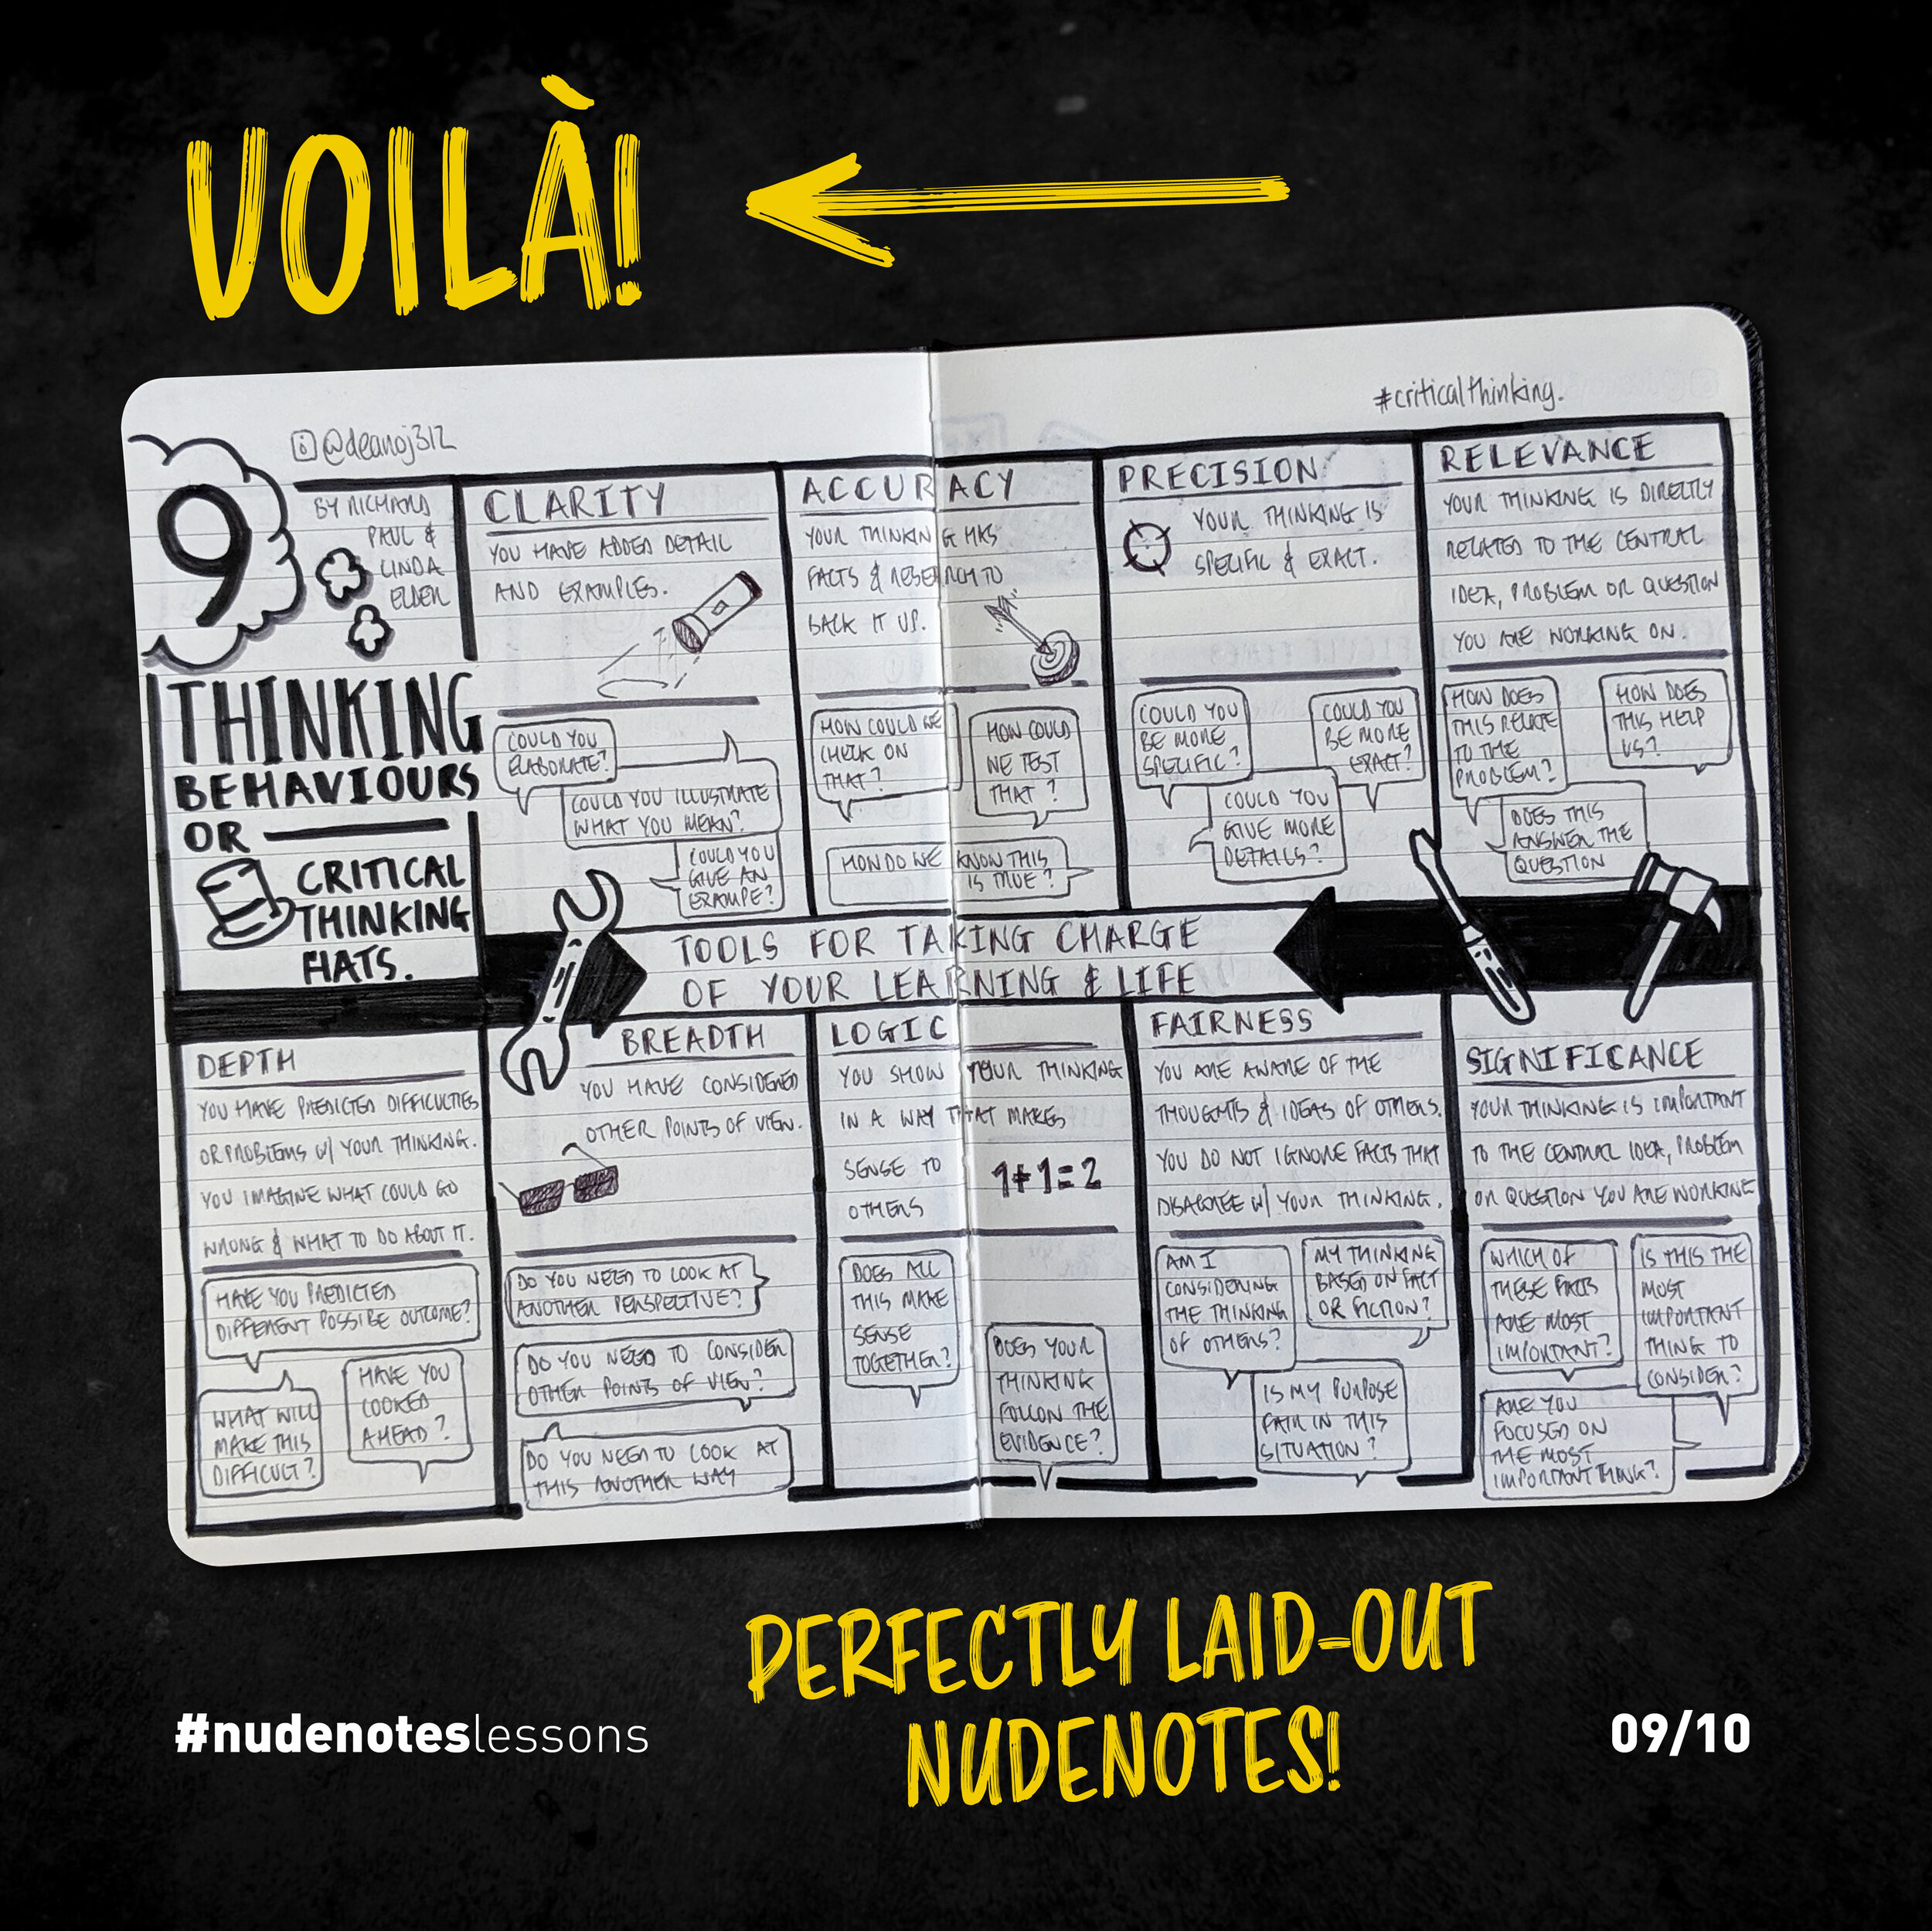
I know all the designers are yelling ‘Duh!’ right now, but for the non-visual arts people, I’ll do a quick run-through of what grids are and how they can be best used.
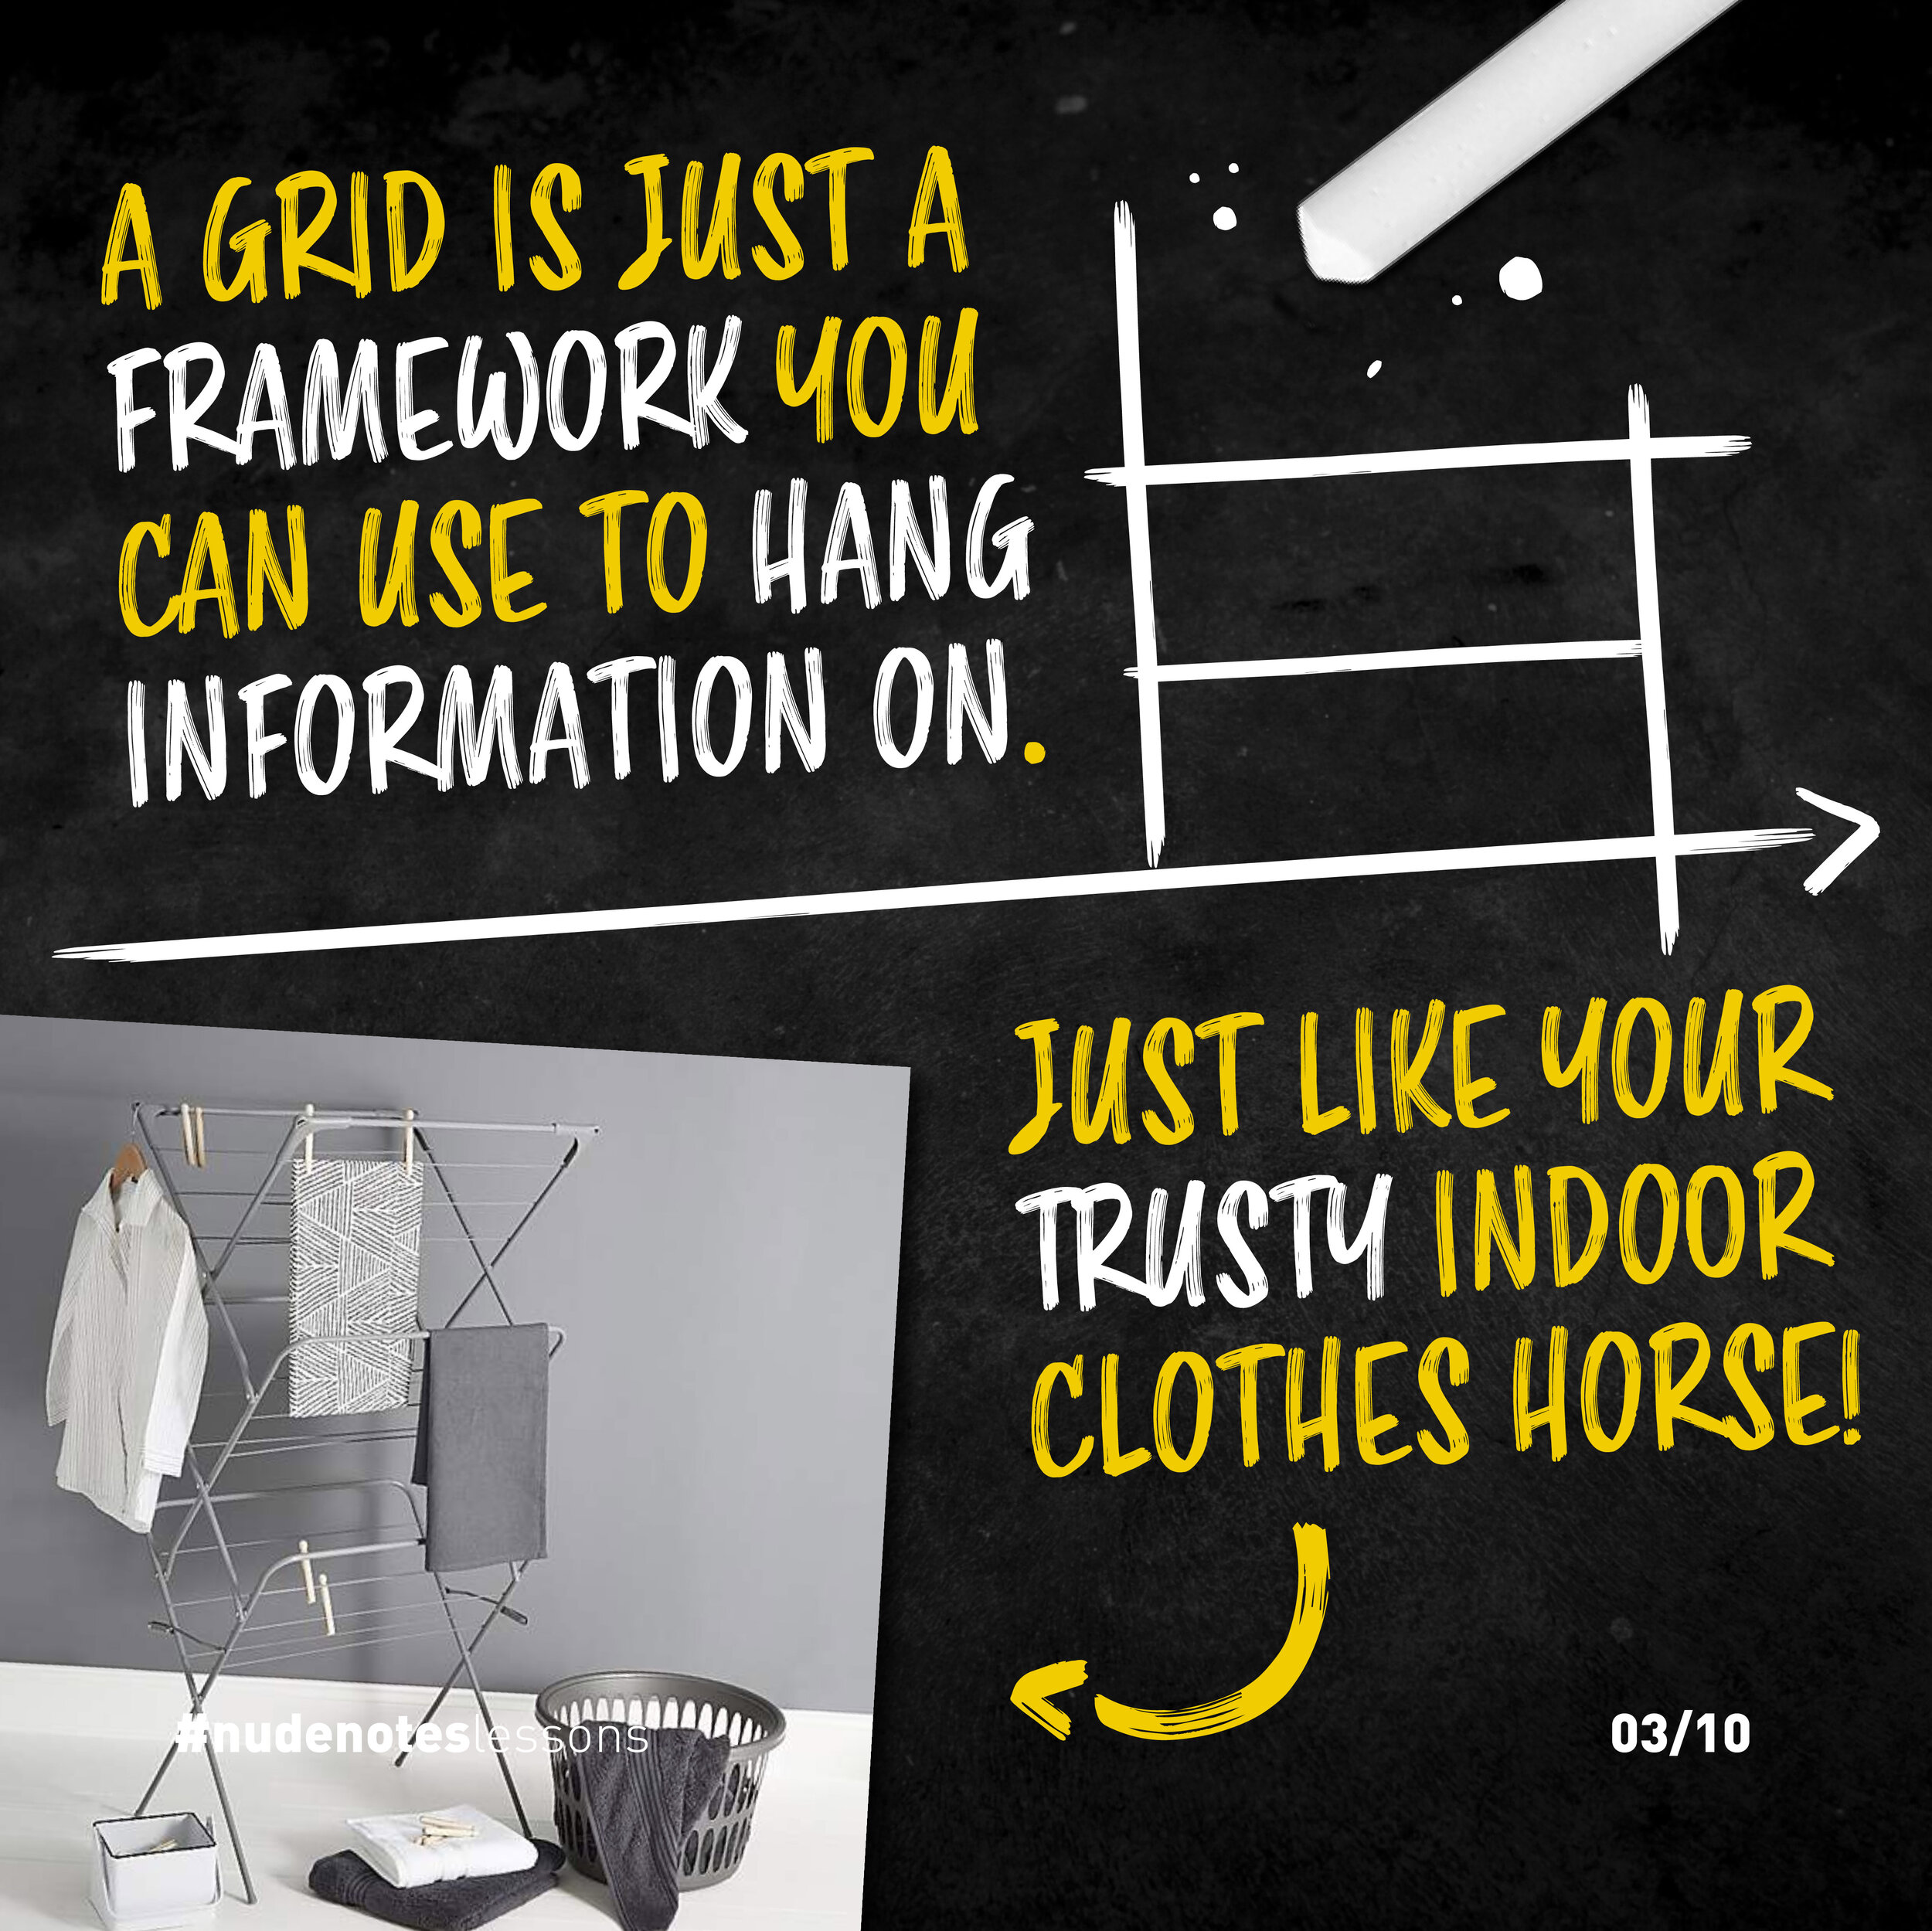
A grid works is just a framework you can use to hang information on, just like your trusty clothes horse!
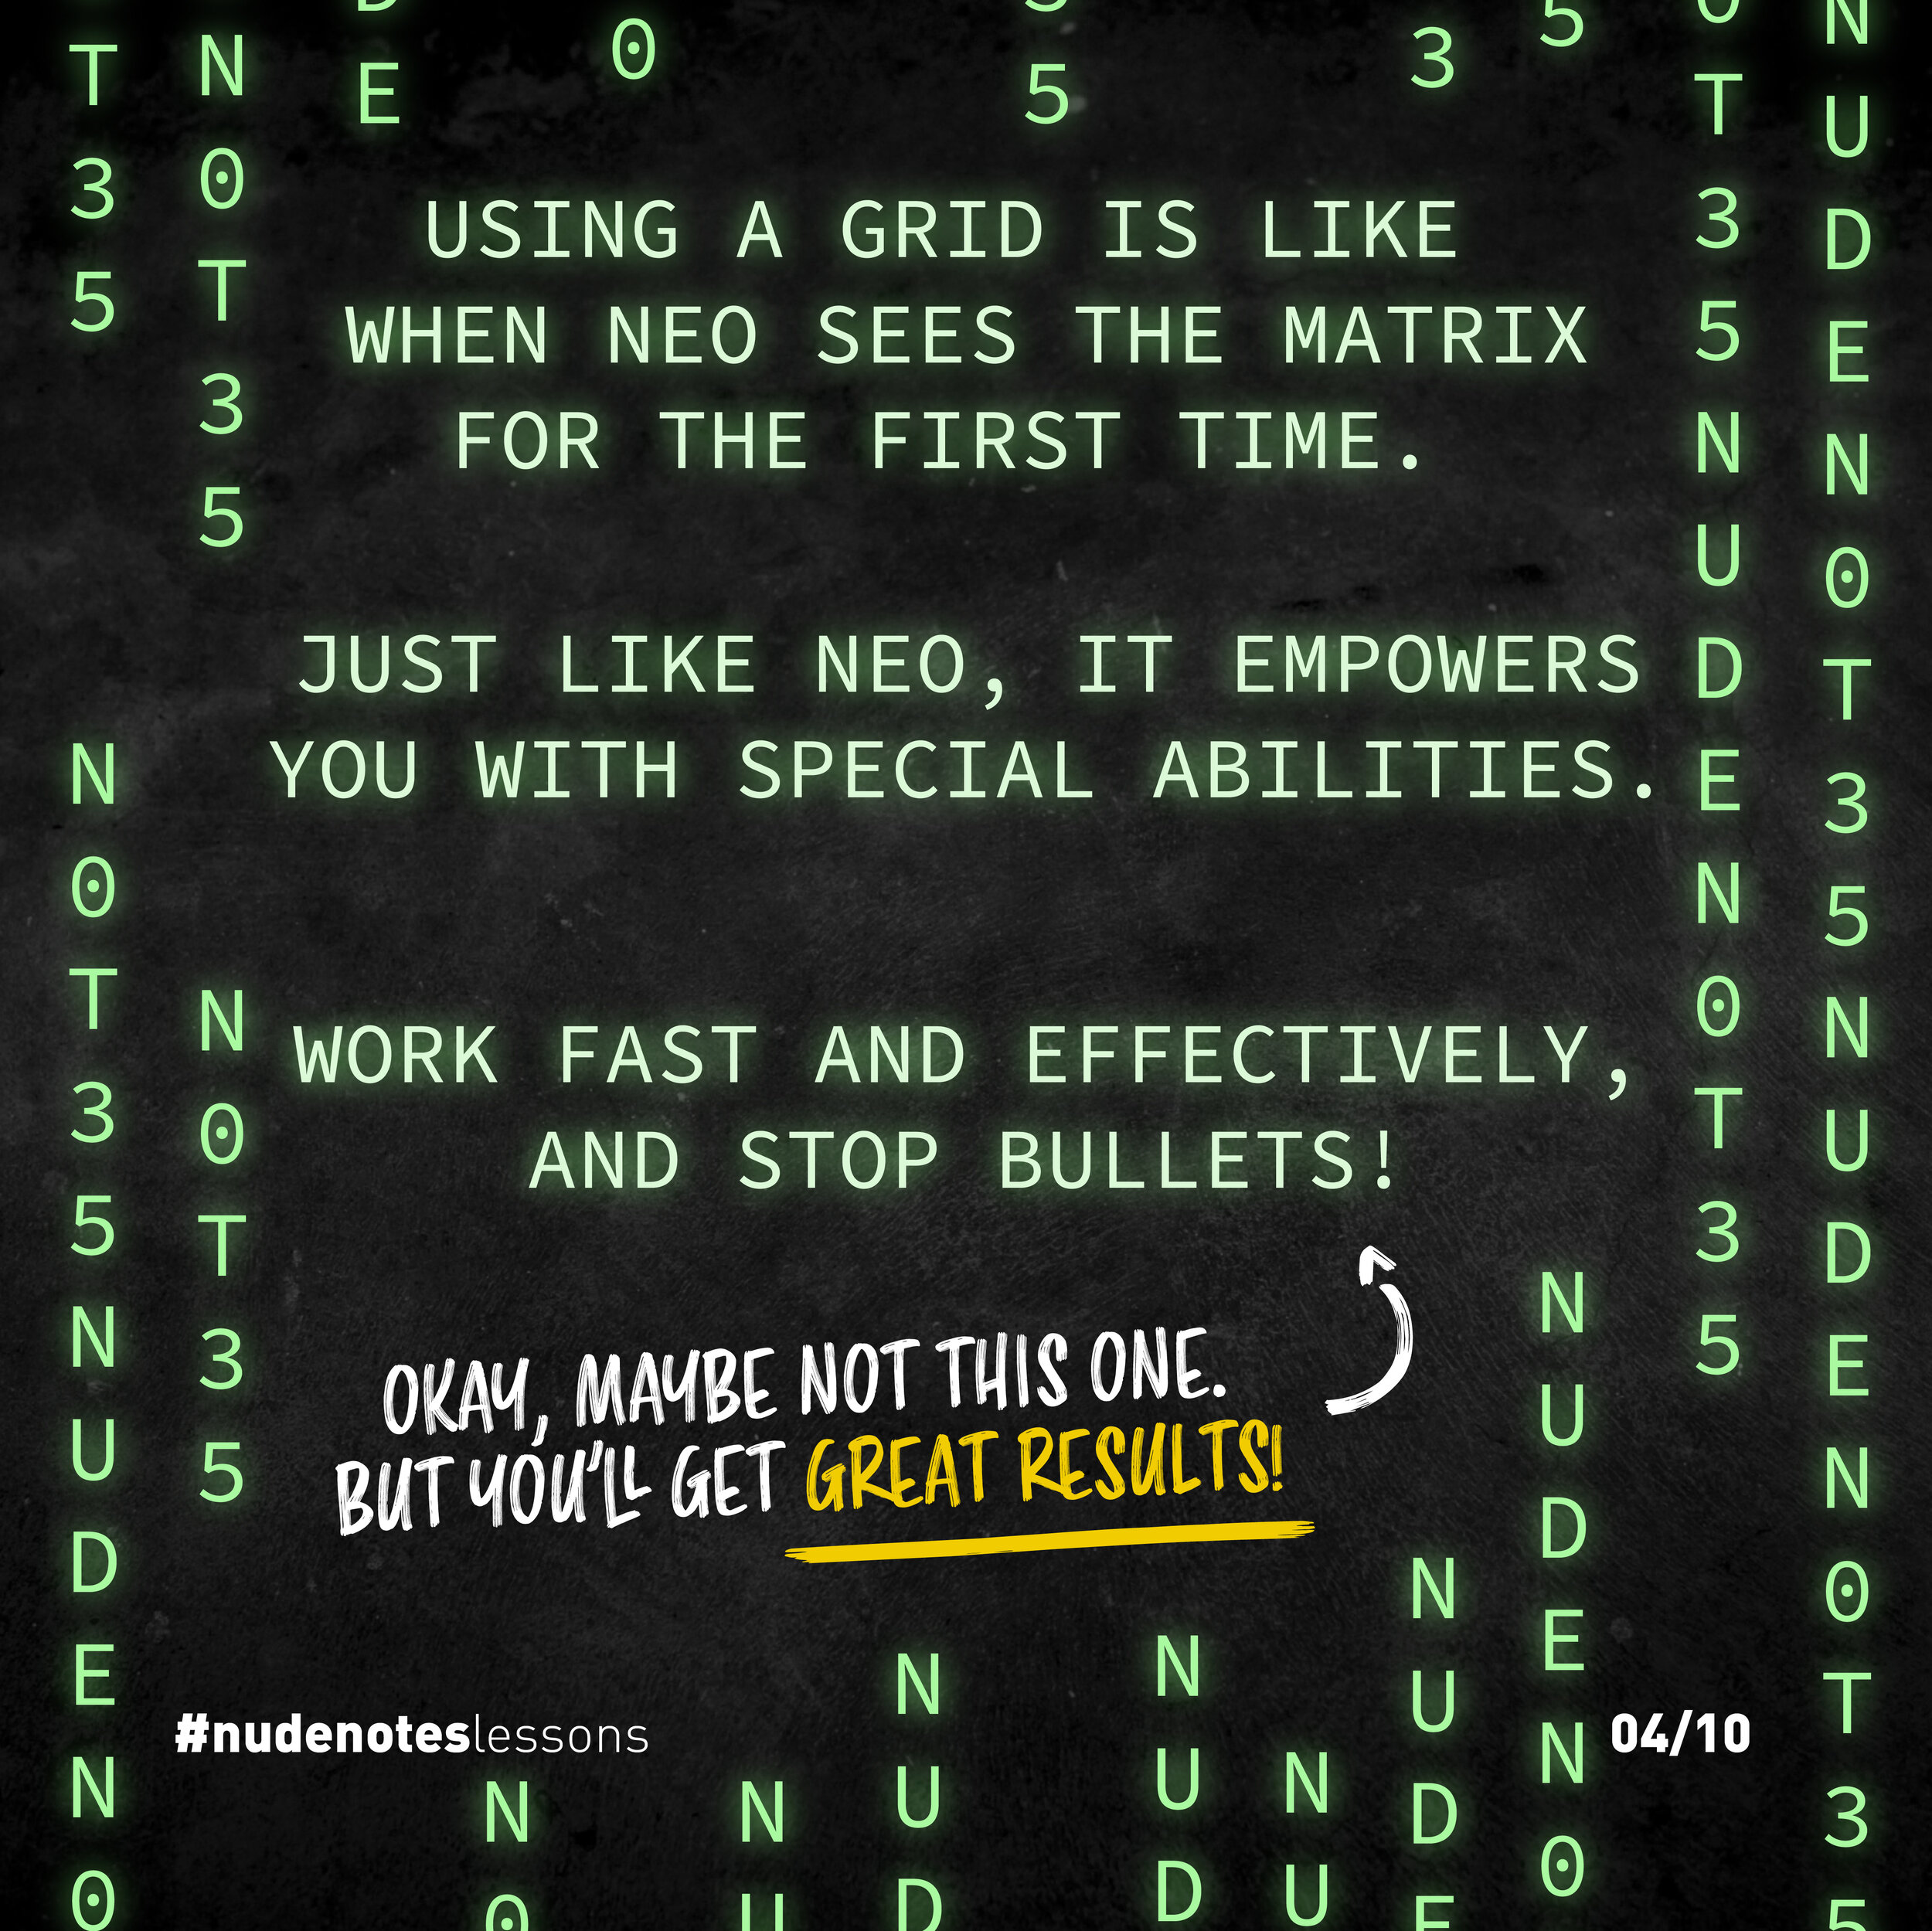
Using a grid is like when Neo sees the Matrix for the first time.
Just like Neo, it empowers you with special abilities.
Work fast and effectively, and get great results!
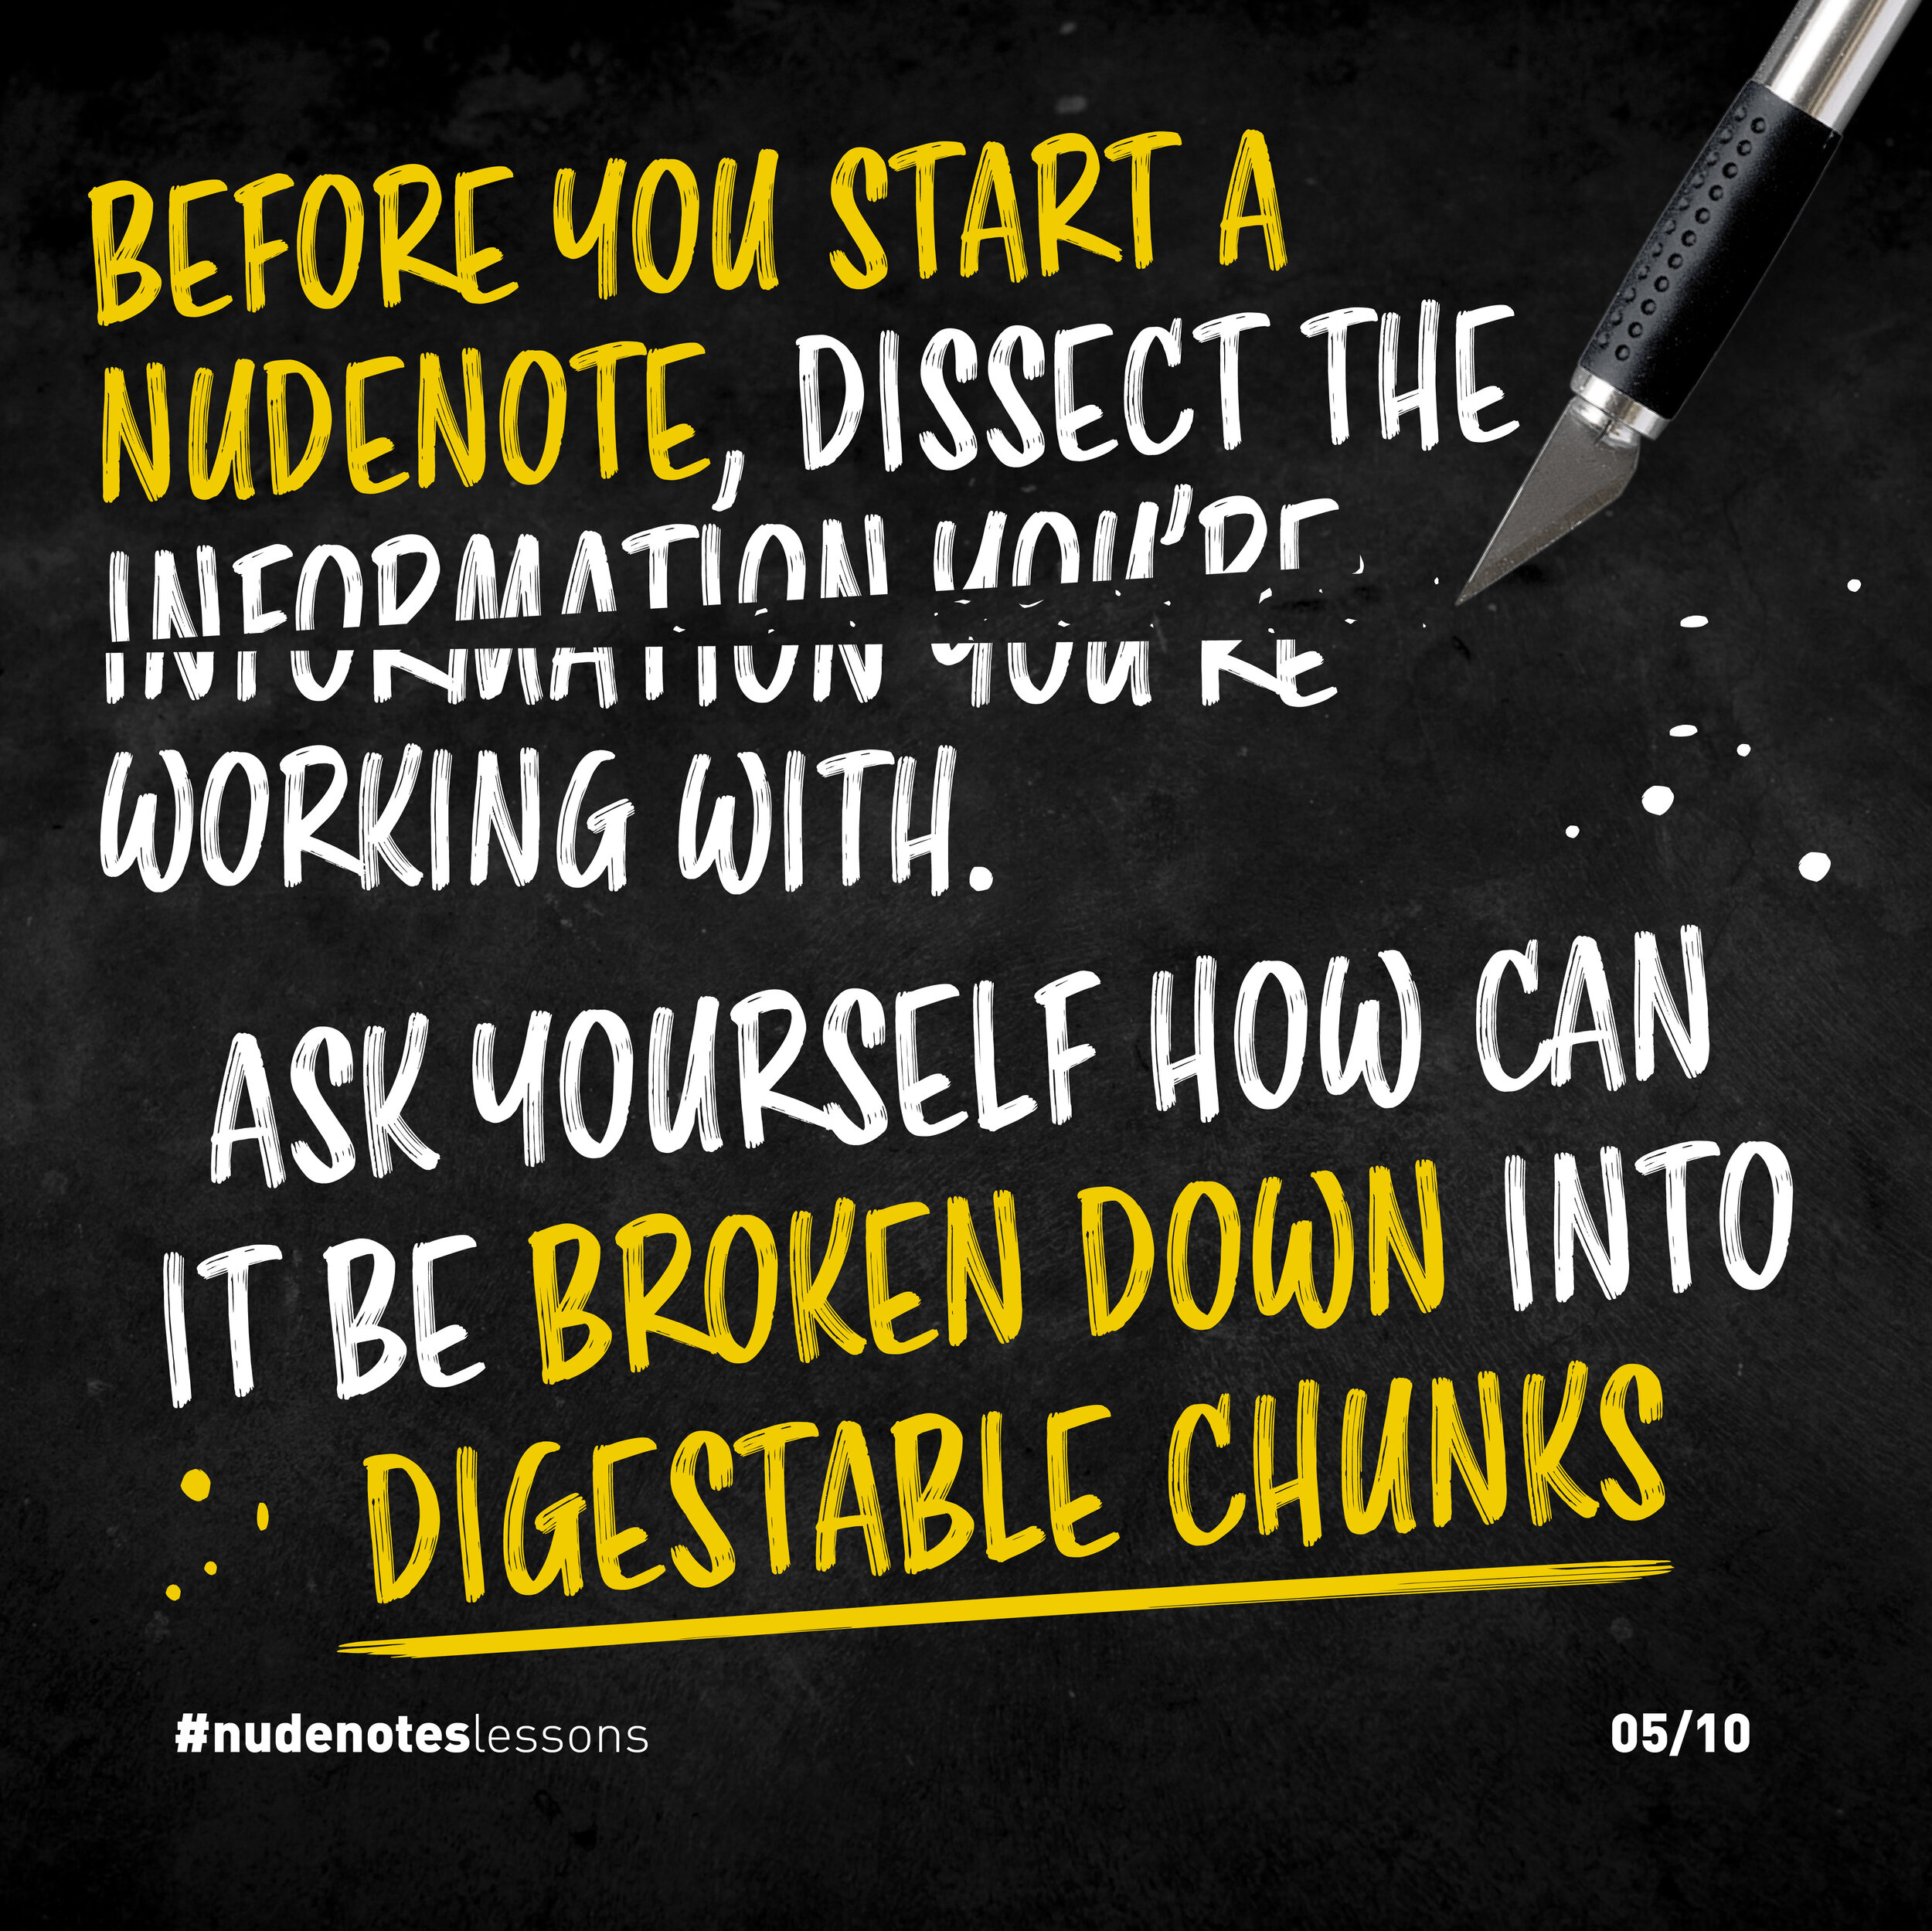
Before you start a nudenote, dissect the information you’re working with, and ask yourself how it can be broken down into digestable chunks.
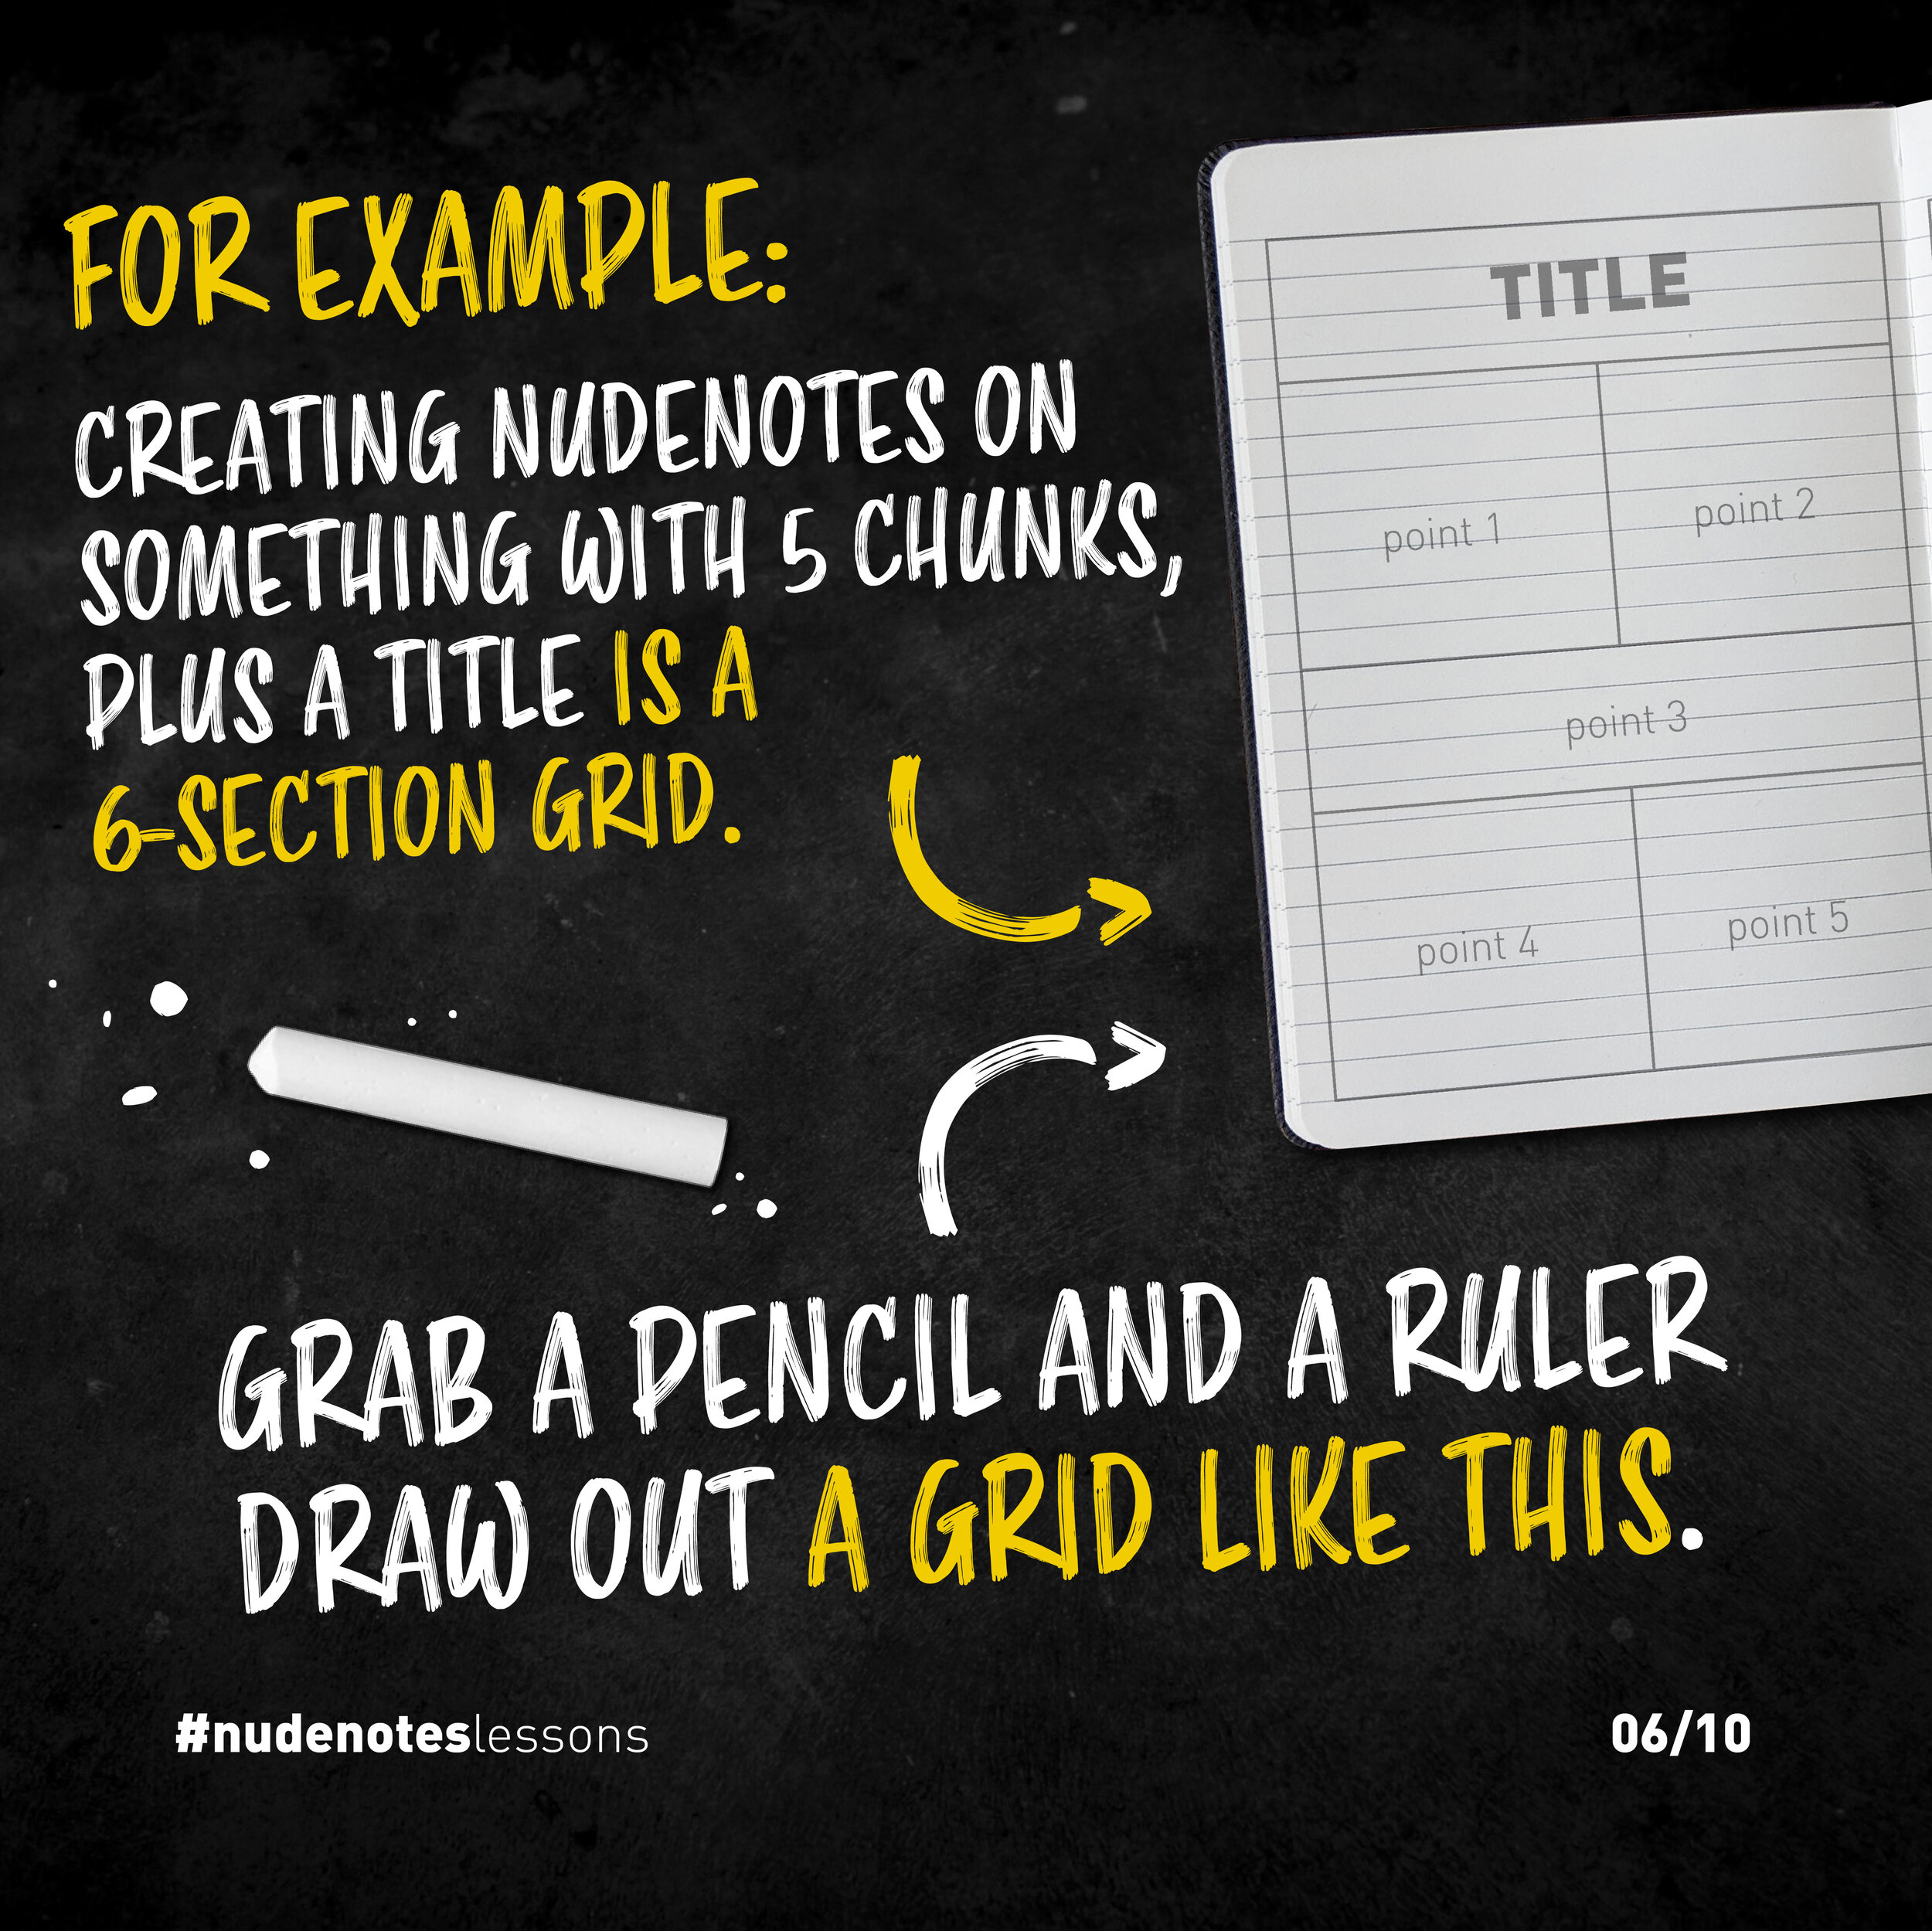
For example, creating nudenotes on something with five chunks, plus a title, will need a six-section grid.
Grab a pencil and a ruler draw out a simple grid with six spaces.
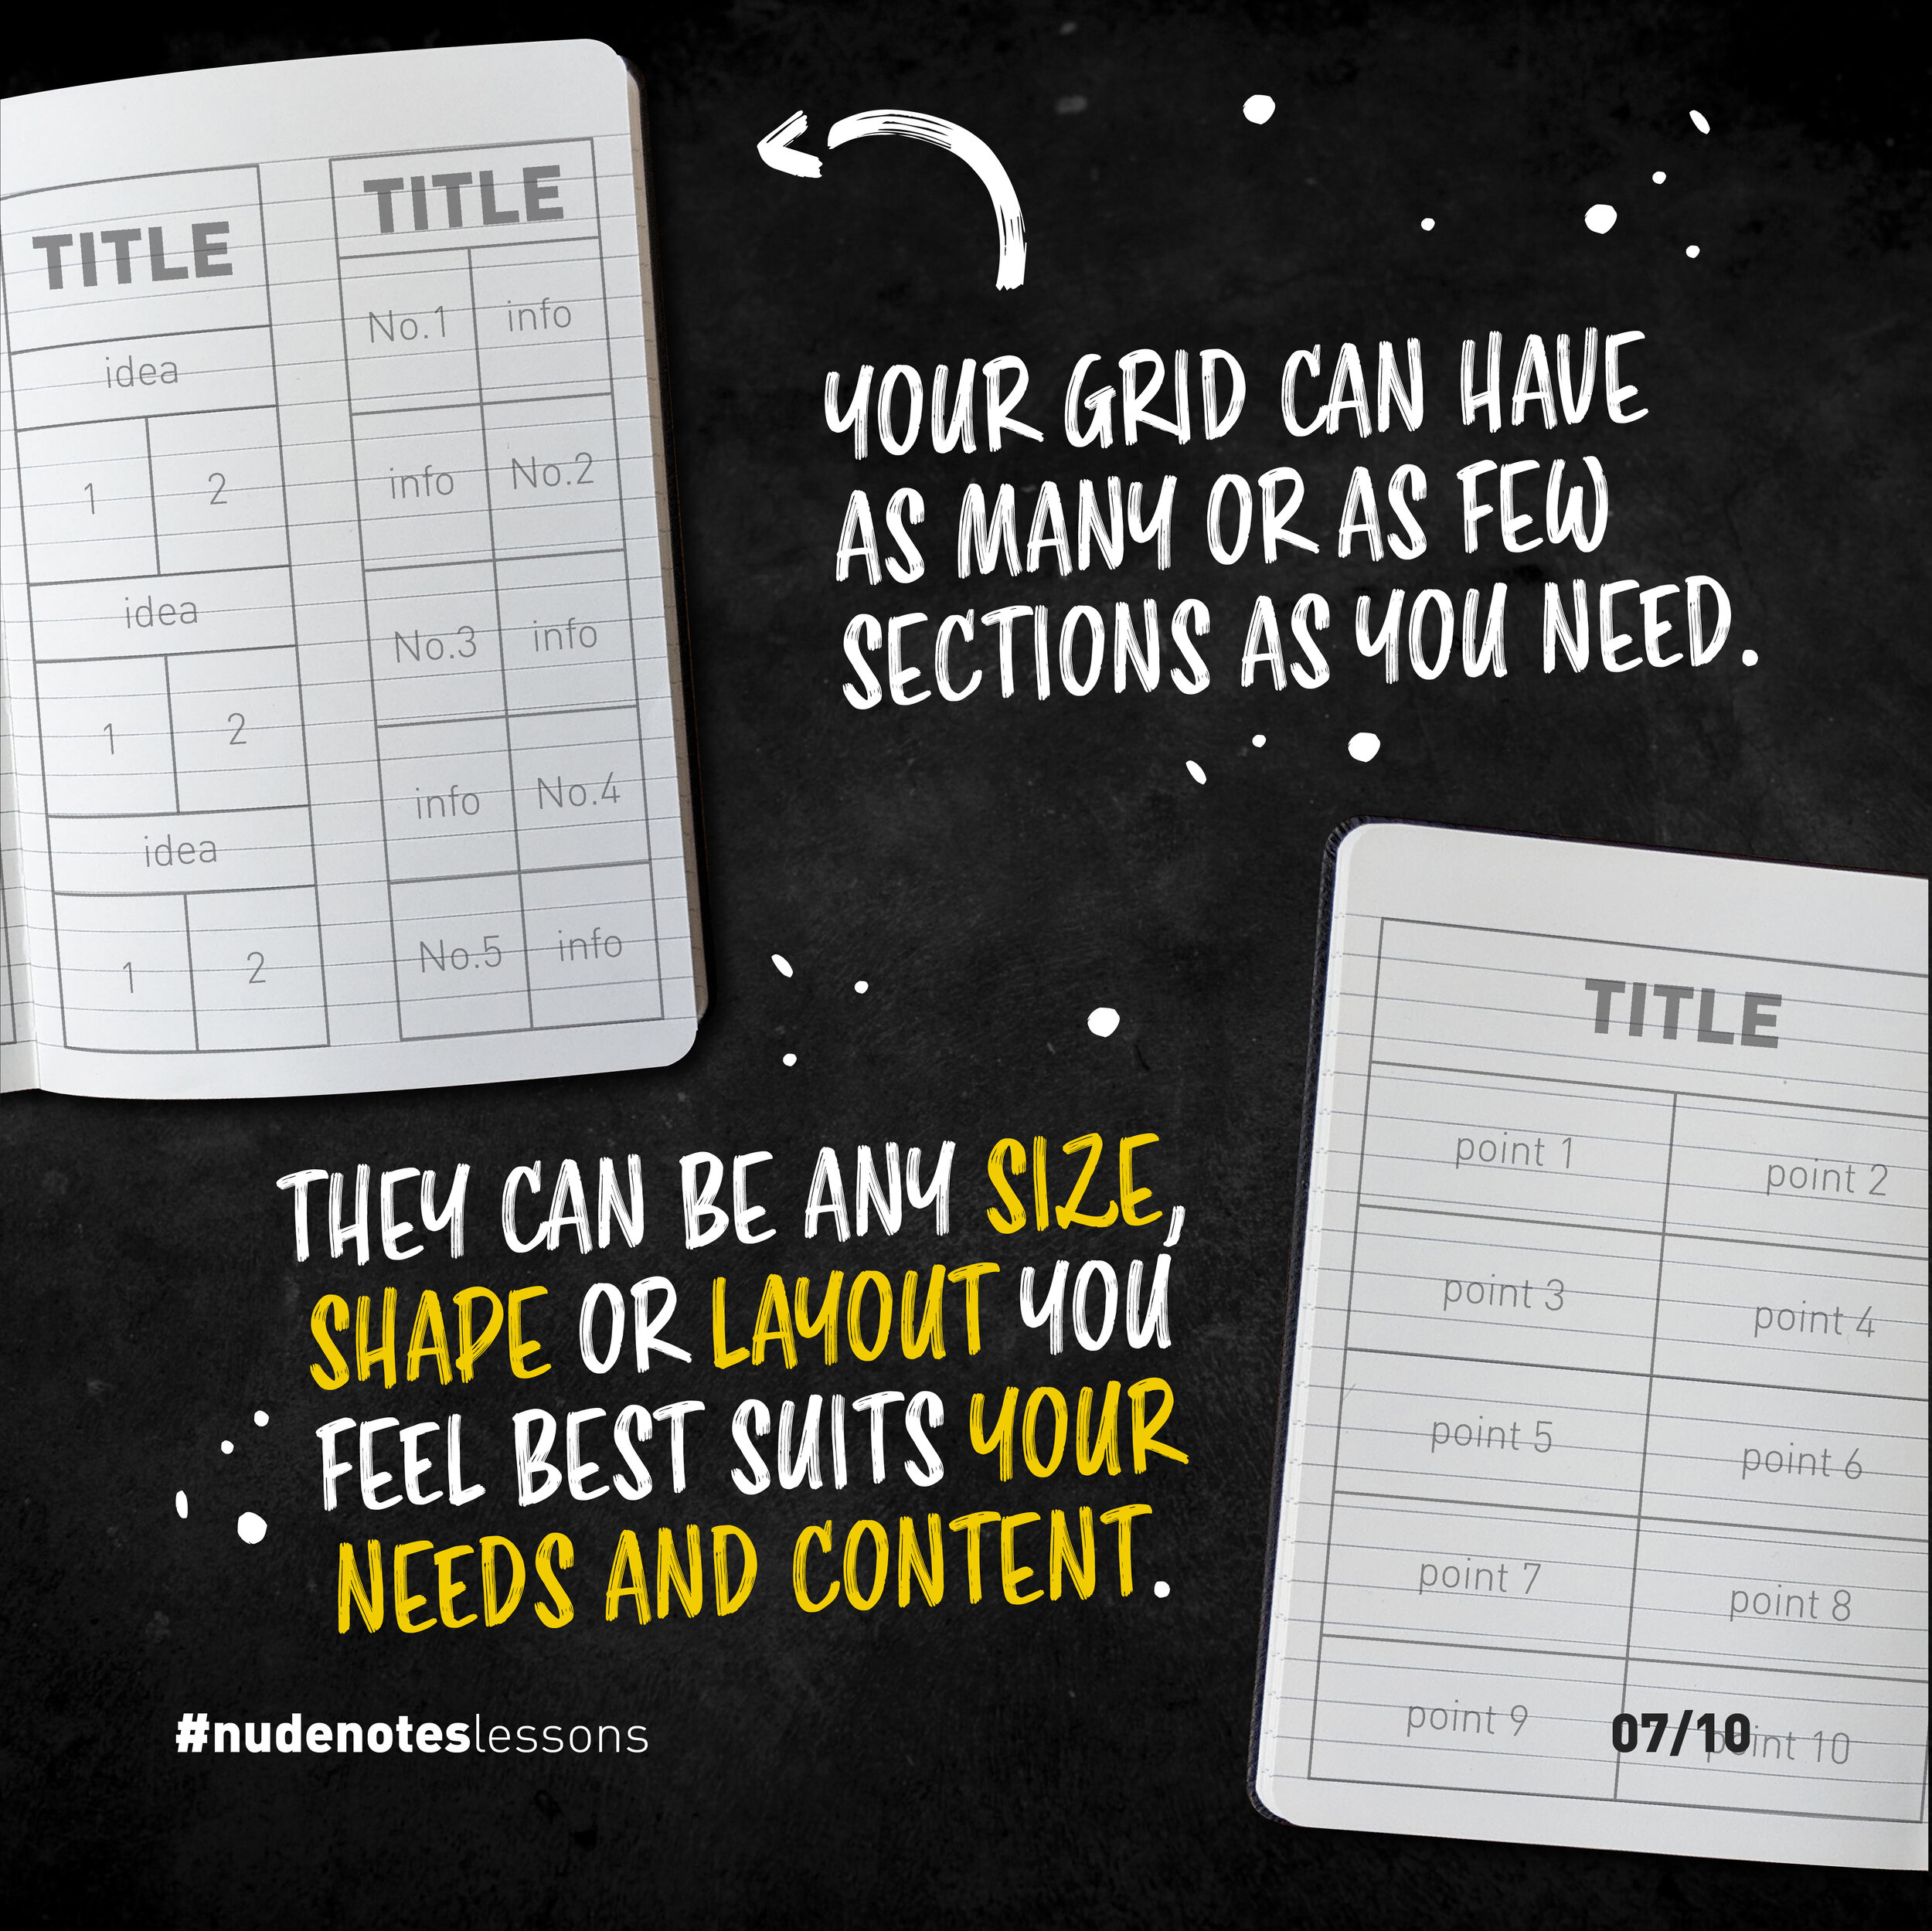
Your grid can can as many or as few sections as you need.
They can be any size, shape, or layout you feel best suits your content.
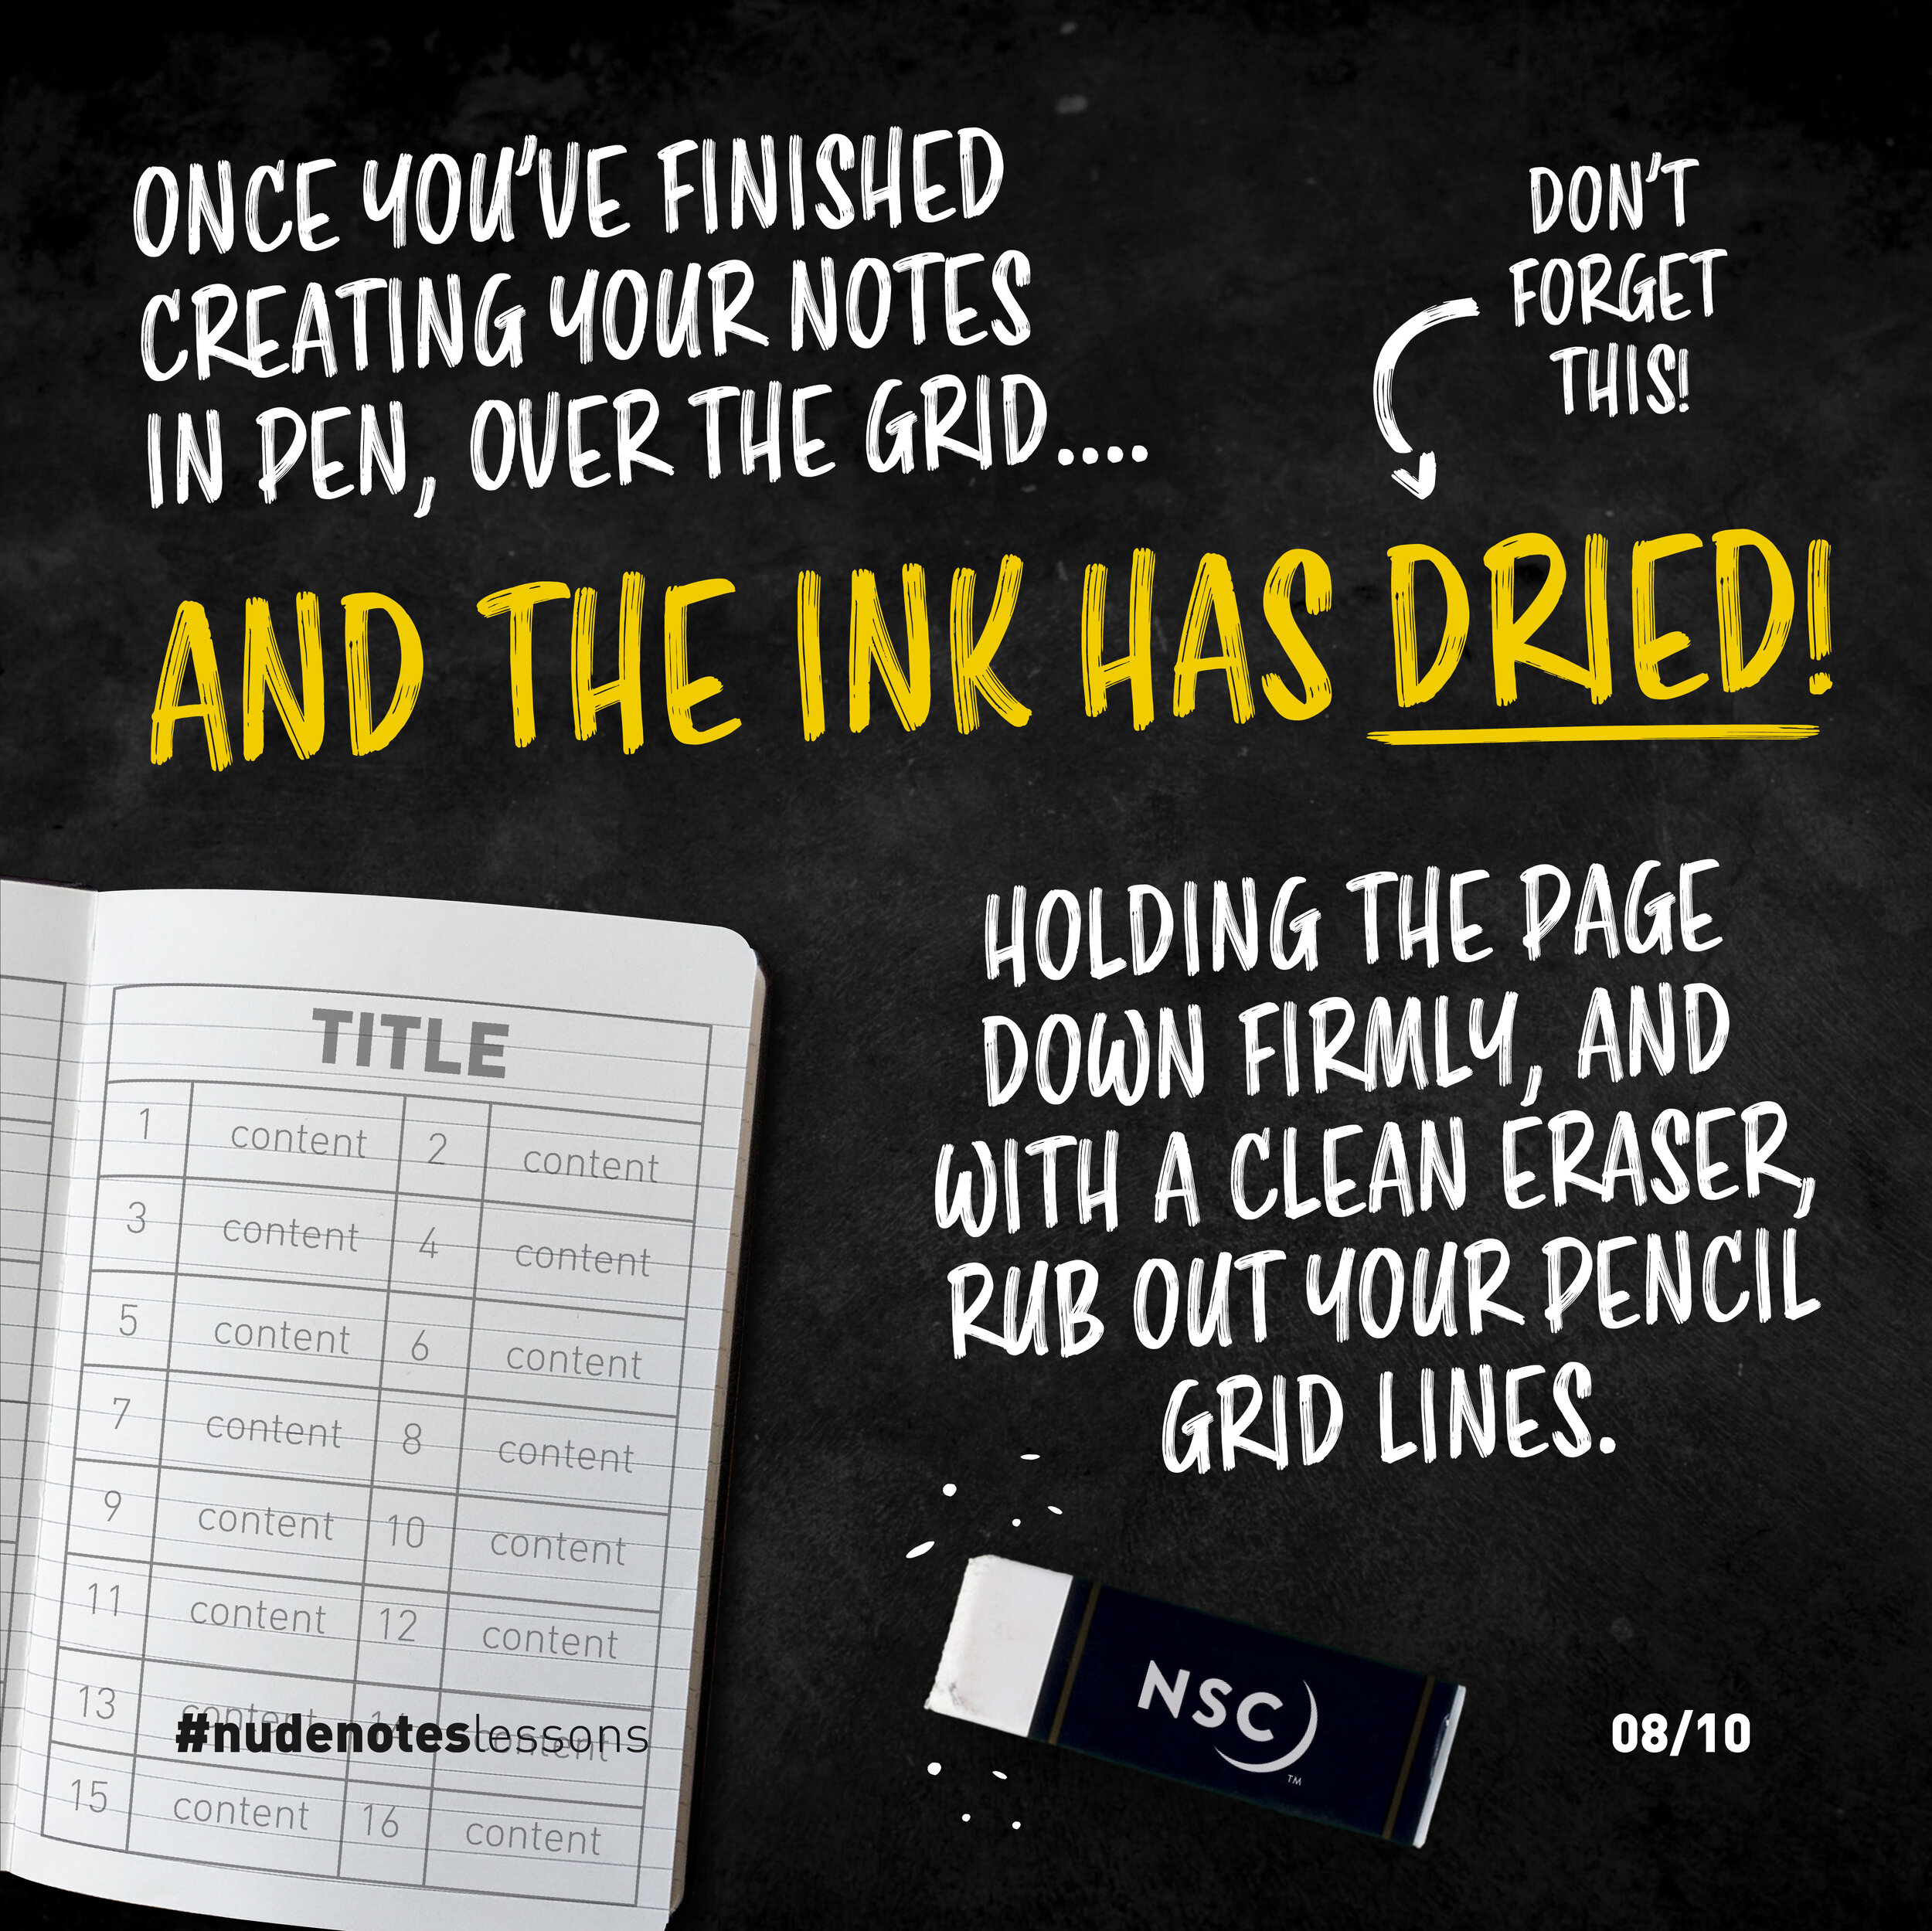
Once you’ve finished creating your notes in pen, over the grid, and the ink has dried (very important), hold the page down firmly and, with a clean eraser, rub out your pencil grid lines.
Voilà! Perfectly laid-out nudenotes!
Don't compare
Marketing guru Seth Godin once said, "If you set your bar at amazing, it's pretty difficult to start.".
This definitely applies to nudenotes.
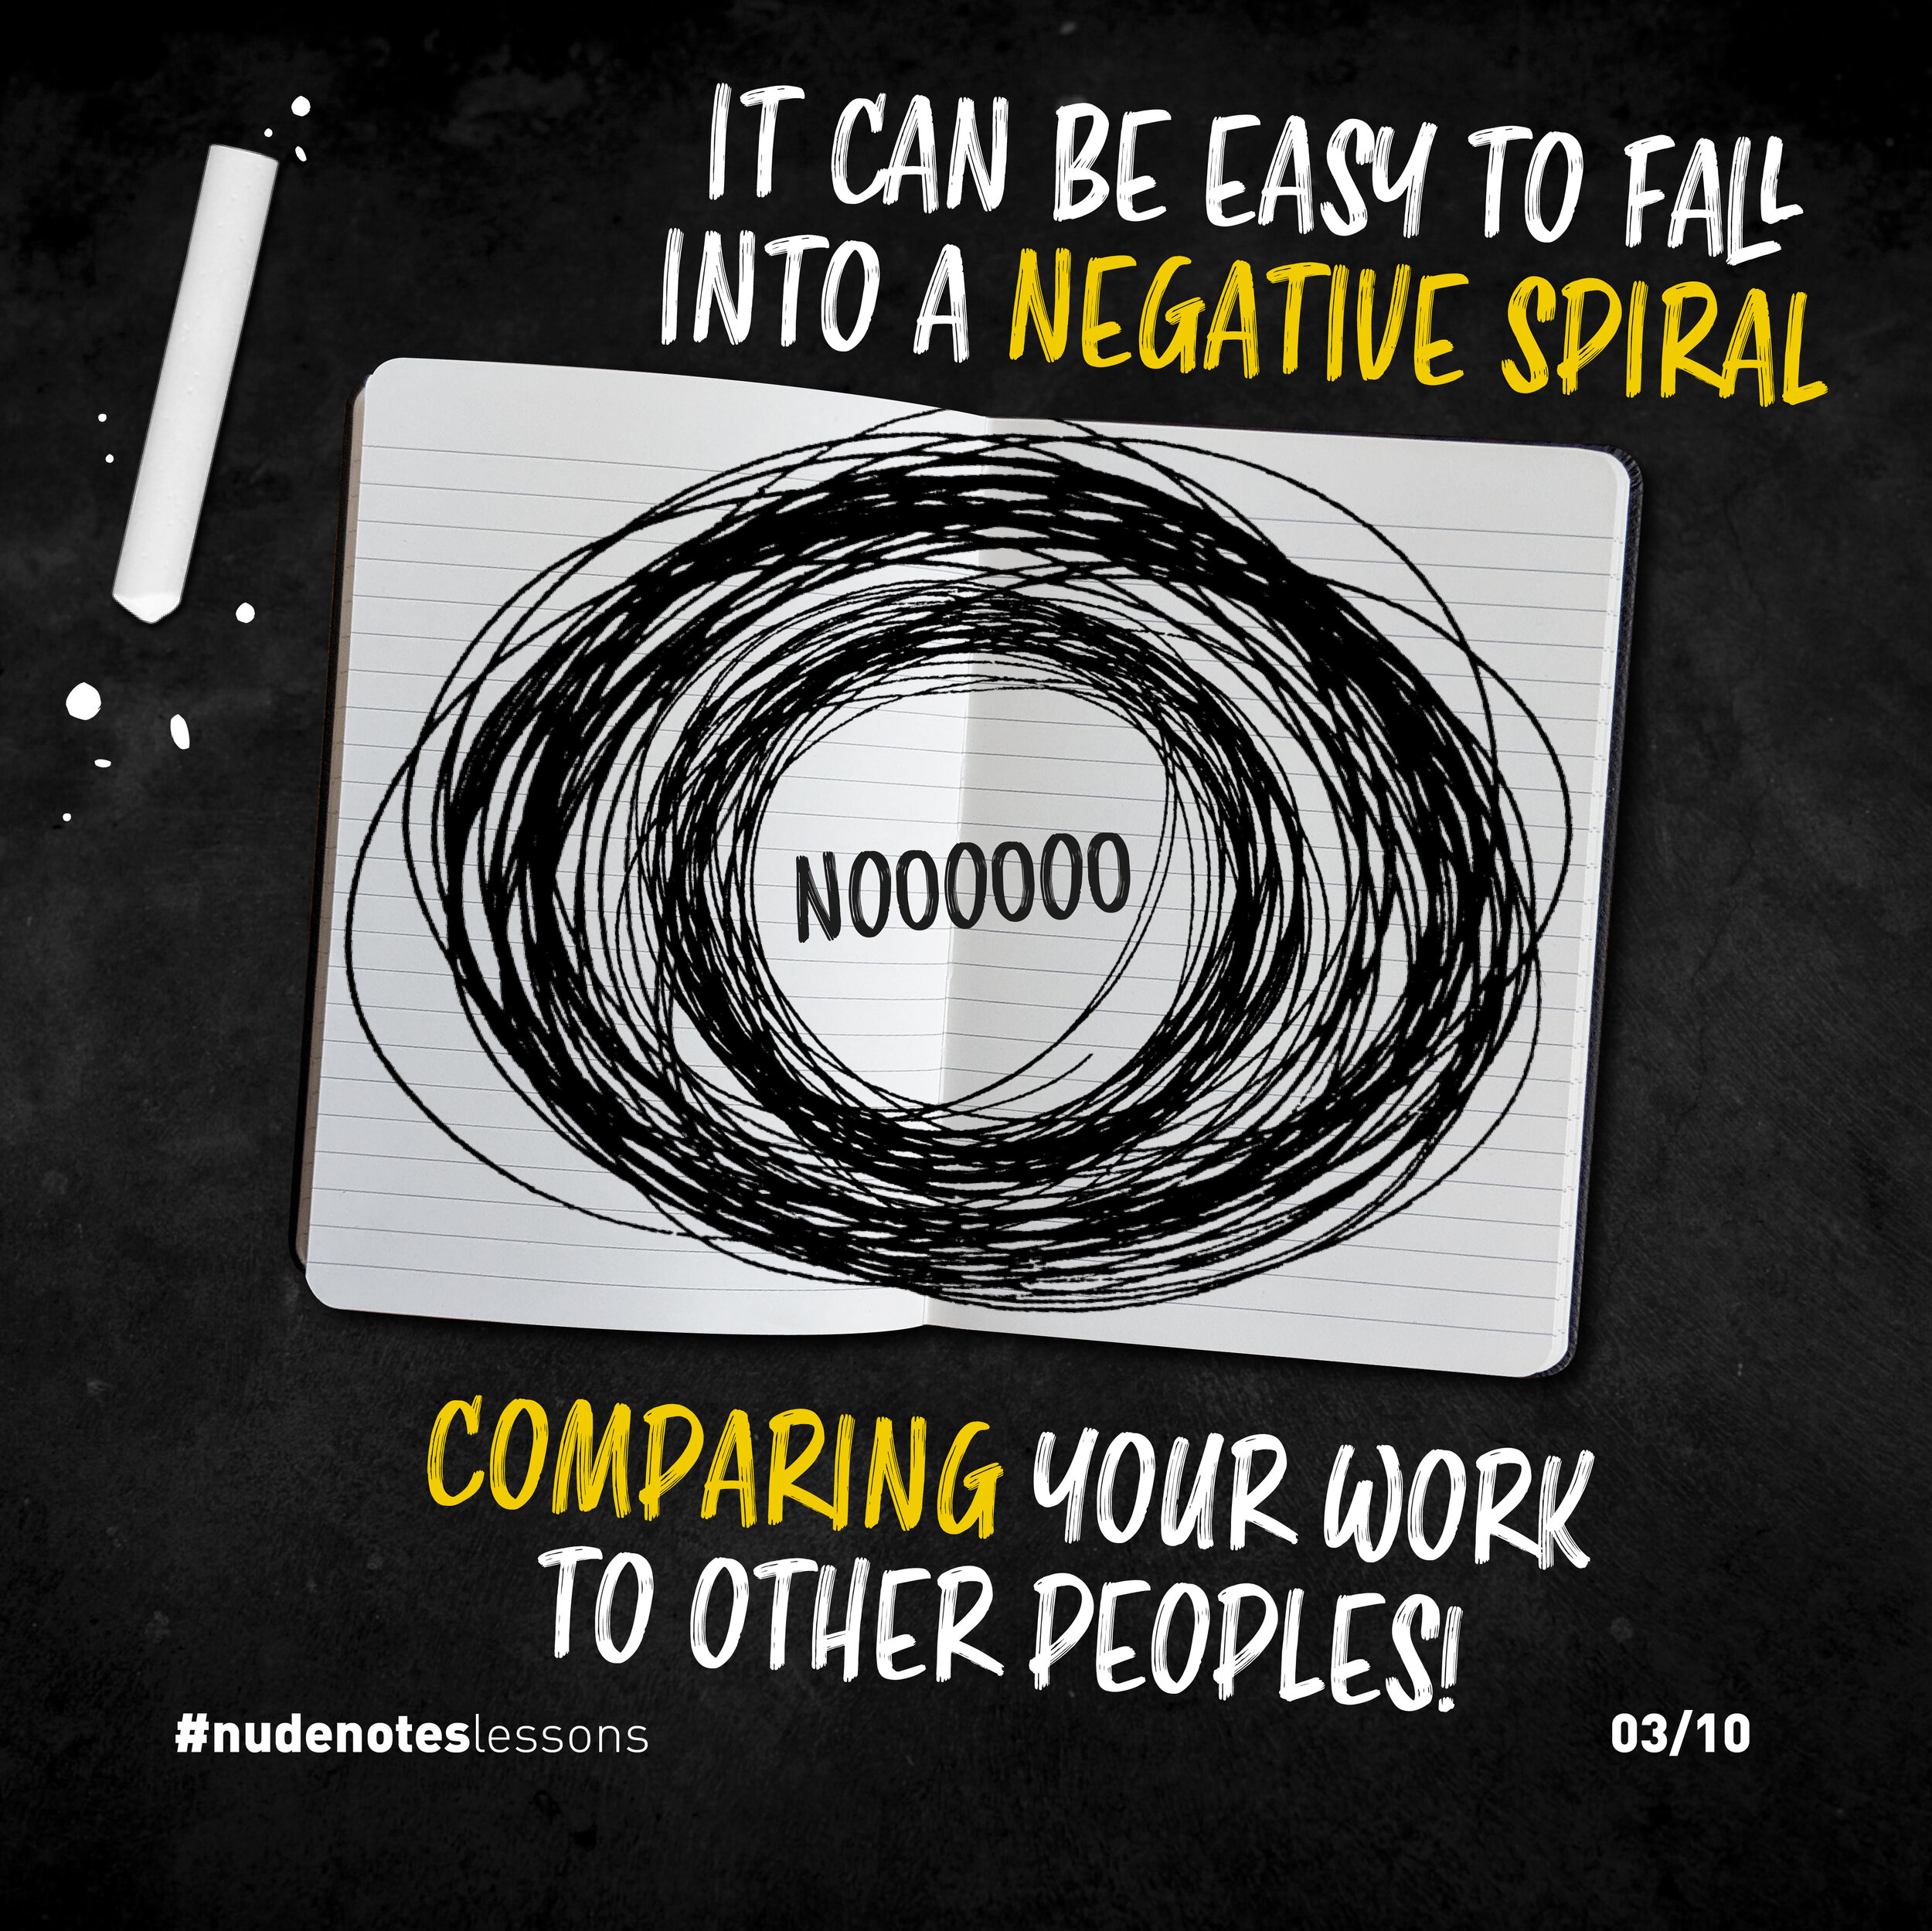
When you start out with nudenotes, it can be easy to fall into a negative spiral, comparing your work to other peoples'.
Don't compare your beginning to someone else's middle or end.
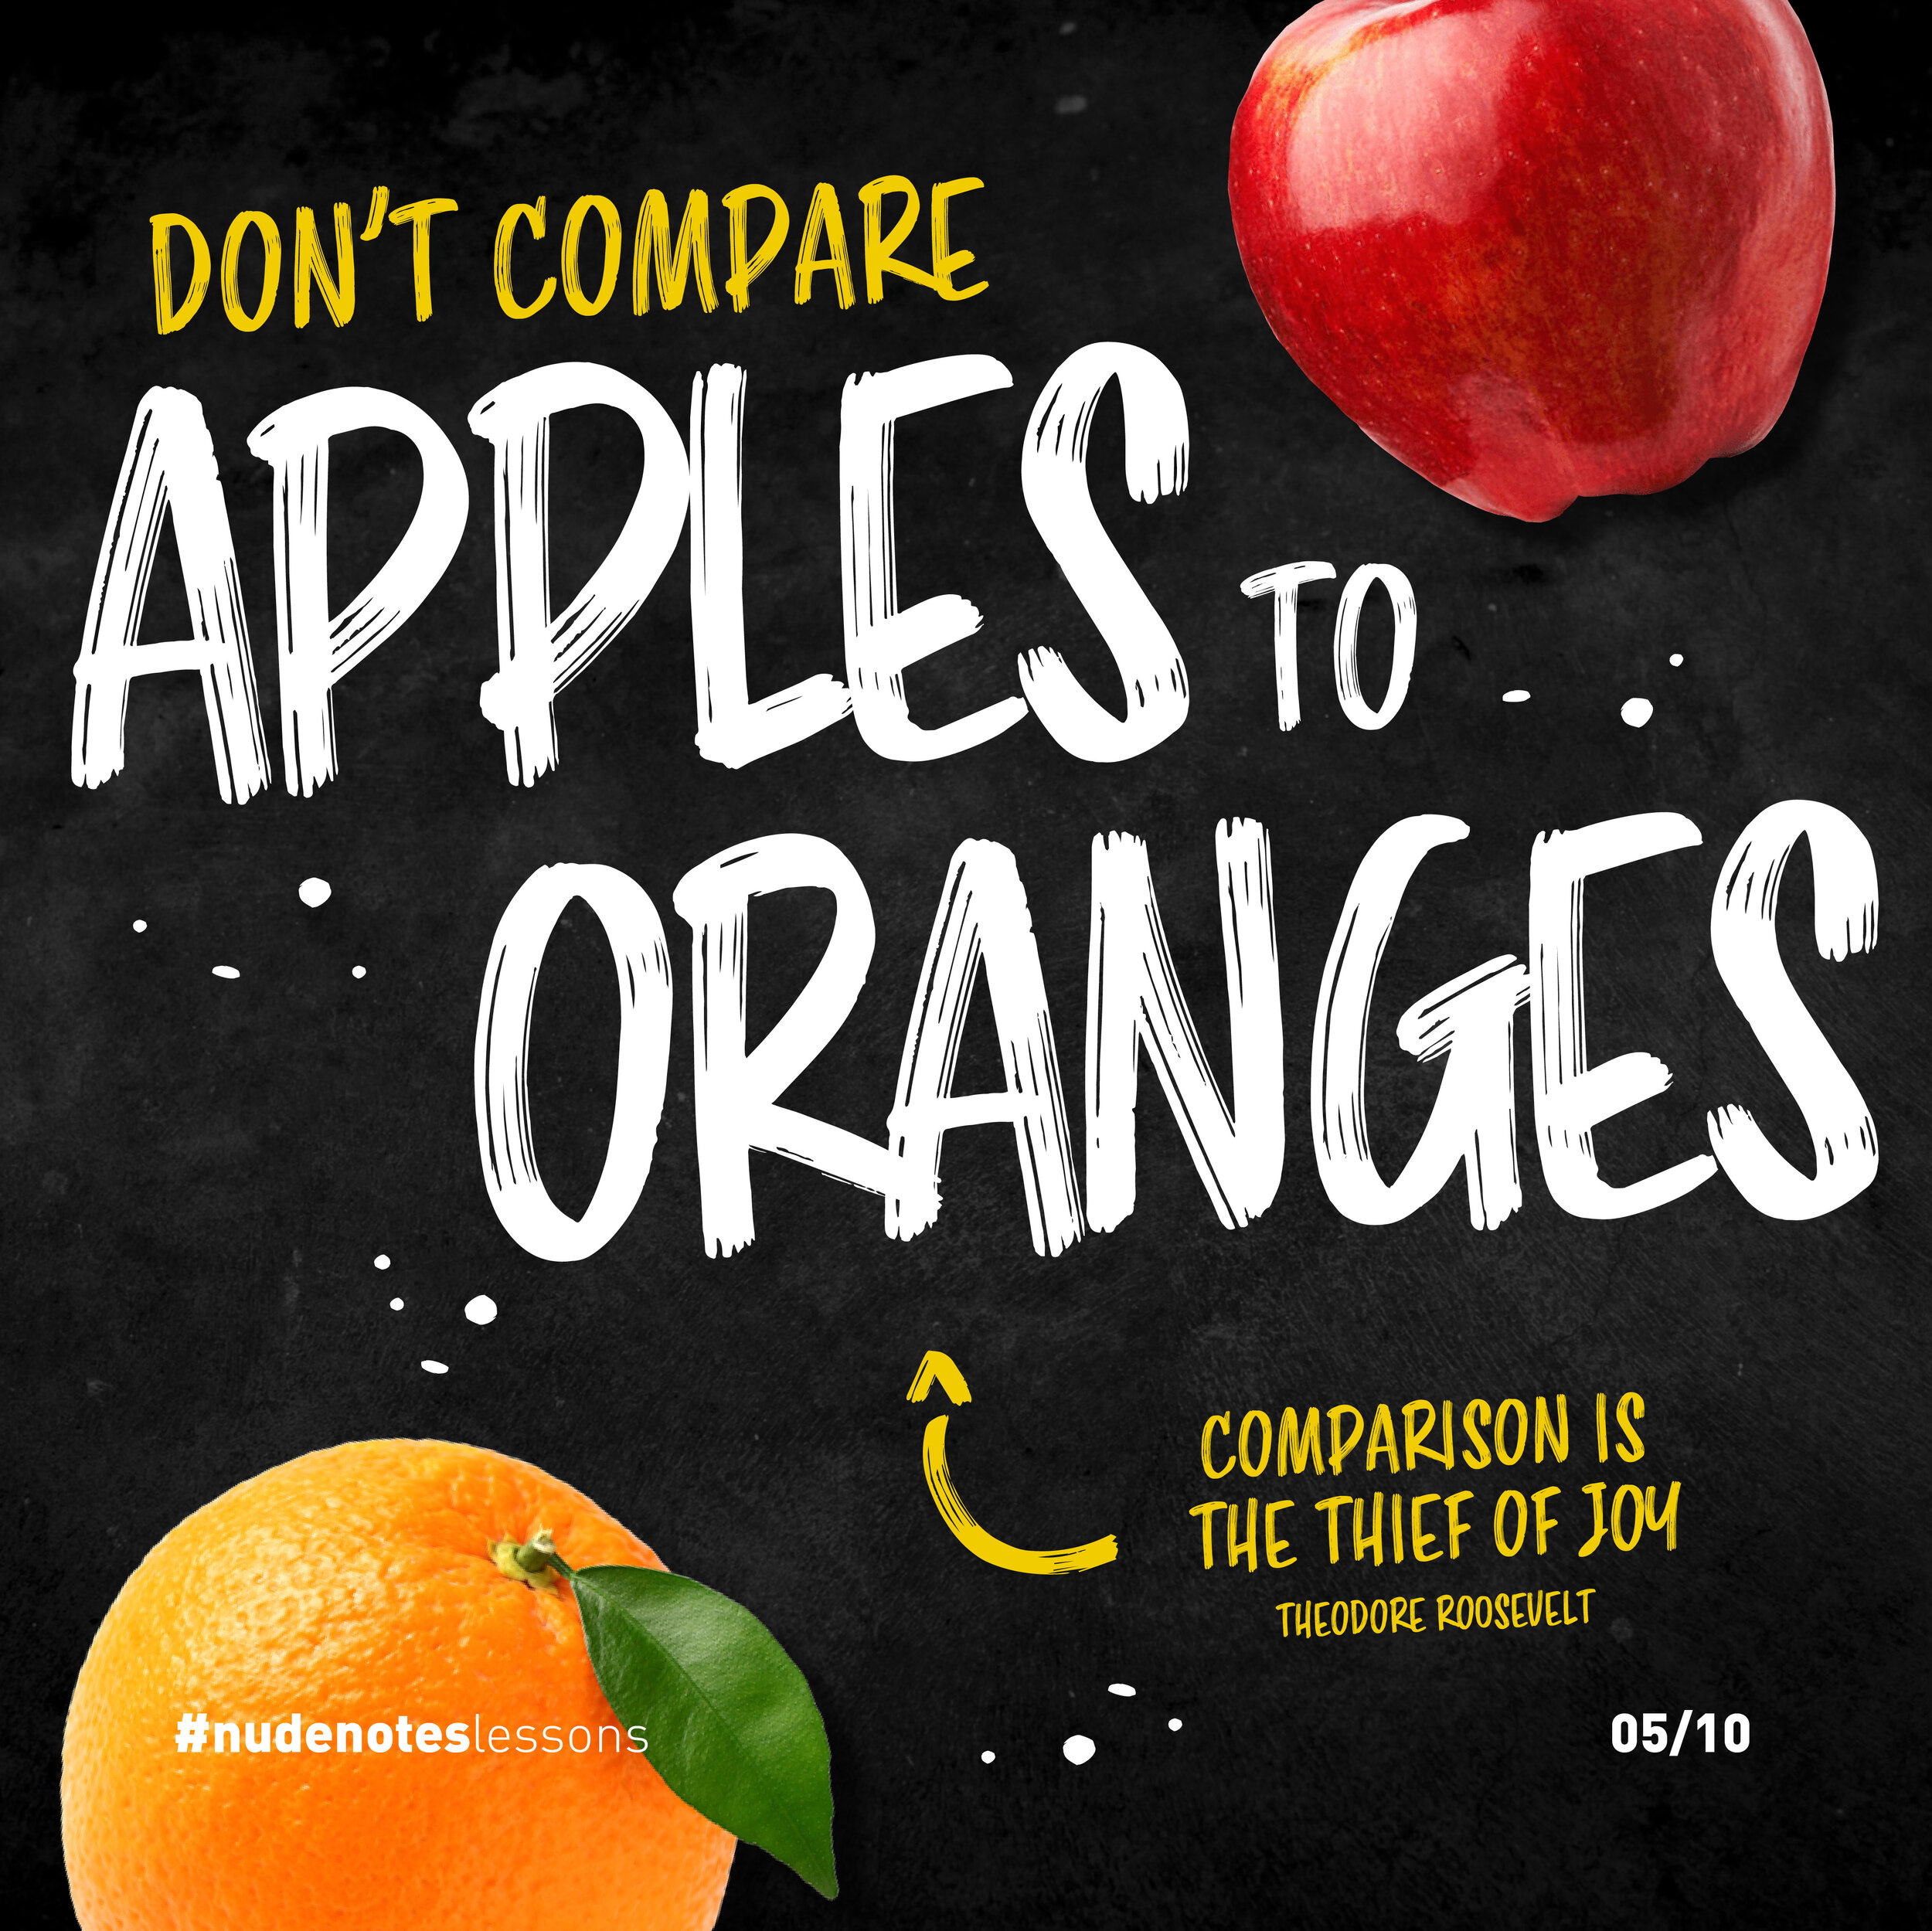
Don’t compare apples to oranges, for “comparison is the thief of joy” (Theodore Roosevelt).
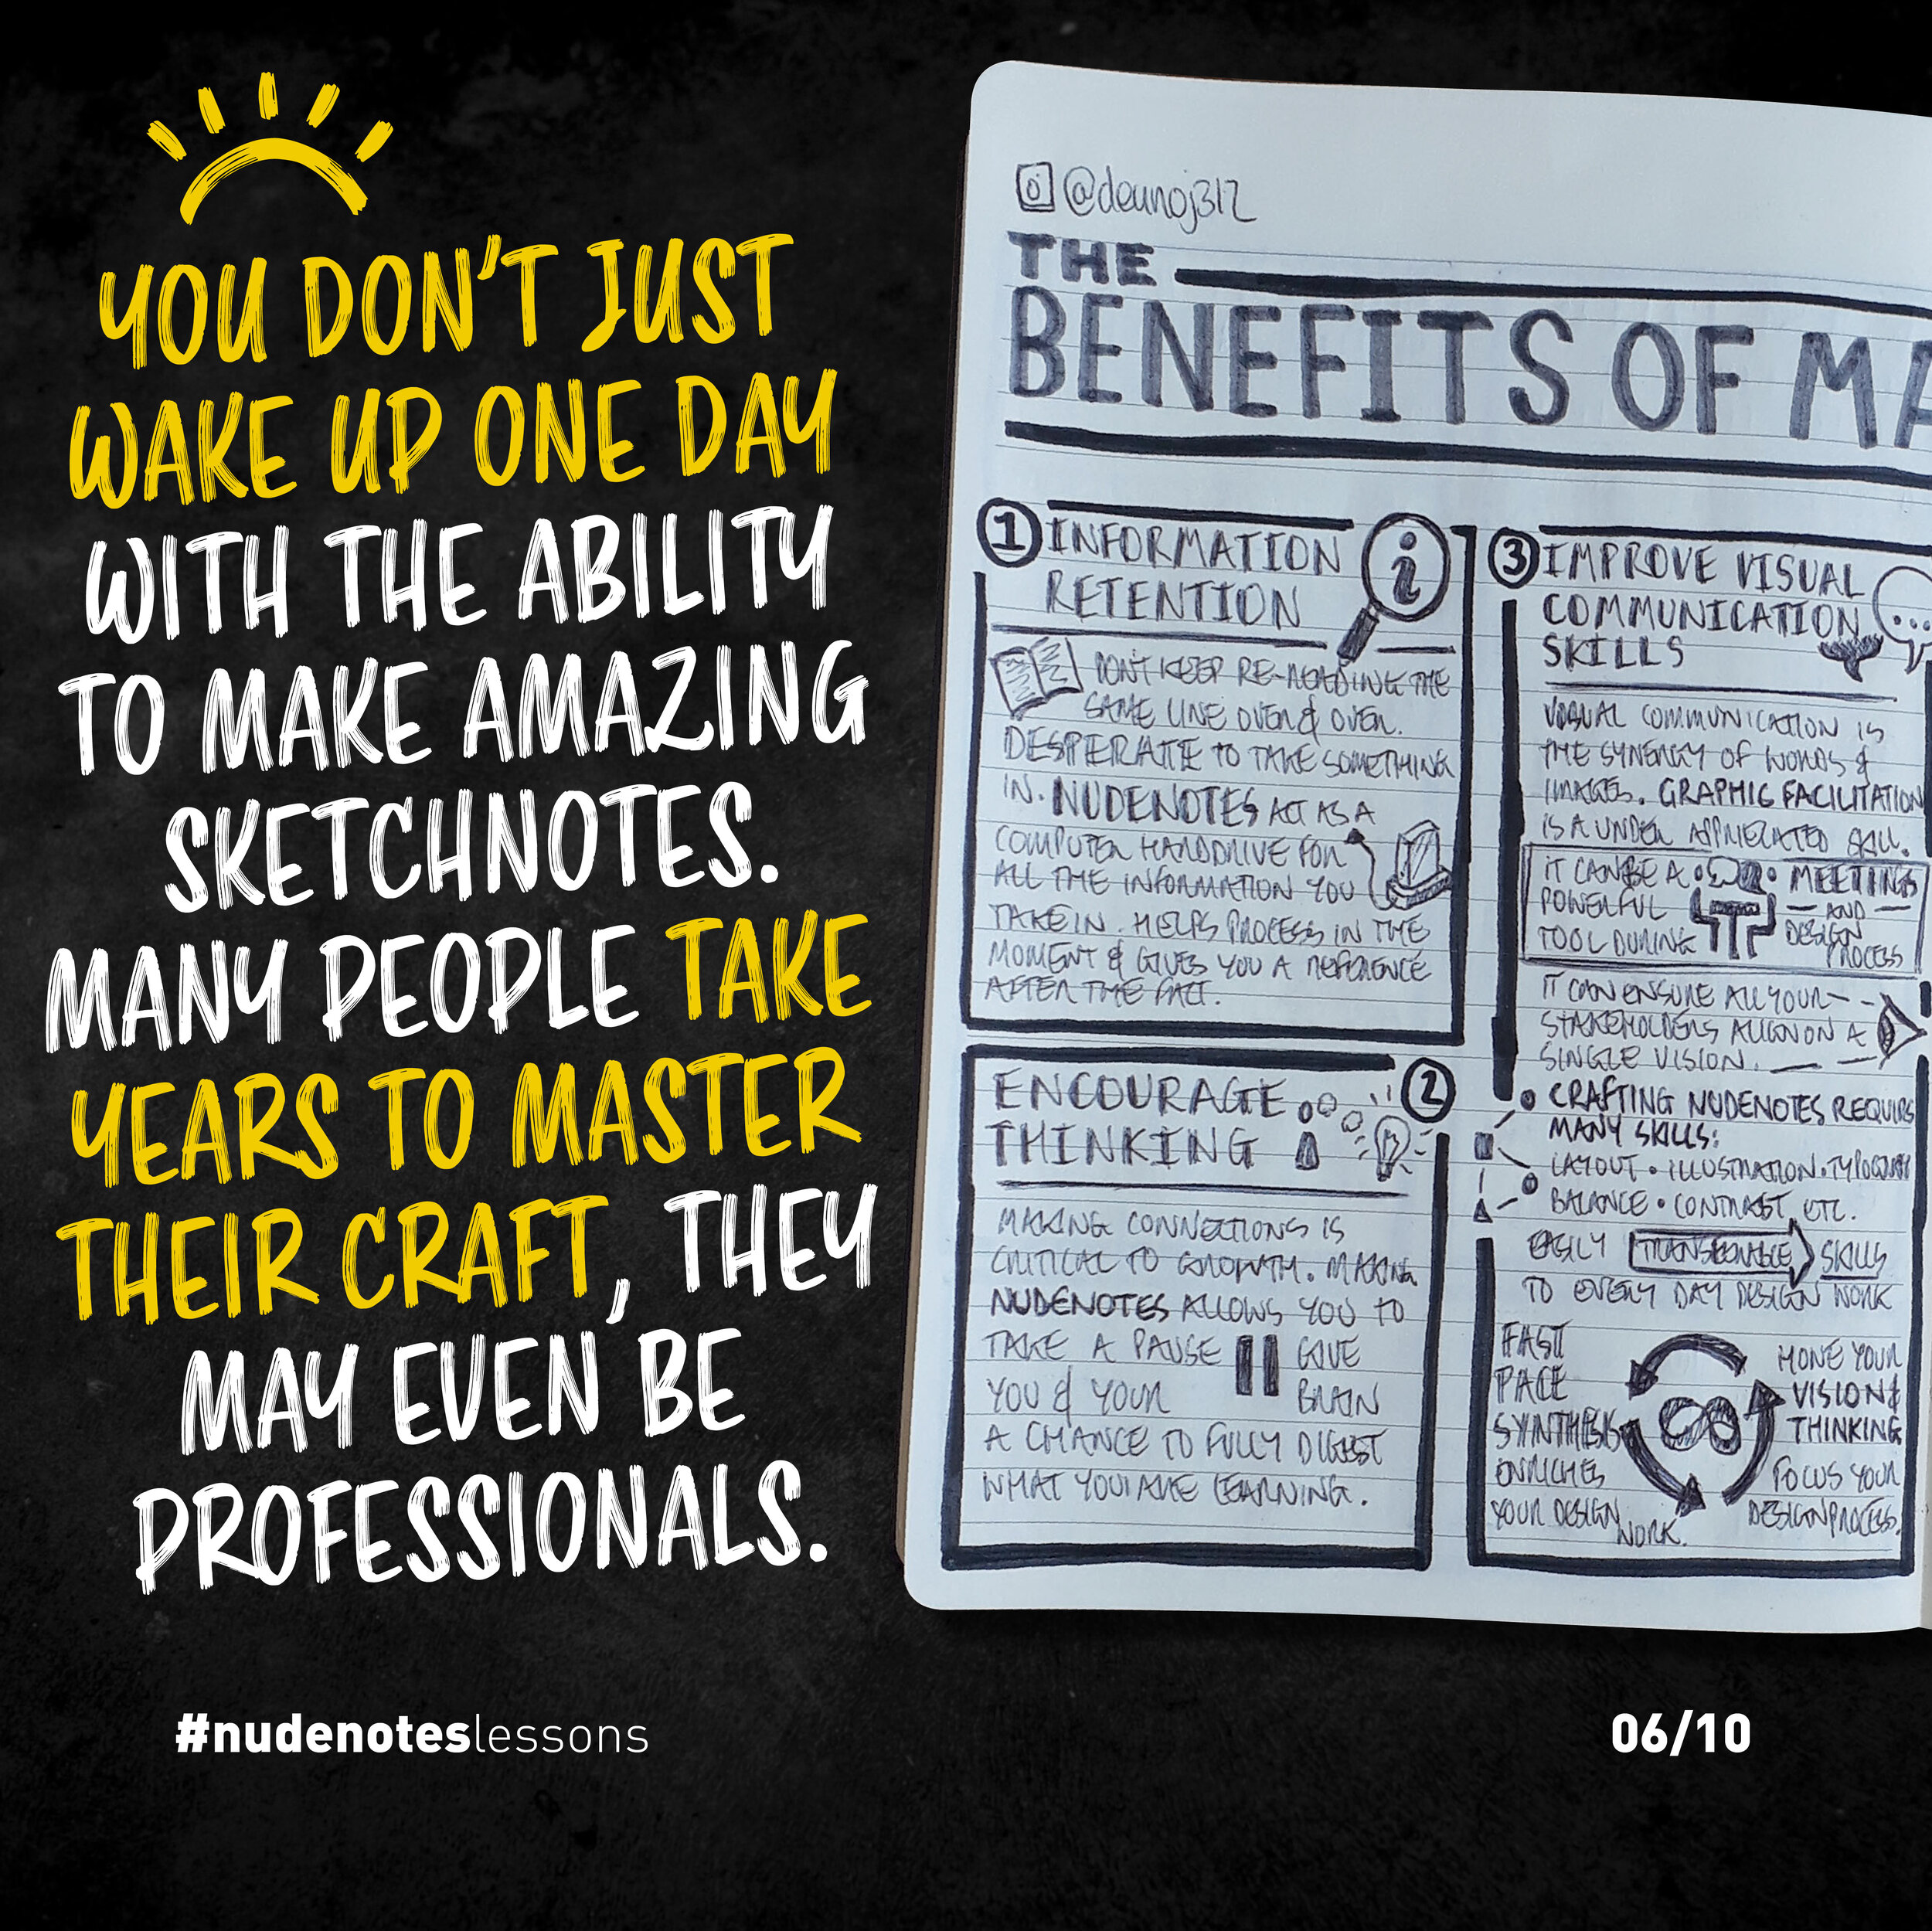
You don't just wake up one day with the ability to make amazing sketchnotes.
Many have taken years to master their craft, and they may even be professional graphic facilitators (people who get paid to make sketchnotes).
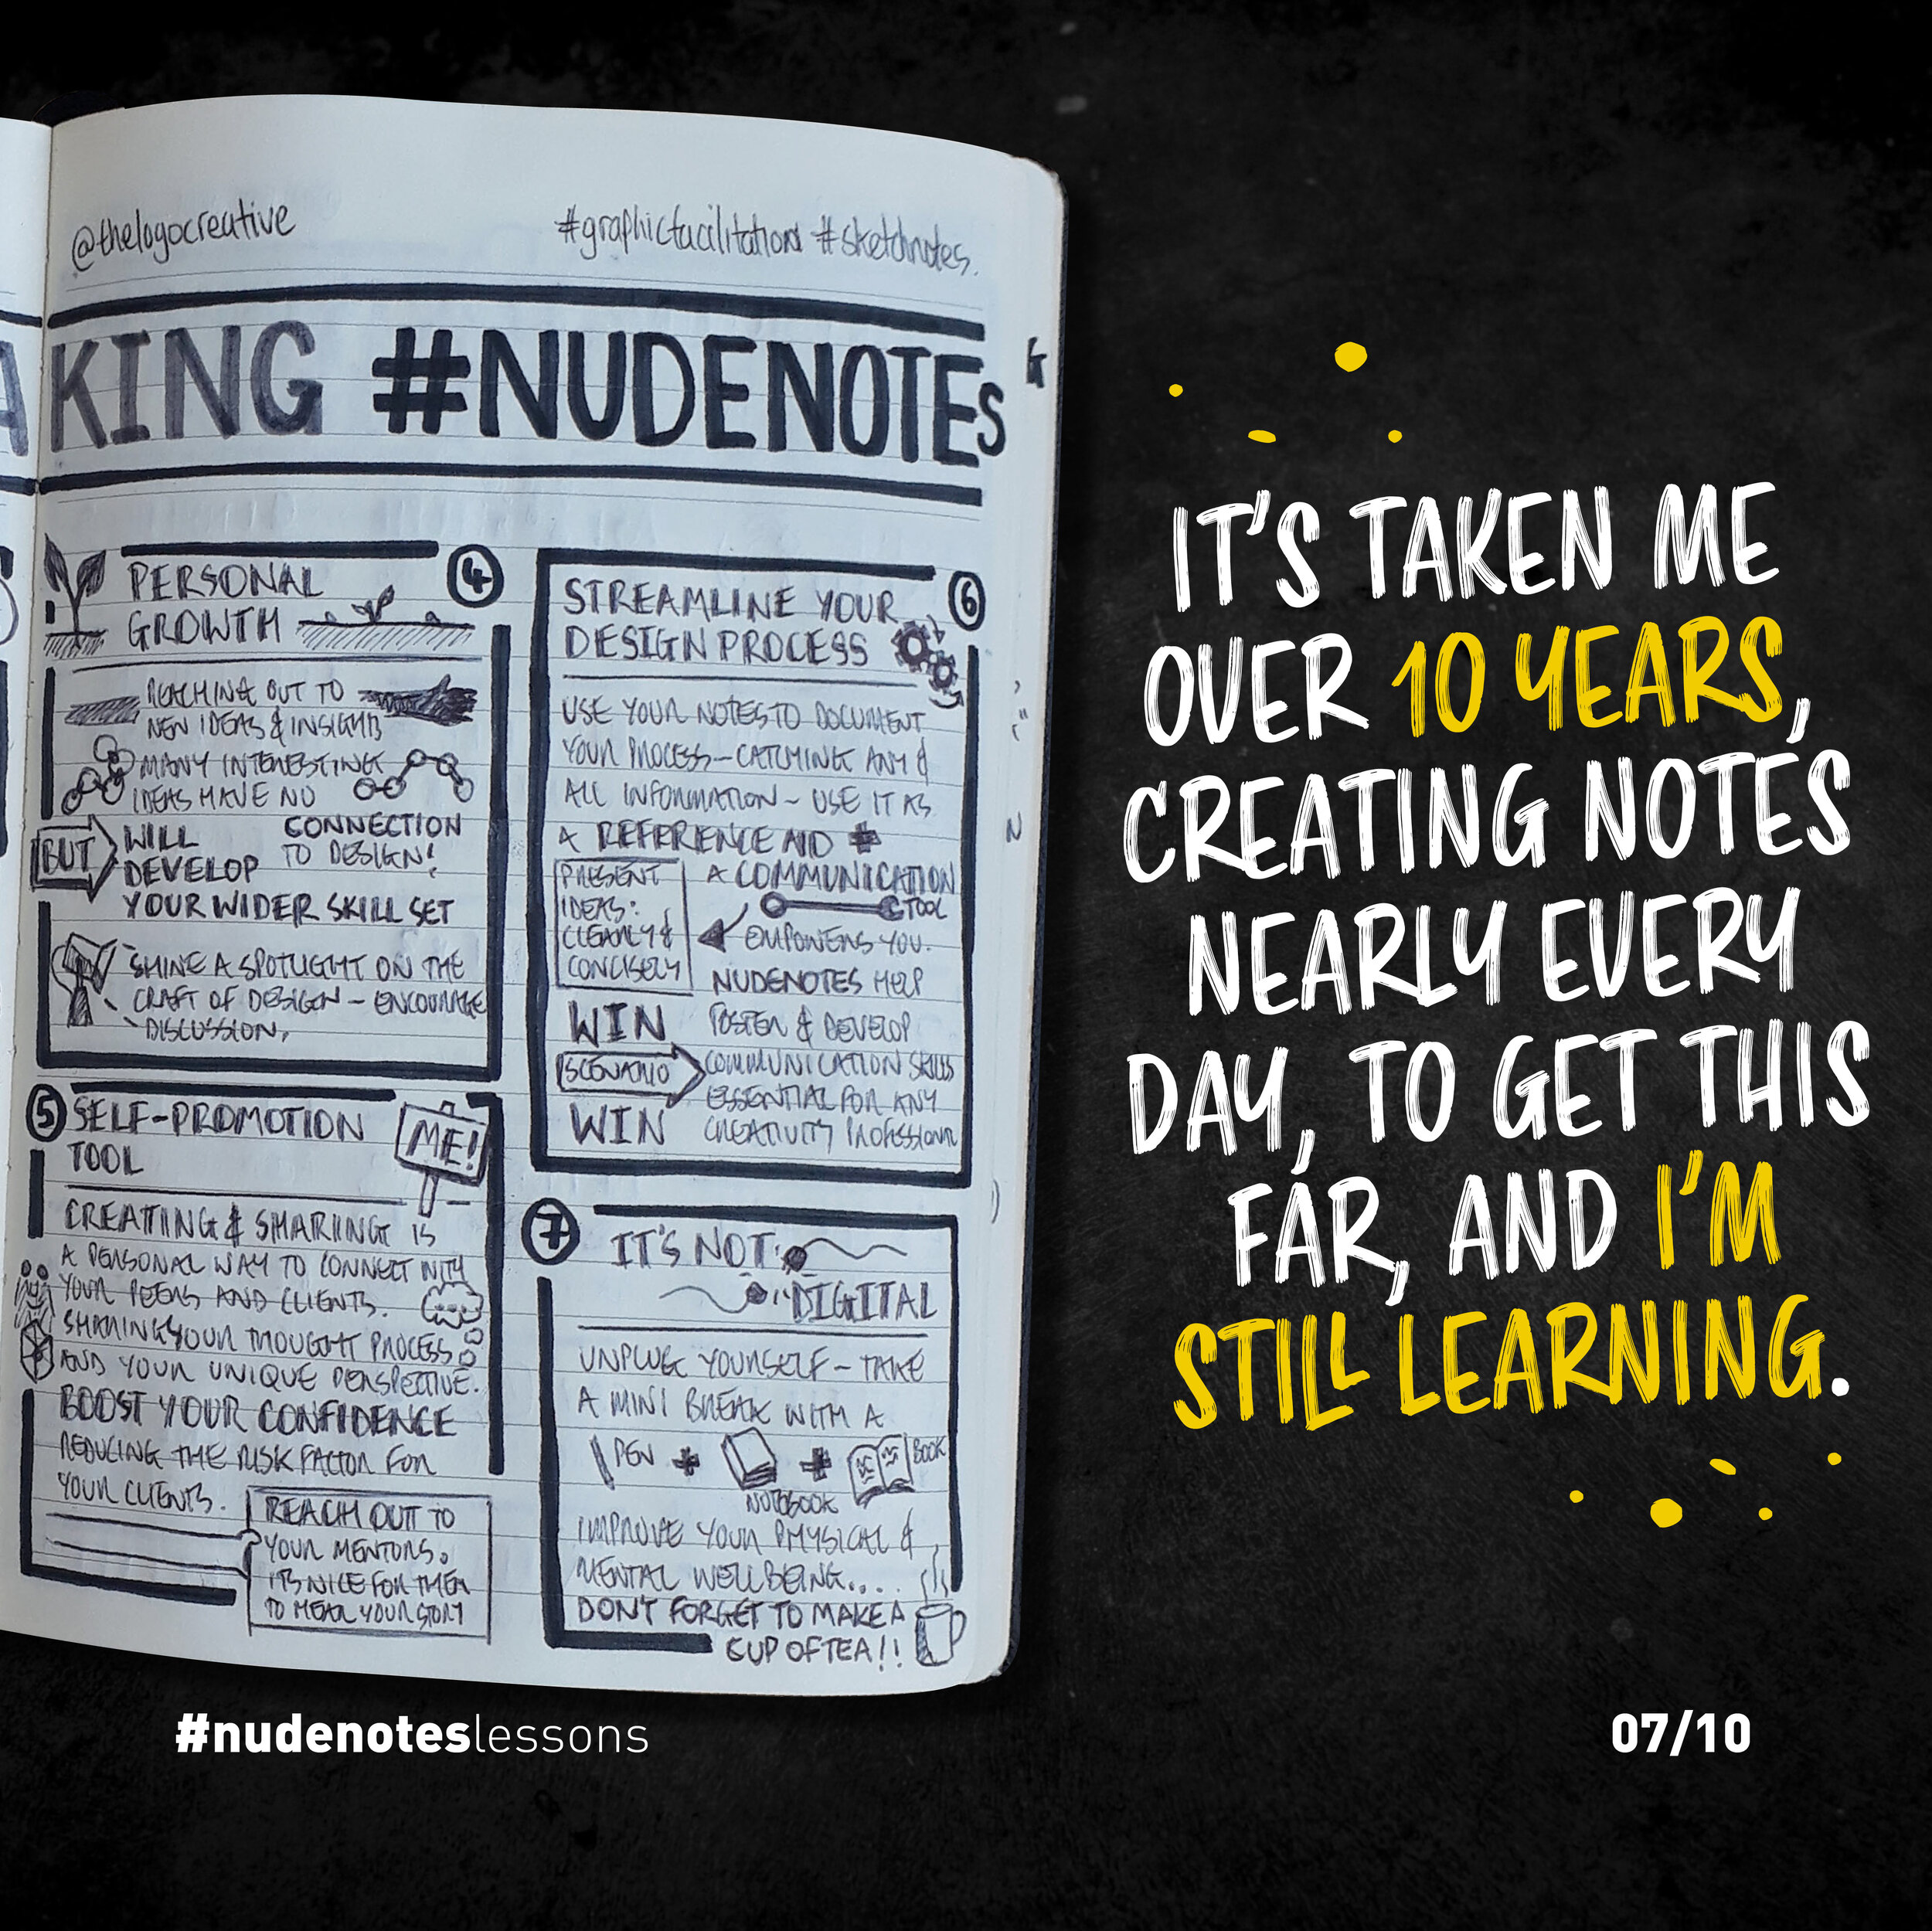
As for me, I studied Art and Design at college, have a BSc in Product Design, and have been a professional designer since 2011 - and I've been doing nudenotes all that time.
And I’m still learning.
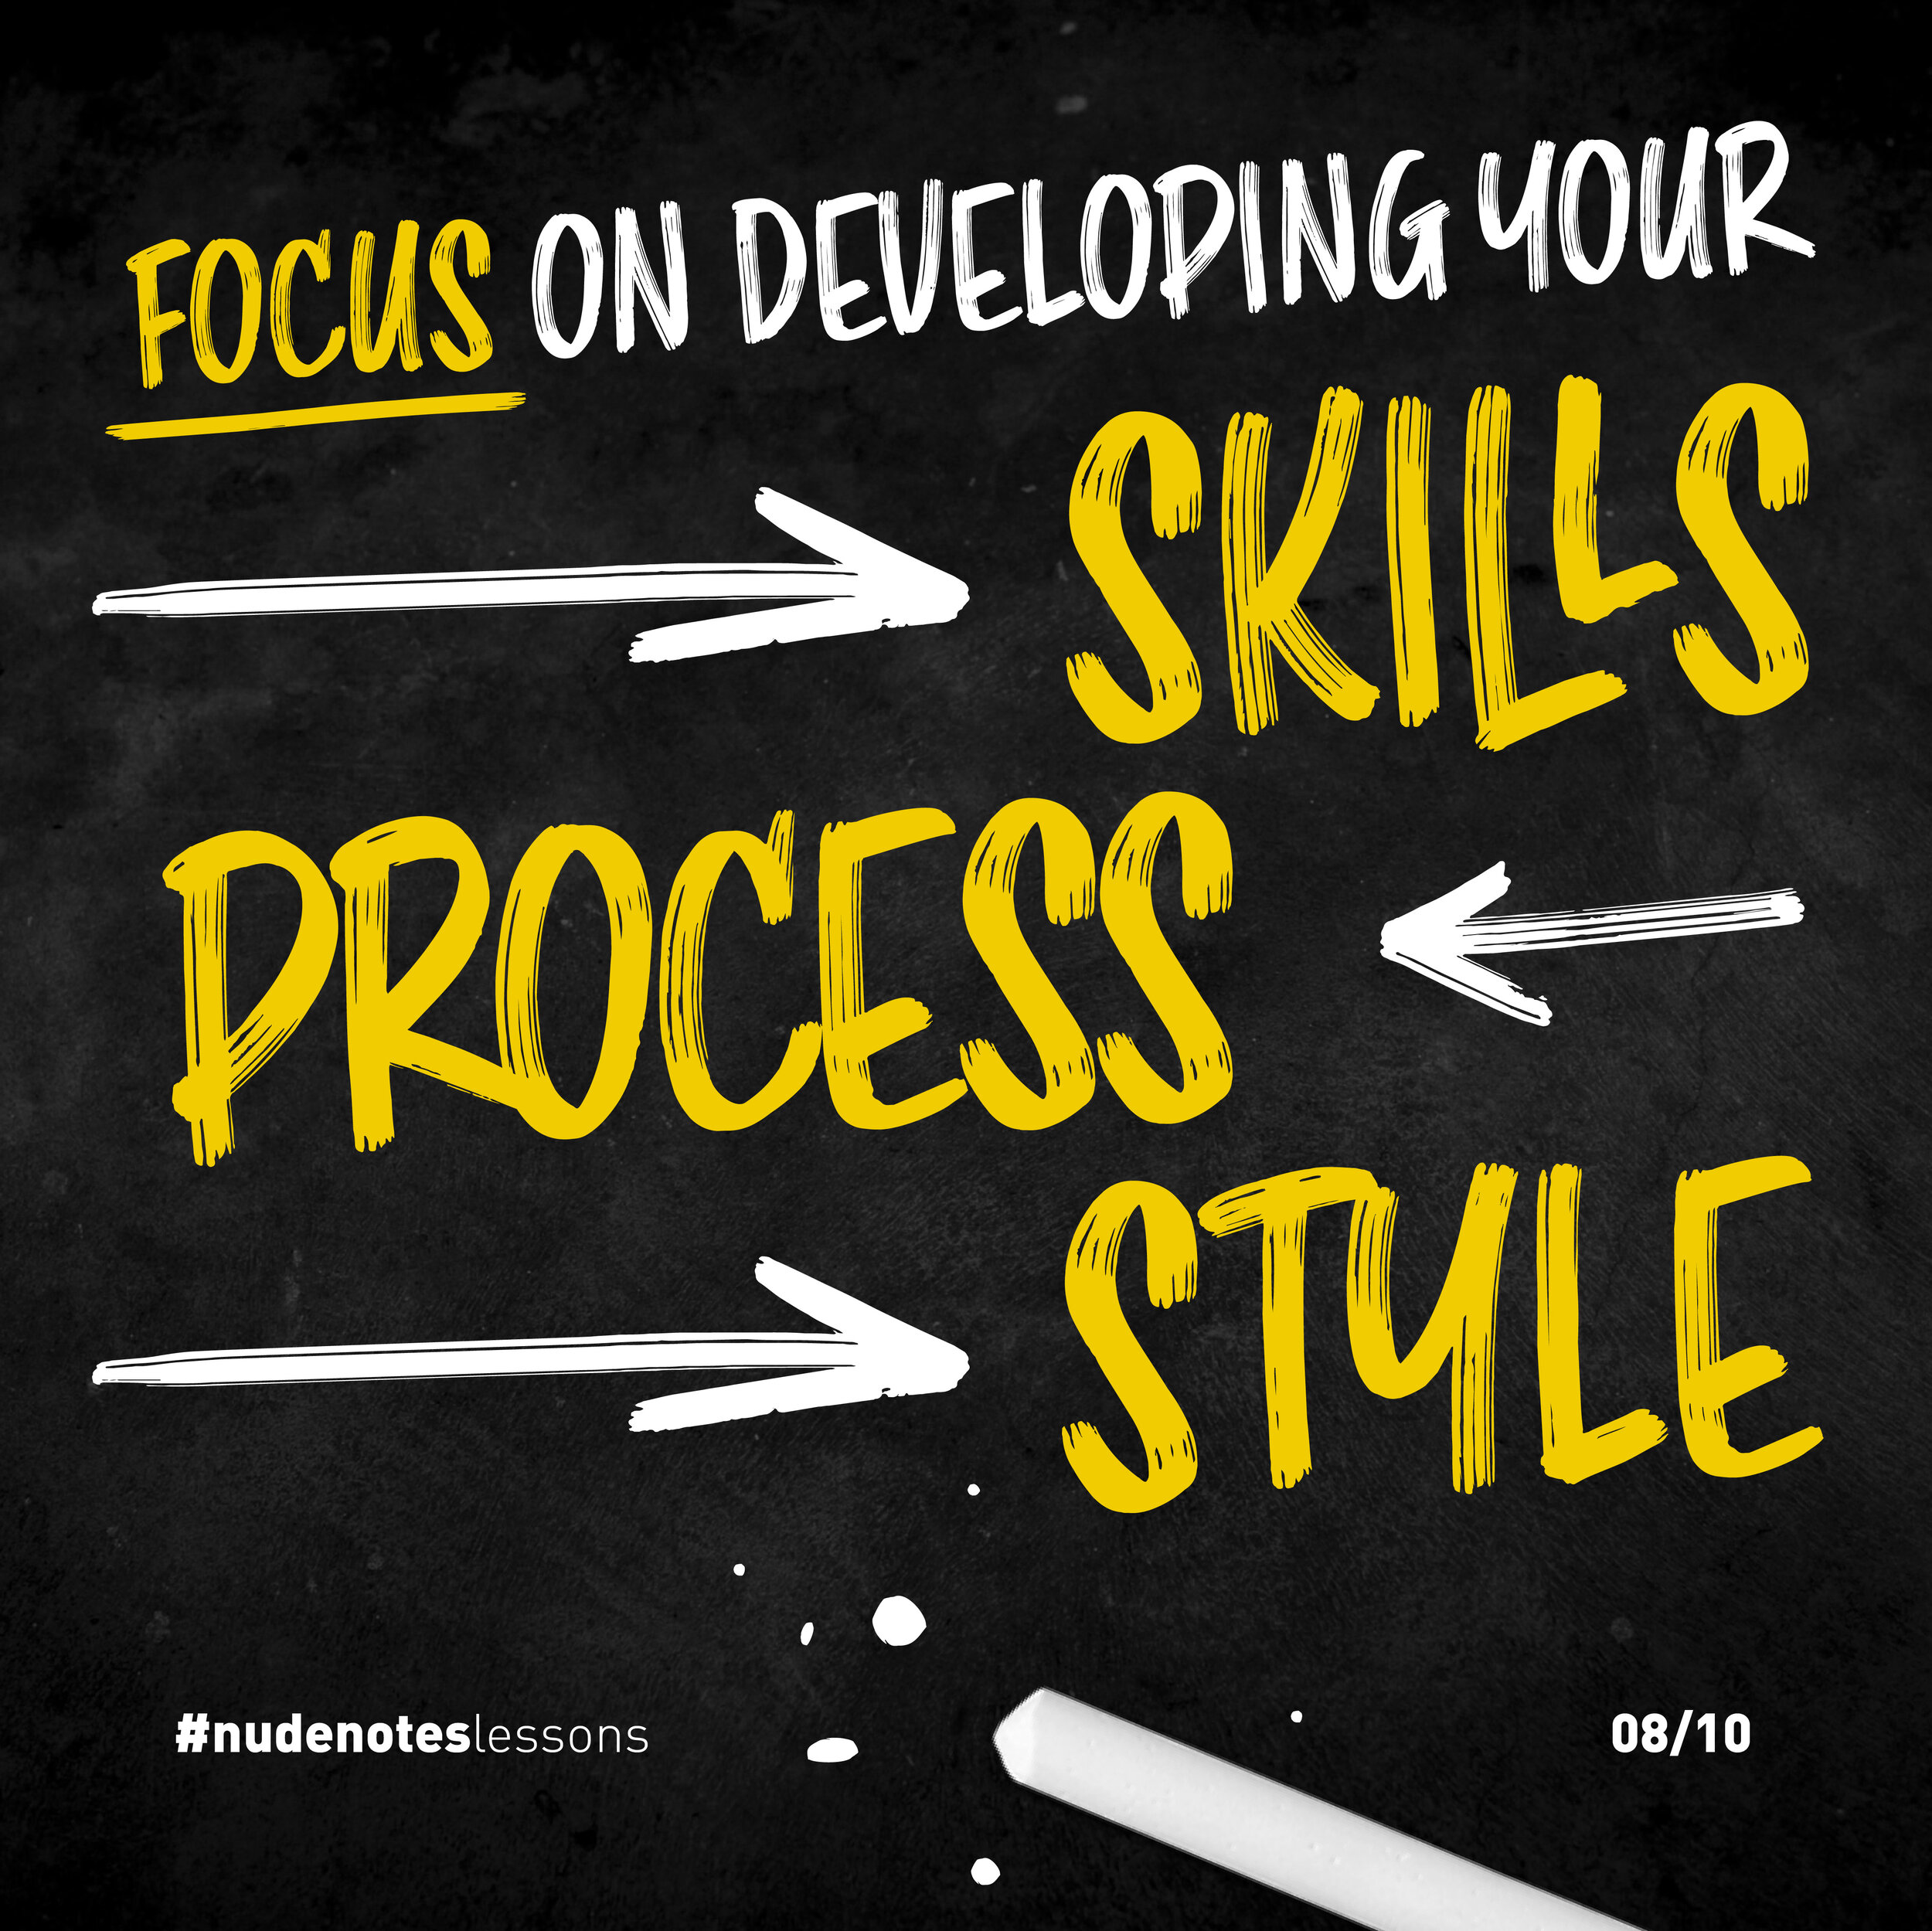
Focus on developing your skills, your process, and your unique style.
Your nudenotes are as unique as your fingerprints.
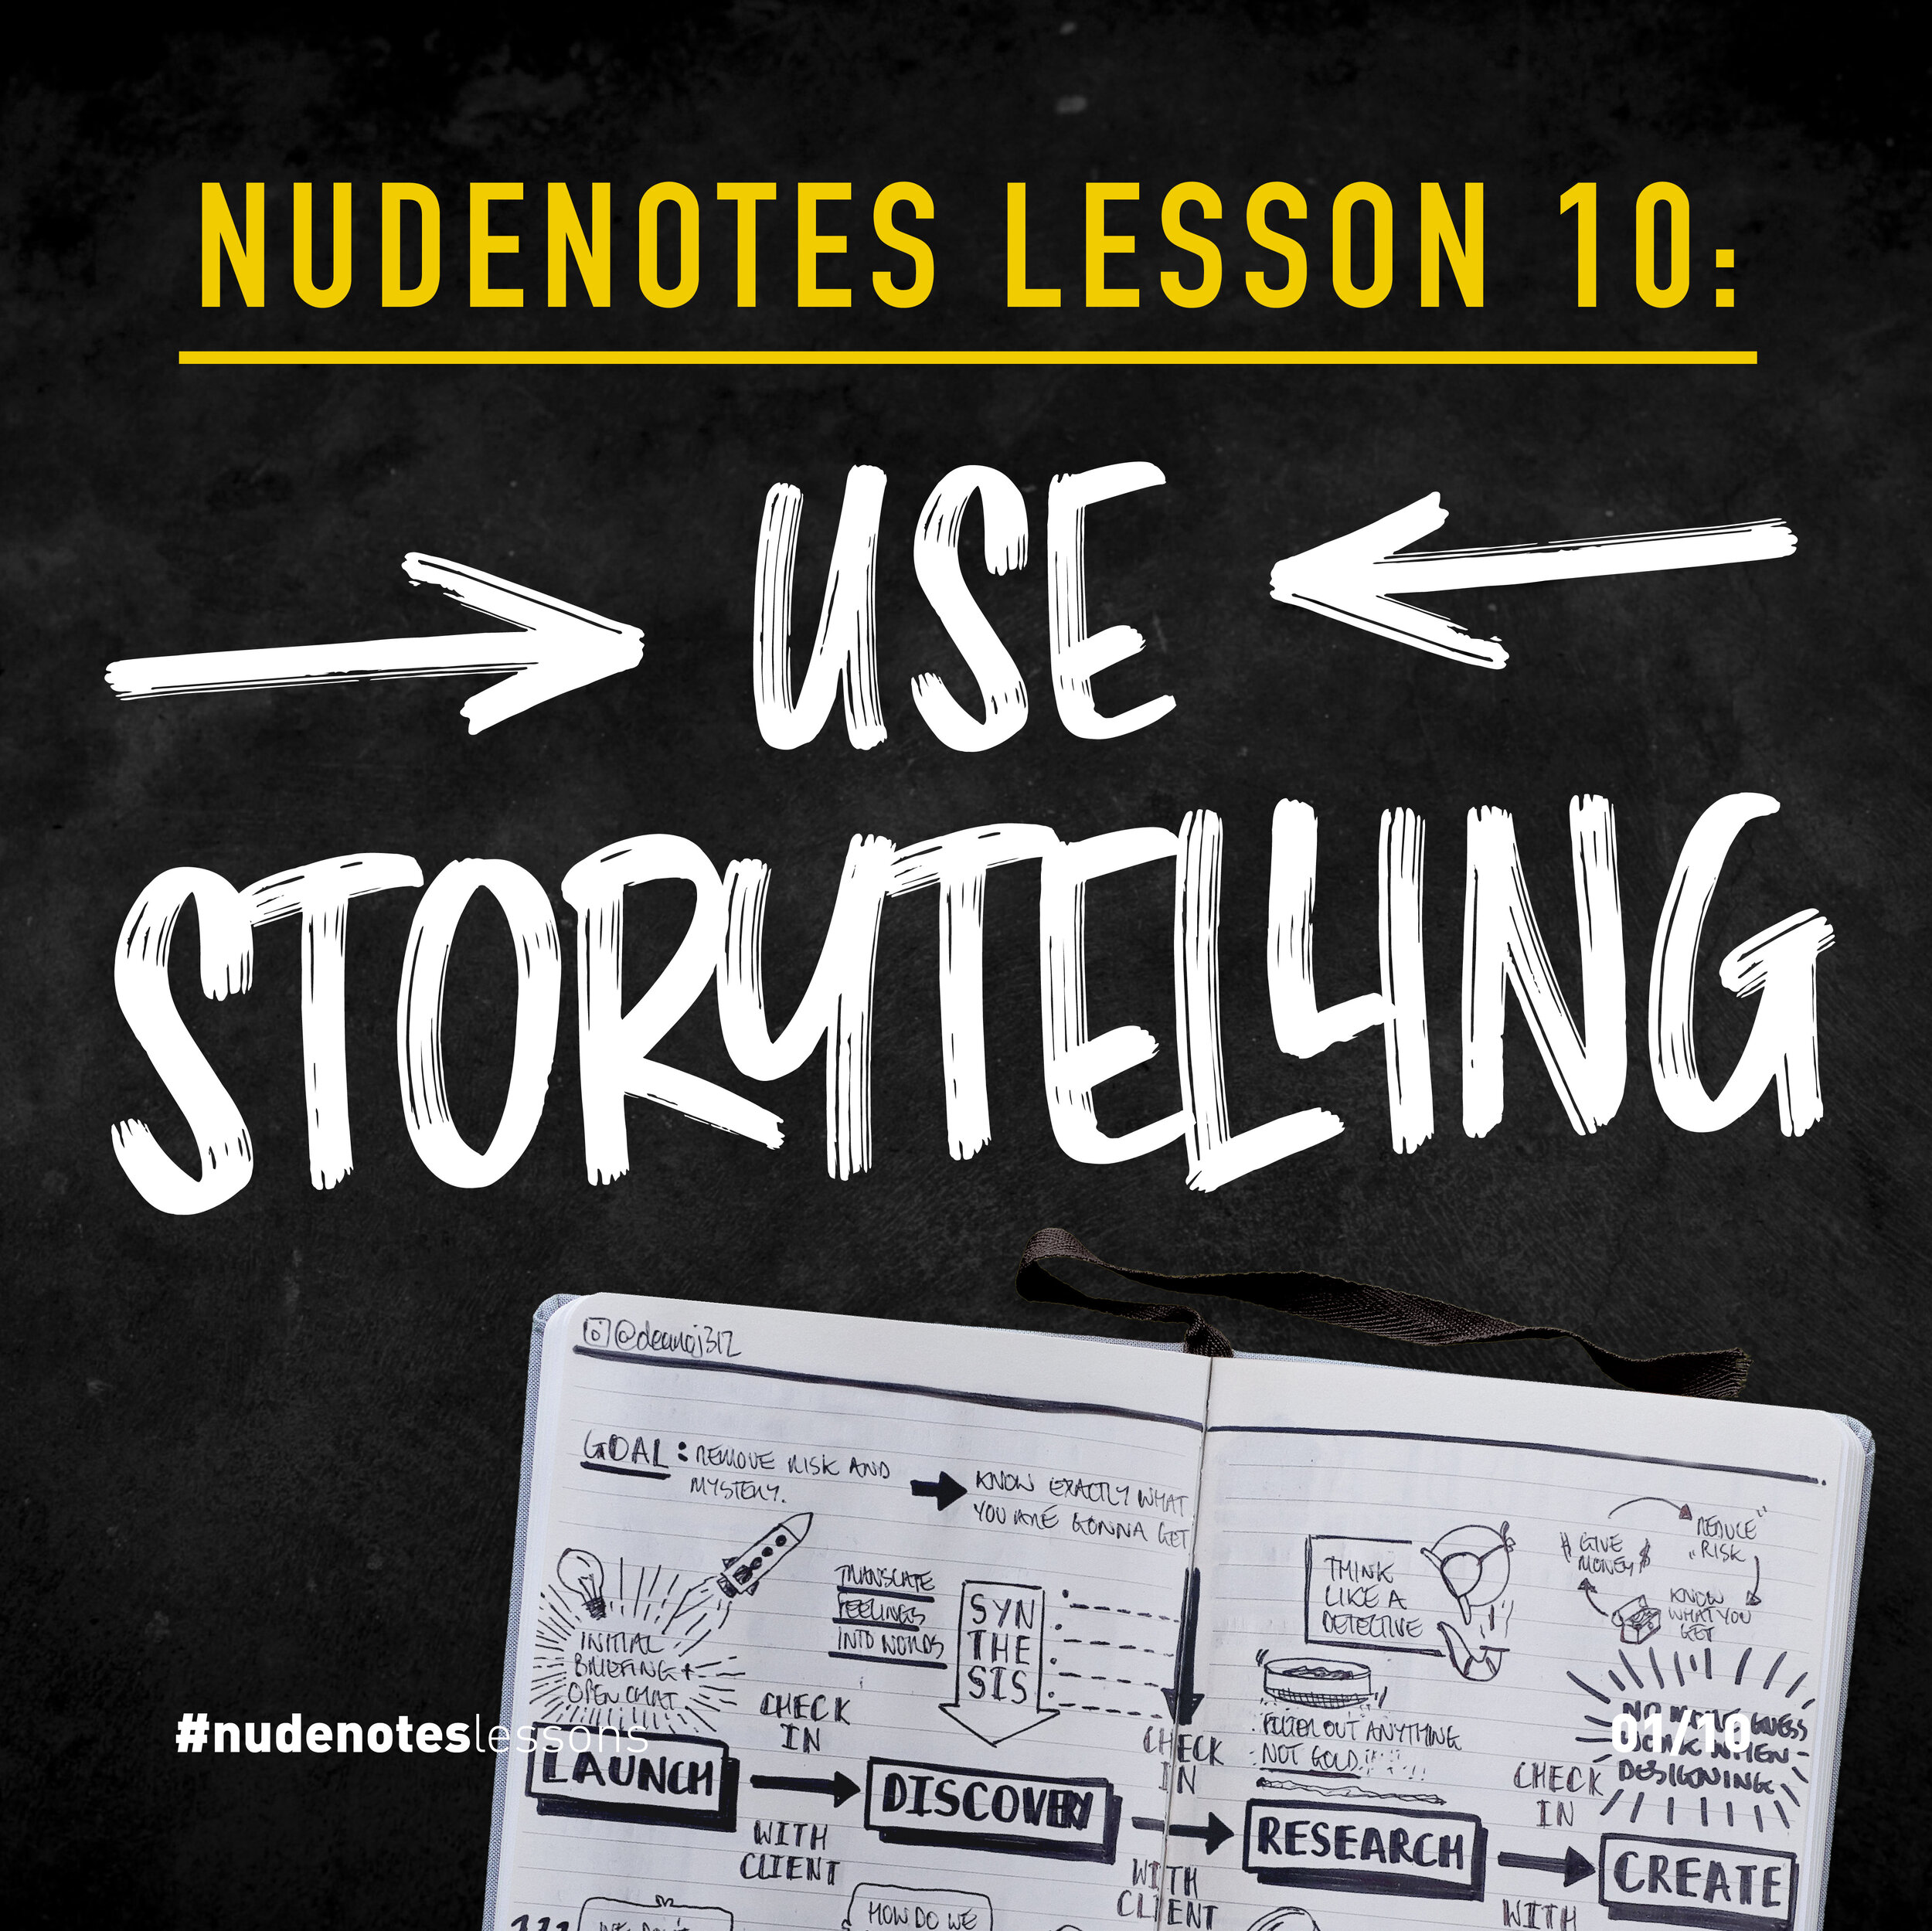
Use storytelling
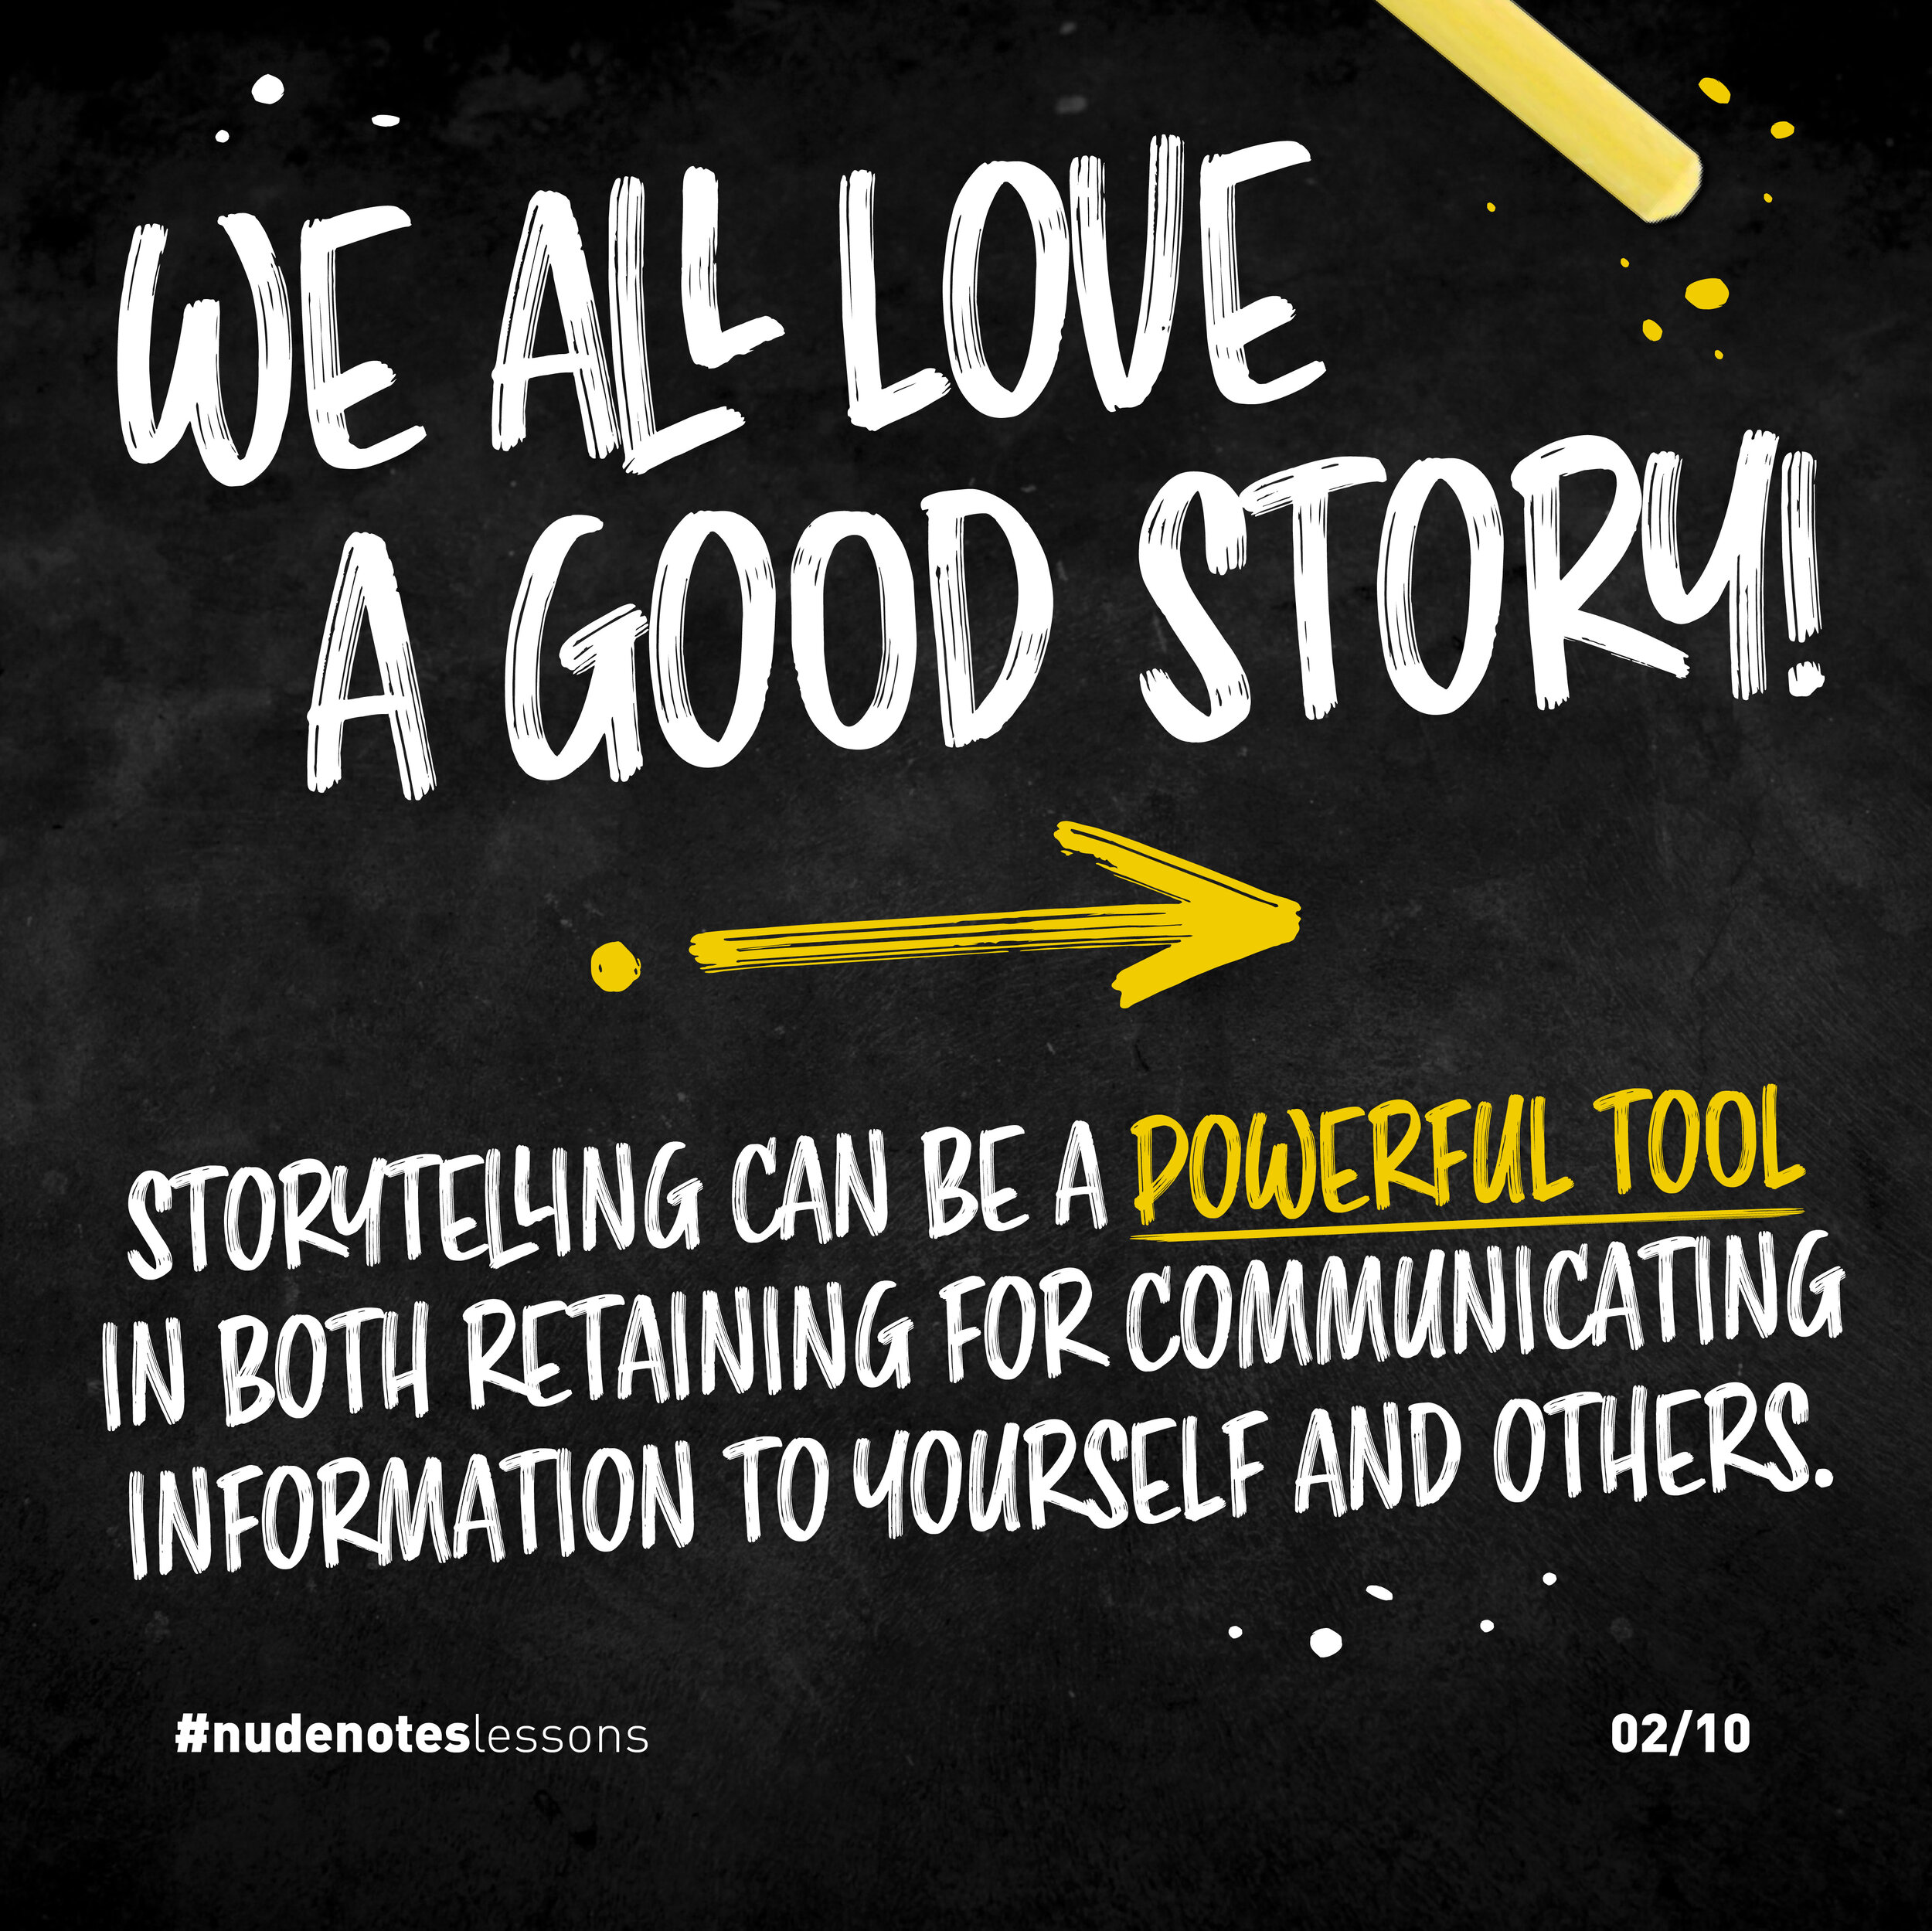
We all love a good story!
Storytelling can be a powerful tool in both retaining information and then communicating that information to others.
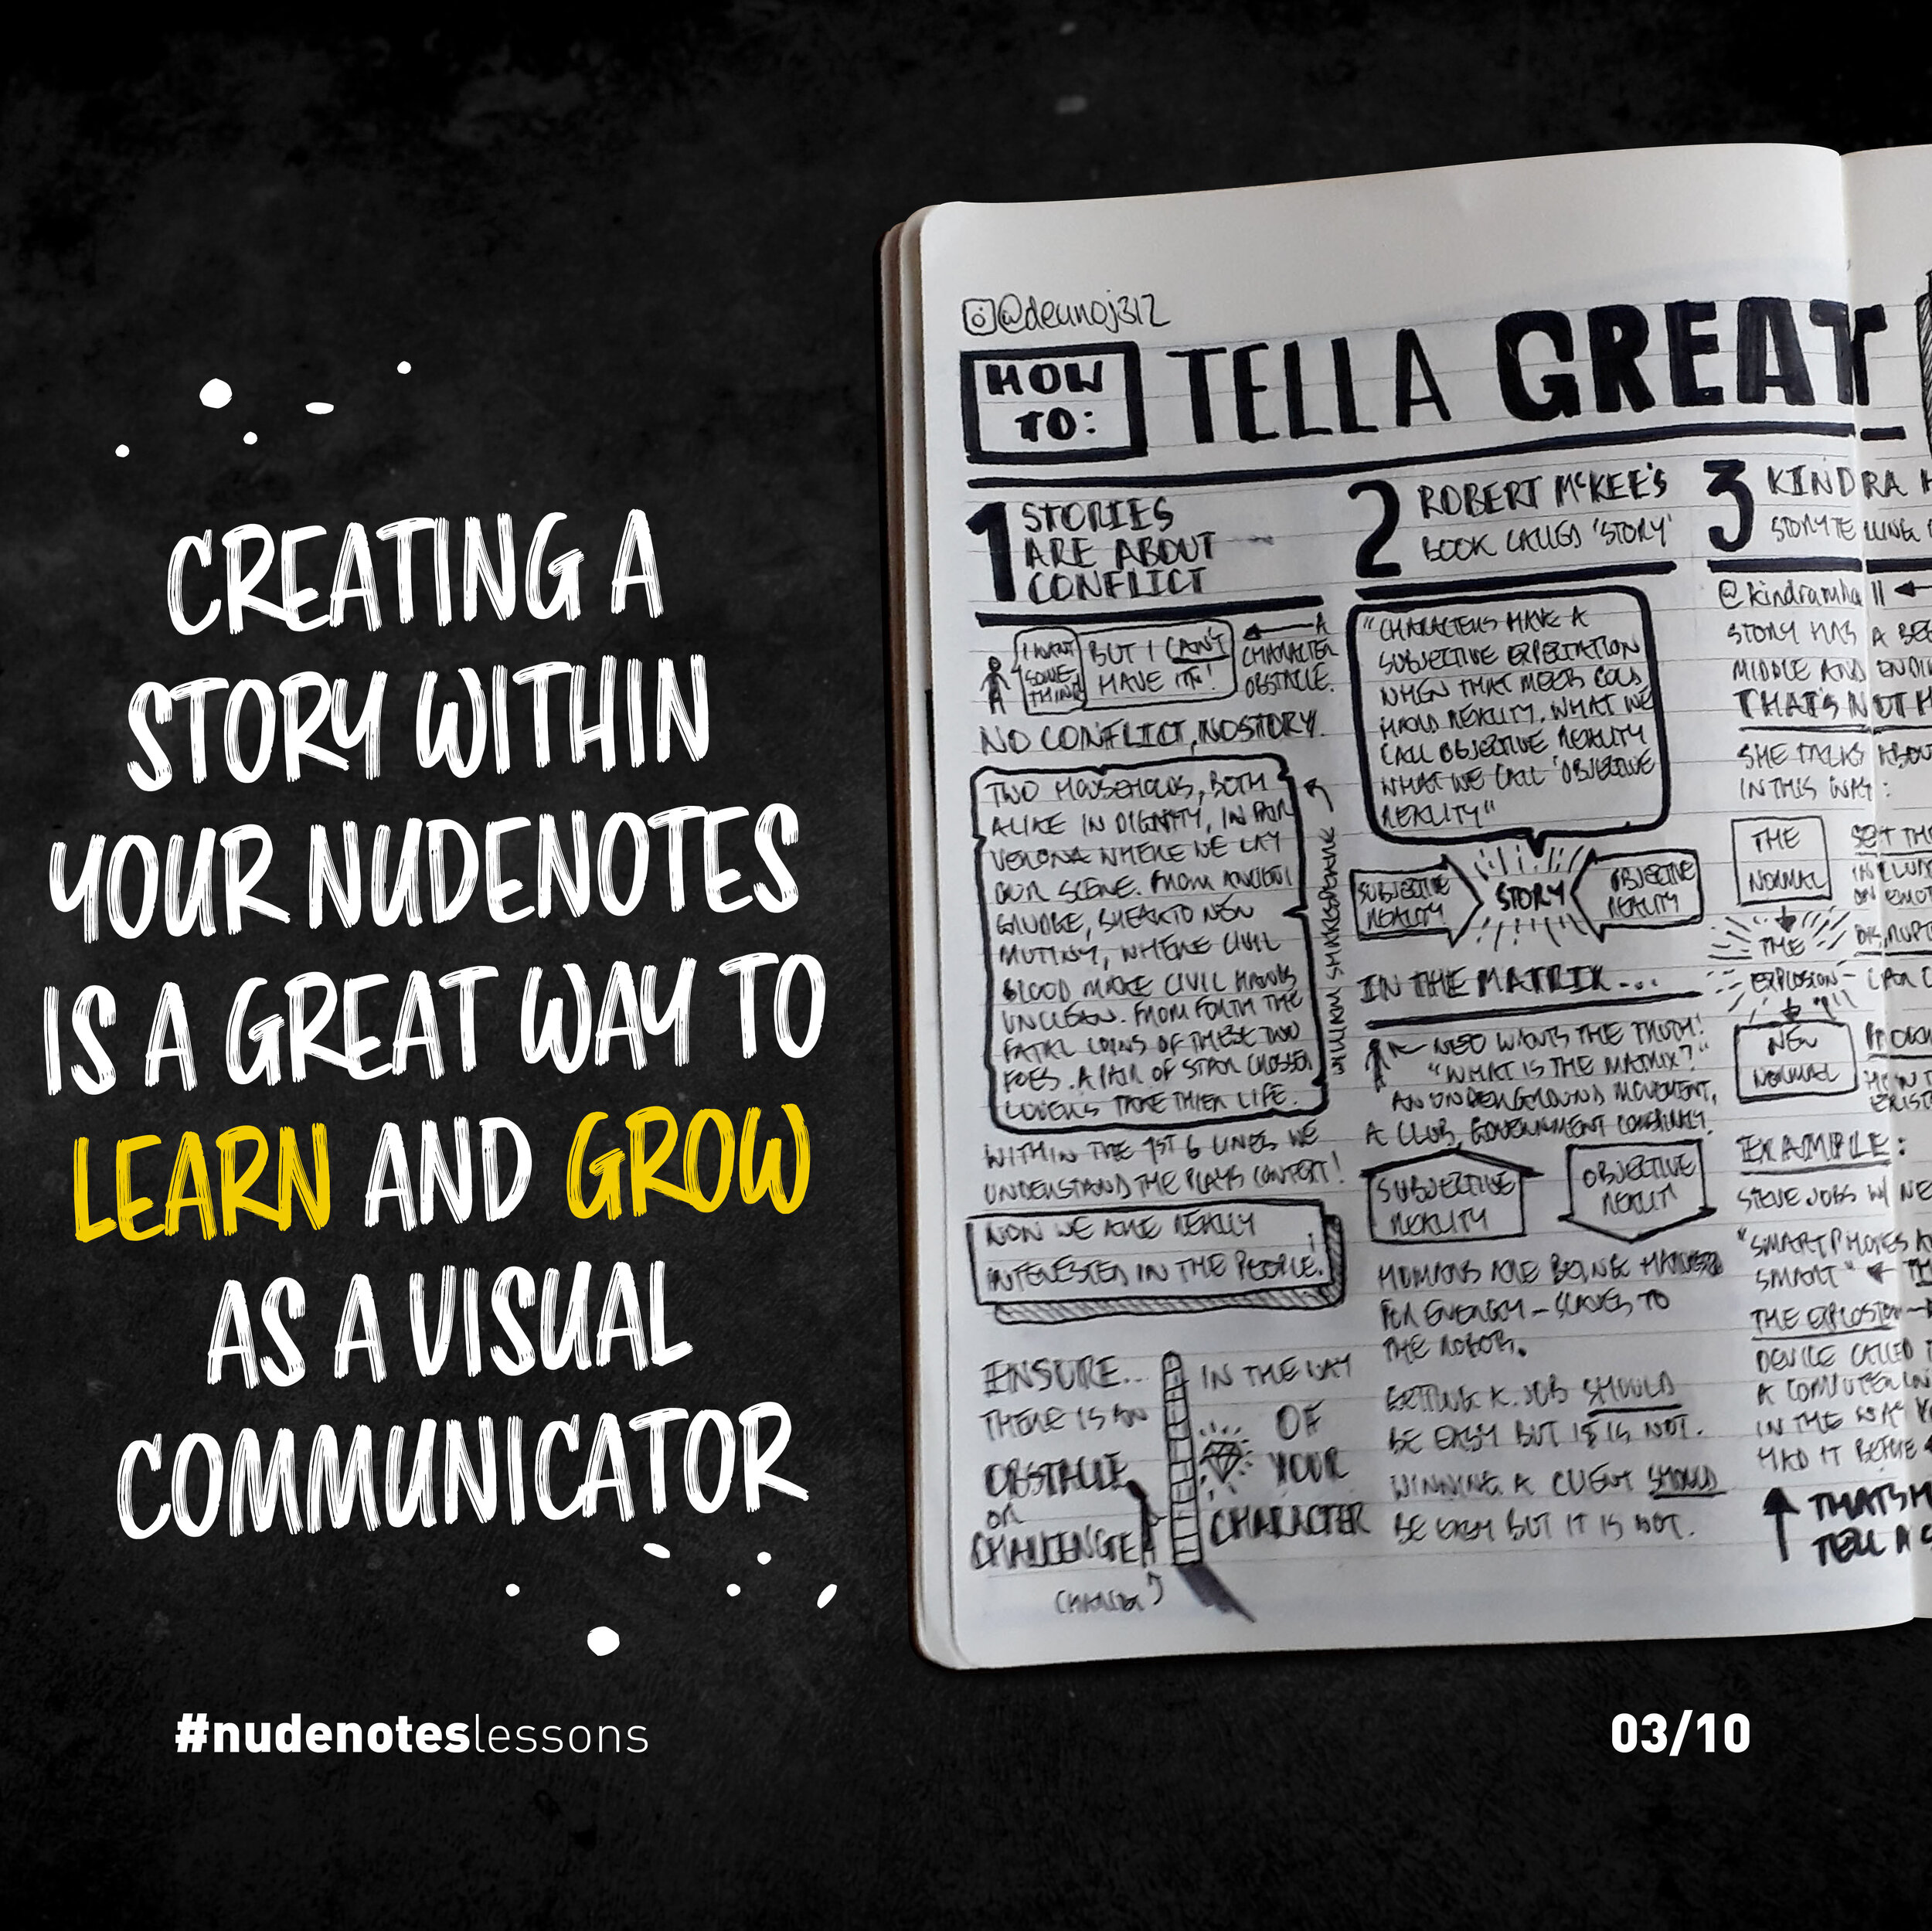
Creating a story within your nudenotes is a great way to learn and grow as a visual communicator.
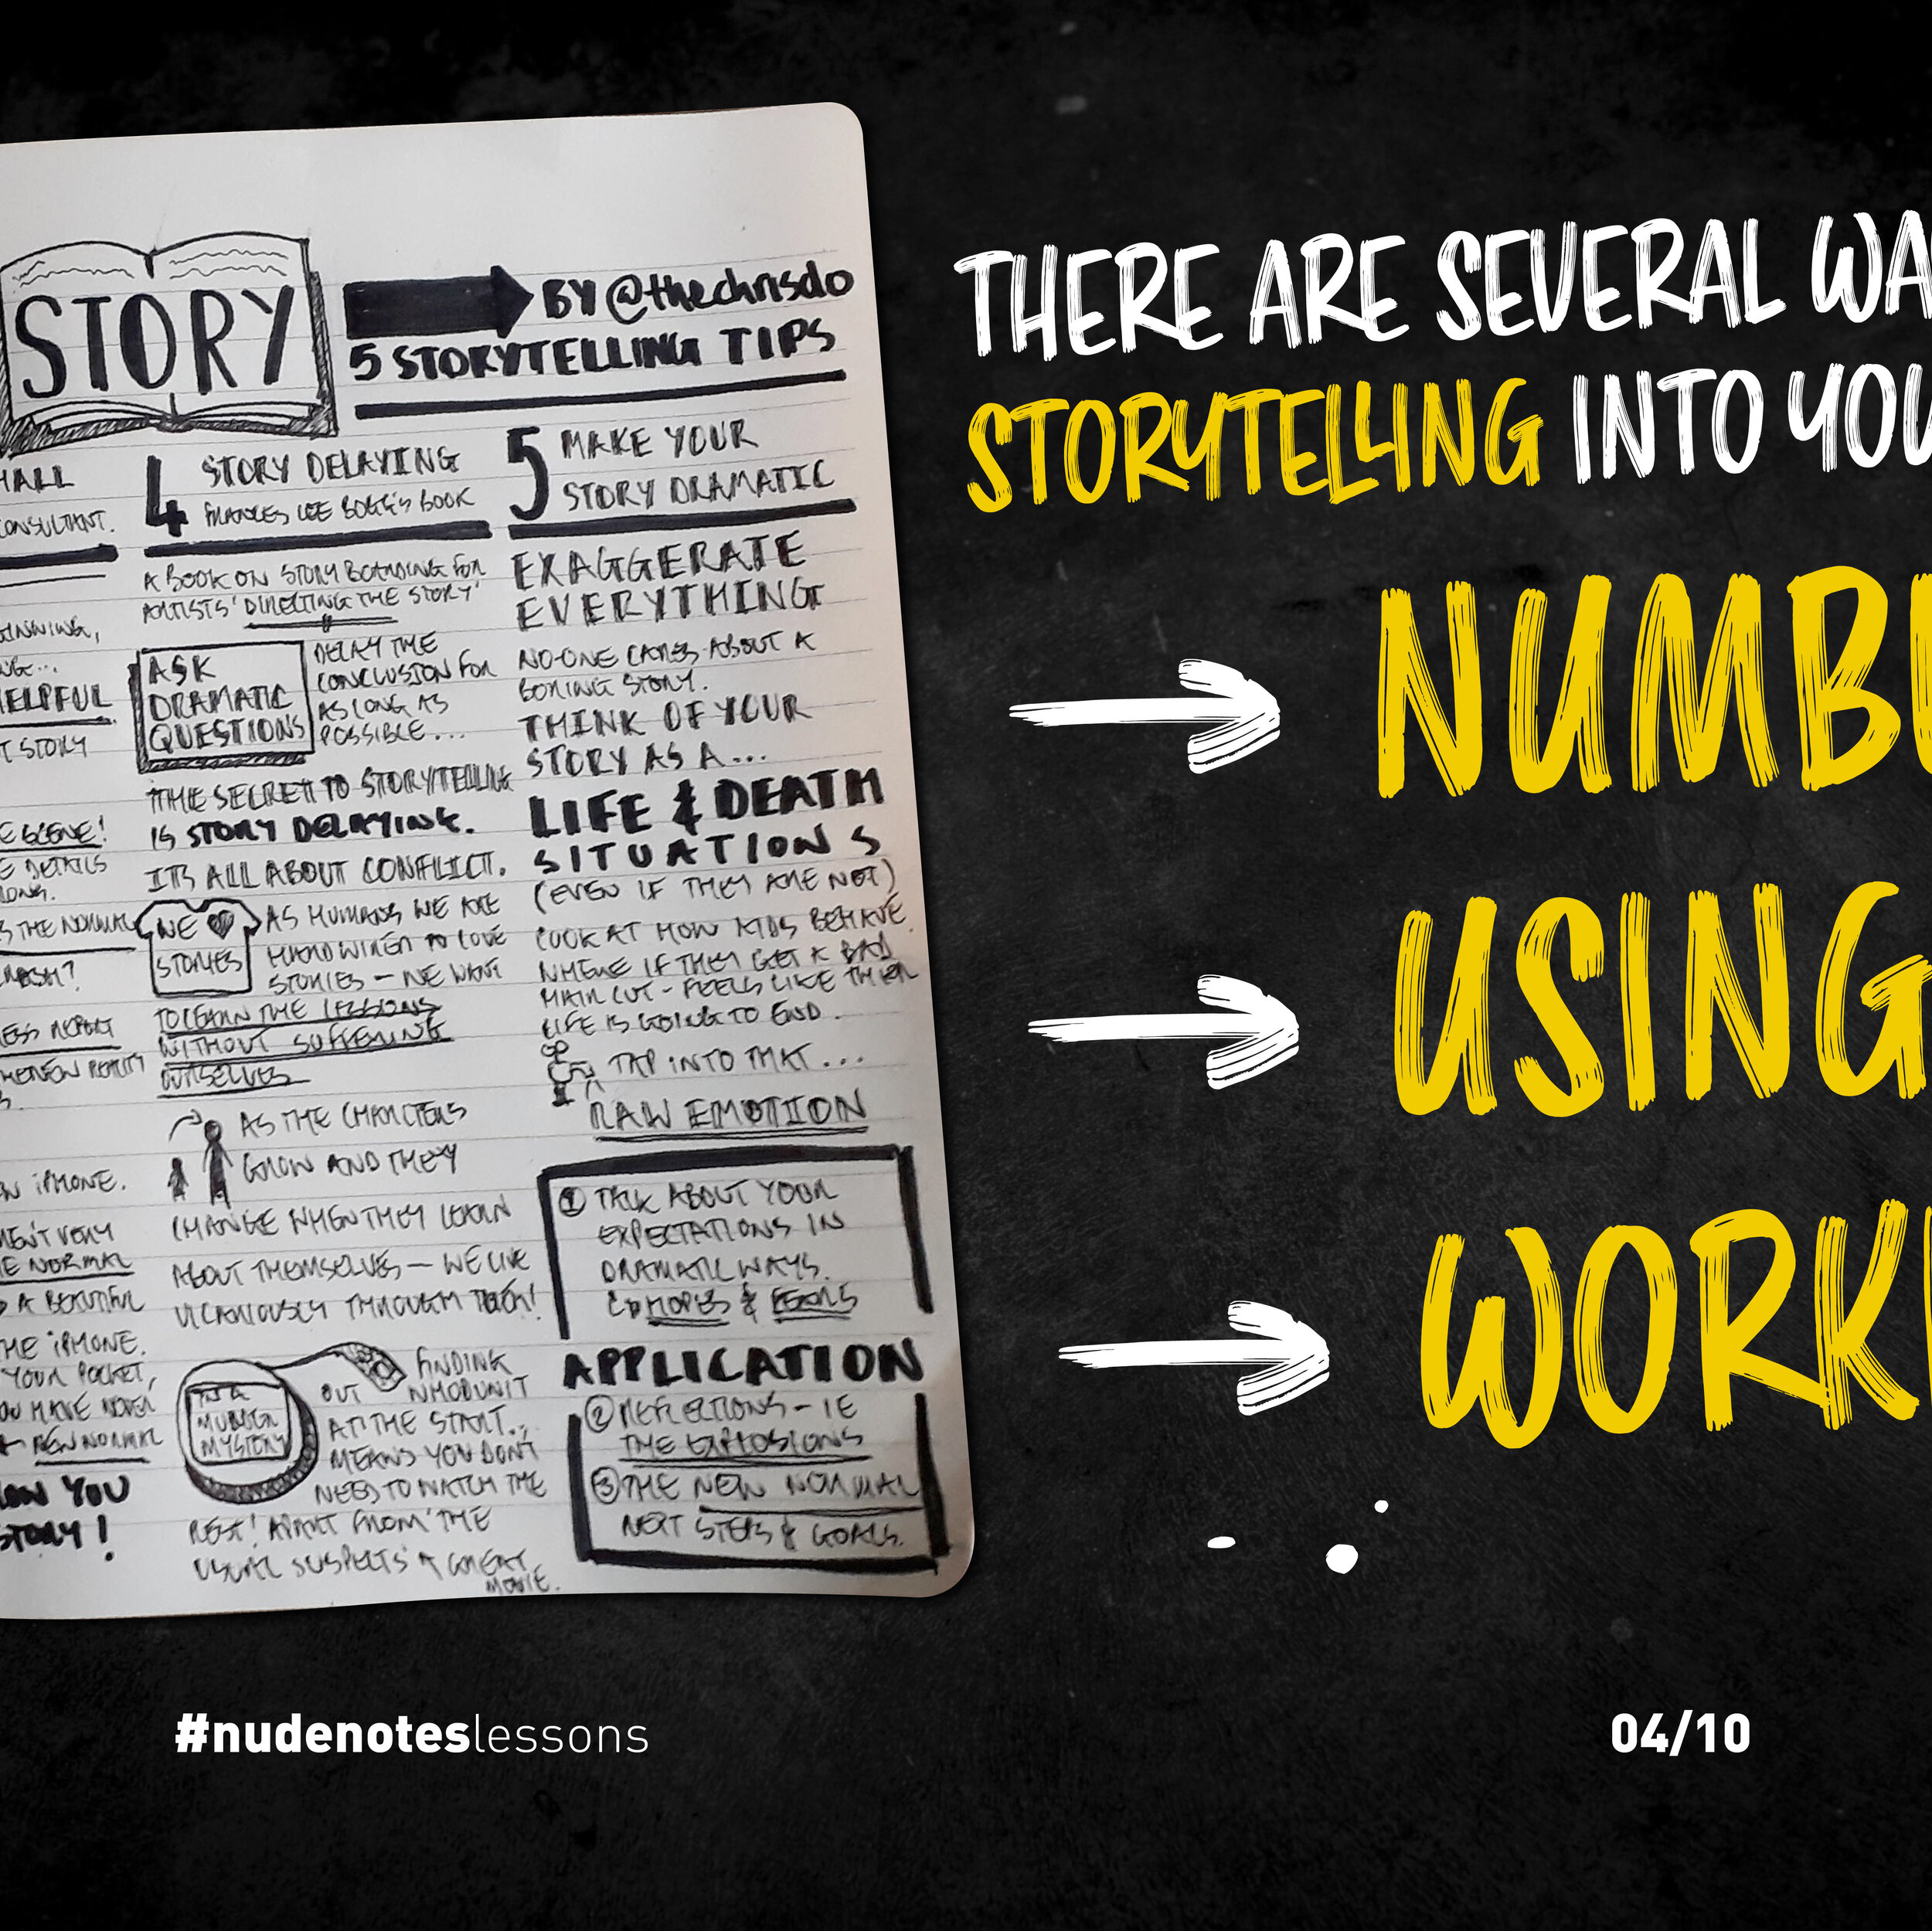
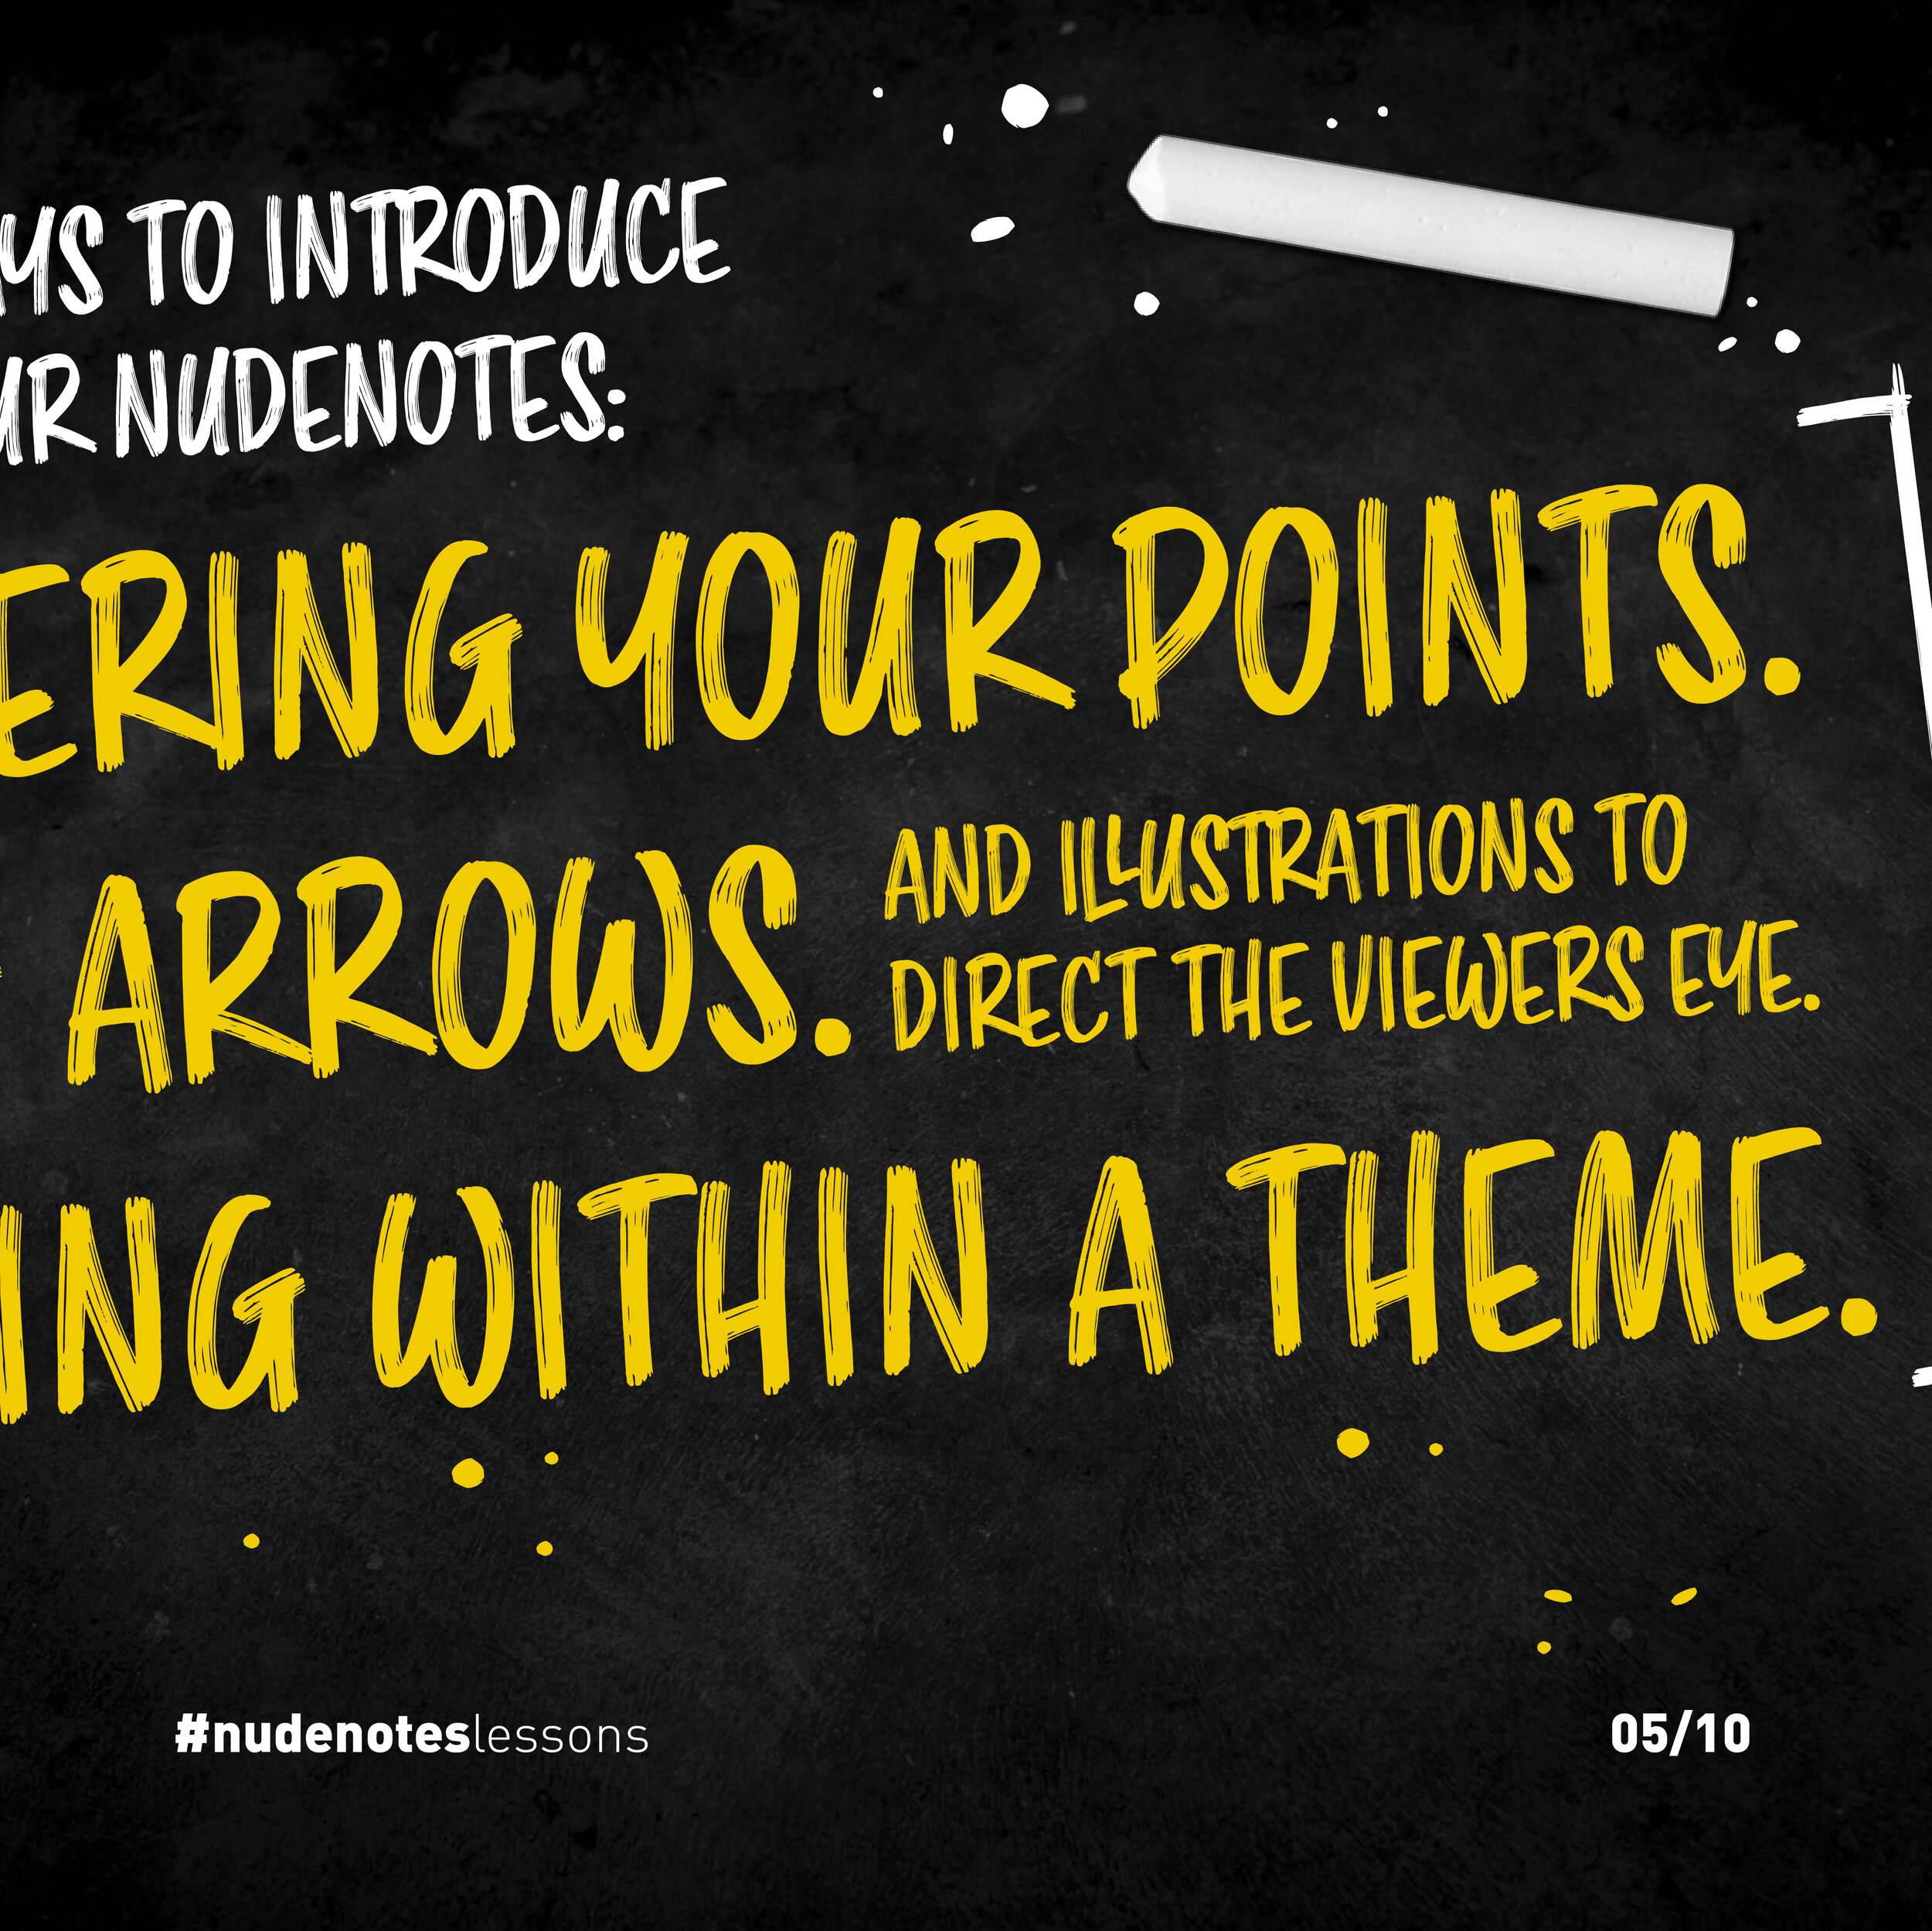
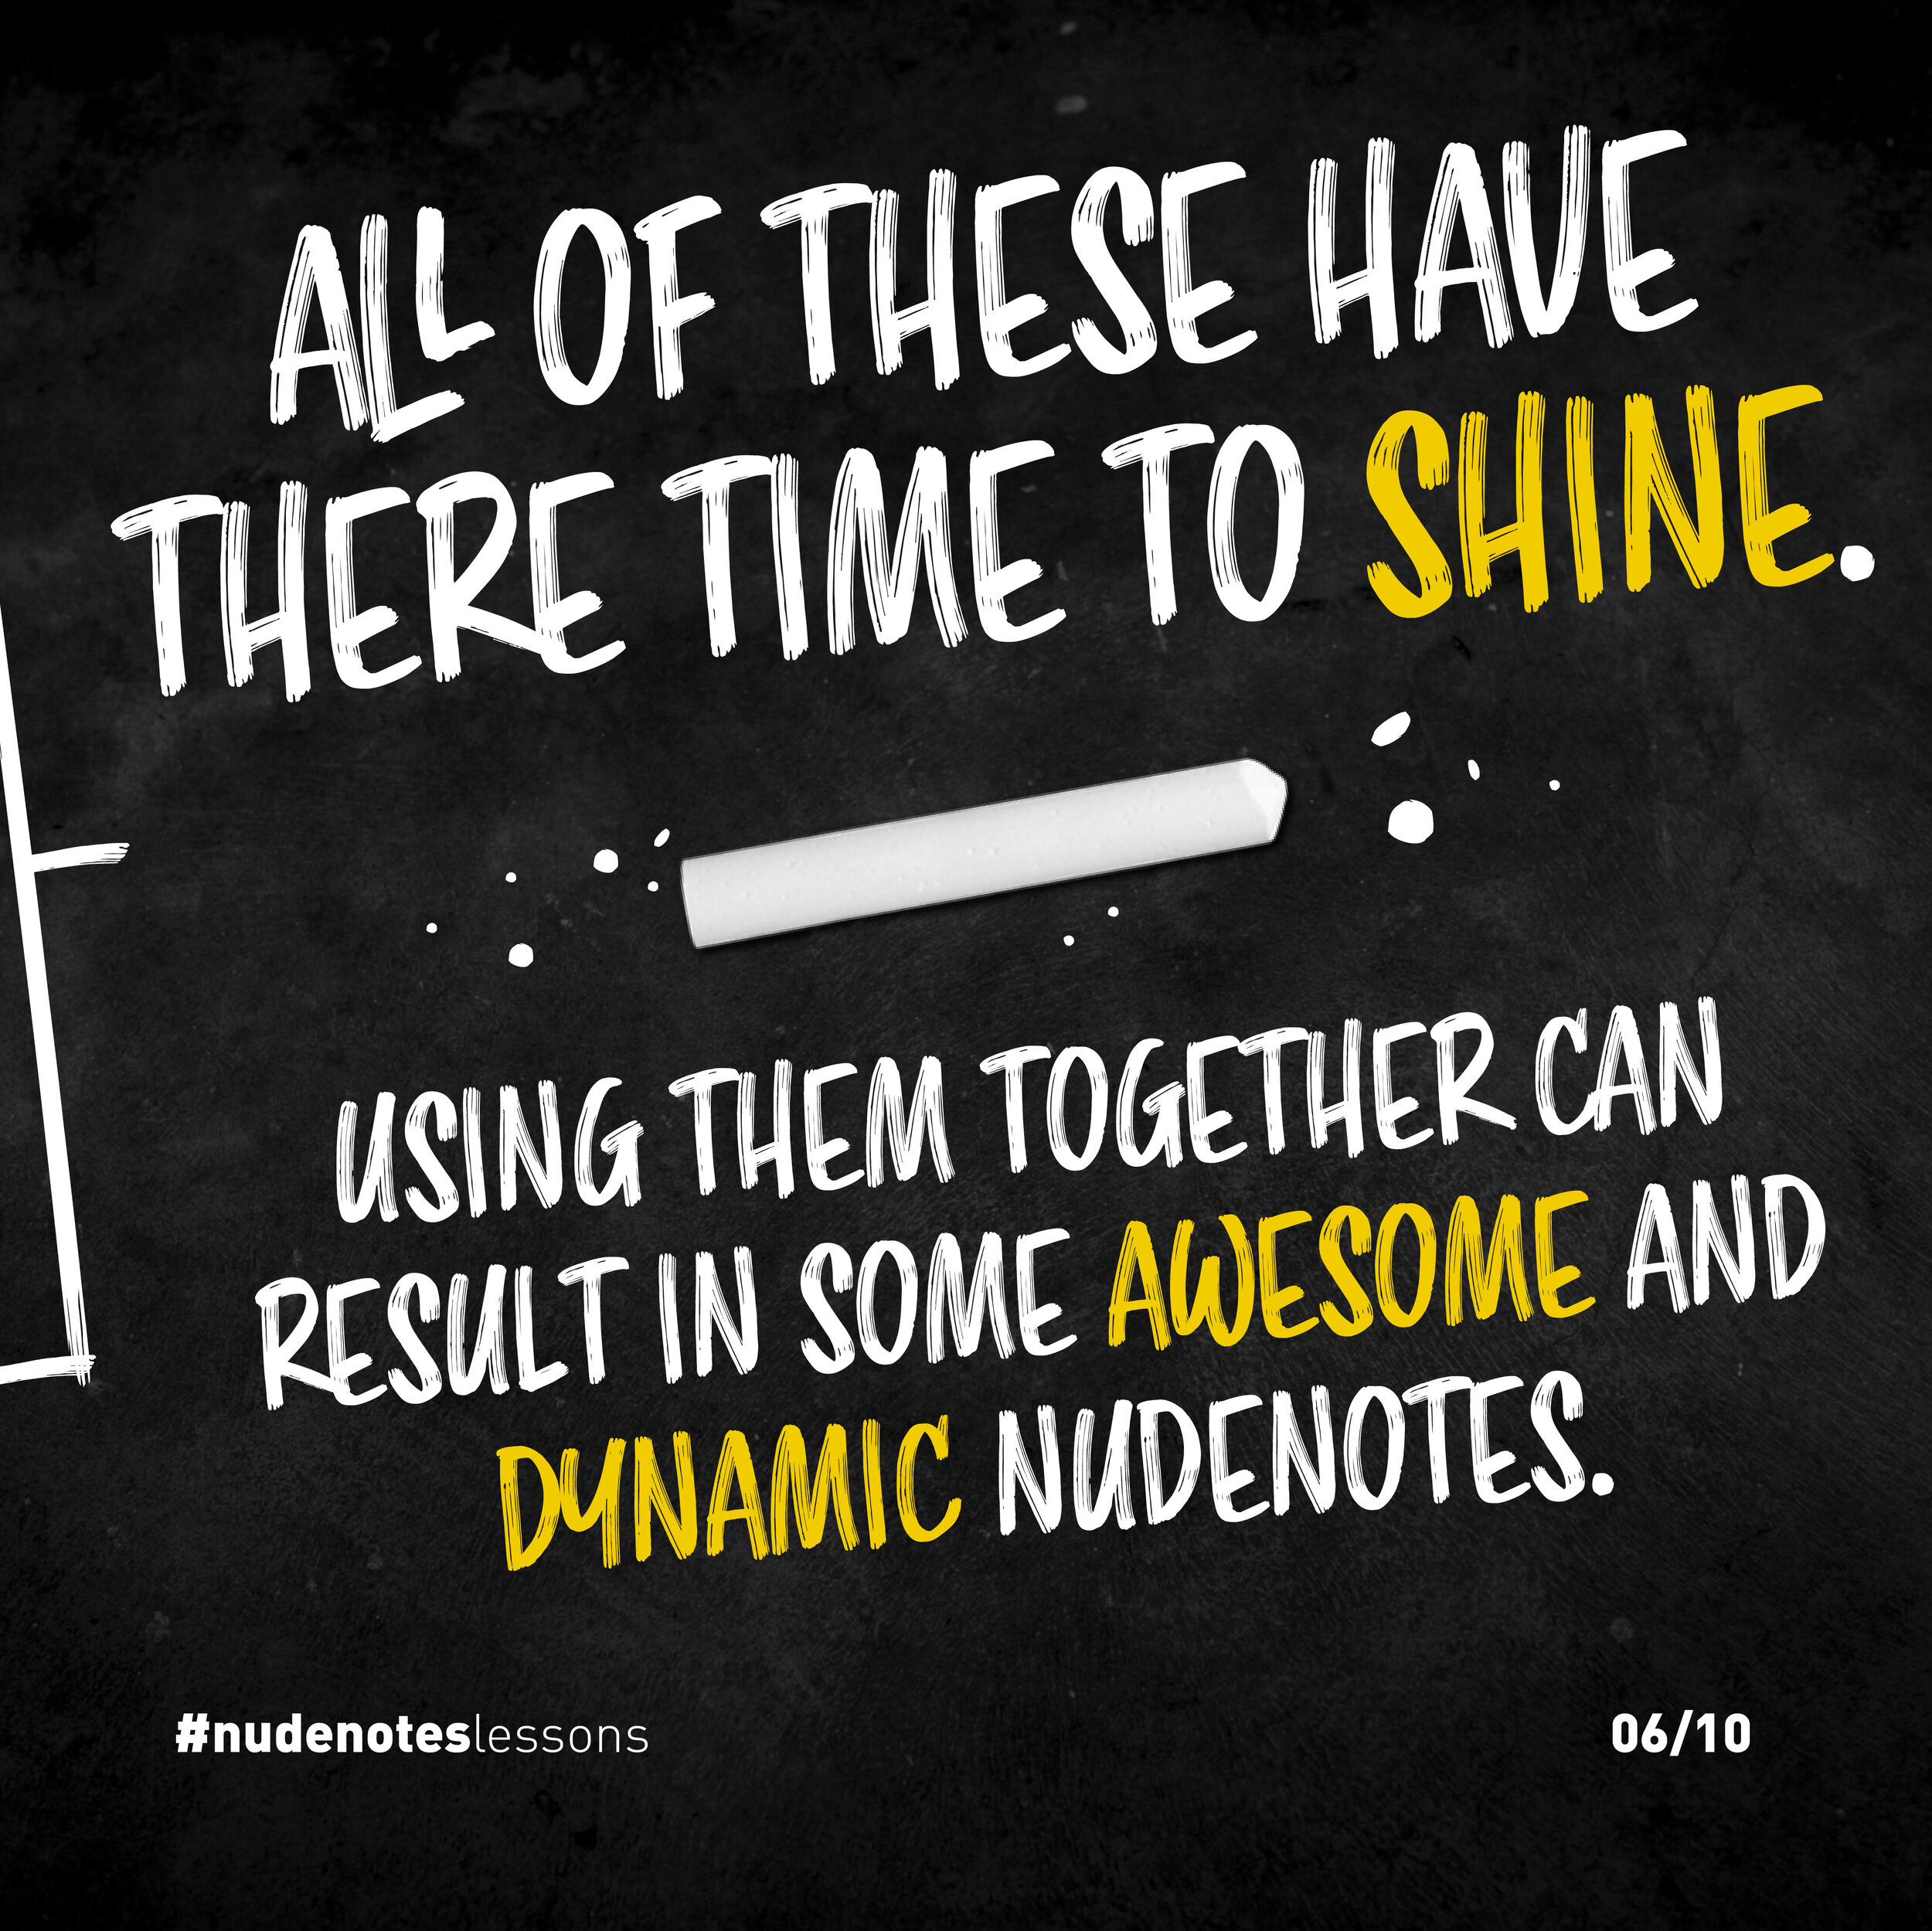
There are several ways to introduce storytelling: numbering your points, using arrows and illustrations to direct the viewer’s eye, and working within a theme.
All of these have their time to shine.
Using them together can result in awesome and dynamic nudenotes.
It will take time to build your storytelling skills.
I’ve found it’s best to practice by creating nudenotes from infographics that have a built-in theme or story.
This means you can focus on learning how they’ve created the story using visuals, not the story itself.
It may seem daunting, but it’s best to dive right in.
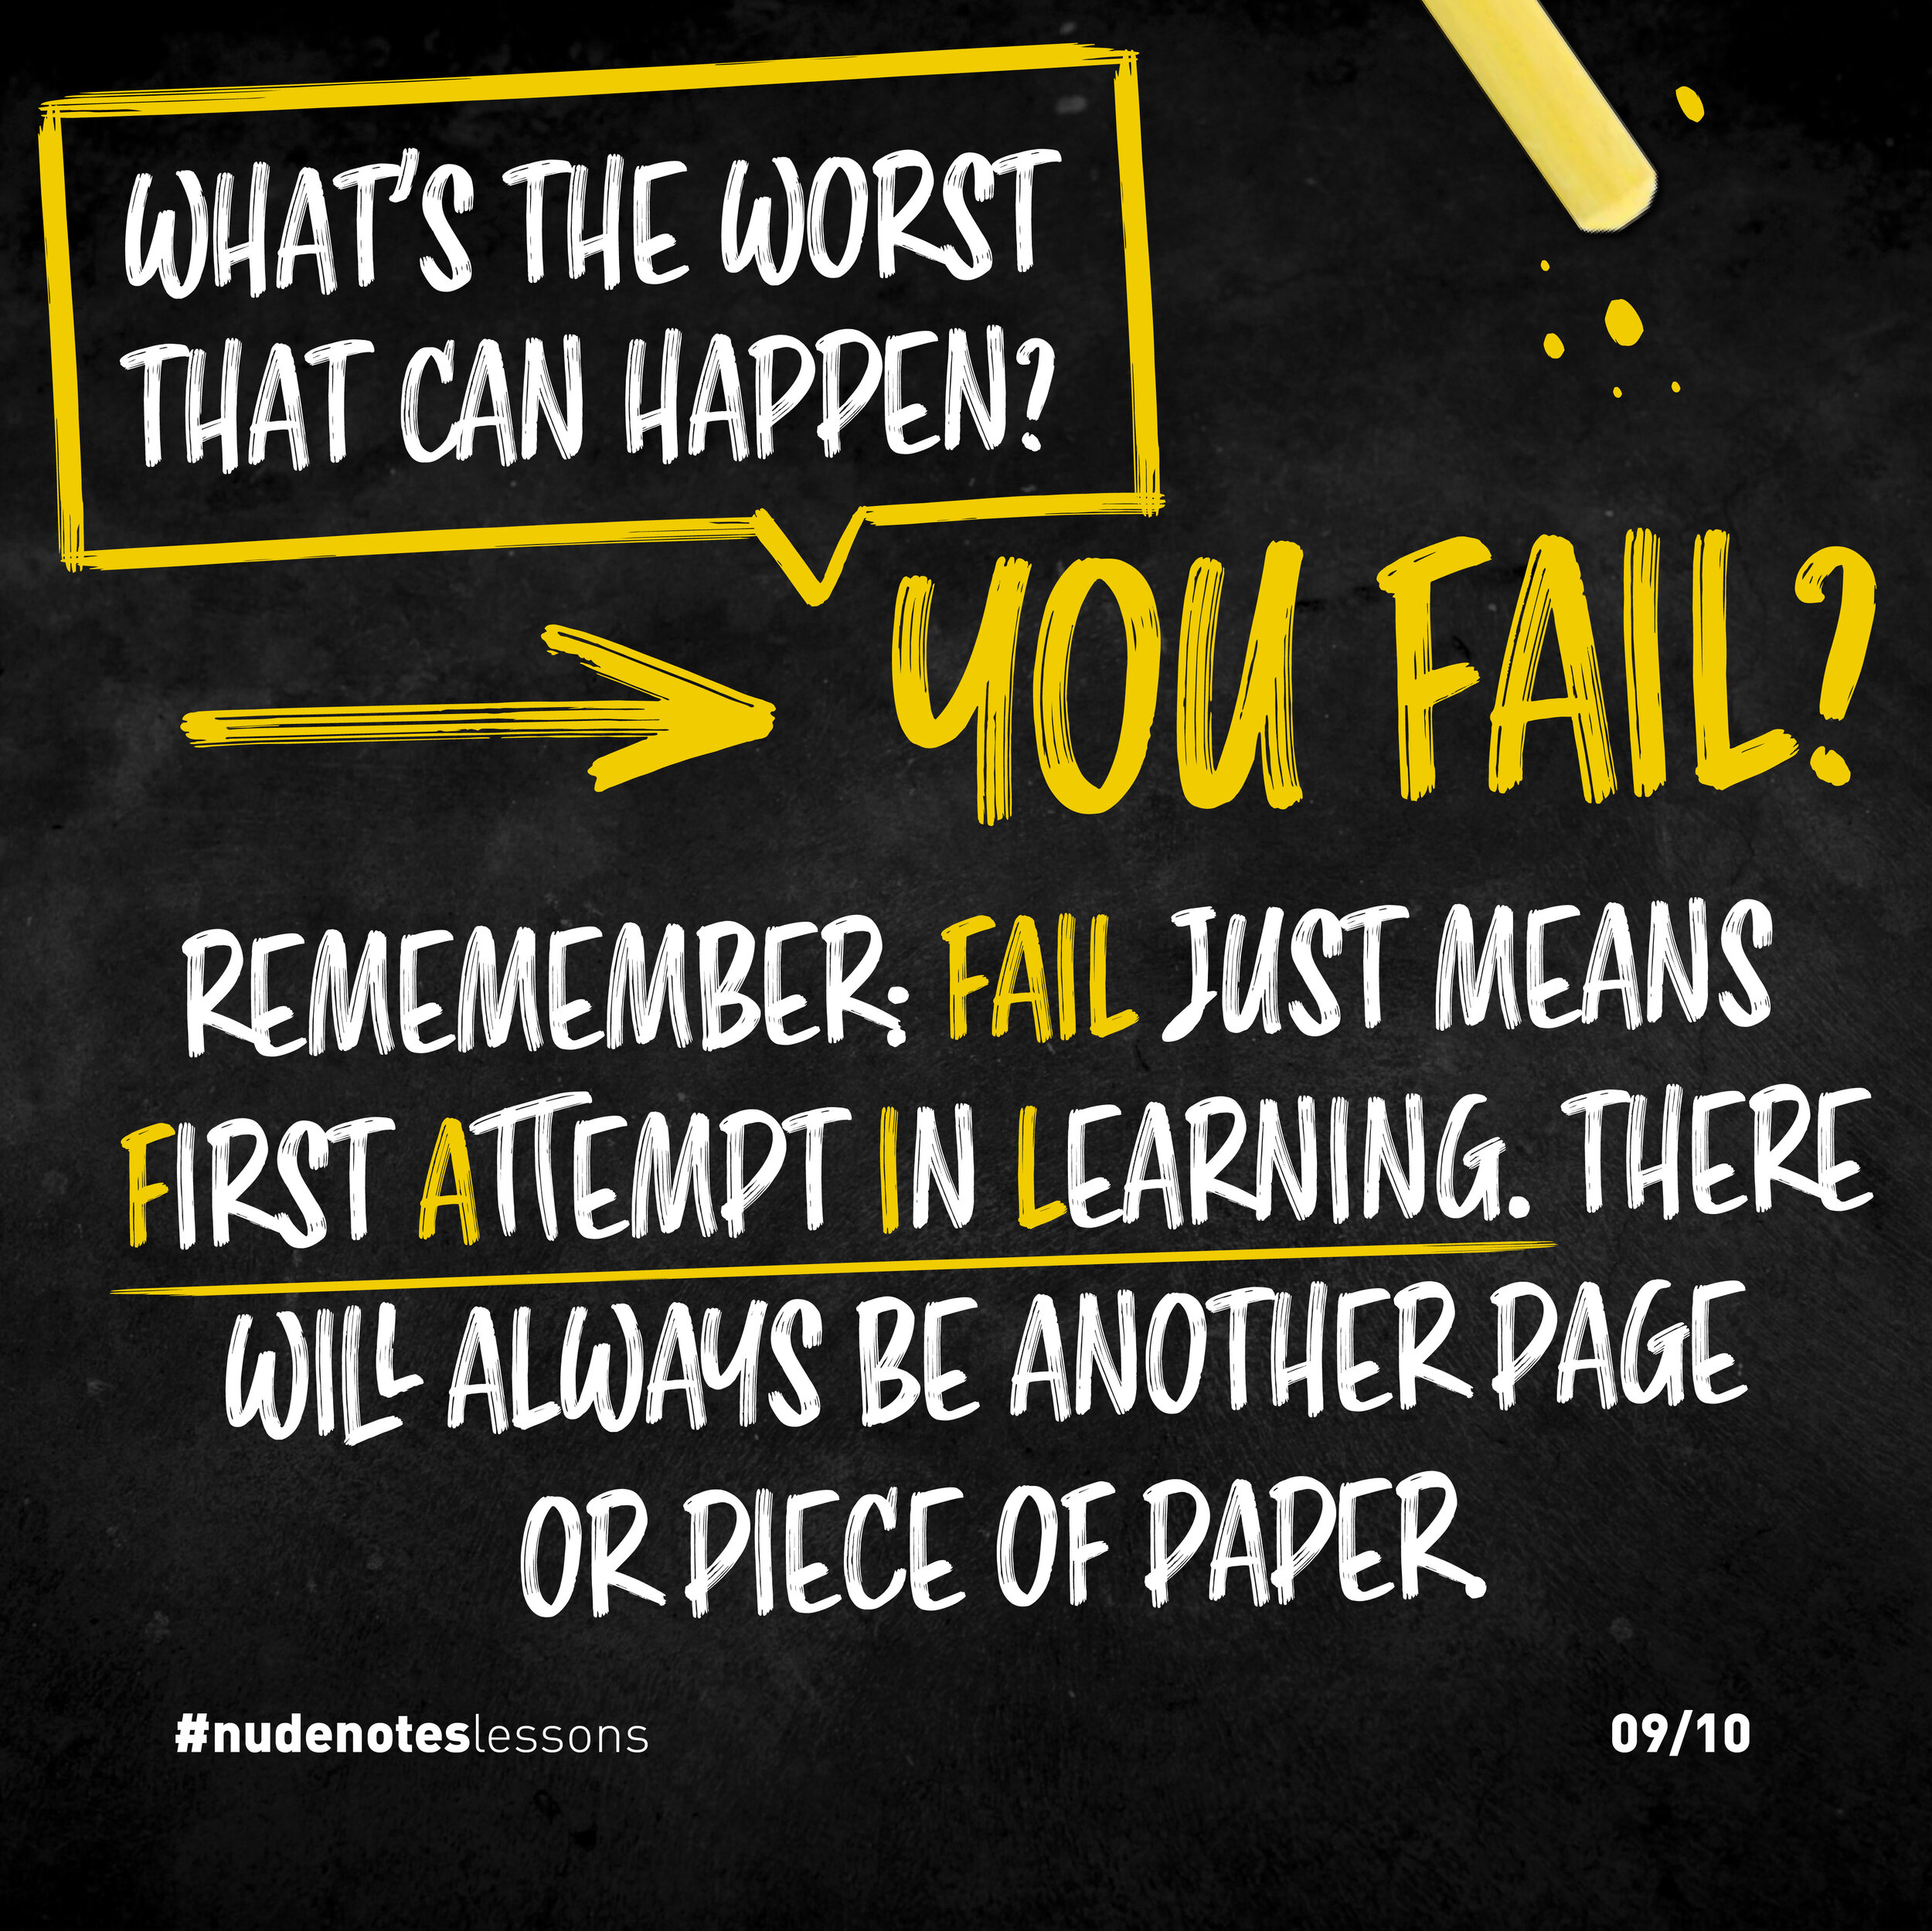
What’s the worst that can happen?
You fail?
Fail just means First Attempt In Learning, and there will always be another page or piece of paper.
Icons and illustrations
Struggling to think of a visual way to note a particular phrase?
This happens to me all the time, but I have a solution.
Pinpoint the keyword(s), then get on Google (or another search engine) and type them in, adding the word ‘icon’ or ‘illustrations’.
With this 'magic trick' (that's so simple it hurts), you'll have access to thousands of icons that you can adapt and use.
For the best results, look at logo and specialist icon websites like iconfinder.com.
After a few seconds scrolling, you’ll have all the inspiration you need to get unstuck.
As you build up your visual vocabulary, it’ll become like muscle memory or another language - you’ll automatically associate words with these icons.
Don’t be afraid to use the same icons over and over.
Common icons I use include a clock for time (not exactly innovative, but it does the job), and a diamond for value.
These icons need to become ingrained in your mind.
A good visual vocabulary will increase your flow, and over time you’ll find you are stopping mid-note less often.
Remember, a picture is worth a thousand words, so build your visual vocabulary library one icon at a time, and before you know it, you’ll have a vast mountain of icons to use.
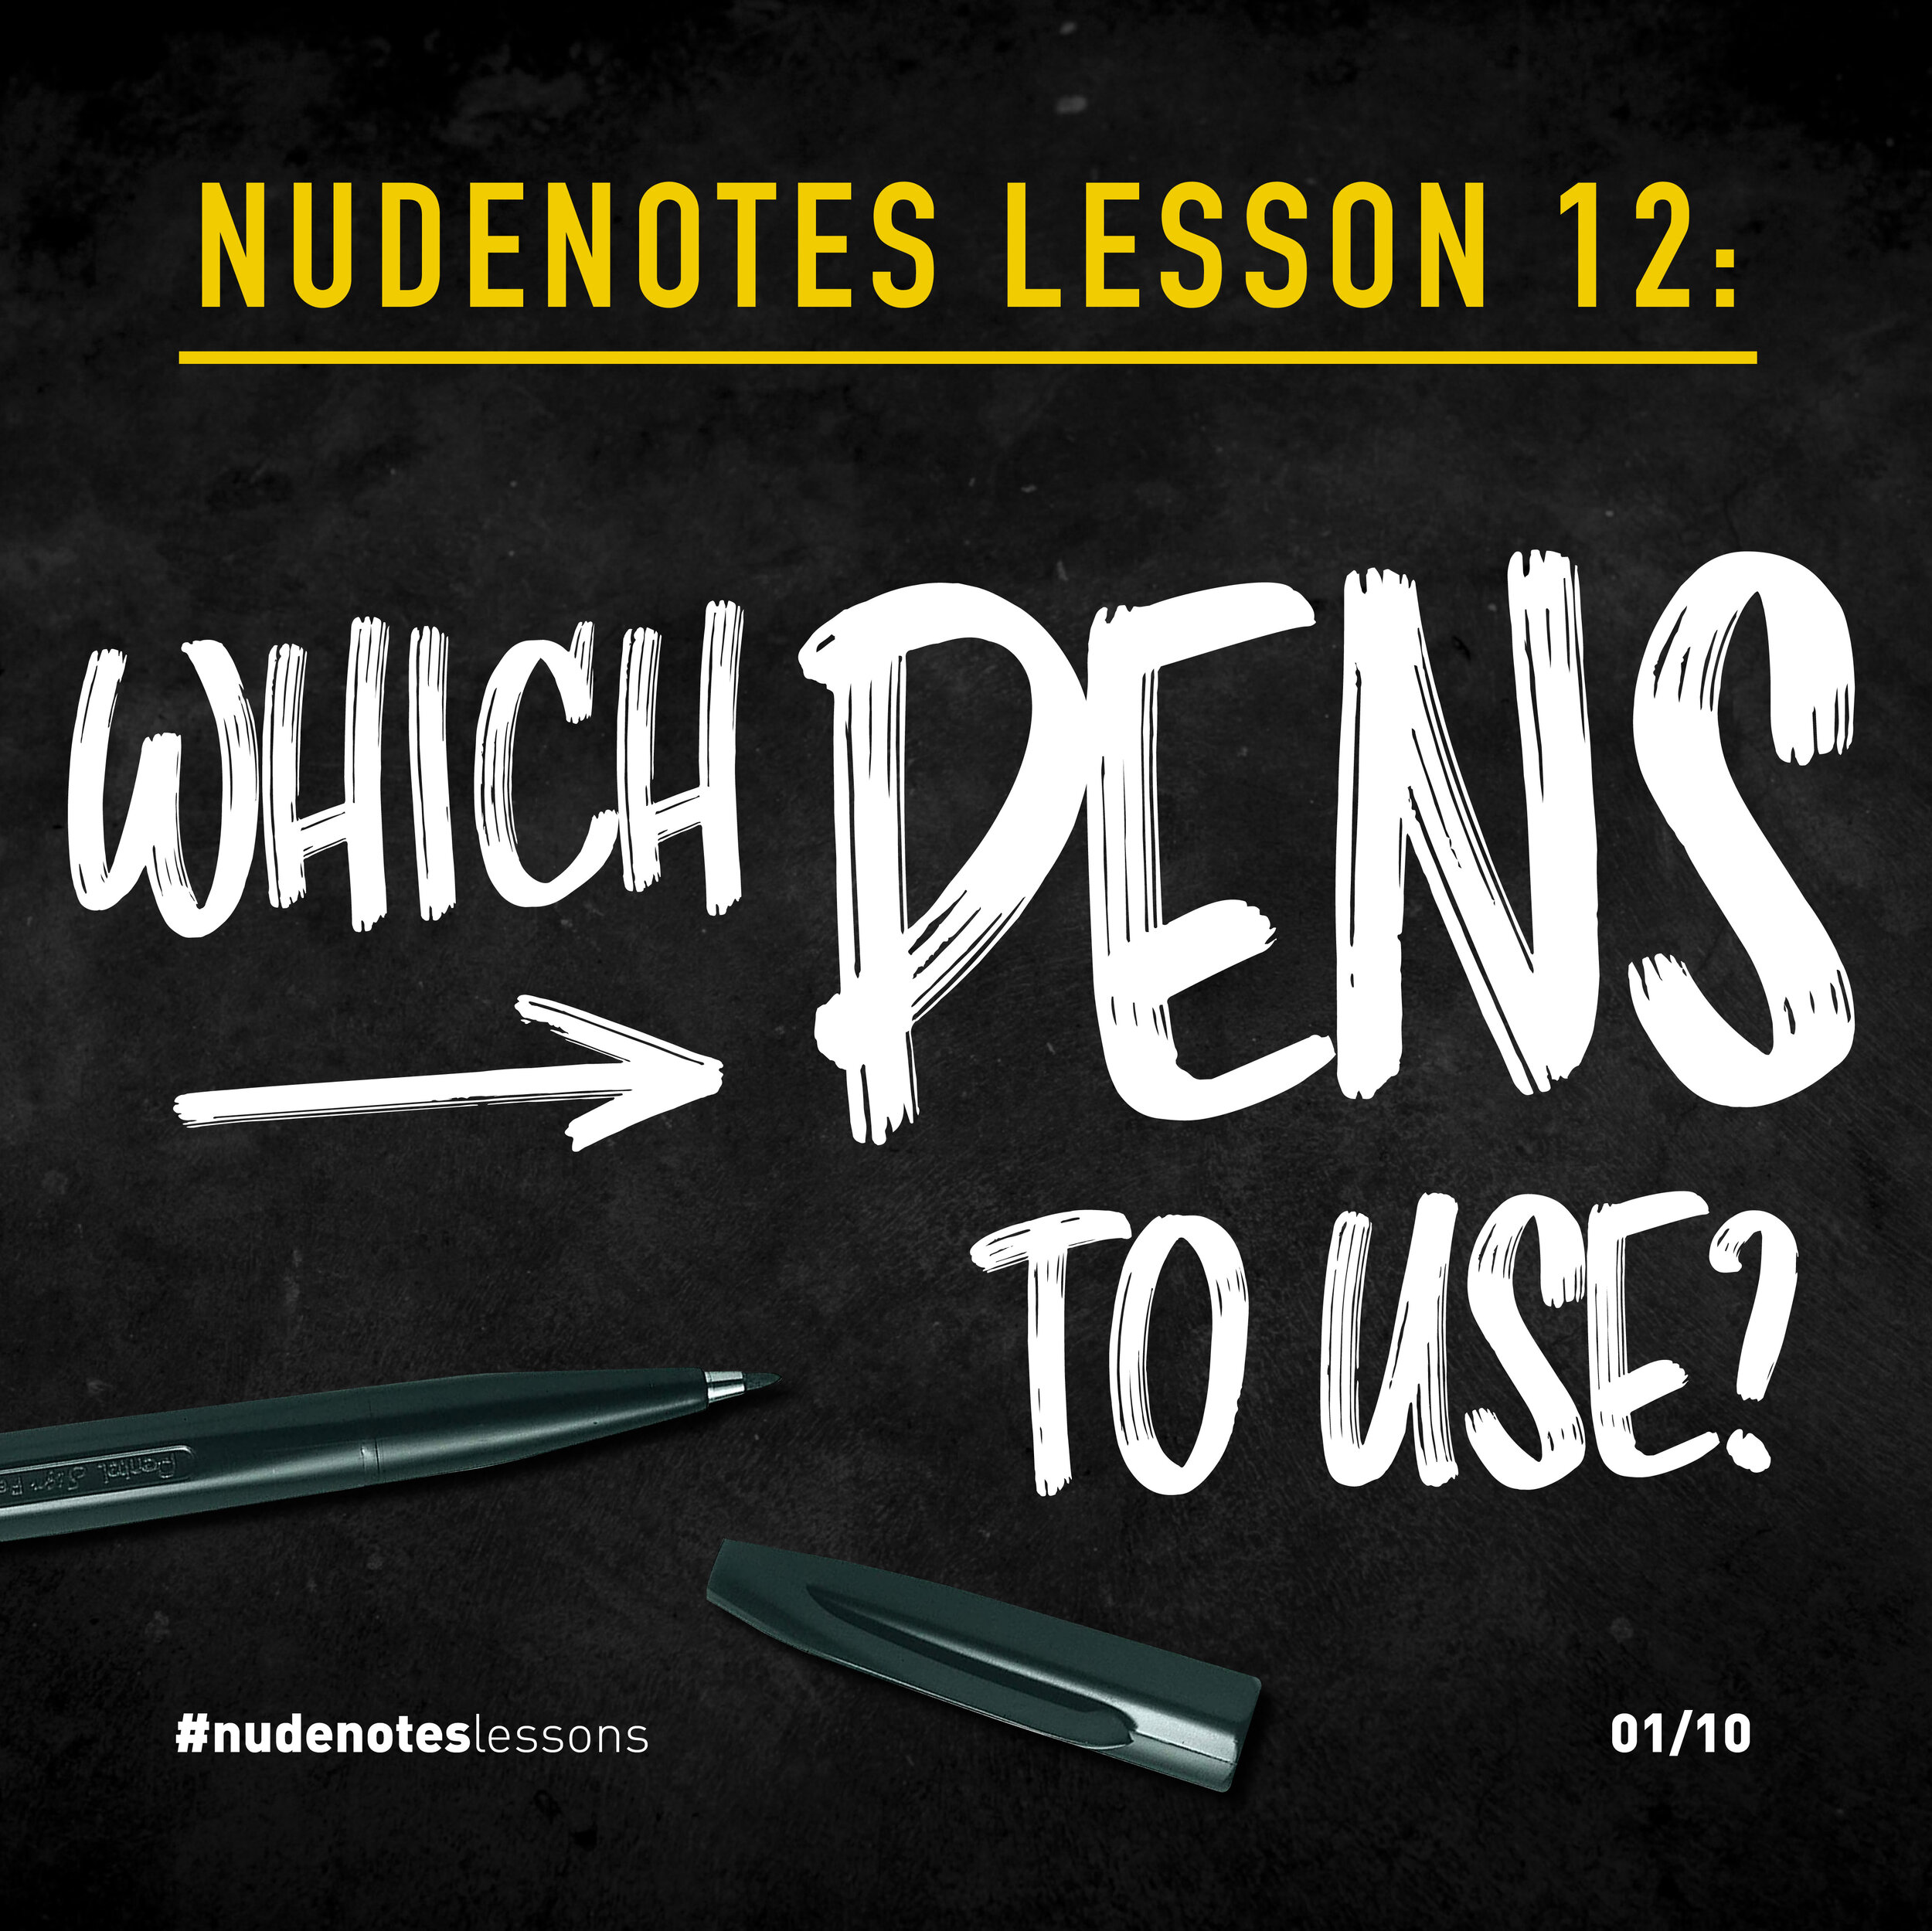
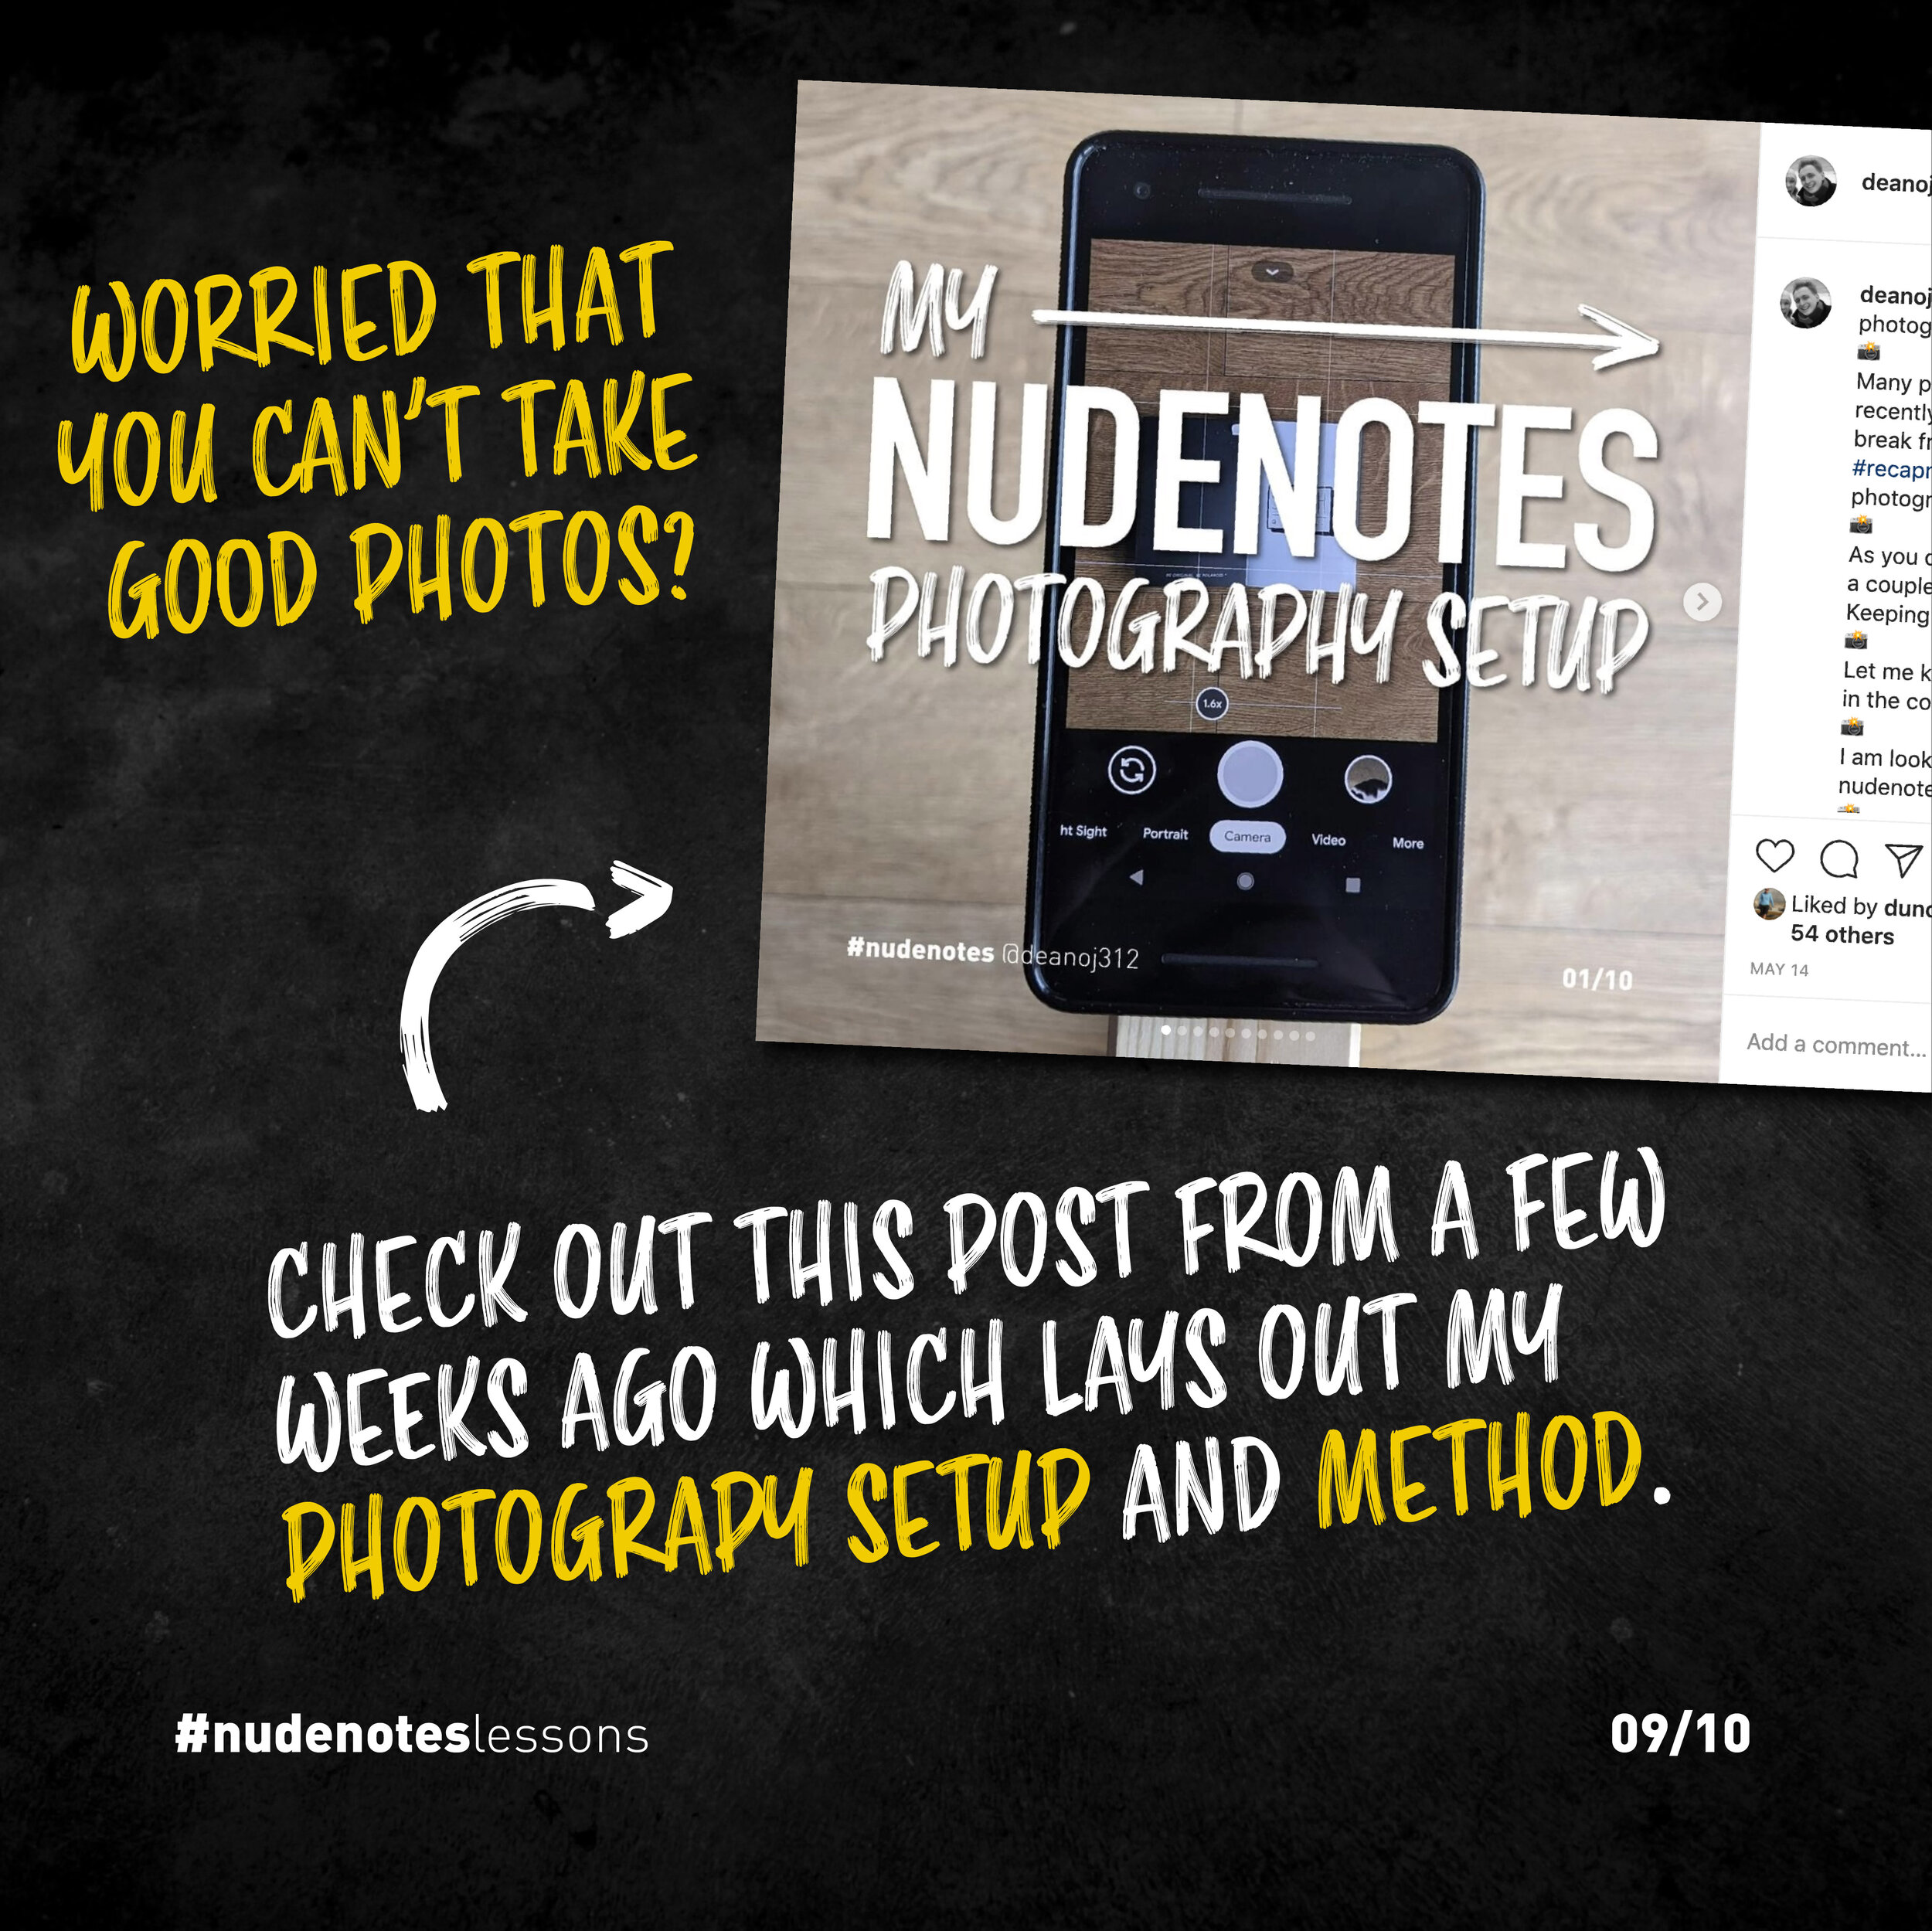
Which pens to use?
I often get asked this, and my response is always the same: it doesn’t matter!
The point of nudenotes is to learn something new and engage in the productive struggle.
Sometimes, to be productive, we need to remove potential barriers, like the mindset of ‘I don’t have the right tools’.
As I mentioned before, I only use three different types of pen.
For my thick marker, I use two colours of Pentel Sign Maker pens: grey and black.
These are great for main titles, big illustrations, and frames.
They come in a range of colours, so choose wisely.
You want to get high contrast colours to ensure your notes are legible.
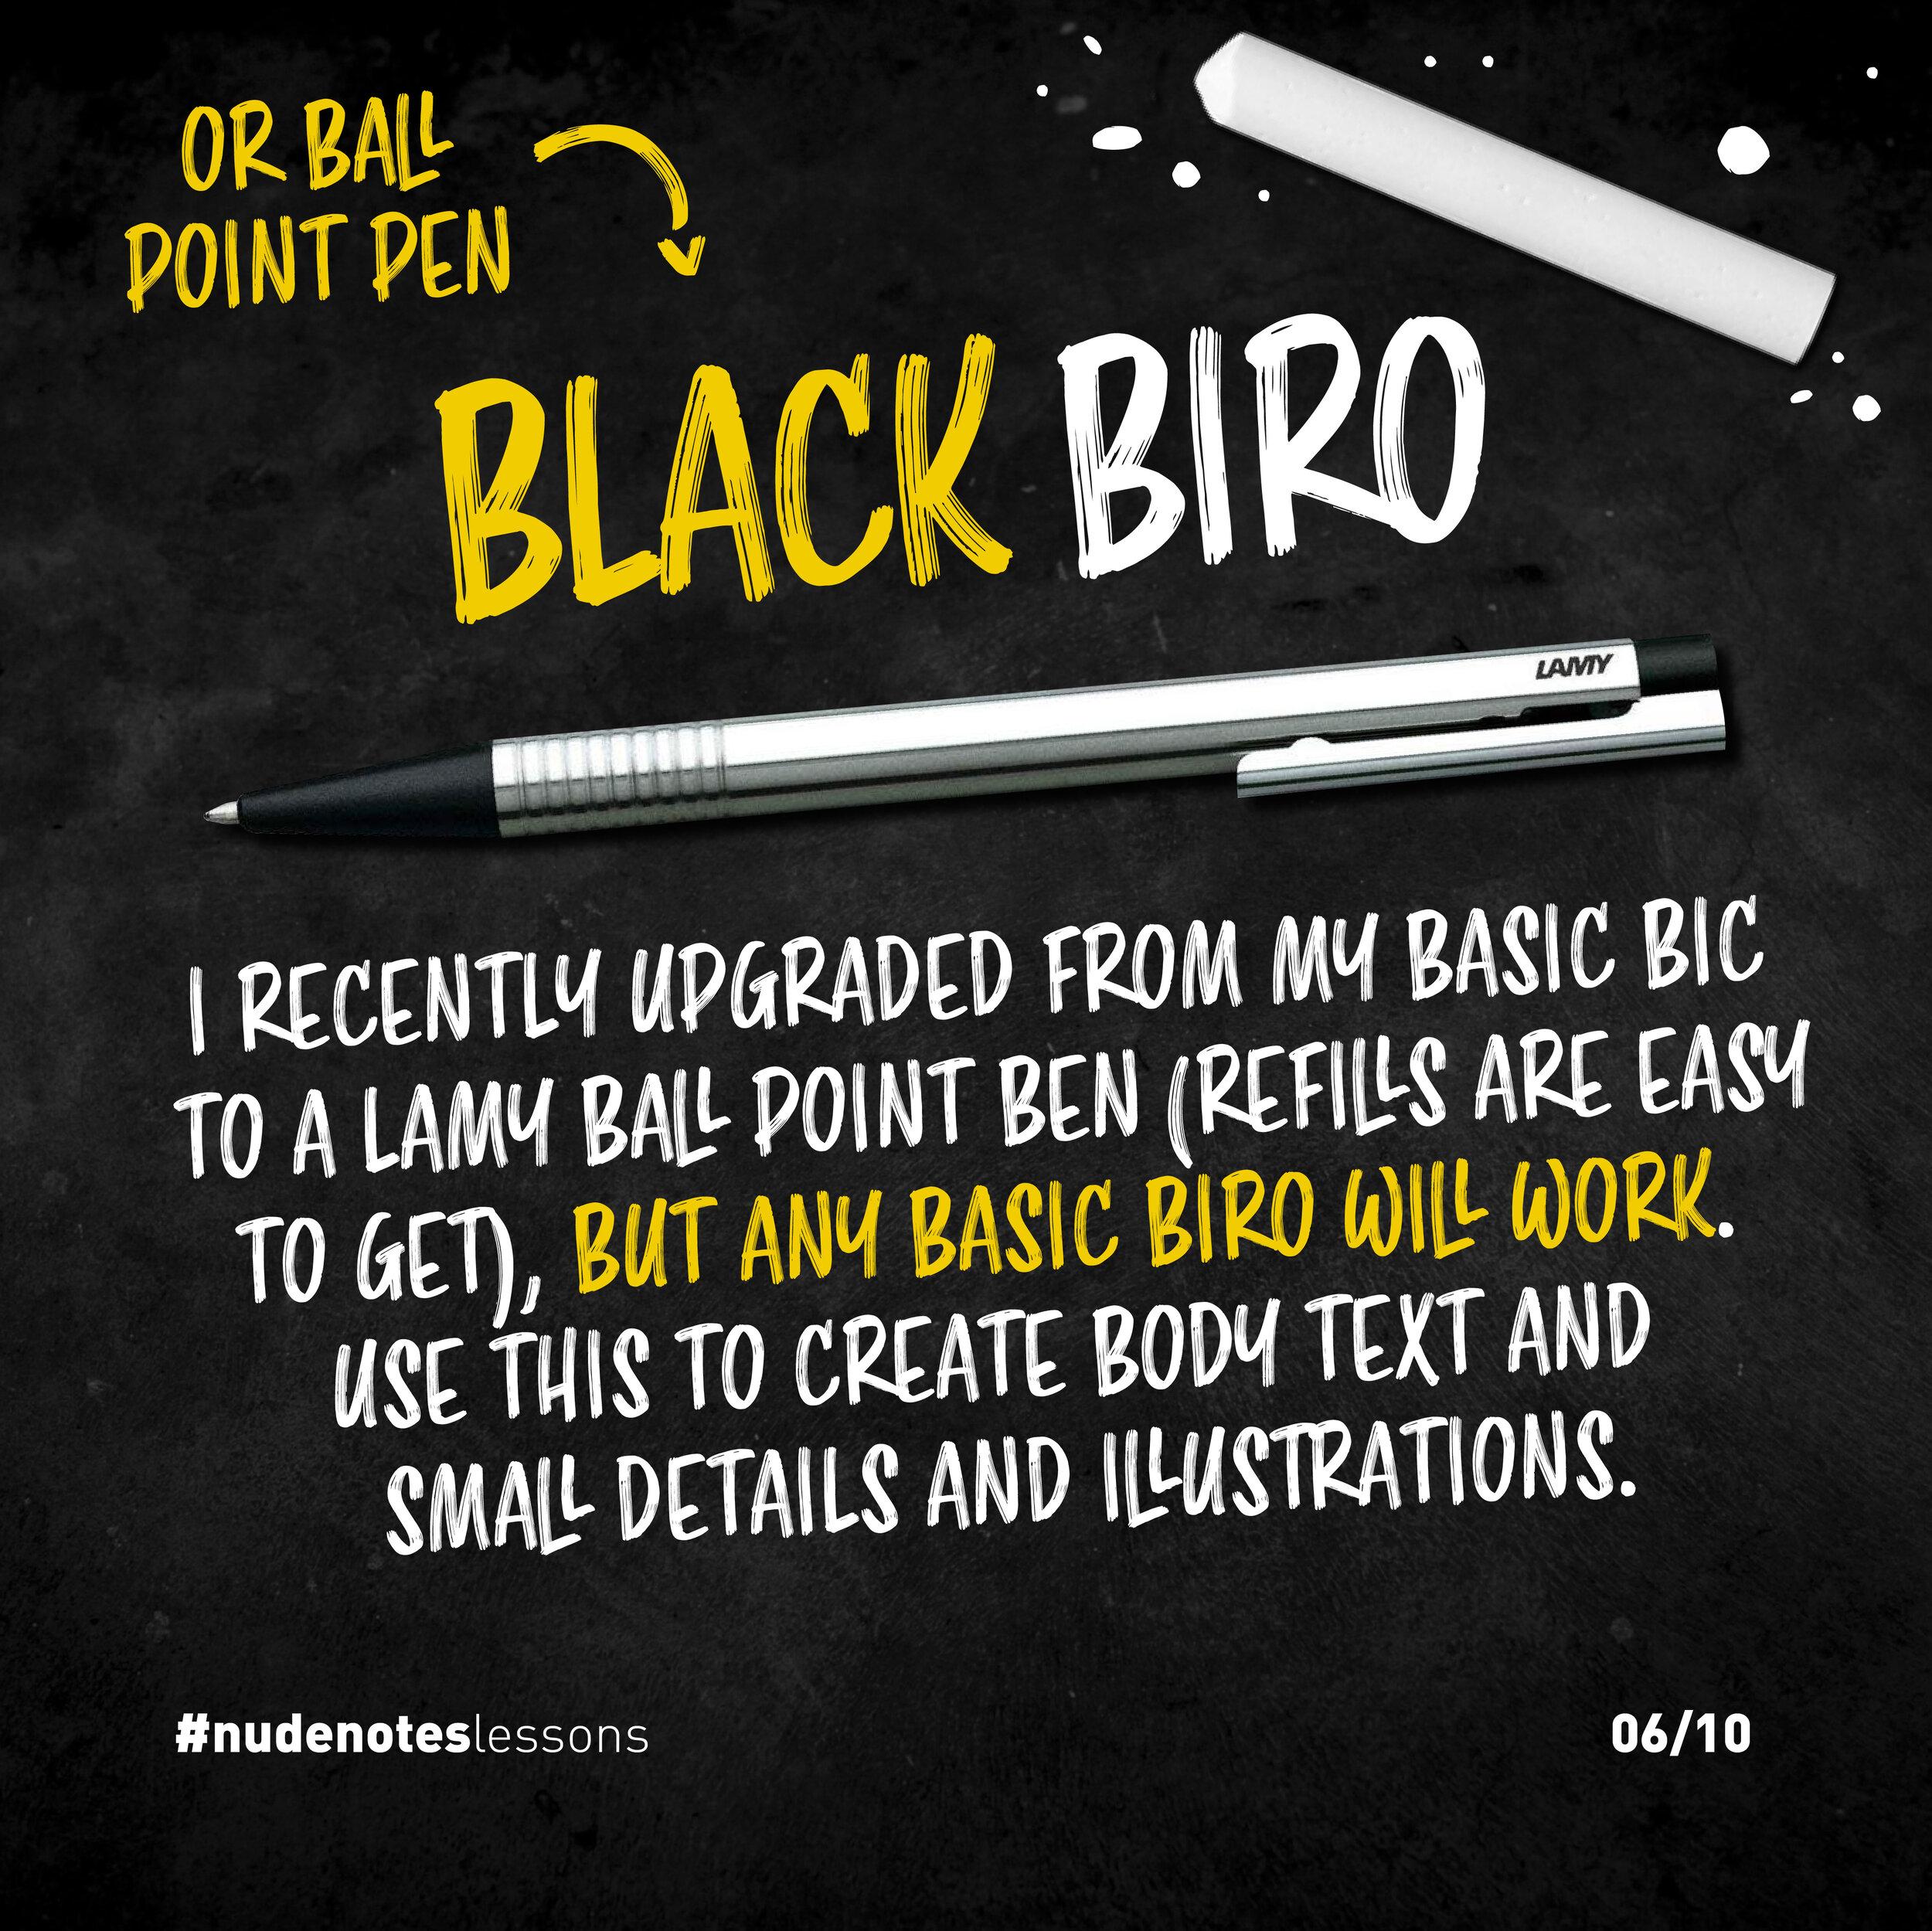
For the majority of my nudenotes, I use a black biro, or a ballpoint pen.
I recently upgraded from a basic Bic to a Lamy Ballpoint pen, as the refills are easy to get, and it’s a much more sustainable option than throwing away a pen every time it runs out.
I use this to create body text and small details and illustrations.
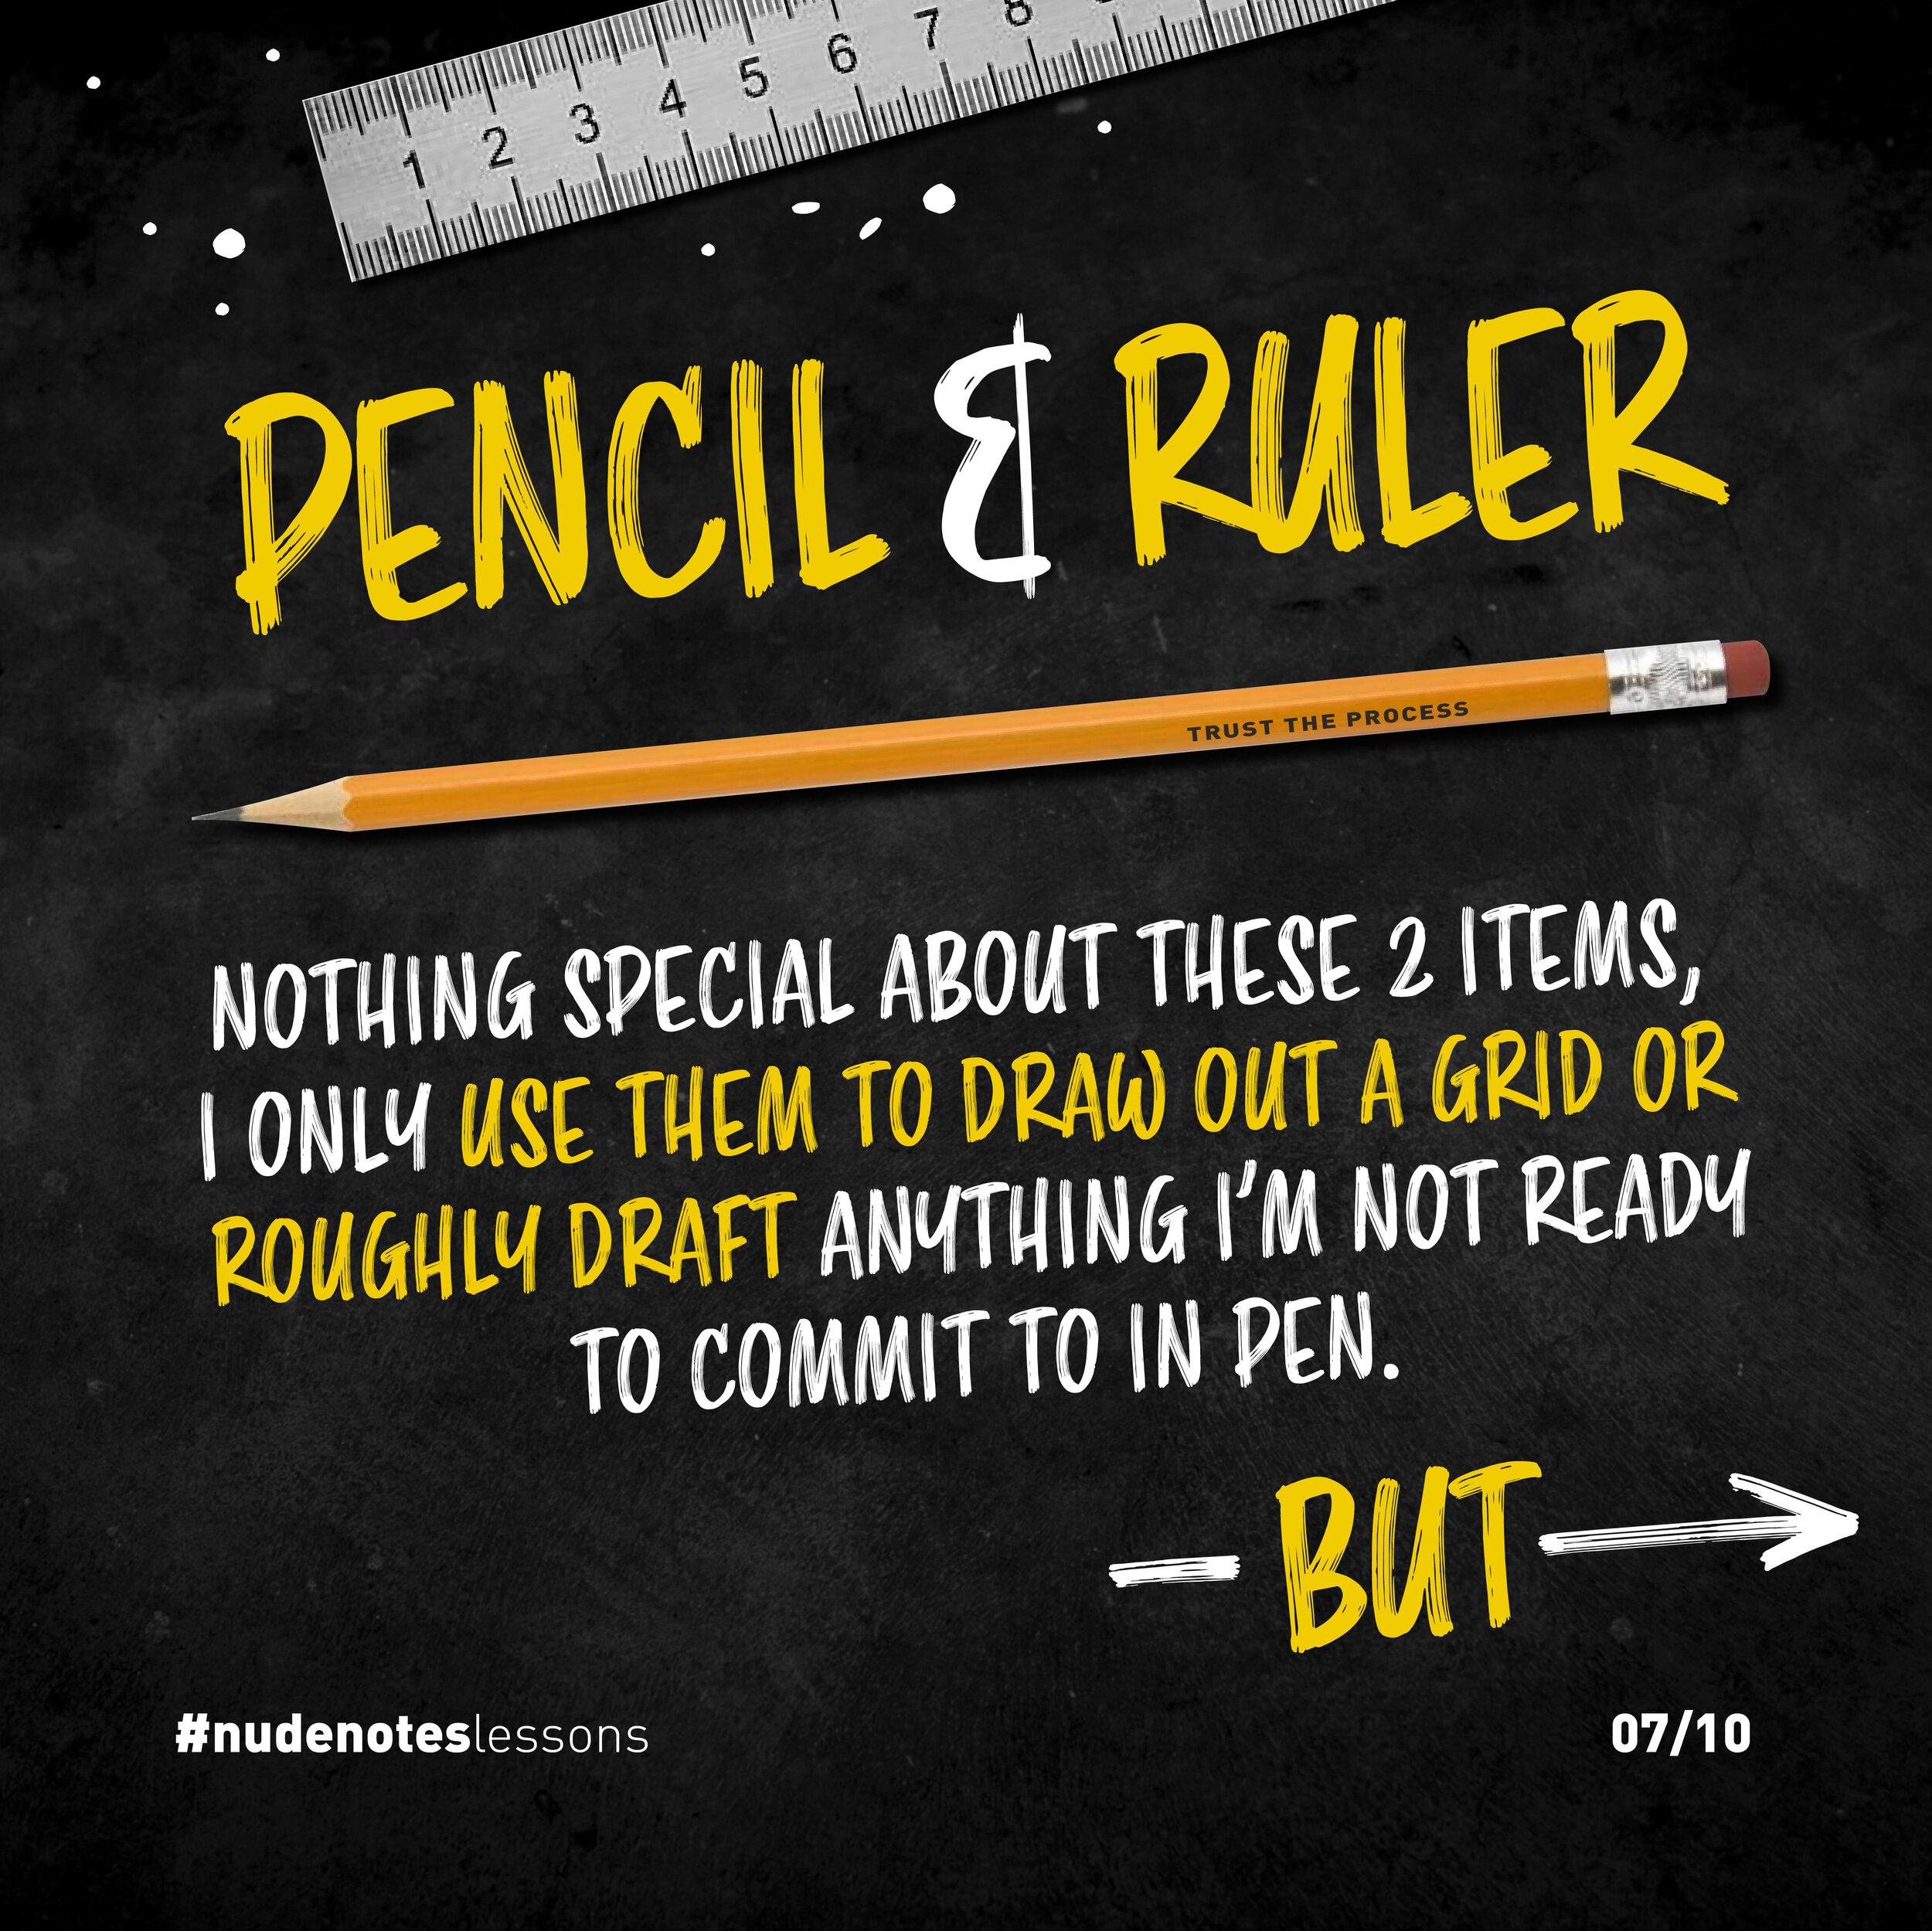
Next, I have a pencil and a ruler - there’s nothing special about these two, and I only use them to draw out a grid or roughly draft anything I’m not ready to commit to in pen.
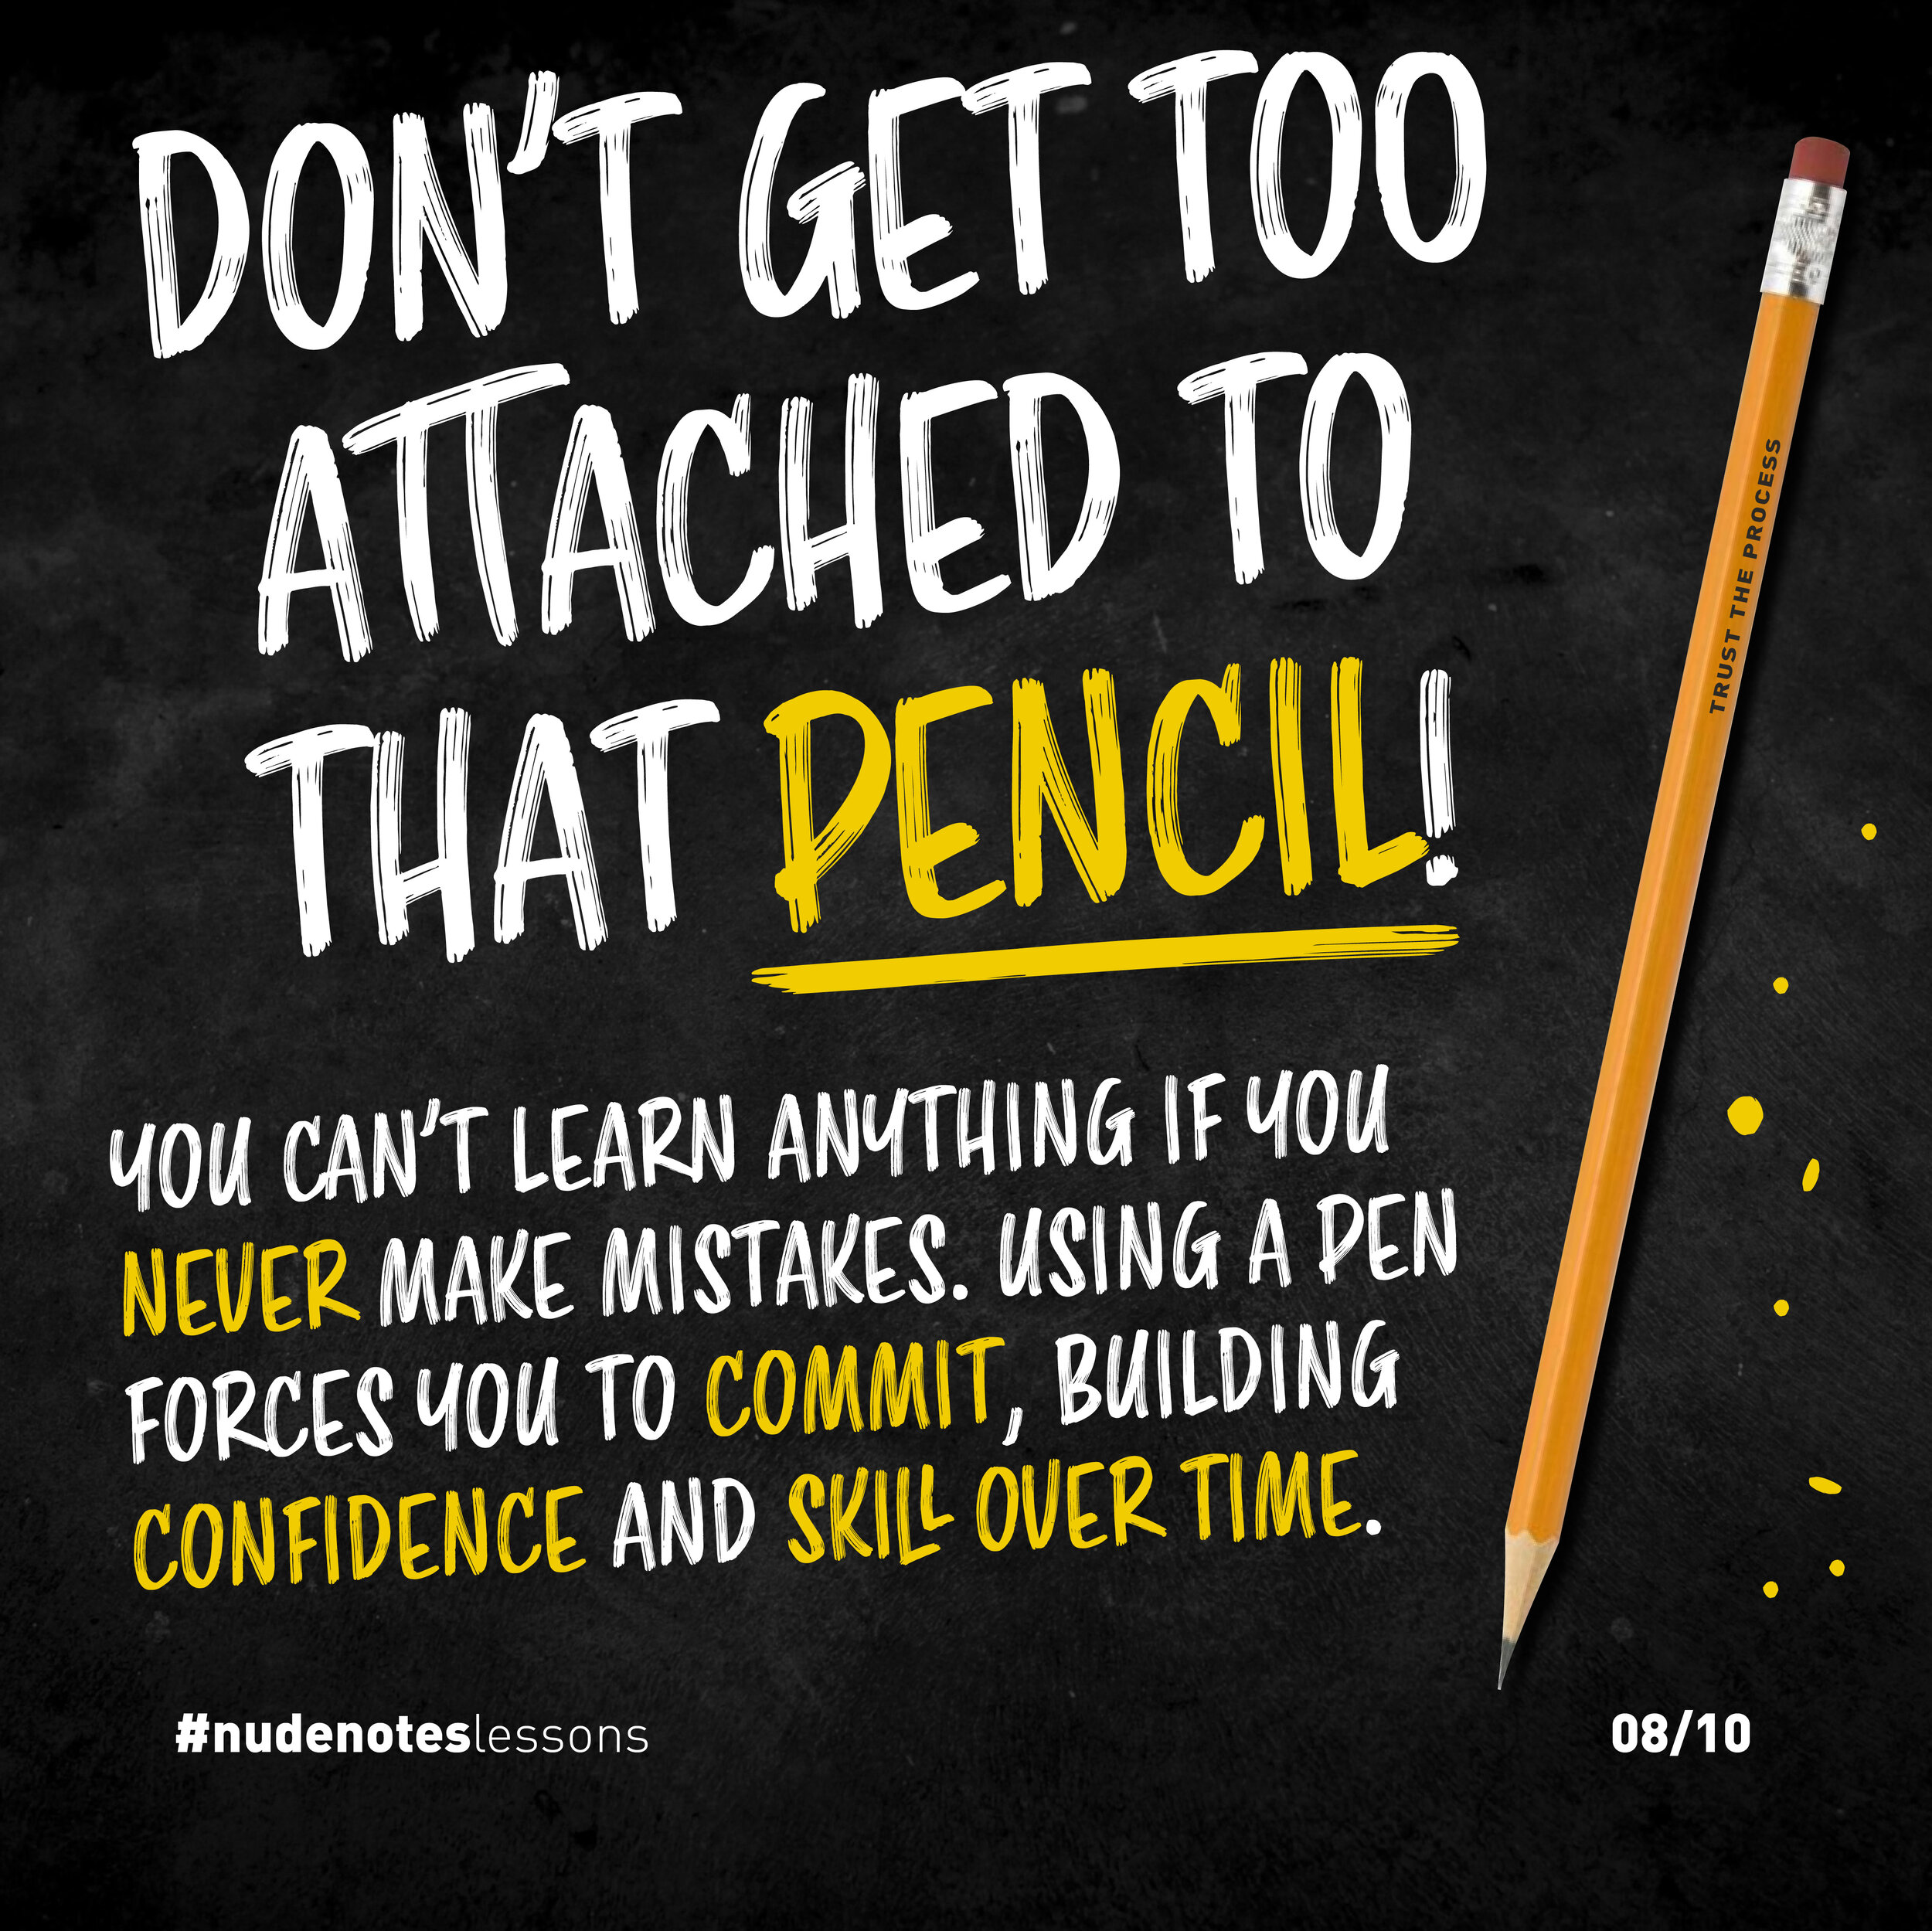
But don’t get too attached to that pencil!
you can’t learn anything if you never make mistakes.
Using a pen forces you to commit, building confidence and skill over time.
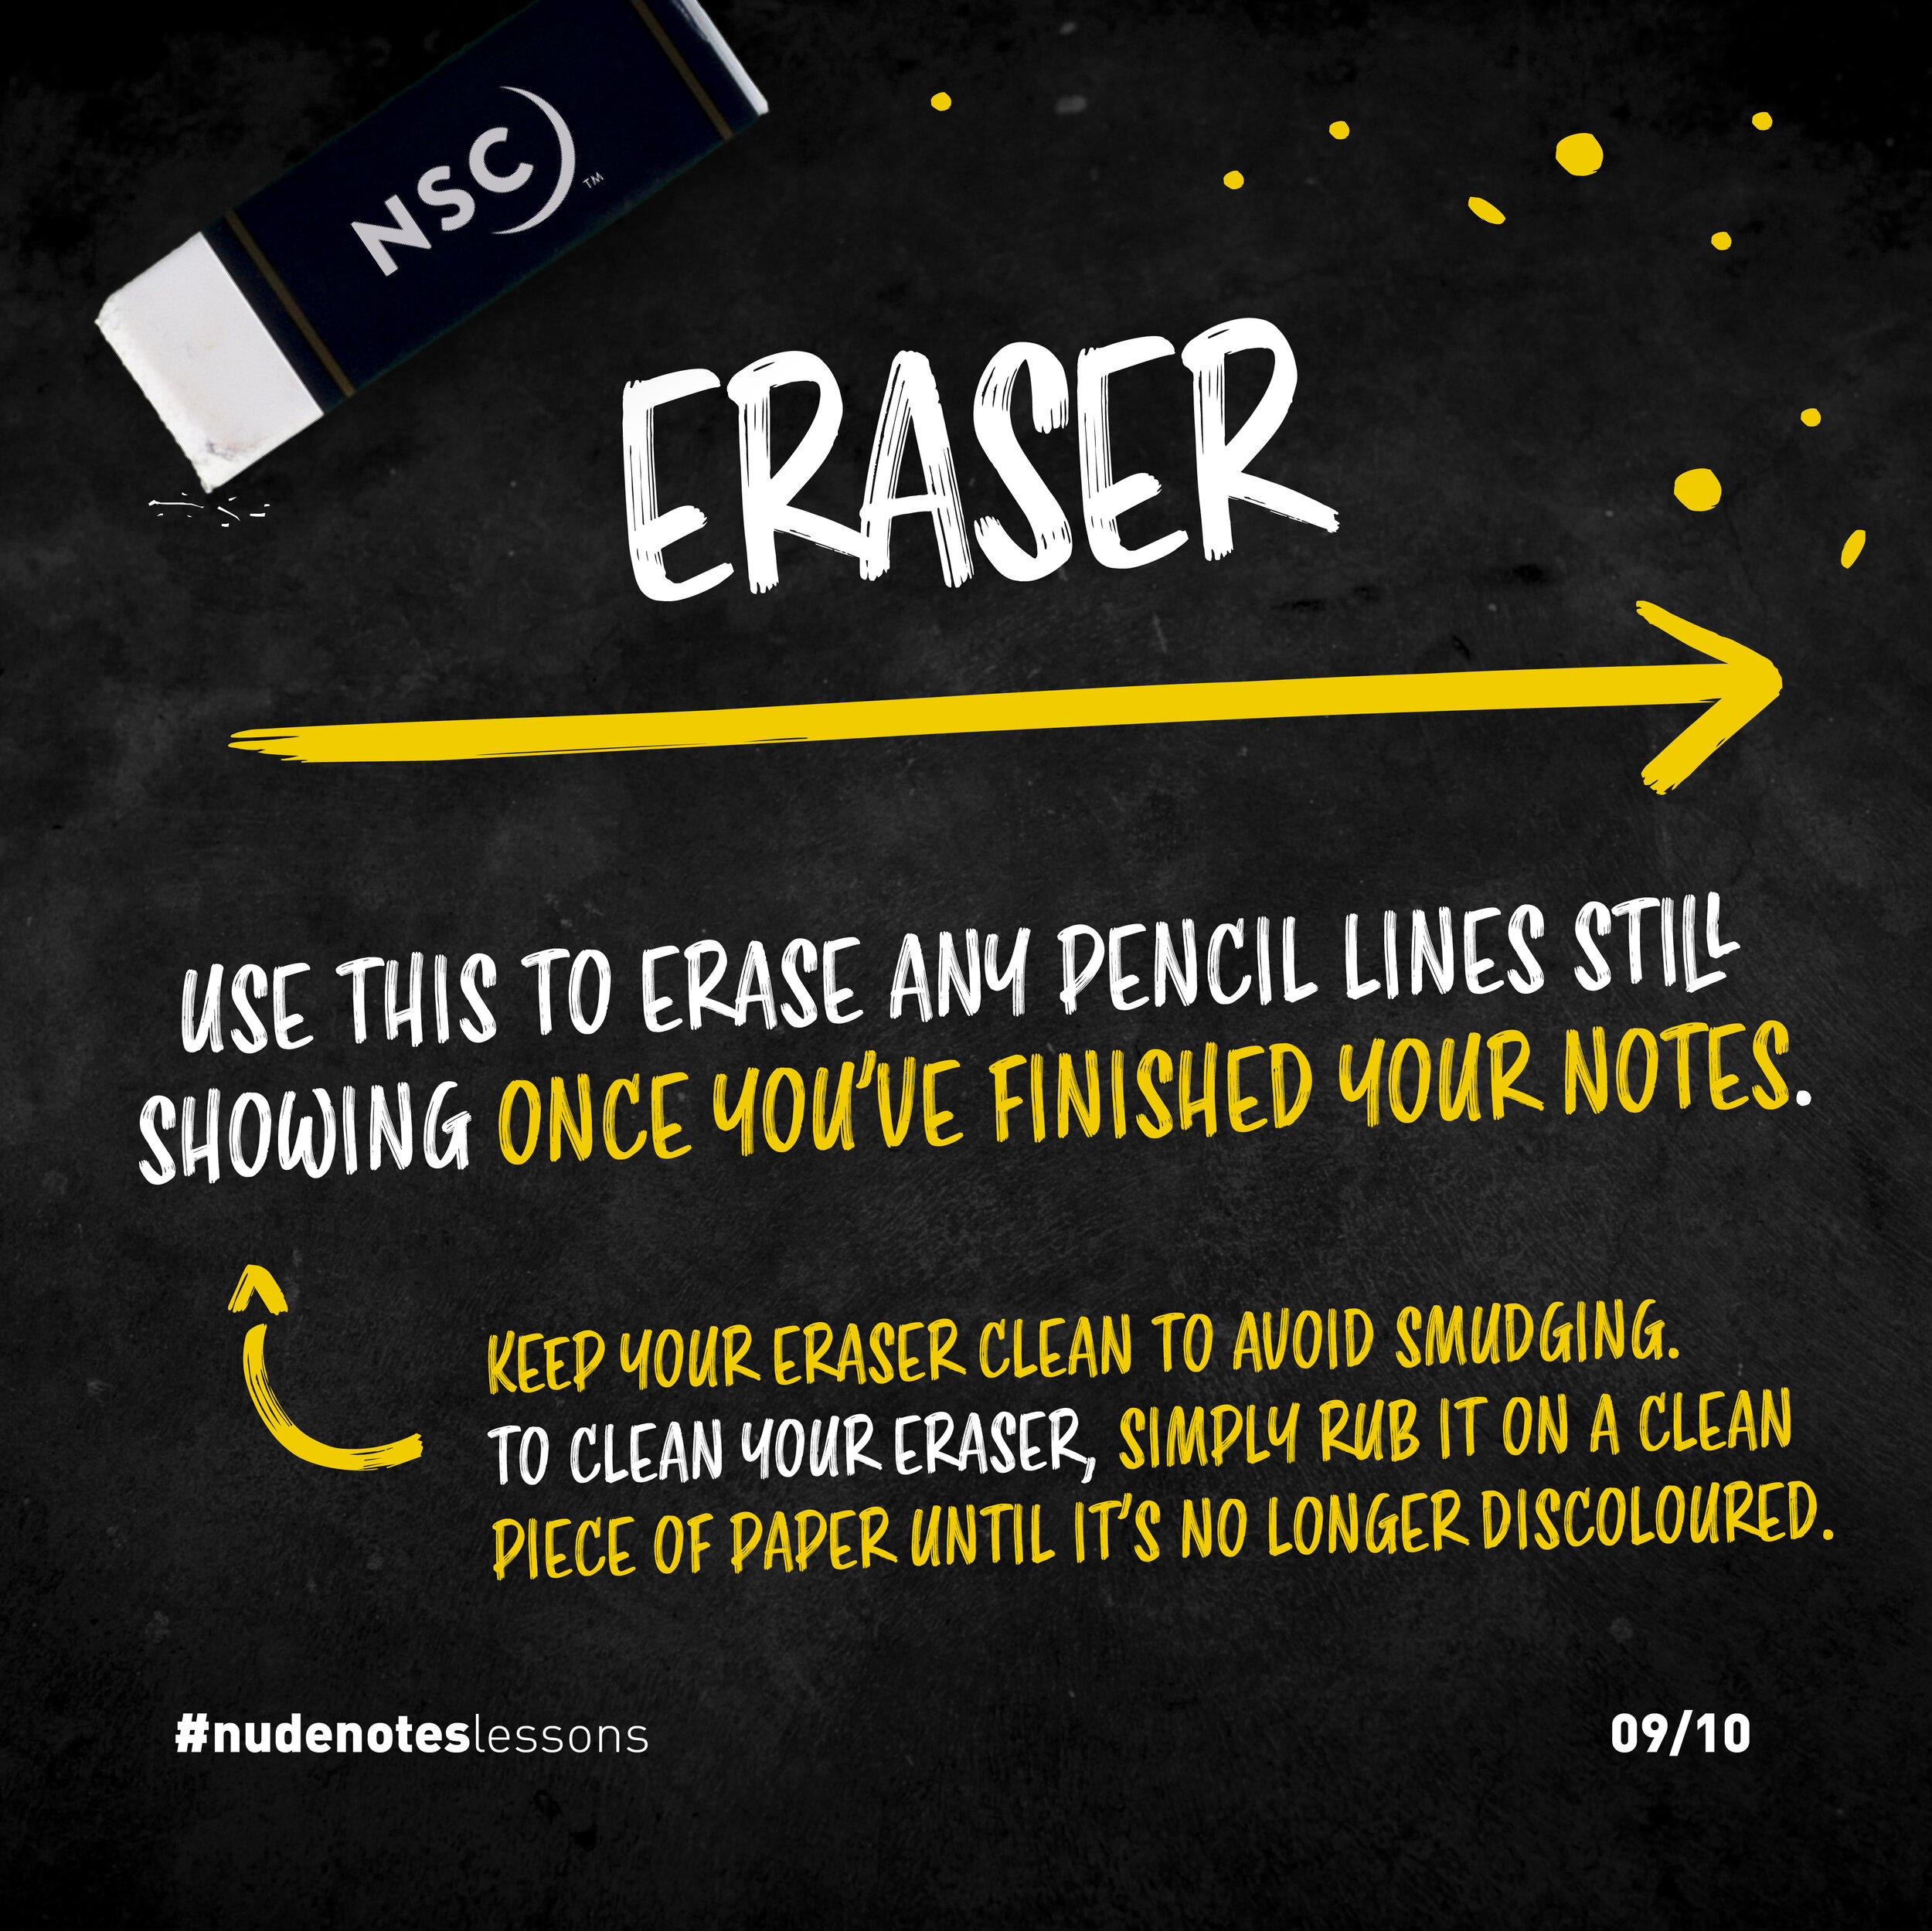
Finally, I have an eraser.
I use it to erase any pencil lines still showing once I’ve finished a nudenote.
Top tip: keep your eraser clean to avoid smudging. To clean your eraser, simply rub it on a clean piece of paper until it’s no longer discoloured.
Remember, the tools don’t make the great nudenotes, you do!
Get personal
You’re not a photocopier!
Just copying information isn’t going to engage your brain enough to learn or grow.
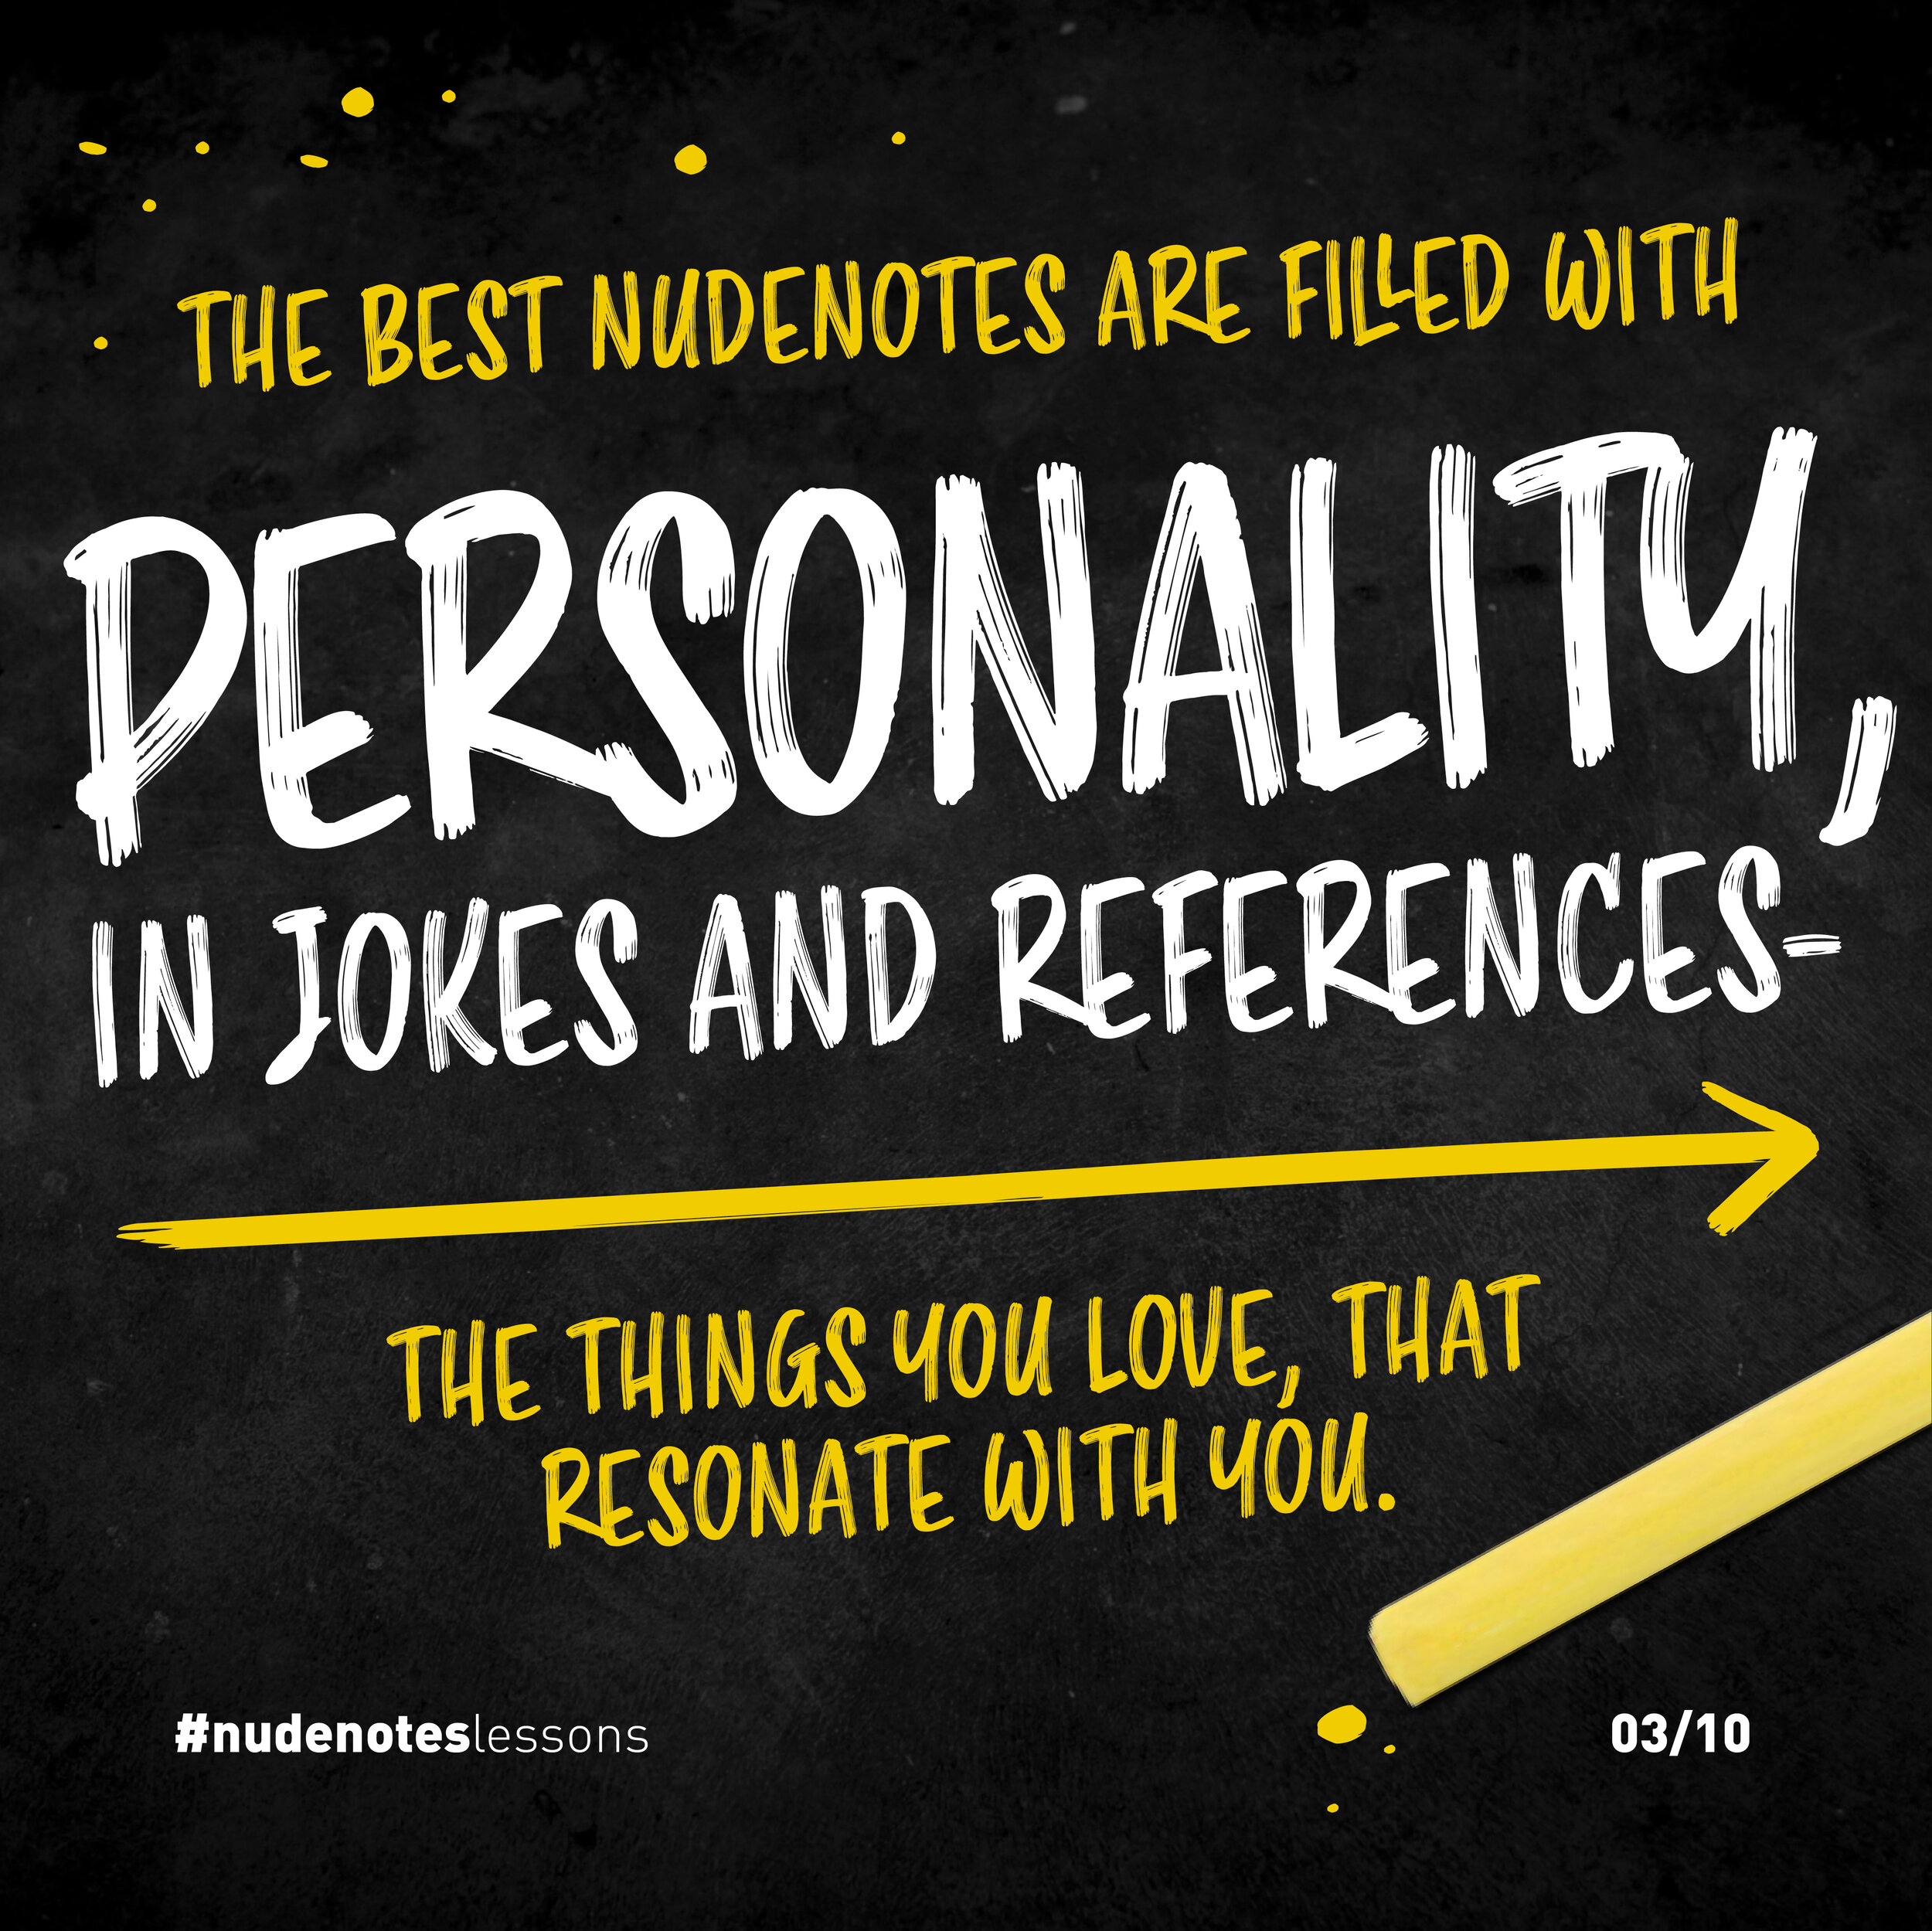
The best nudenotes are filled with personality, in-jokes and references - the things you love that resonate with you.
Relevance = response
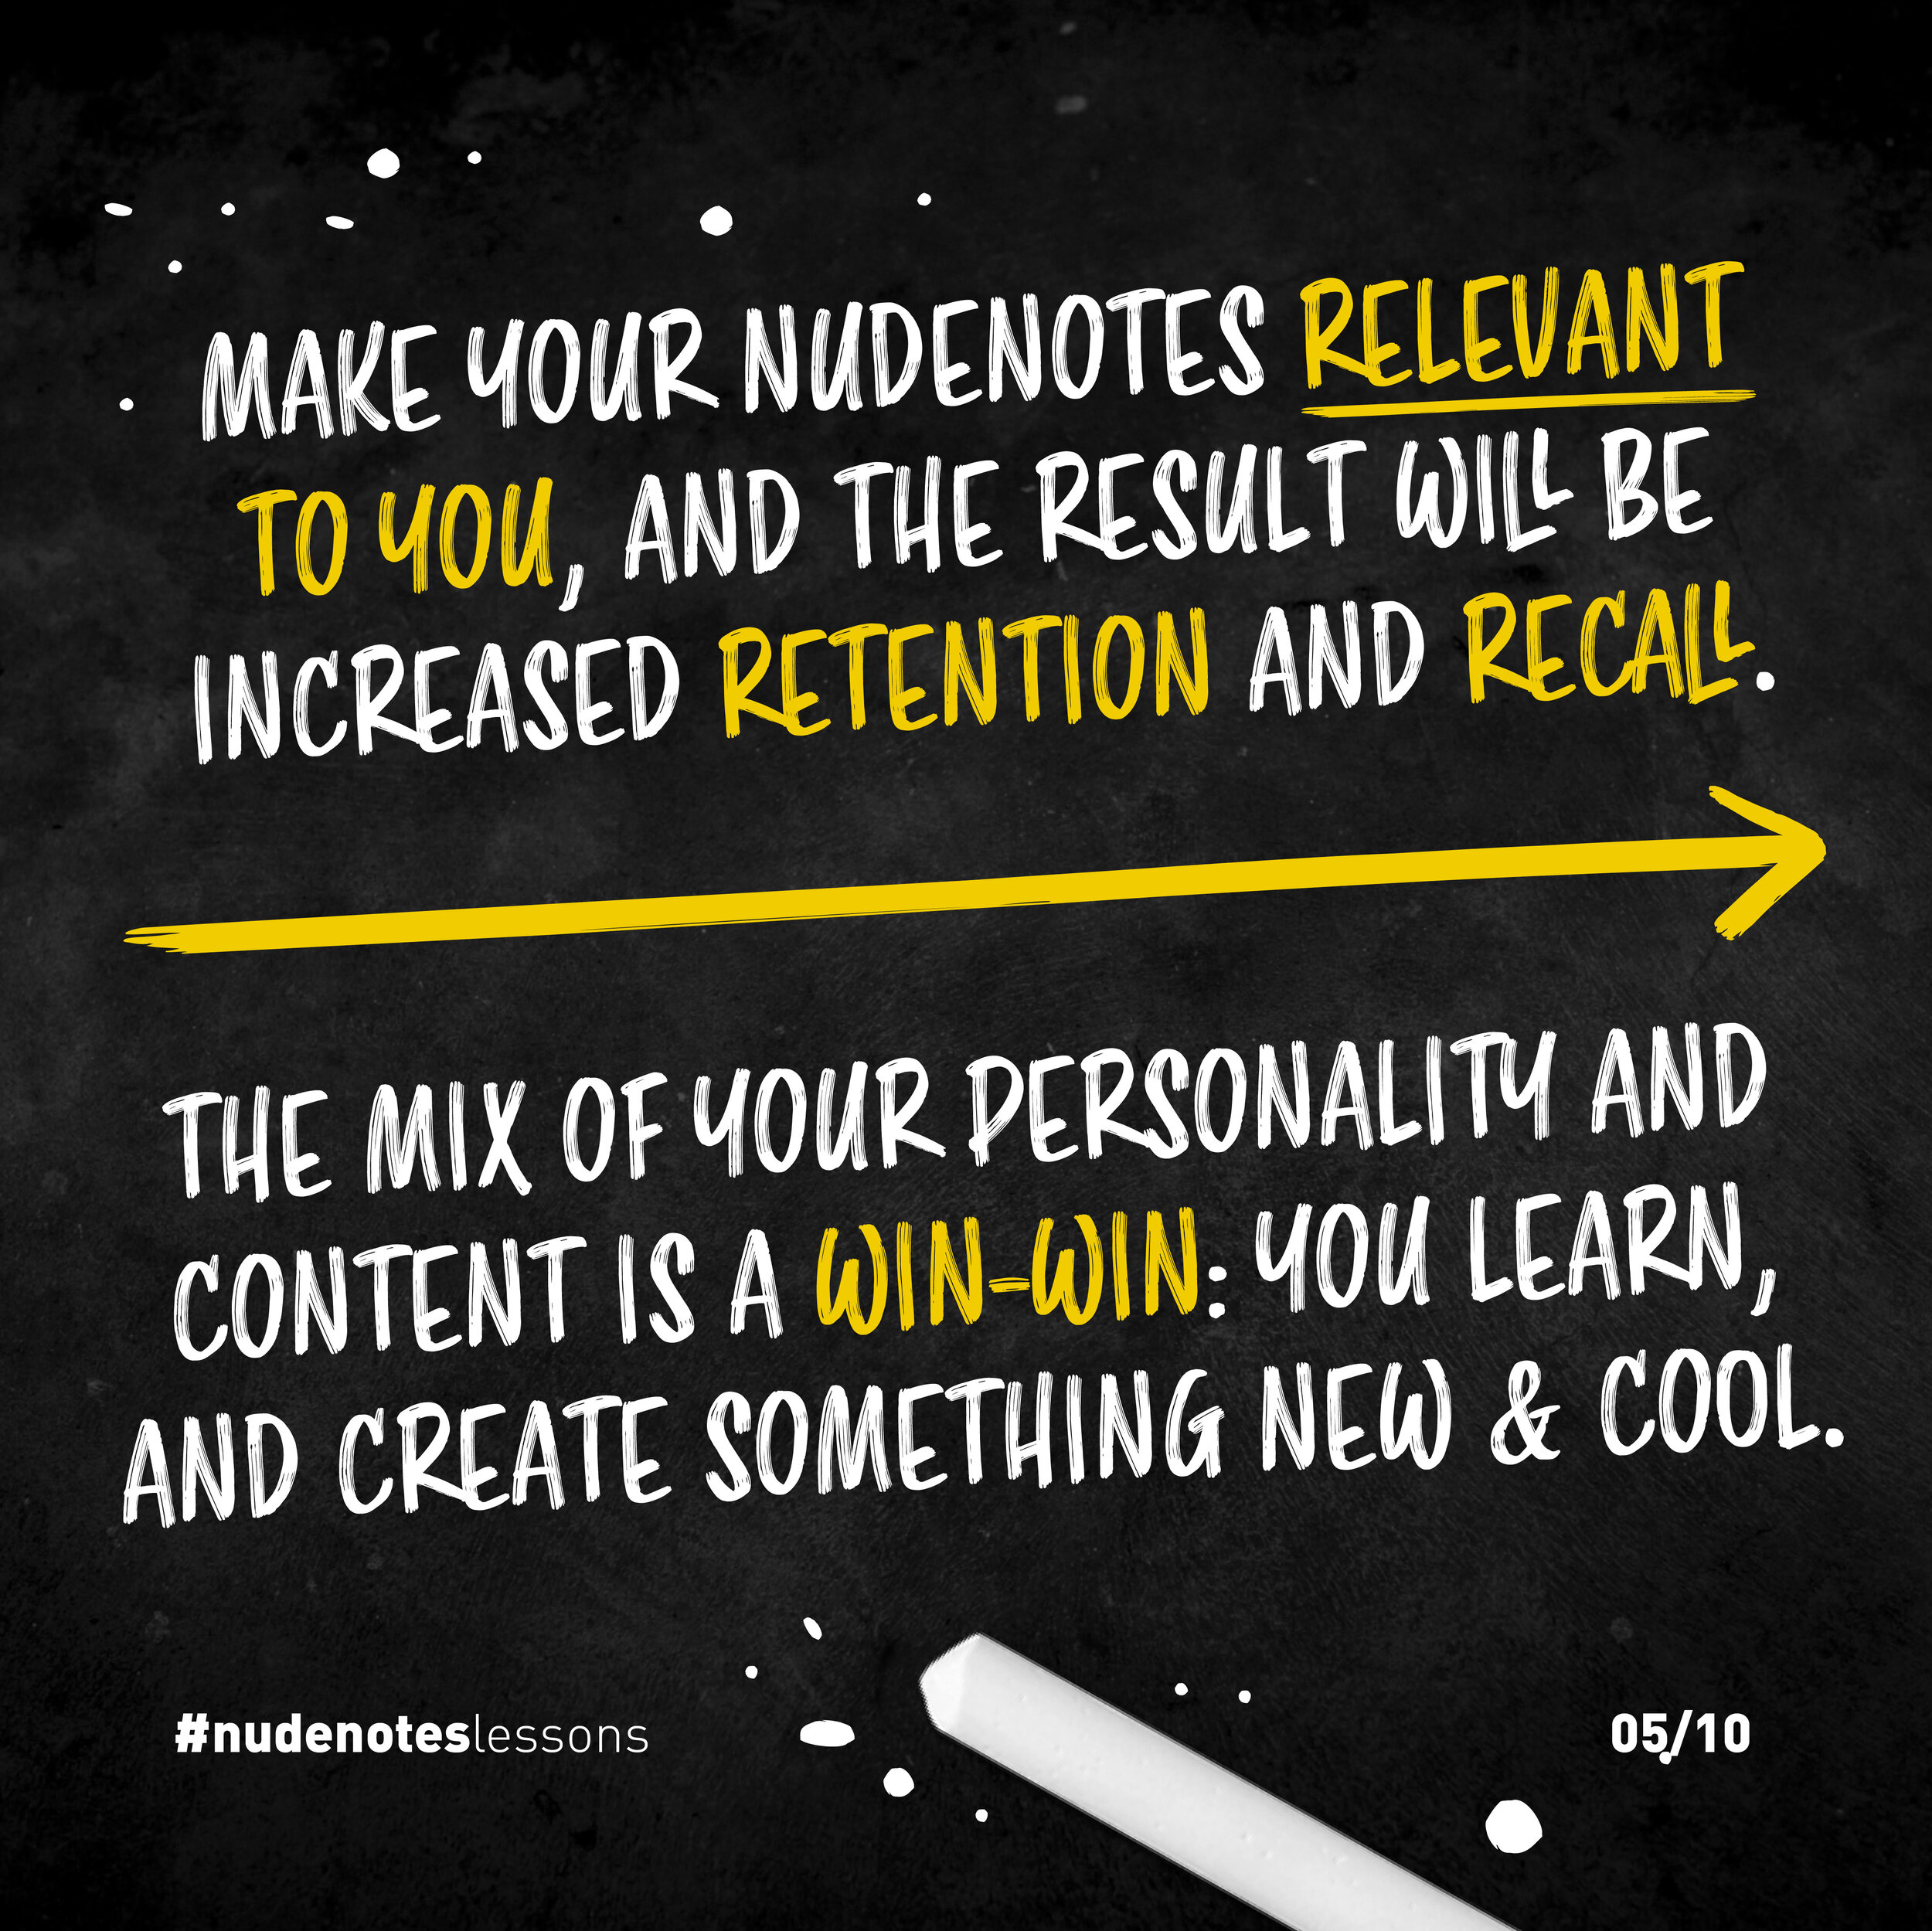
Make your nudenotes relevant to you, and the result will be increased retention and recall.
The mix of your personality and content is a win-win: you learn, and you create something new and cool.
Here are a few ways to give your nudenotes some more personality:
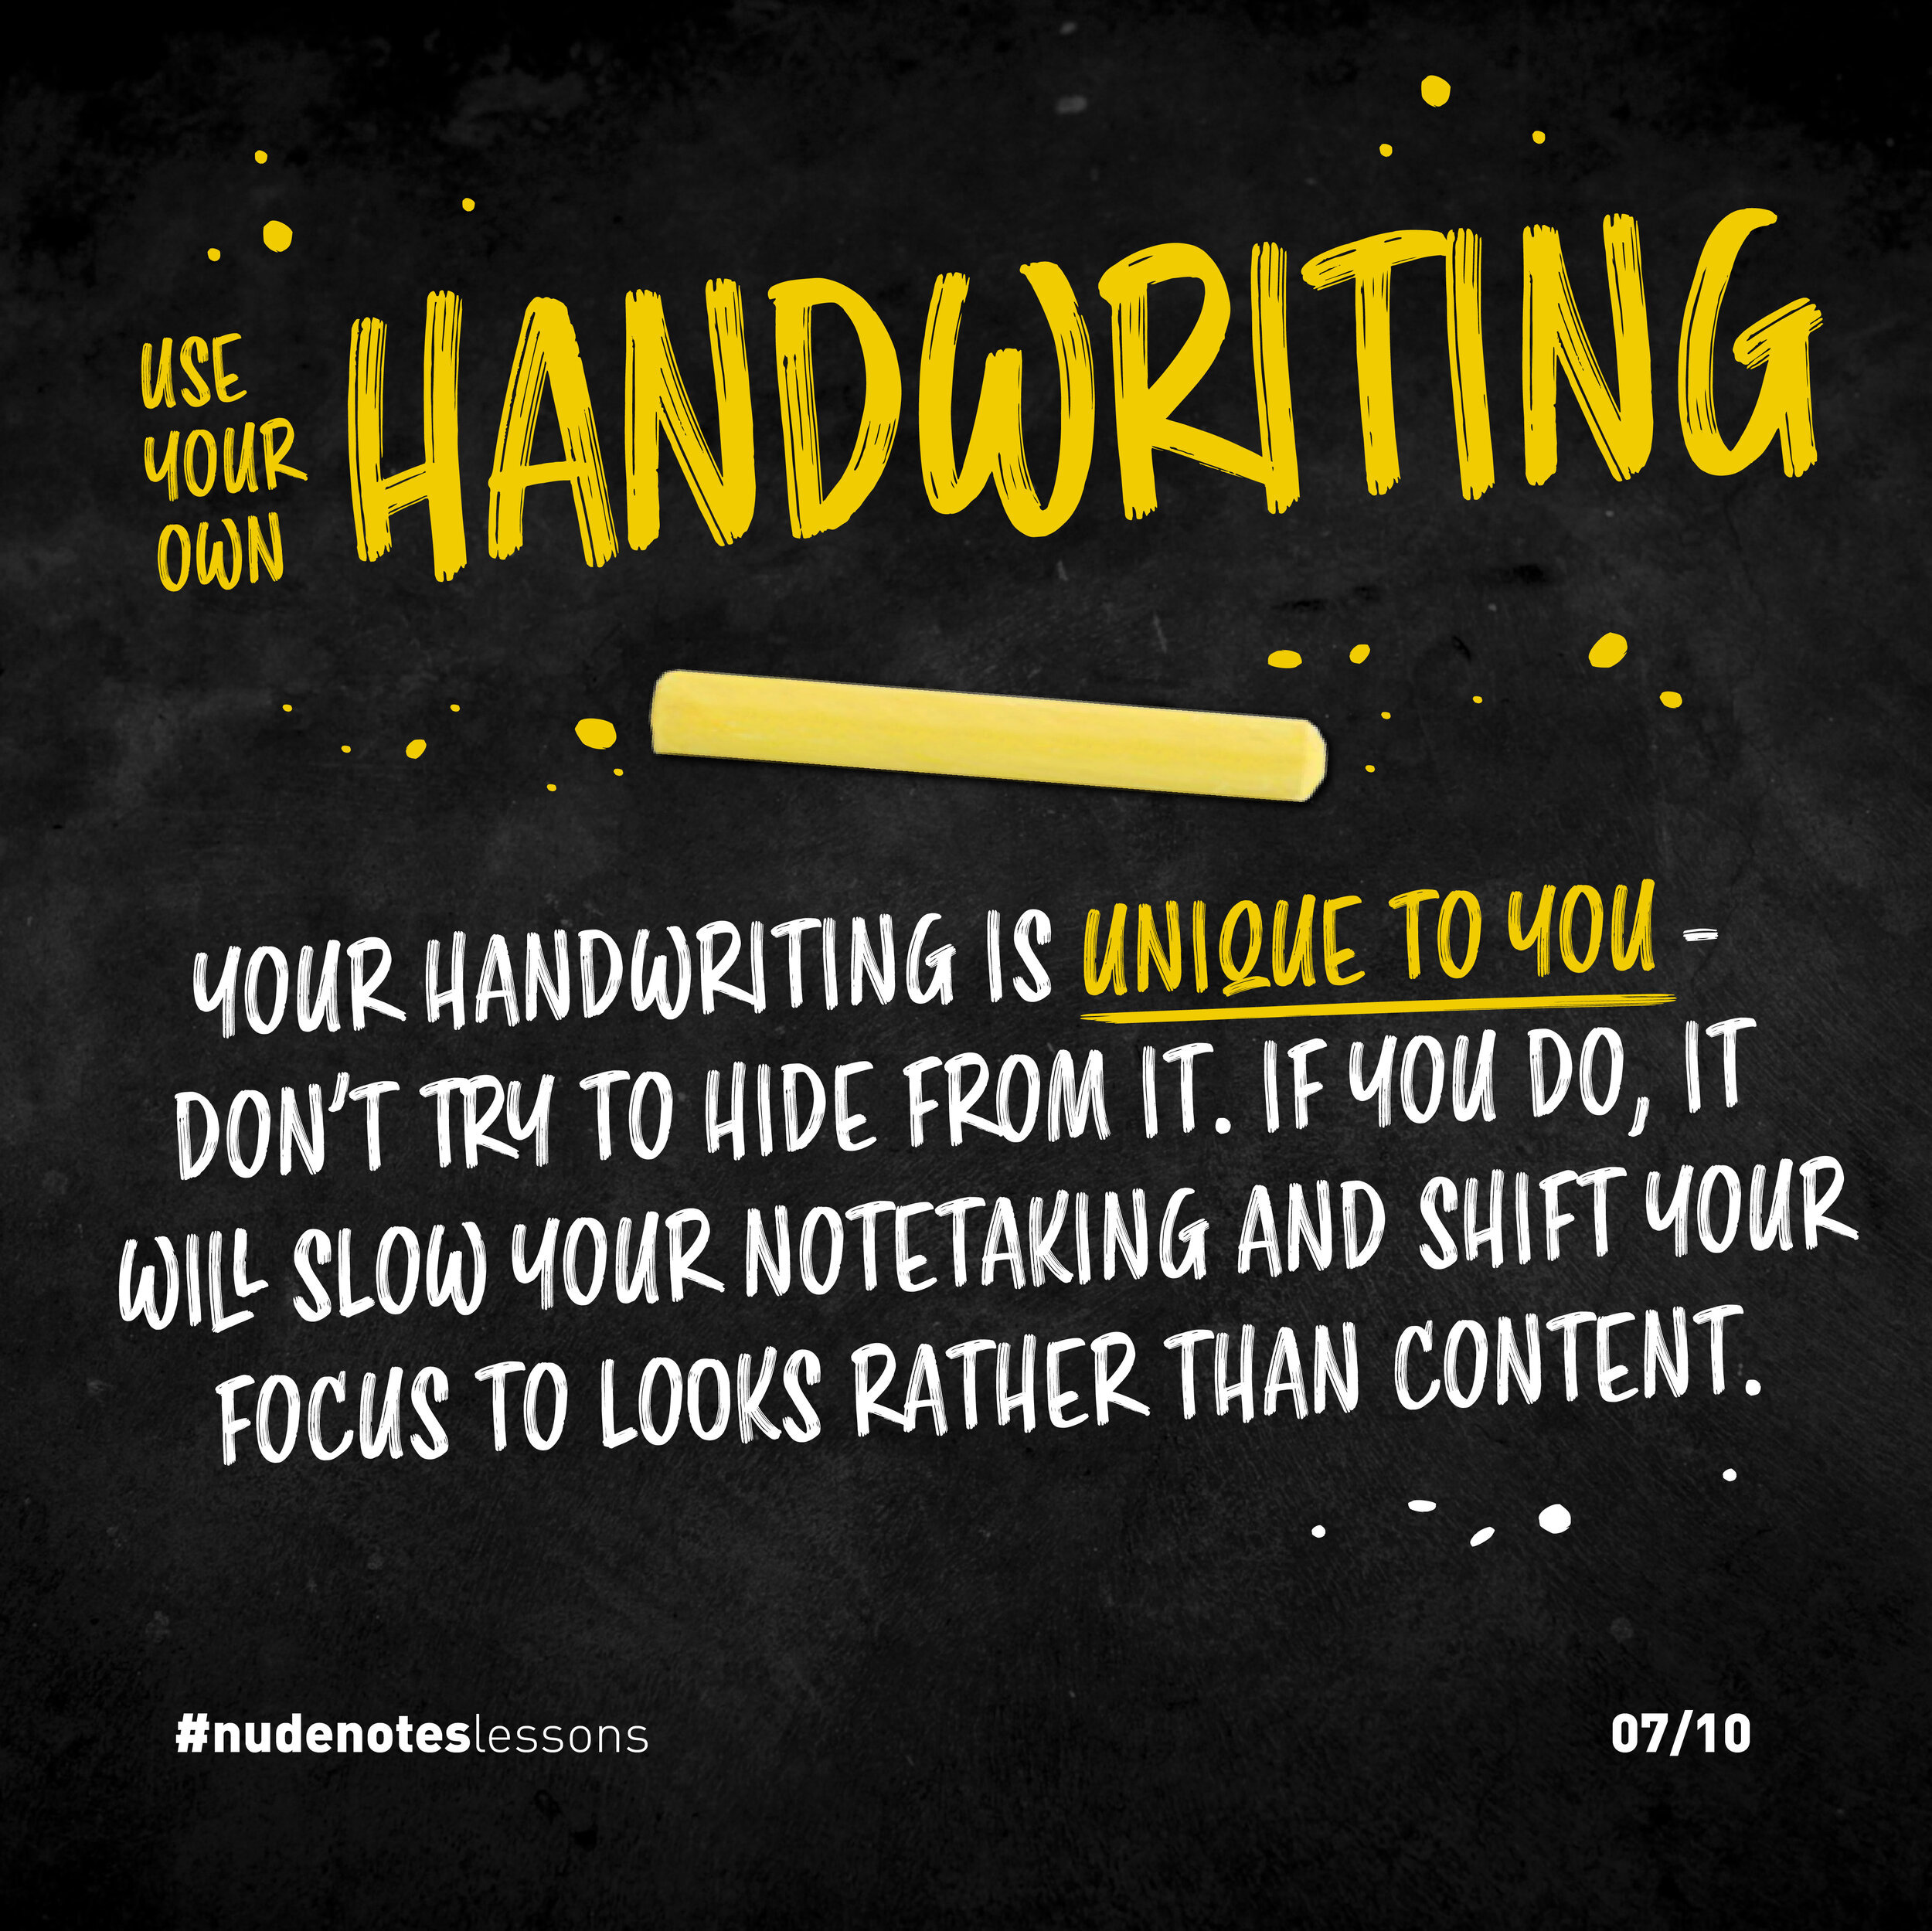
Use your own handwriting. Your handwriting is unique to you - don’t try to hide from it. If you do, it will slow down your notetaking and shift your focus to looks rather than content.
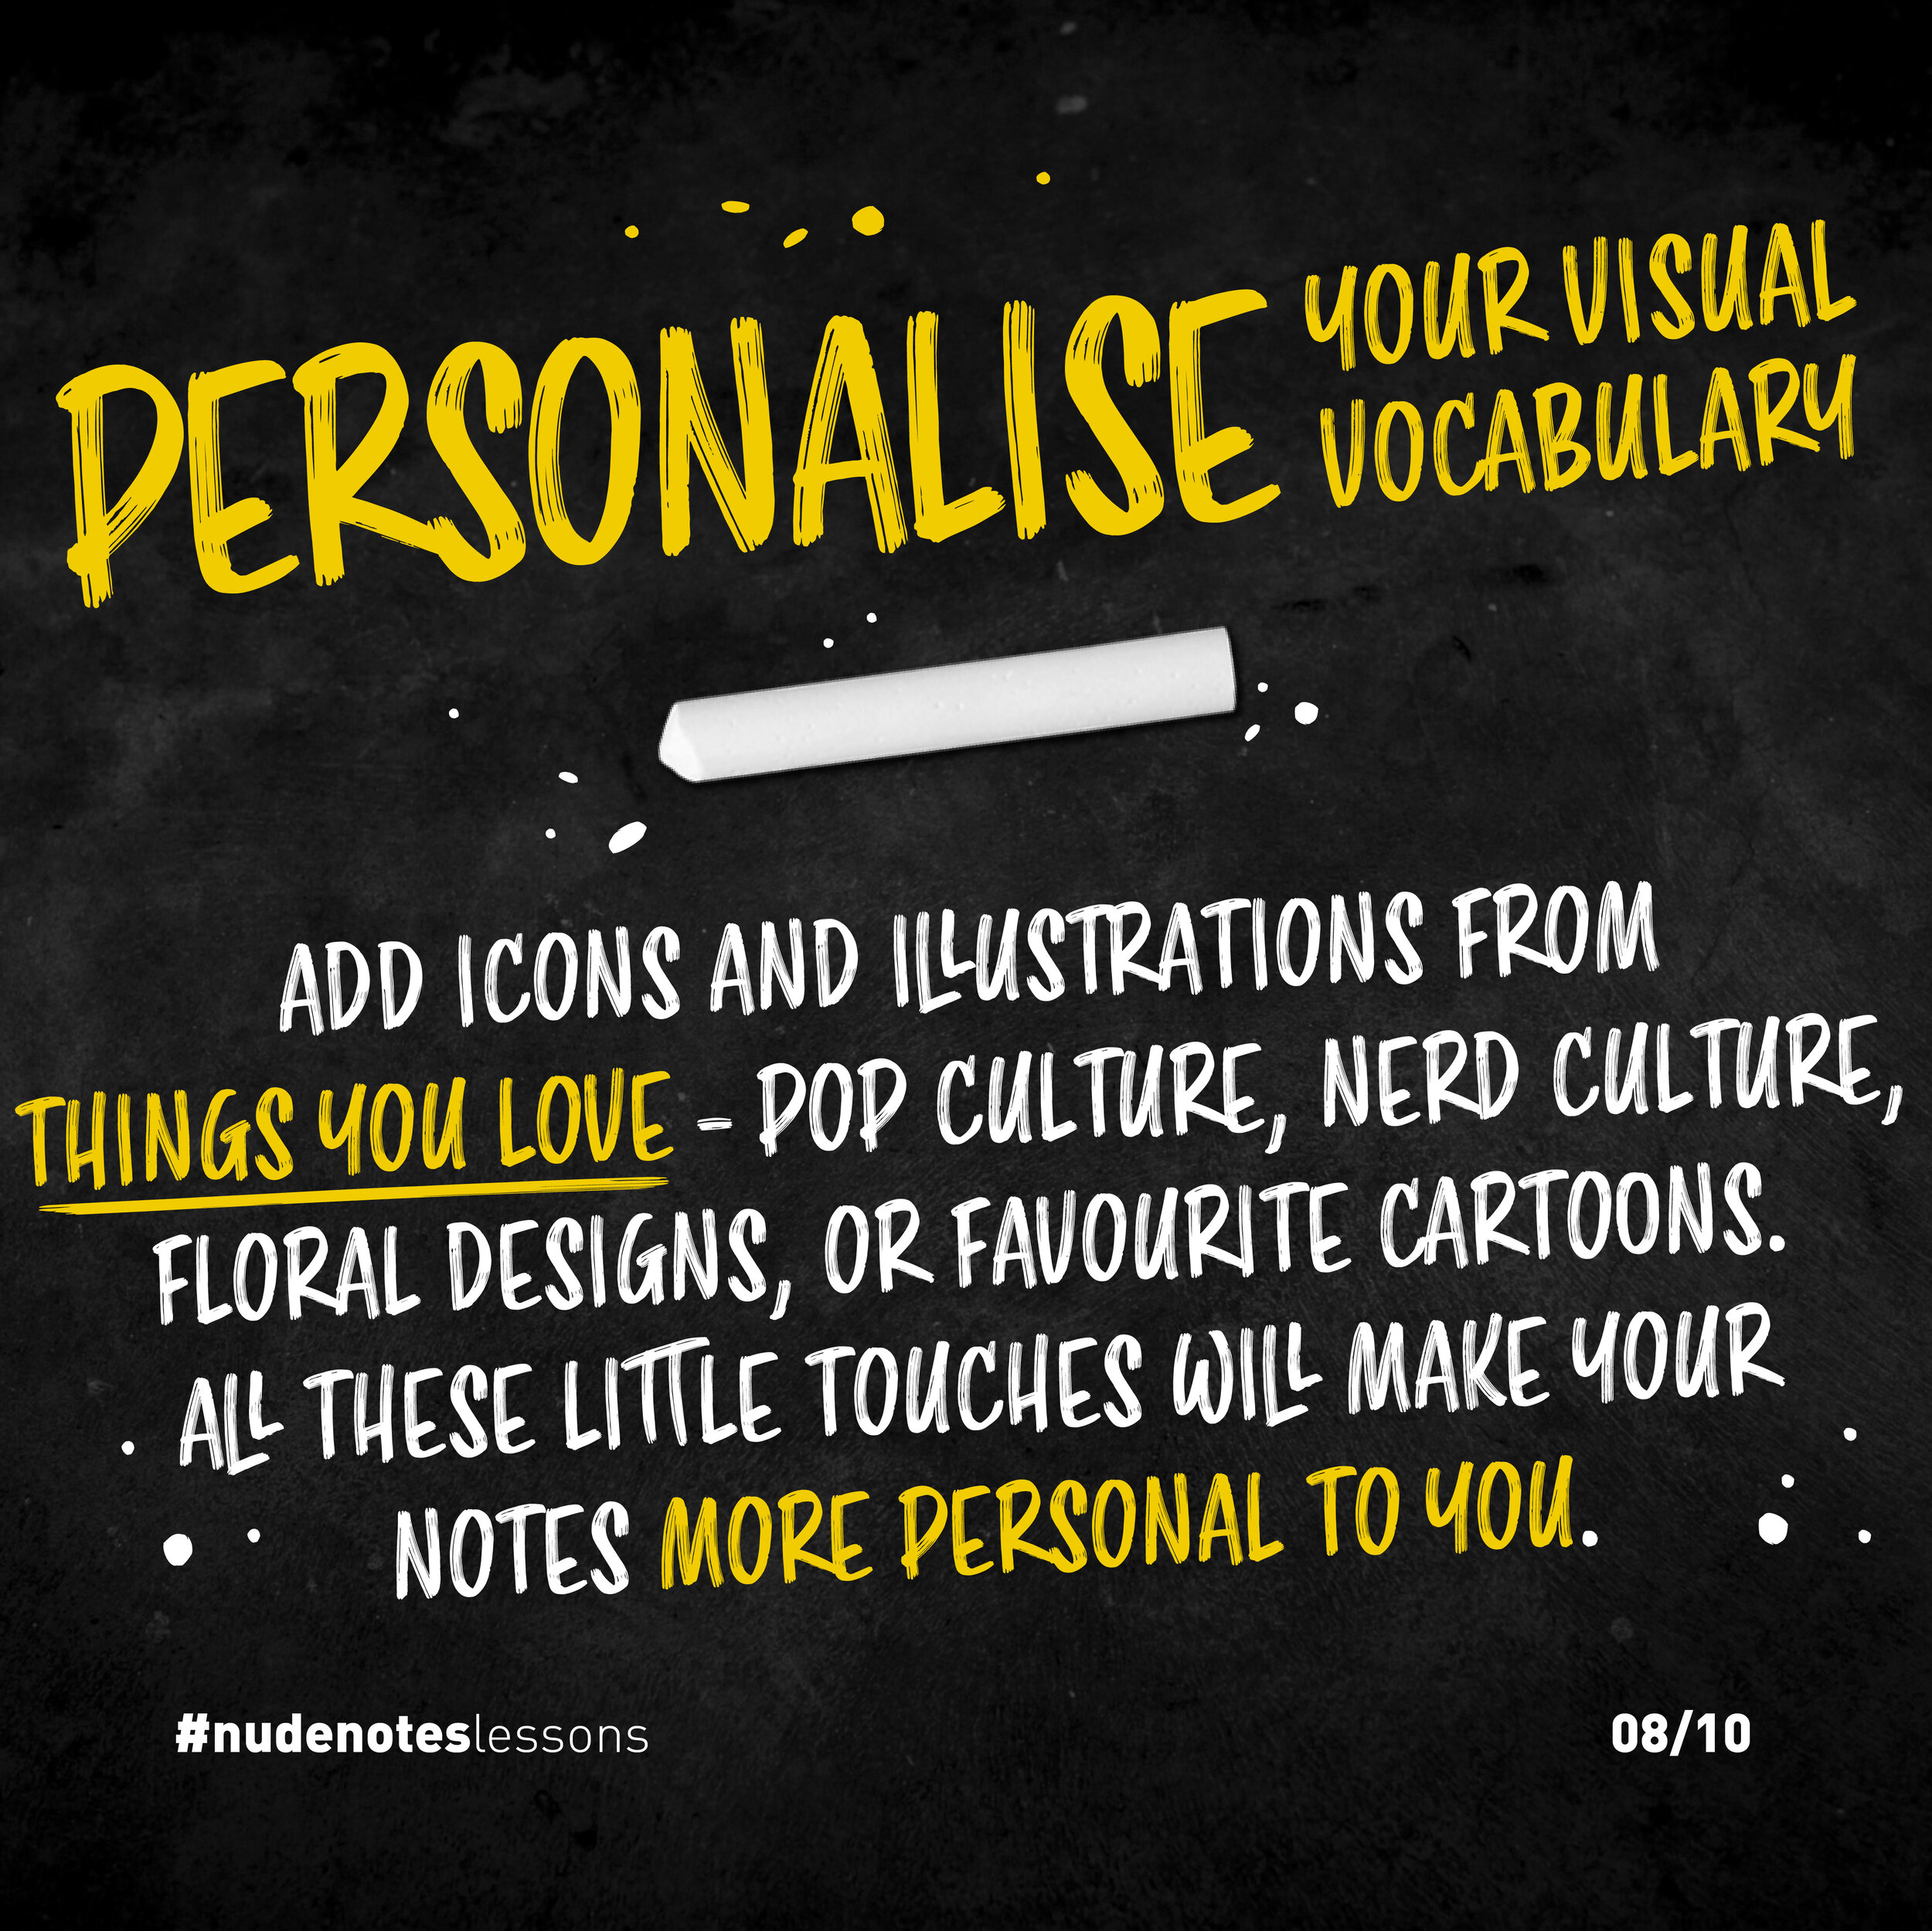
Personalise your visual vocabulary. Add icons and illustrations from things you love - pop culture, nerd culture, floral designs, or favourite cartoons. All these little touches will make your nudenotes more personal to you.
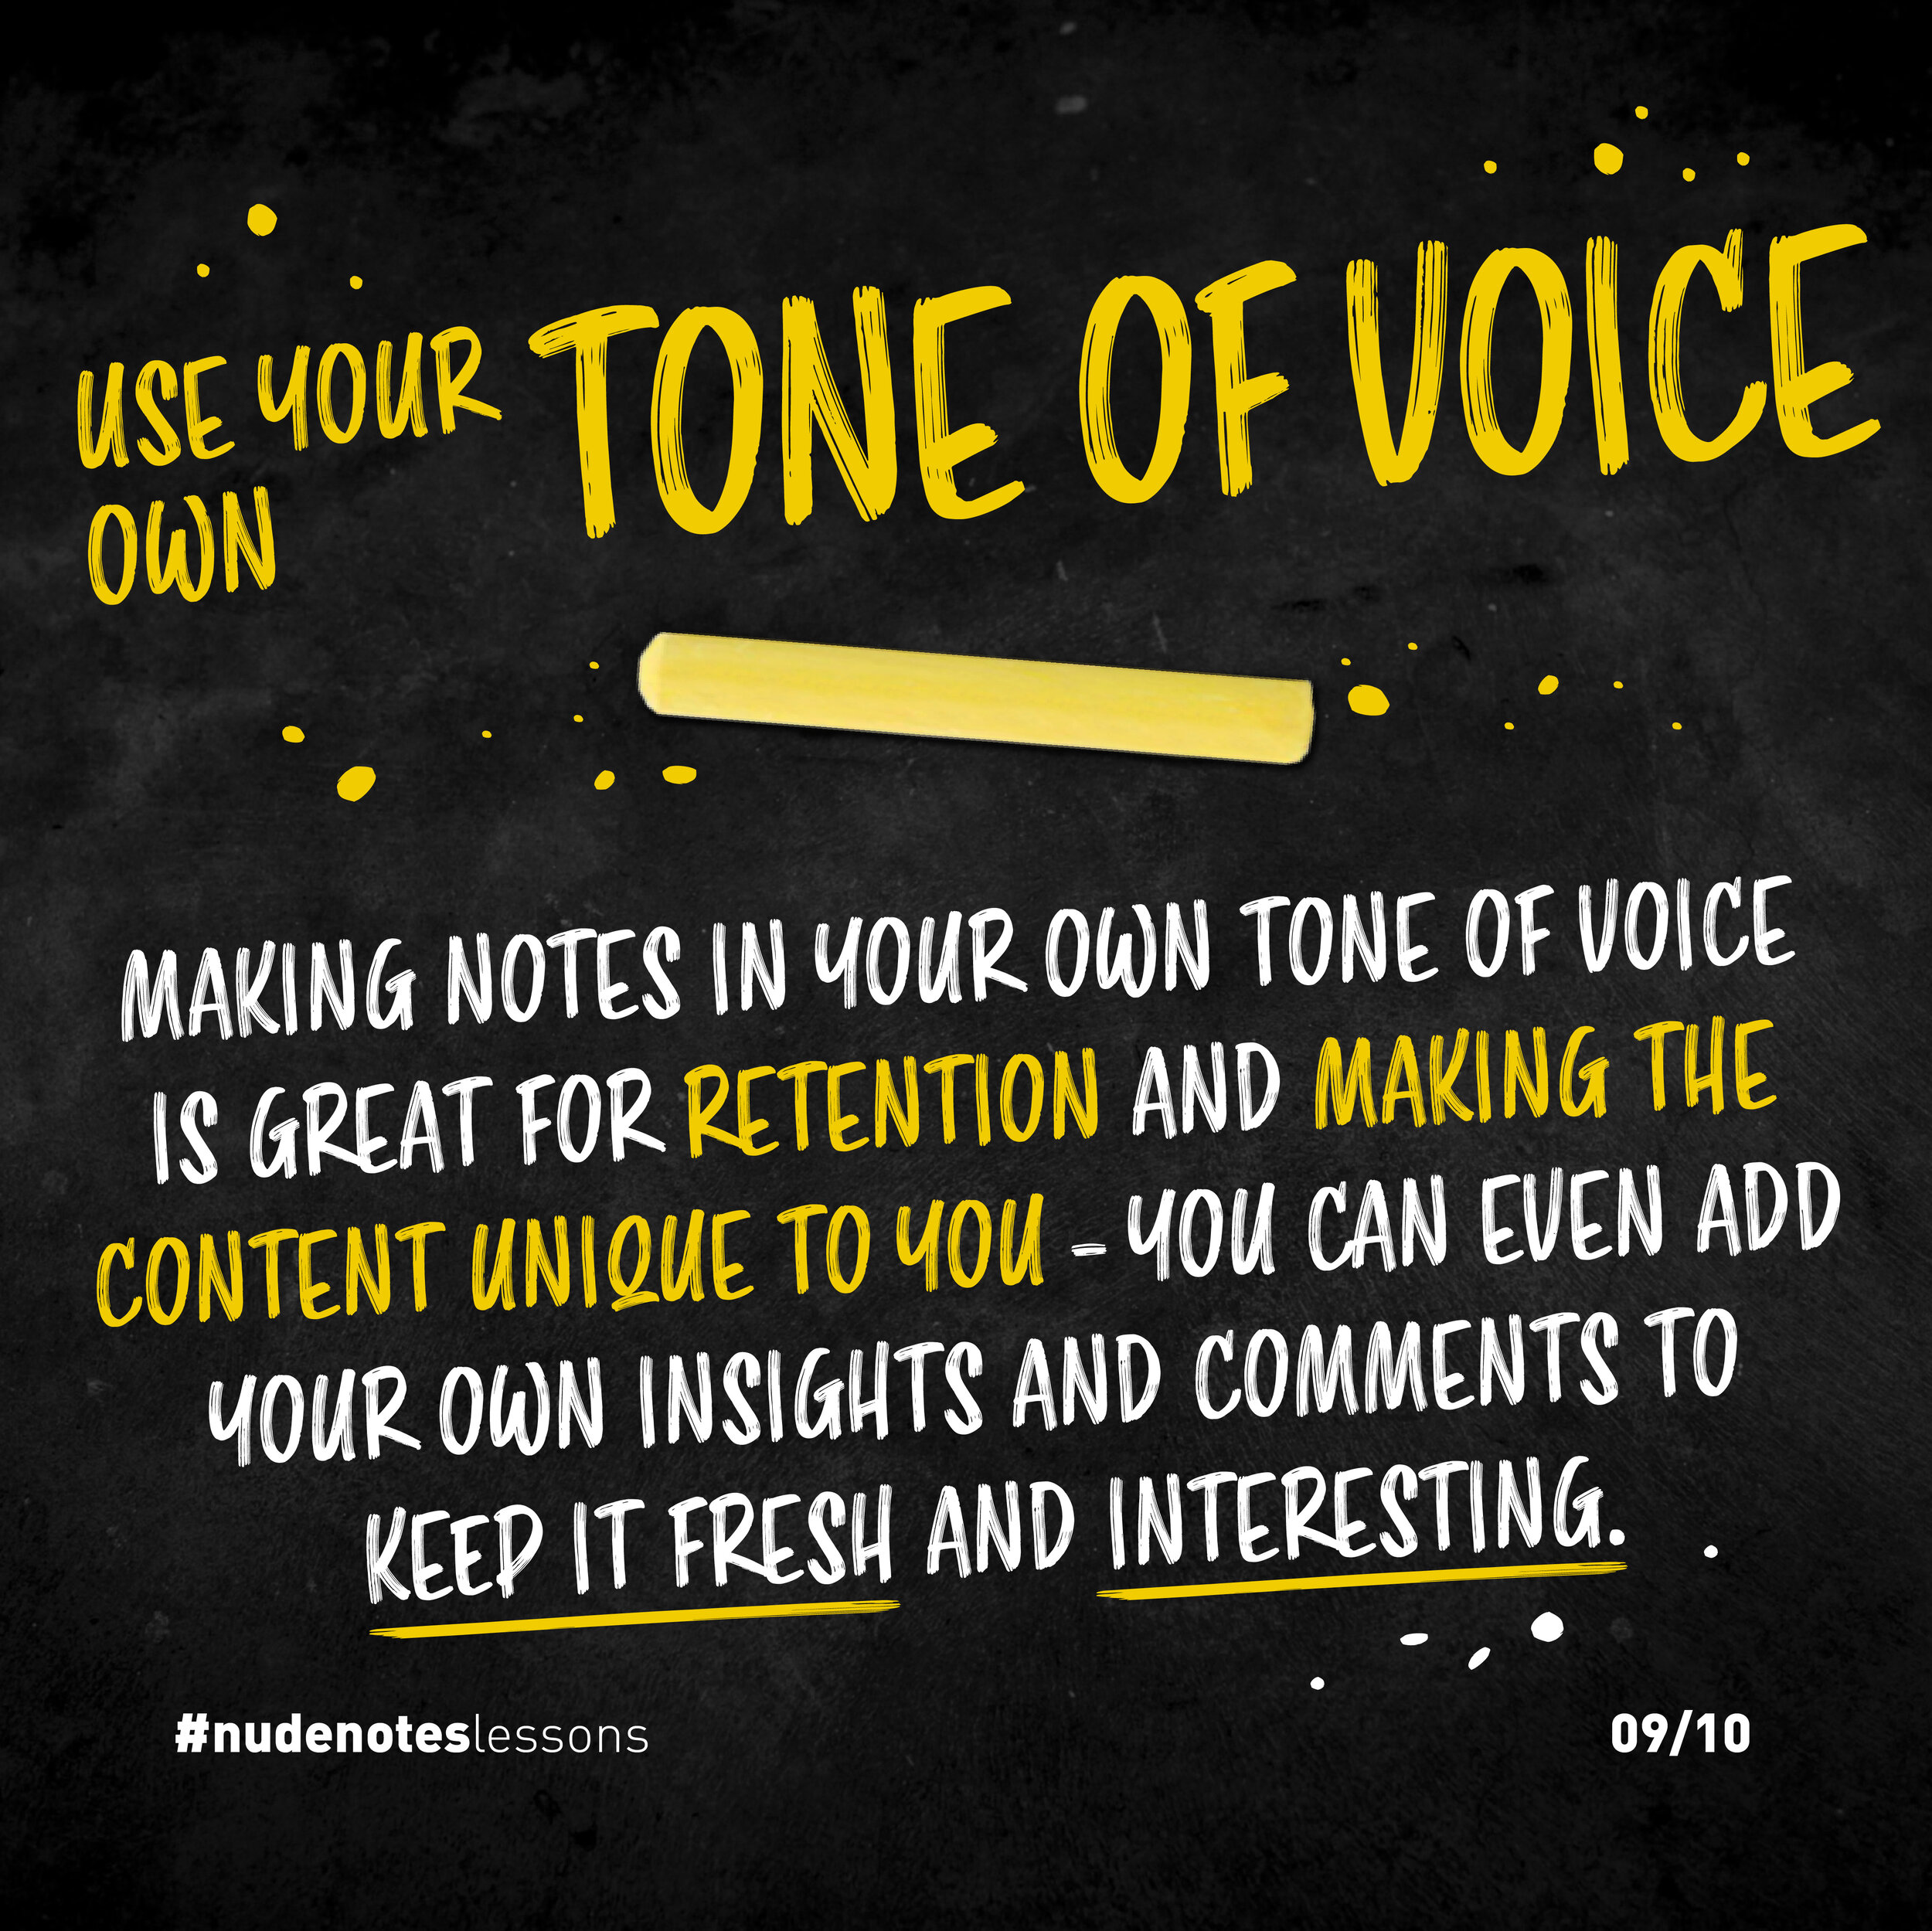
Use your tone of voice. Making notes in your own tone of voice is great for retention and making the content unique to you - you can even add your own insights and comments to keep it fresh and interesting.
Running out of space
it’s one of the most common problems in nudenoting.
Once you’ve put pen to paper, it’s very difficult to undo.
But hey, hakuna matata!
No worries, you’re creating nudenotes!
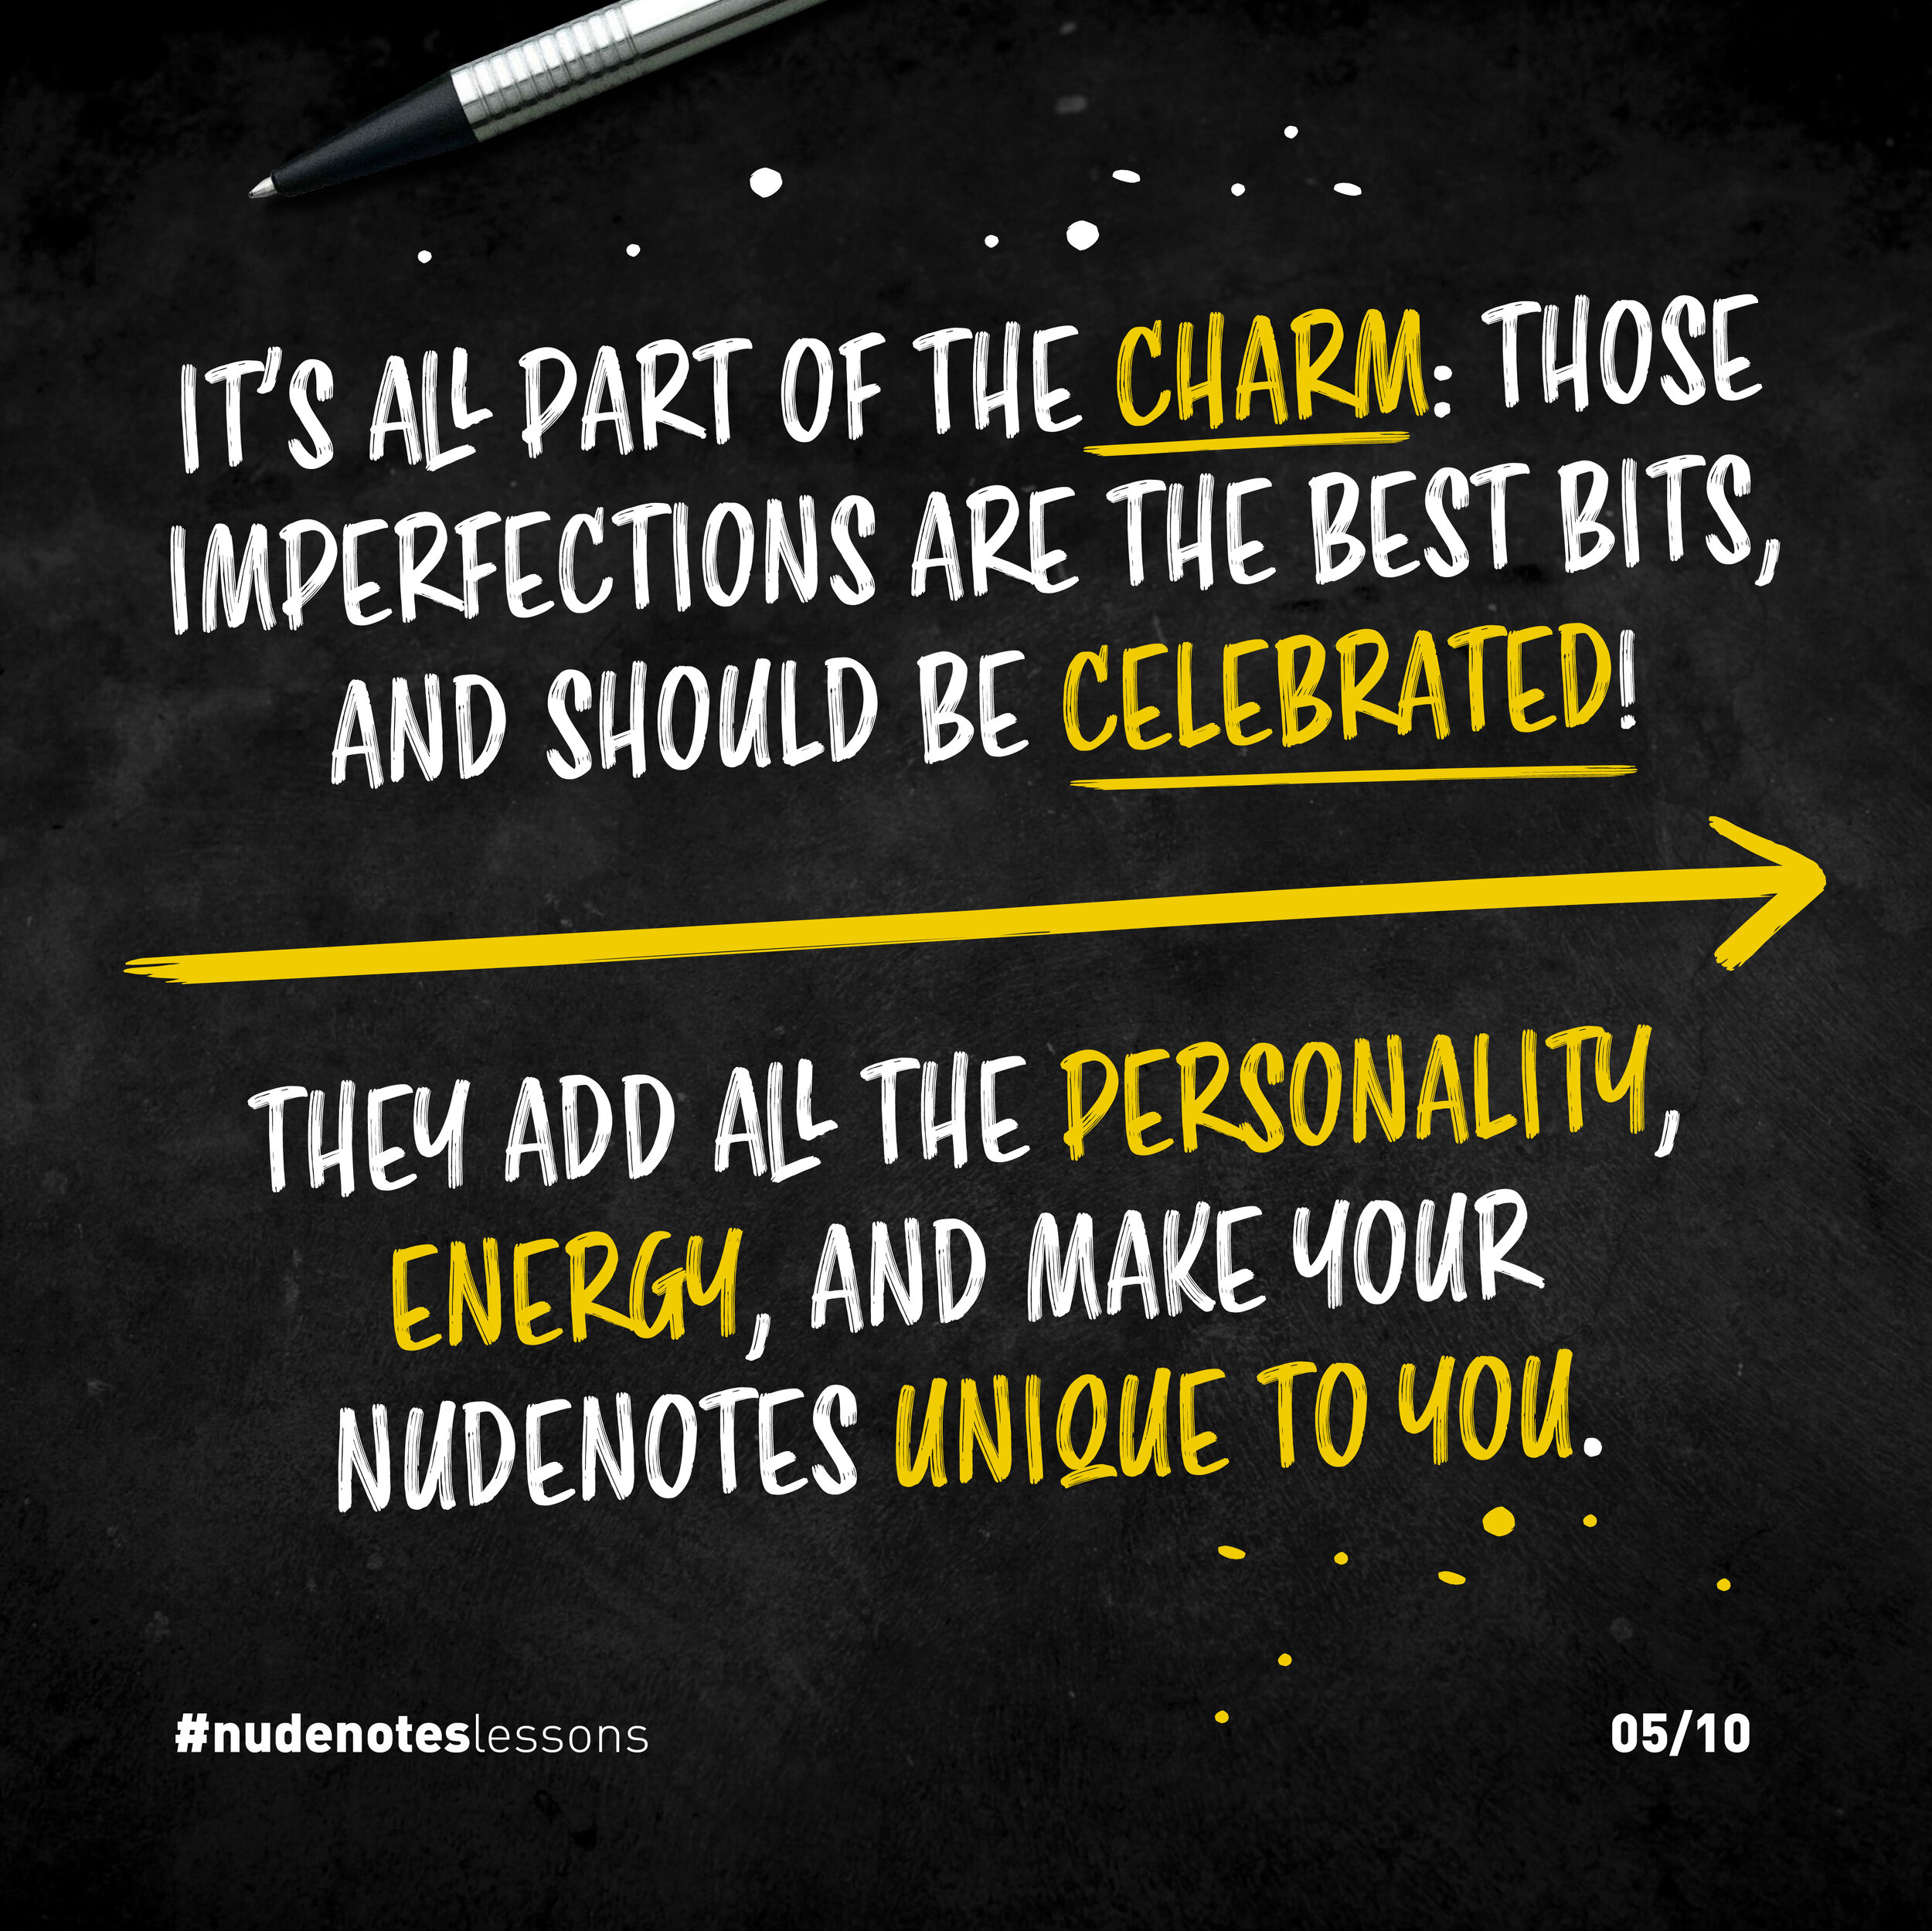
The reason they’re called nudenotes is because they’re raw and full of imperfections.
It’s all part of the charm: those imperfections are the best bits, and should be celebrated.
They add all the personality, energy, and make your nudenotes unique to you.
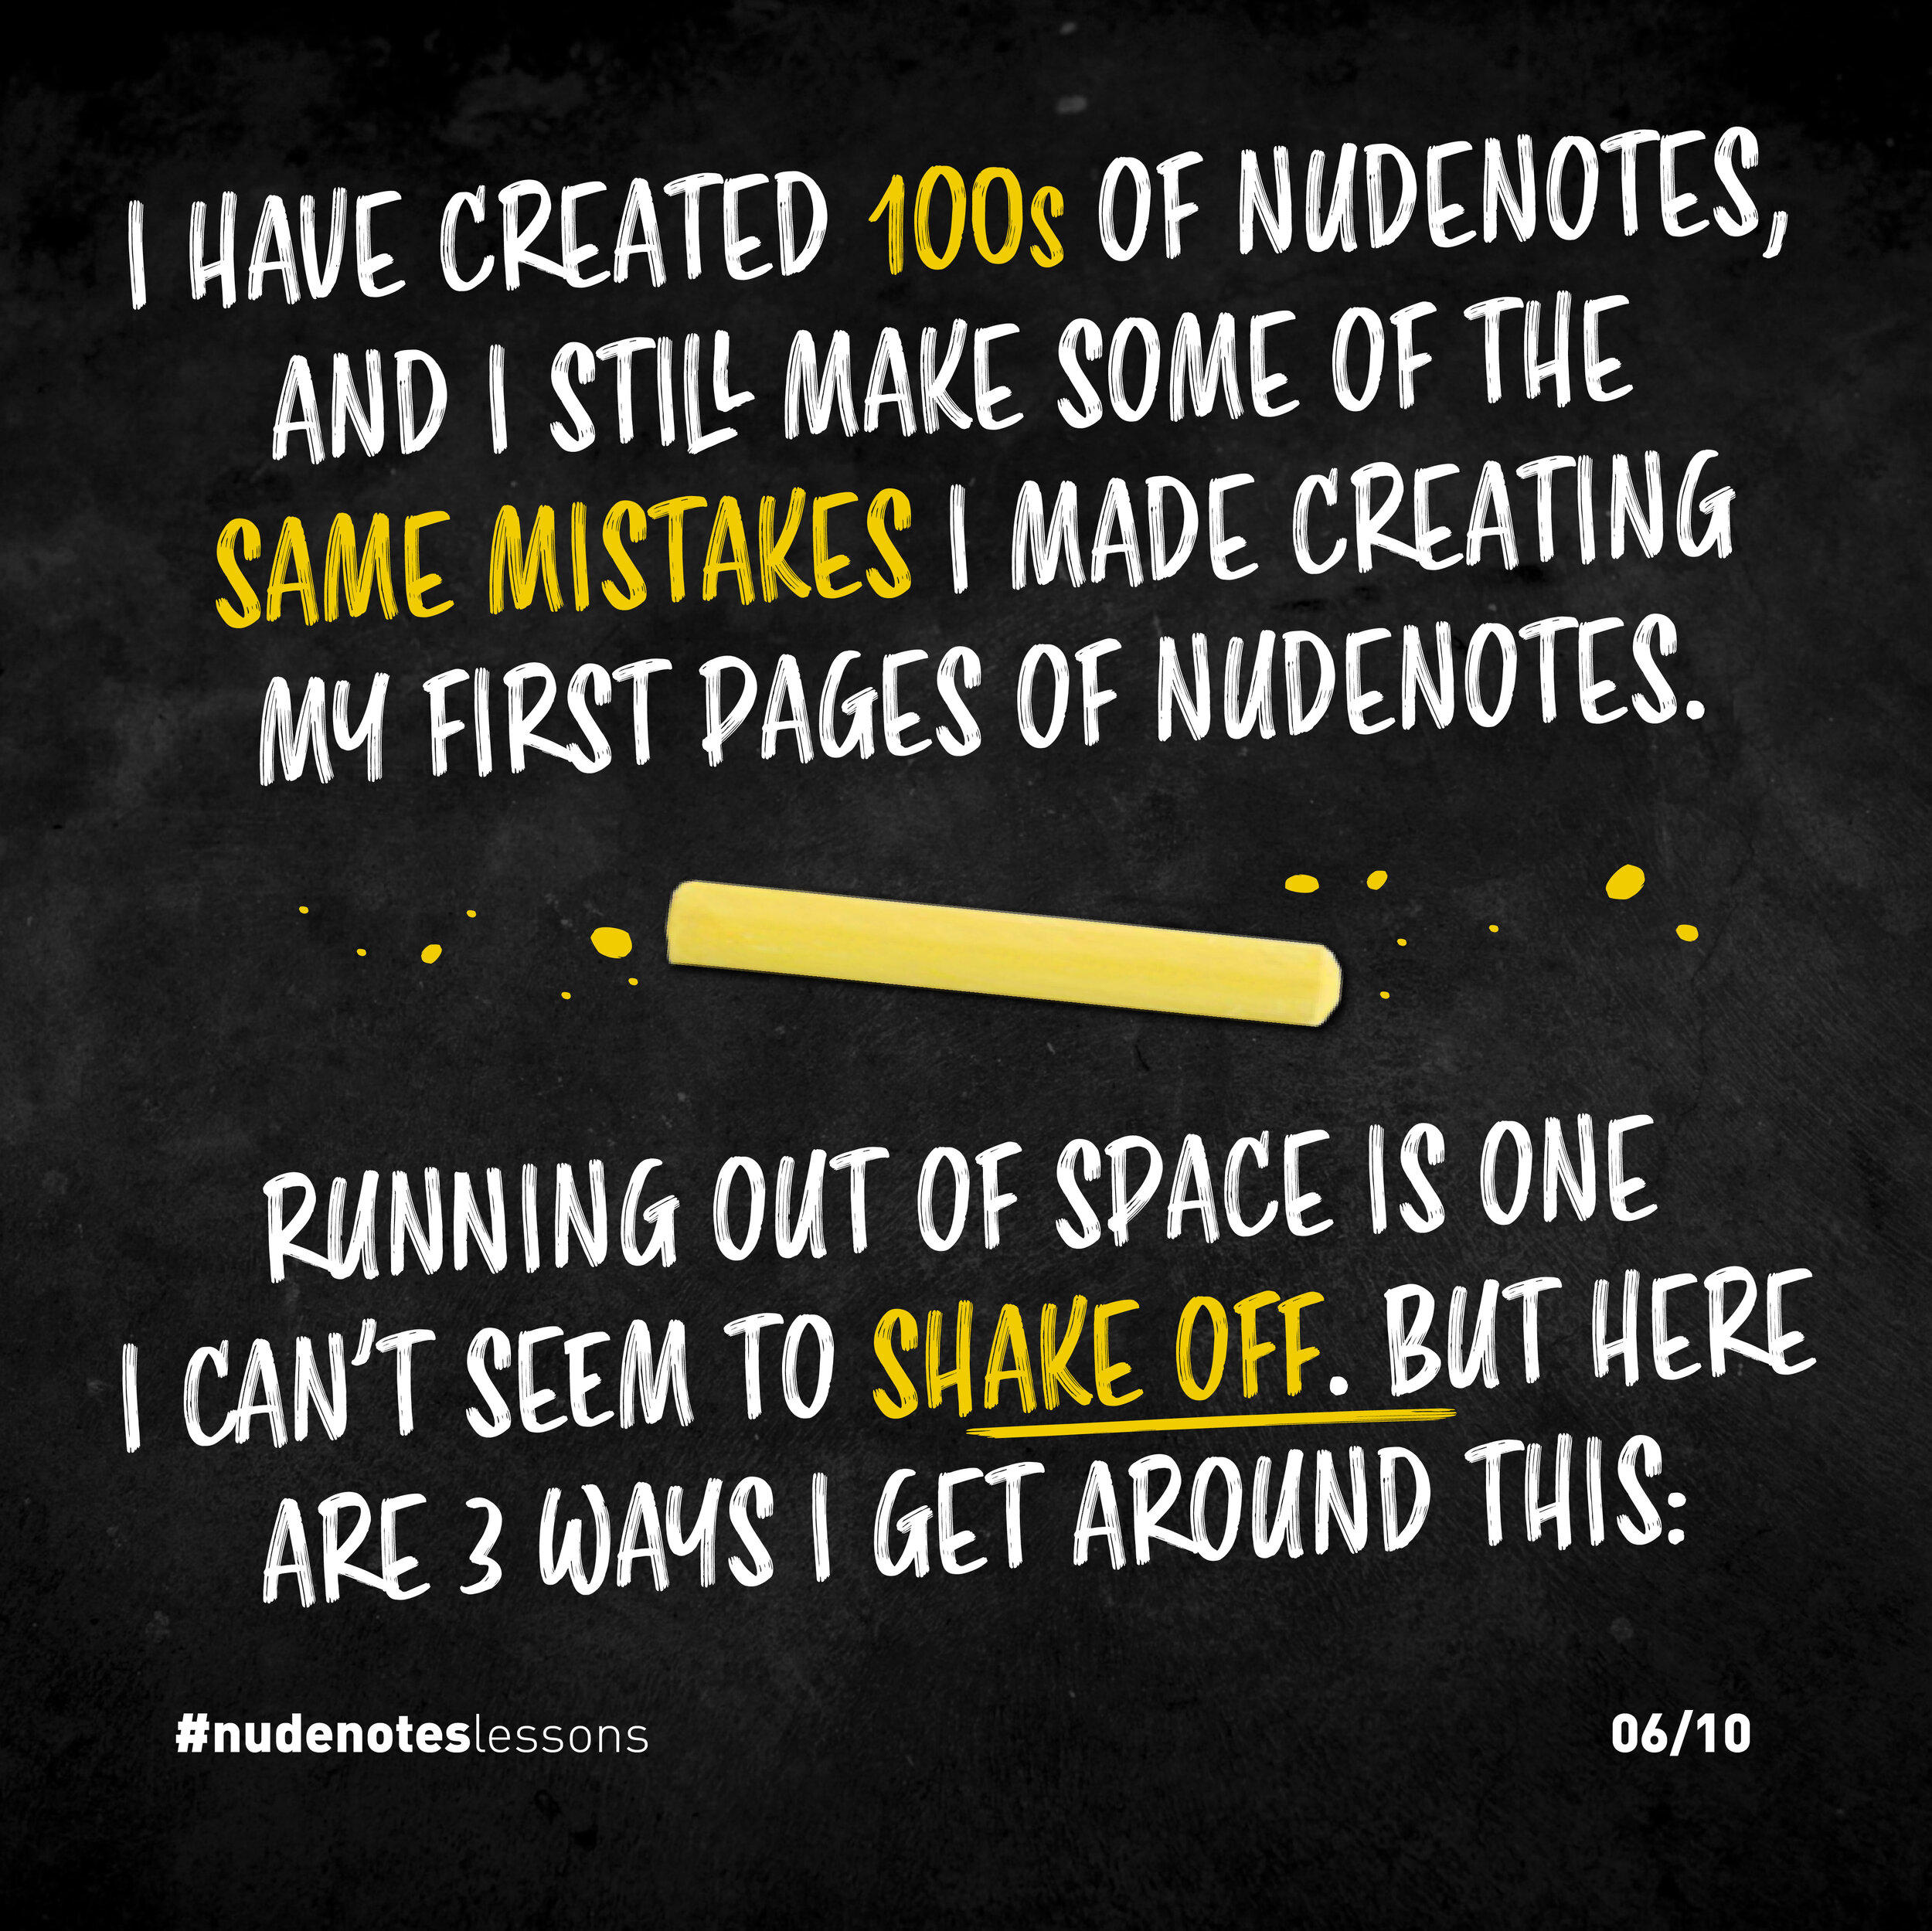
I’ve created hundreds of nudenotes, and yet I still make the same mistakes as when I turned the first pages of my notebook.
Running out of space is one I can’t seem to shake off, but here are some ways I get around it:
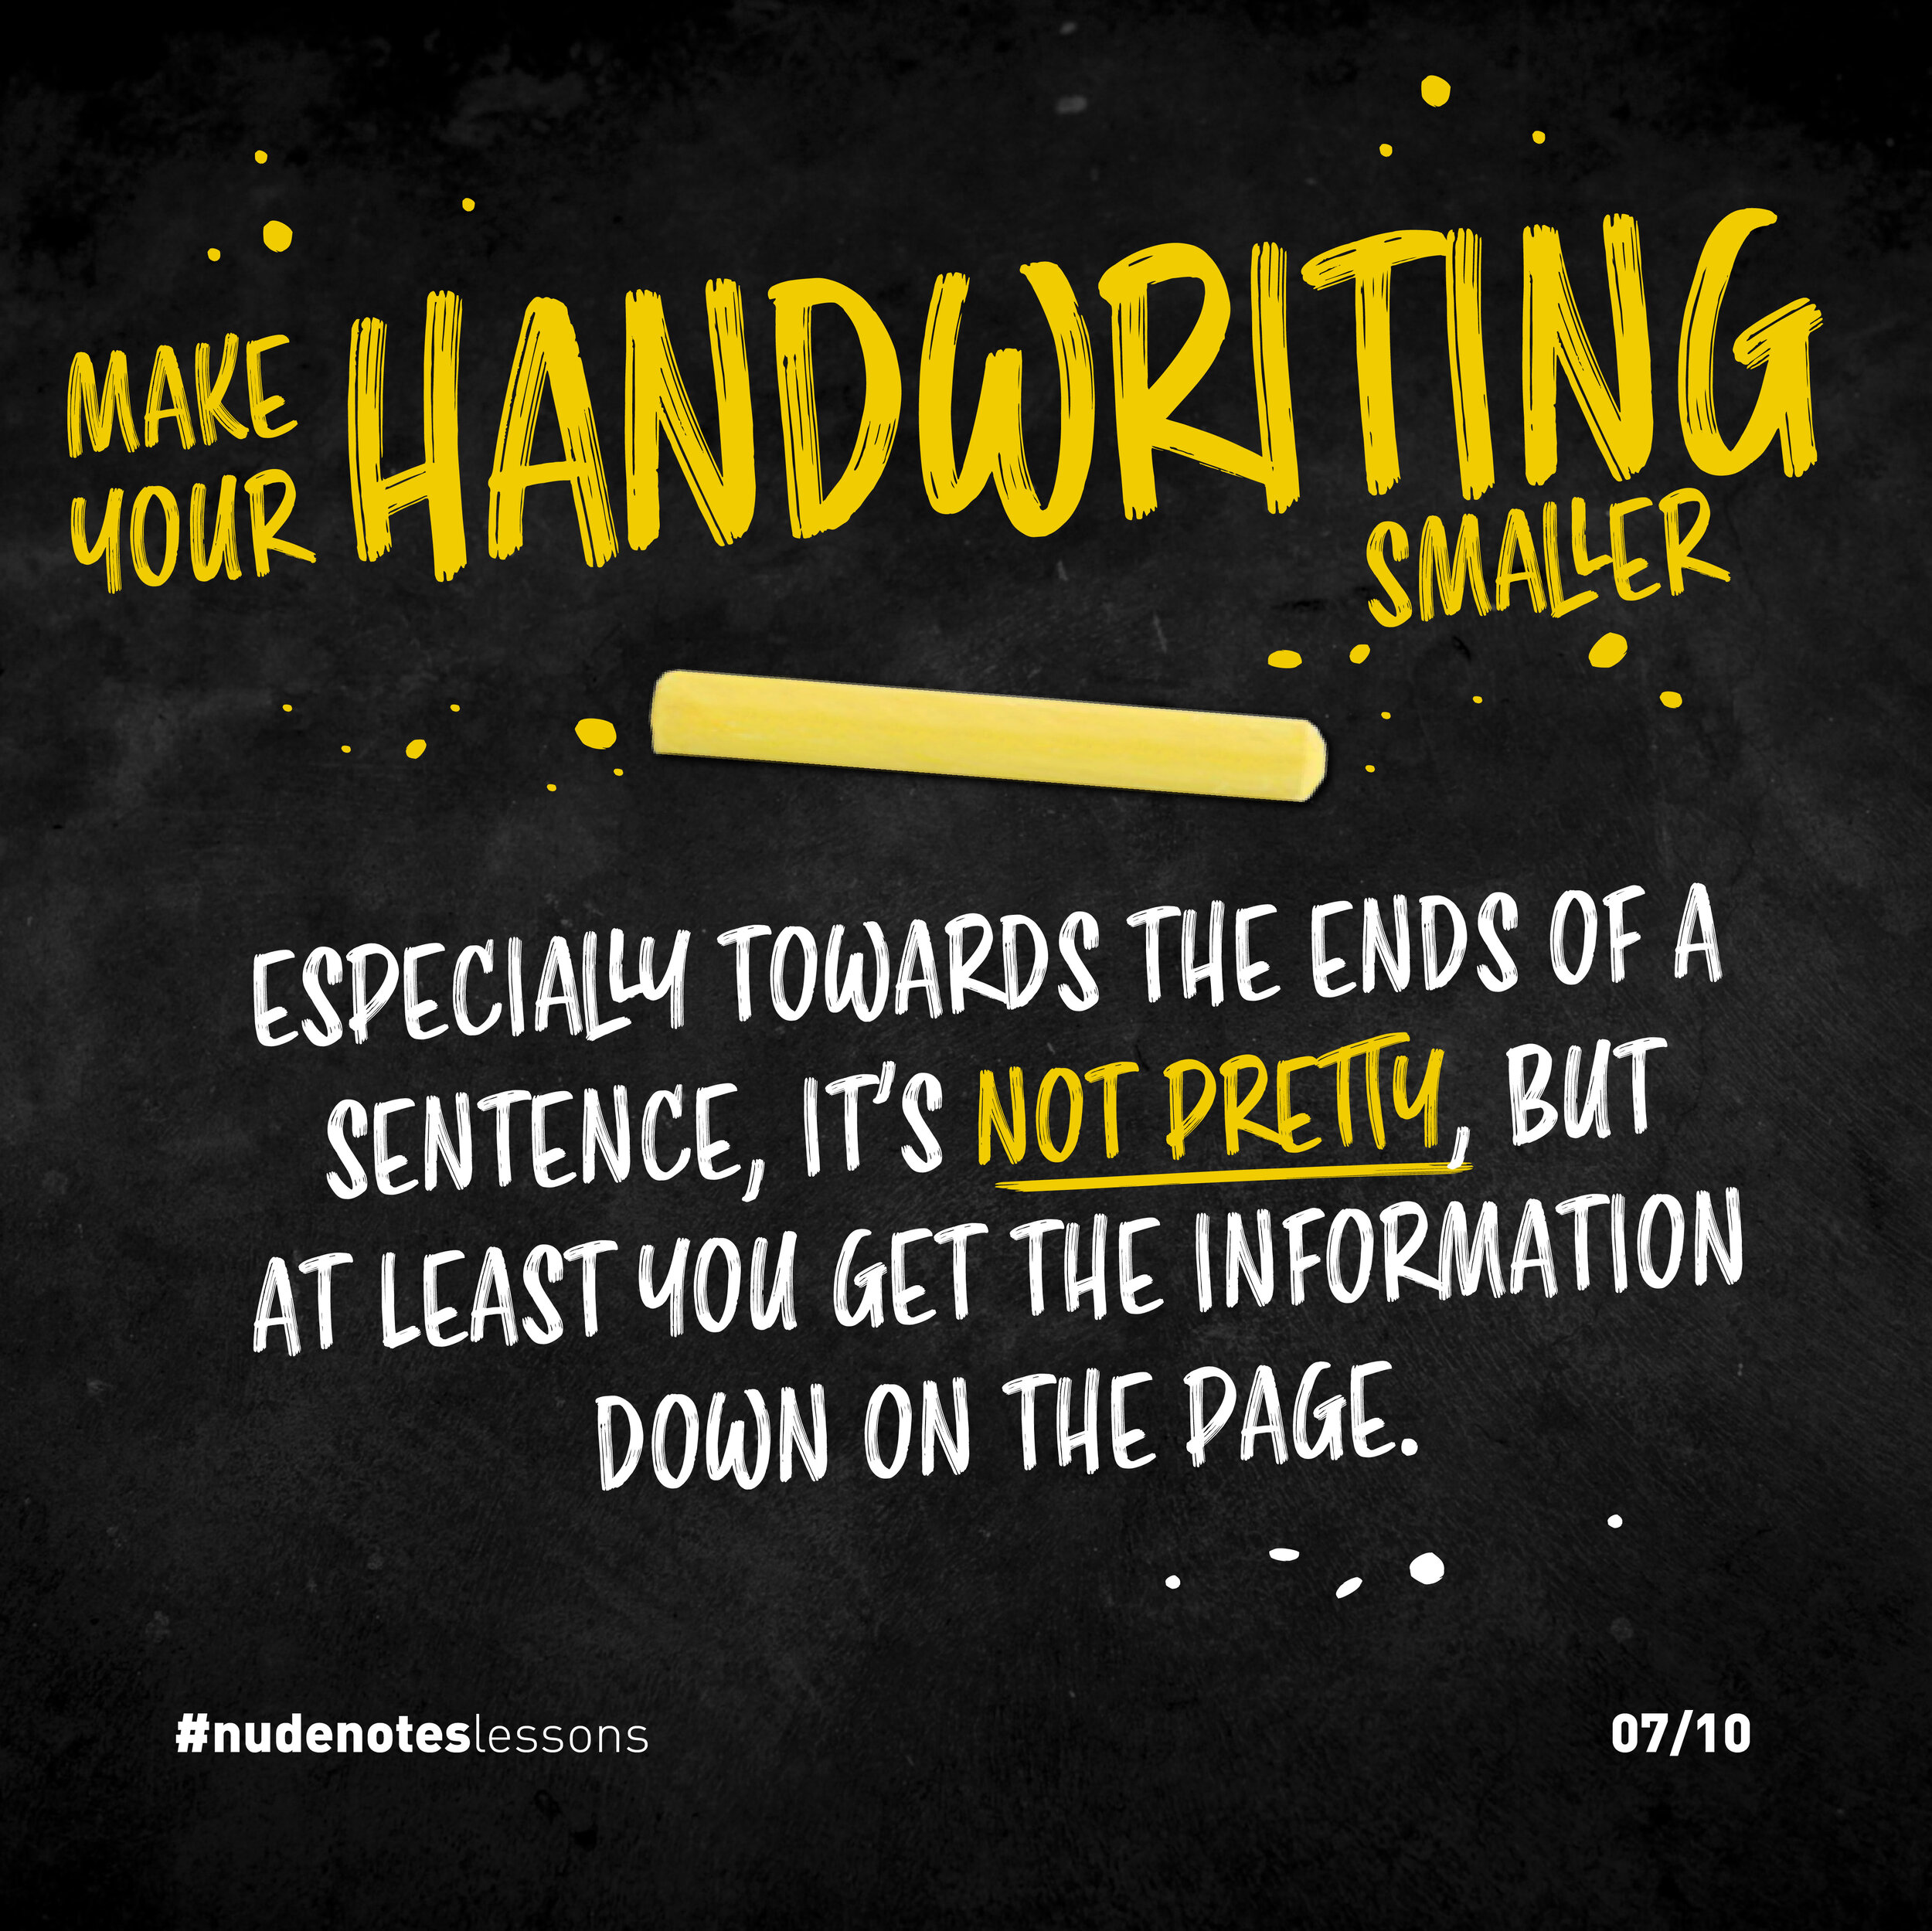
Make your handwriting smaller. Especially towards the ends of a sentence. It’s not pretty, but at least you get the information down on the page.
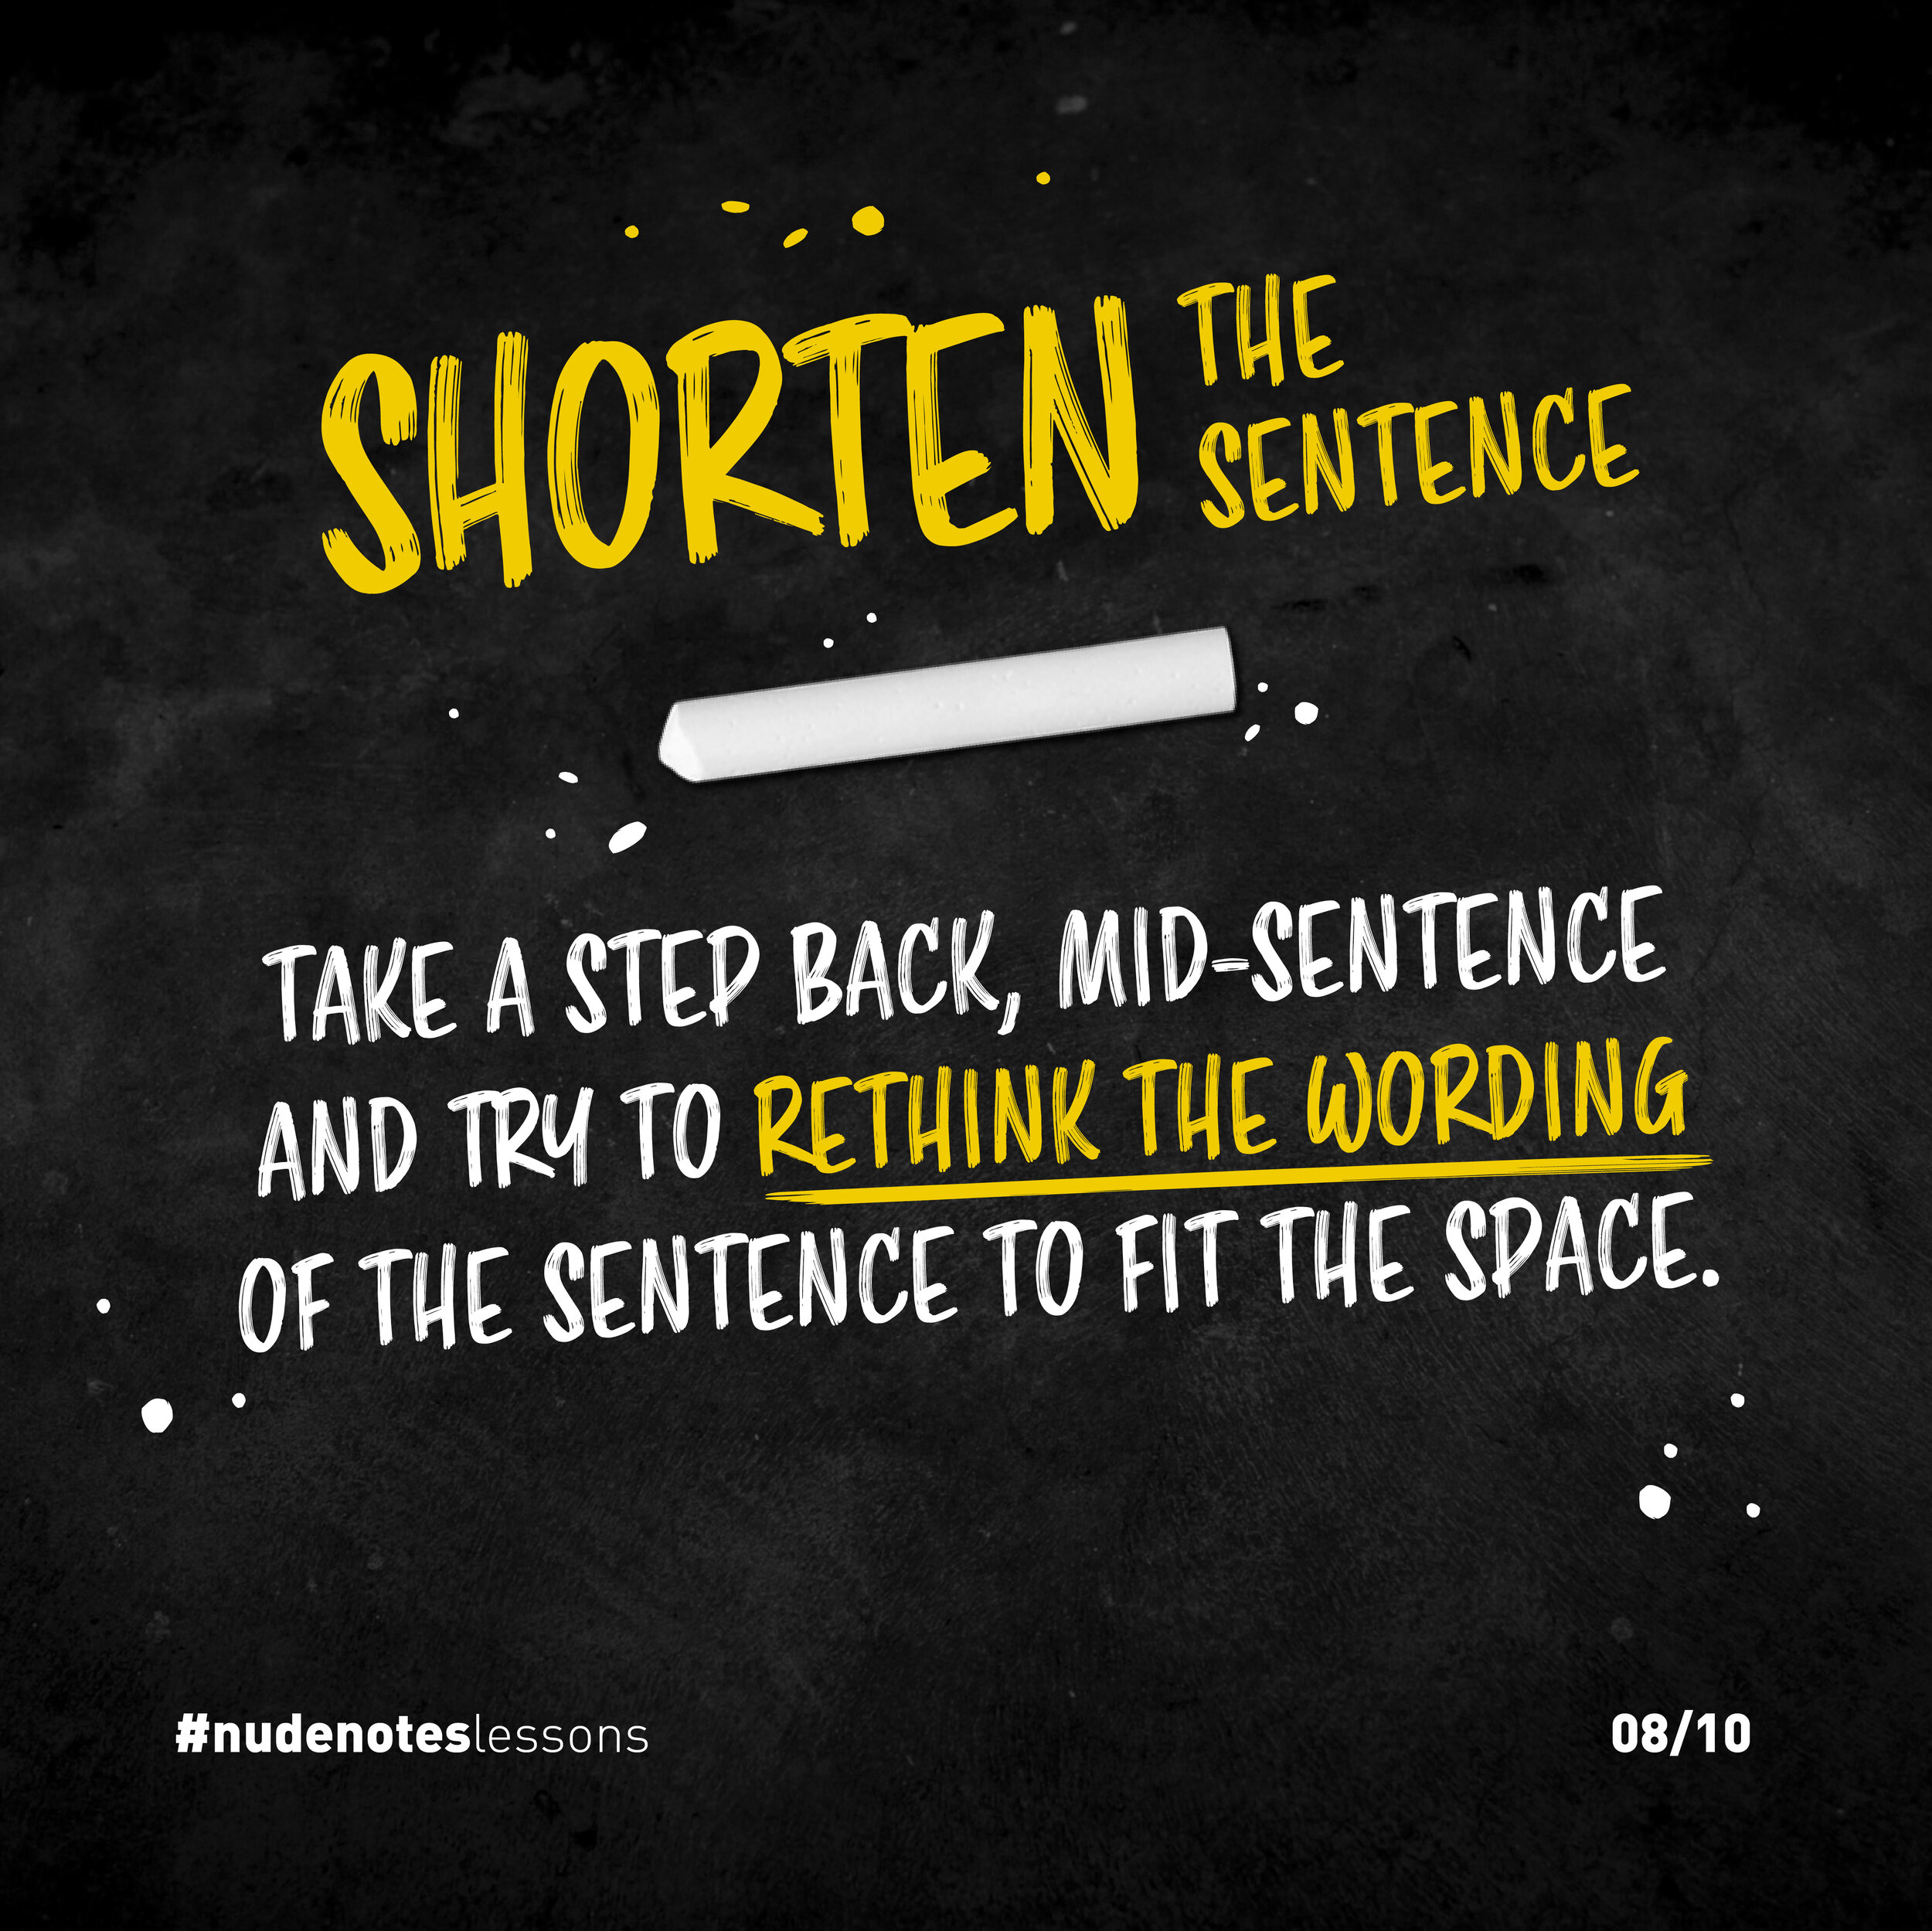
Shorten the sentence. Take a step back, mid-sentence, and try to rethink the wording of the sentence to fit the space.
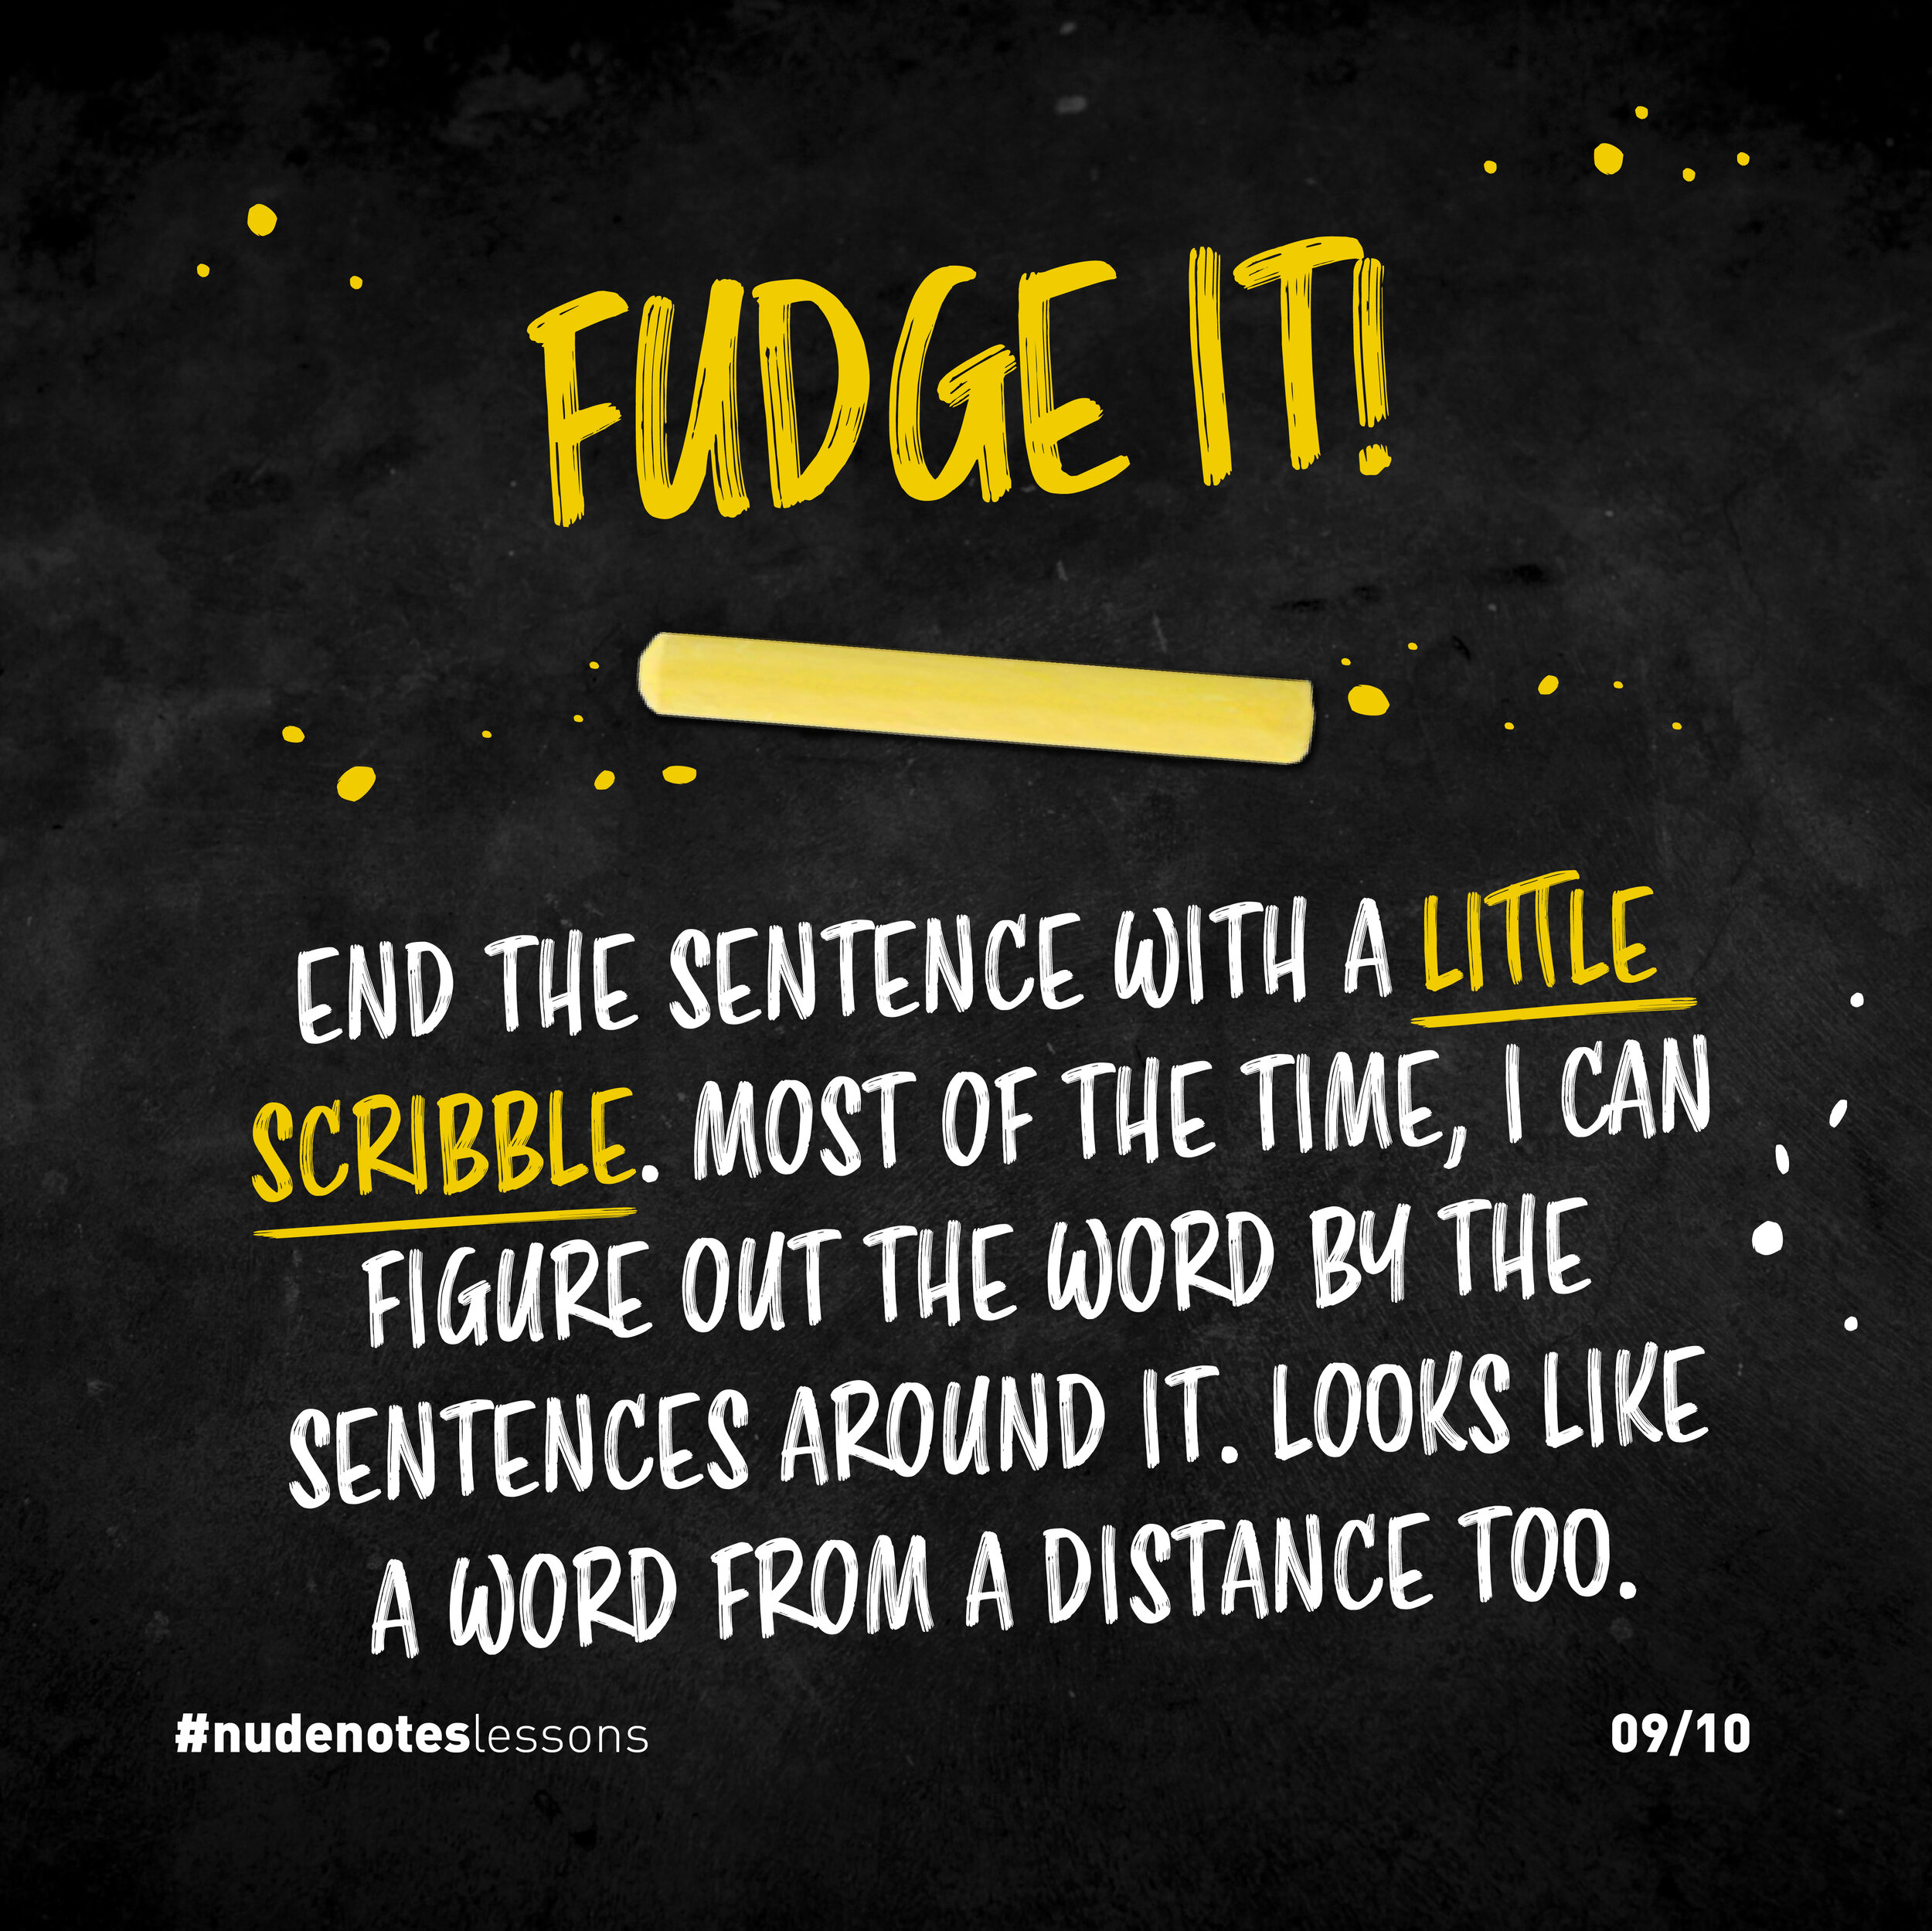
Fudge it! End the sentence with a little scribble. Most of the time, I can figure out the word by the sentences around it, and it looks like a word from a distance, too (if you really scrunch up your eyes).
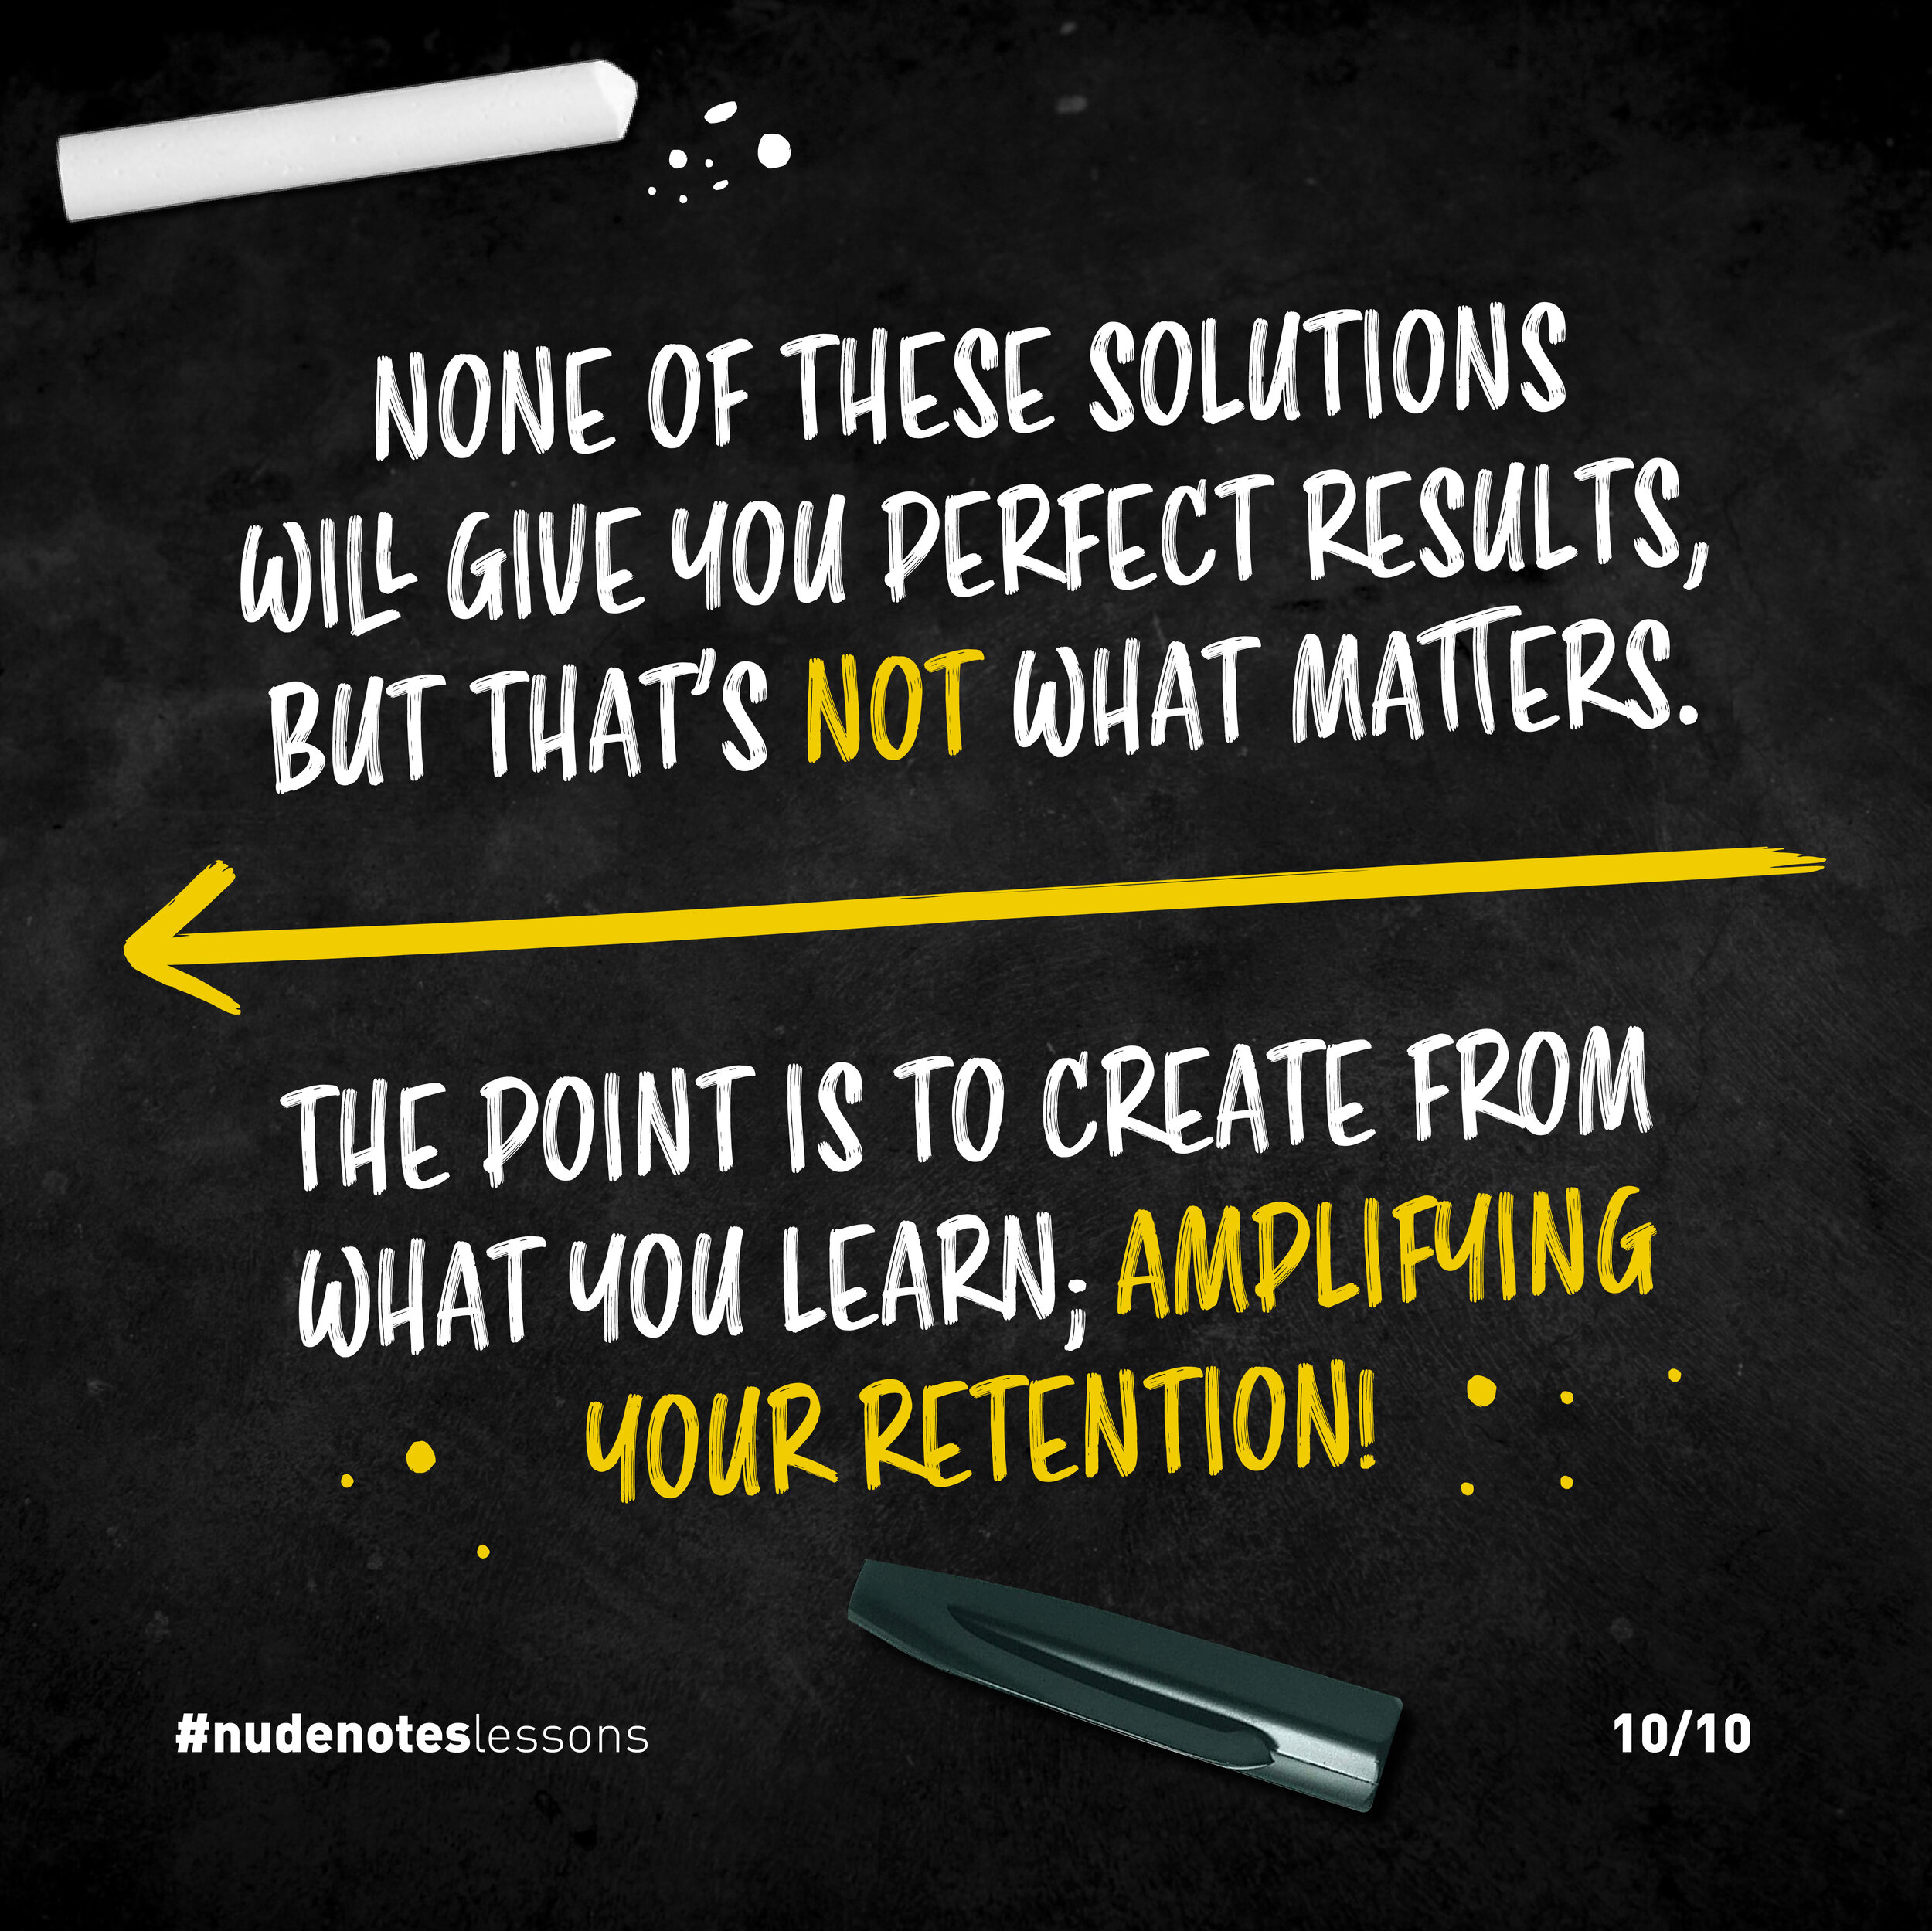
None of these solutions will give you perfect results, but that’s not what matters.
The point is to create from what you learn, amplifying your retention.
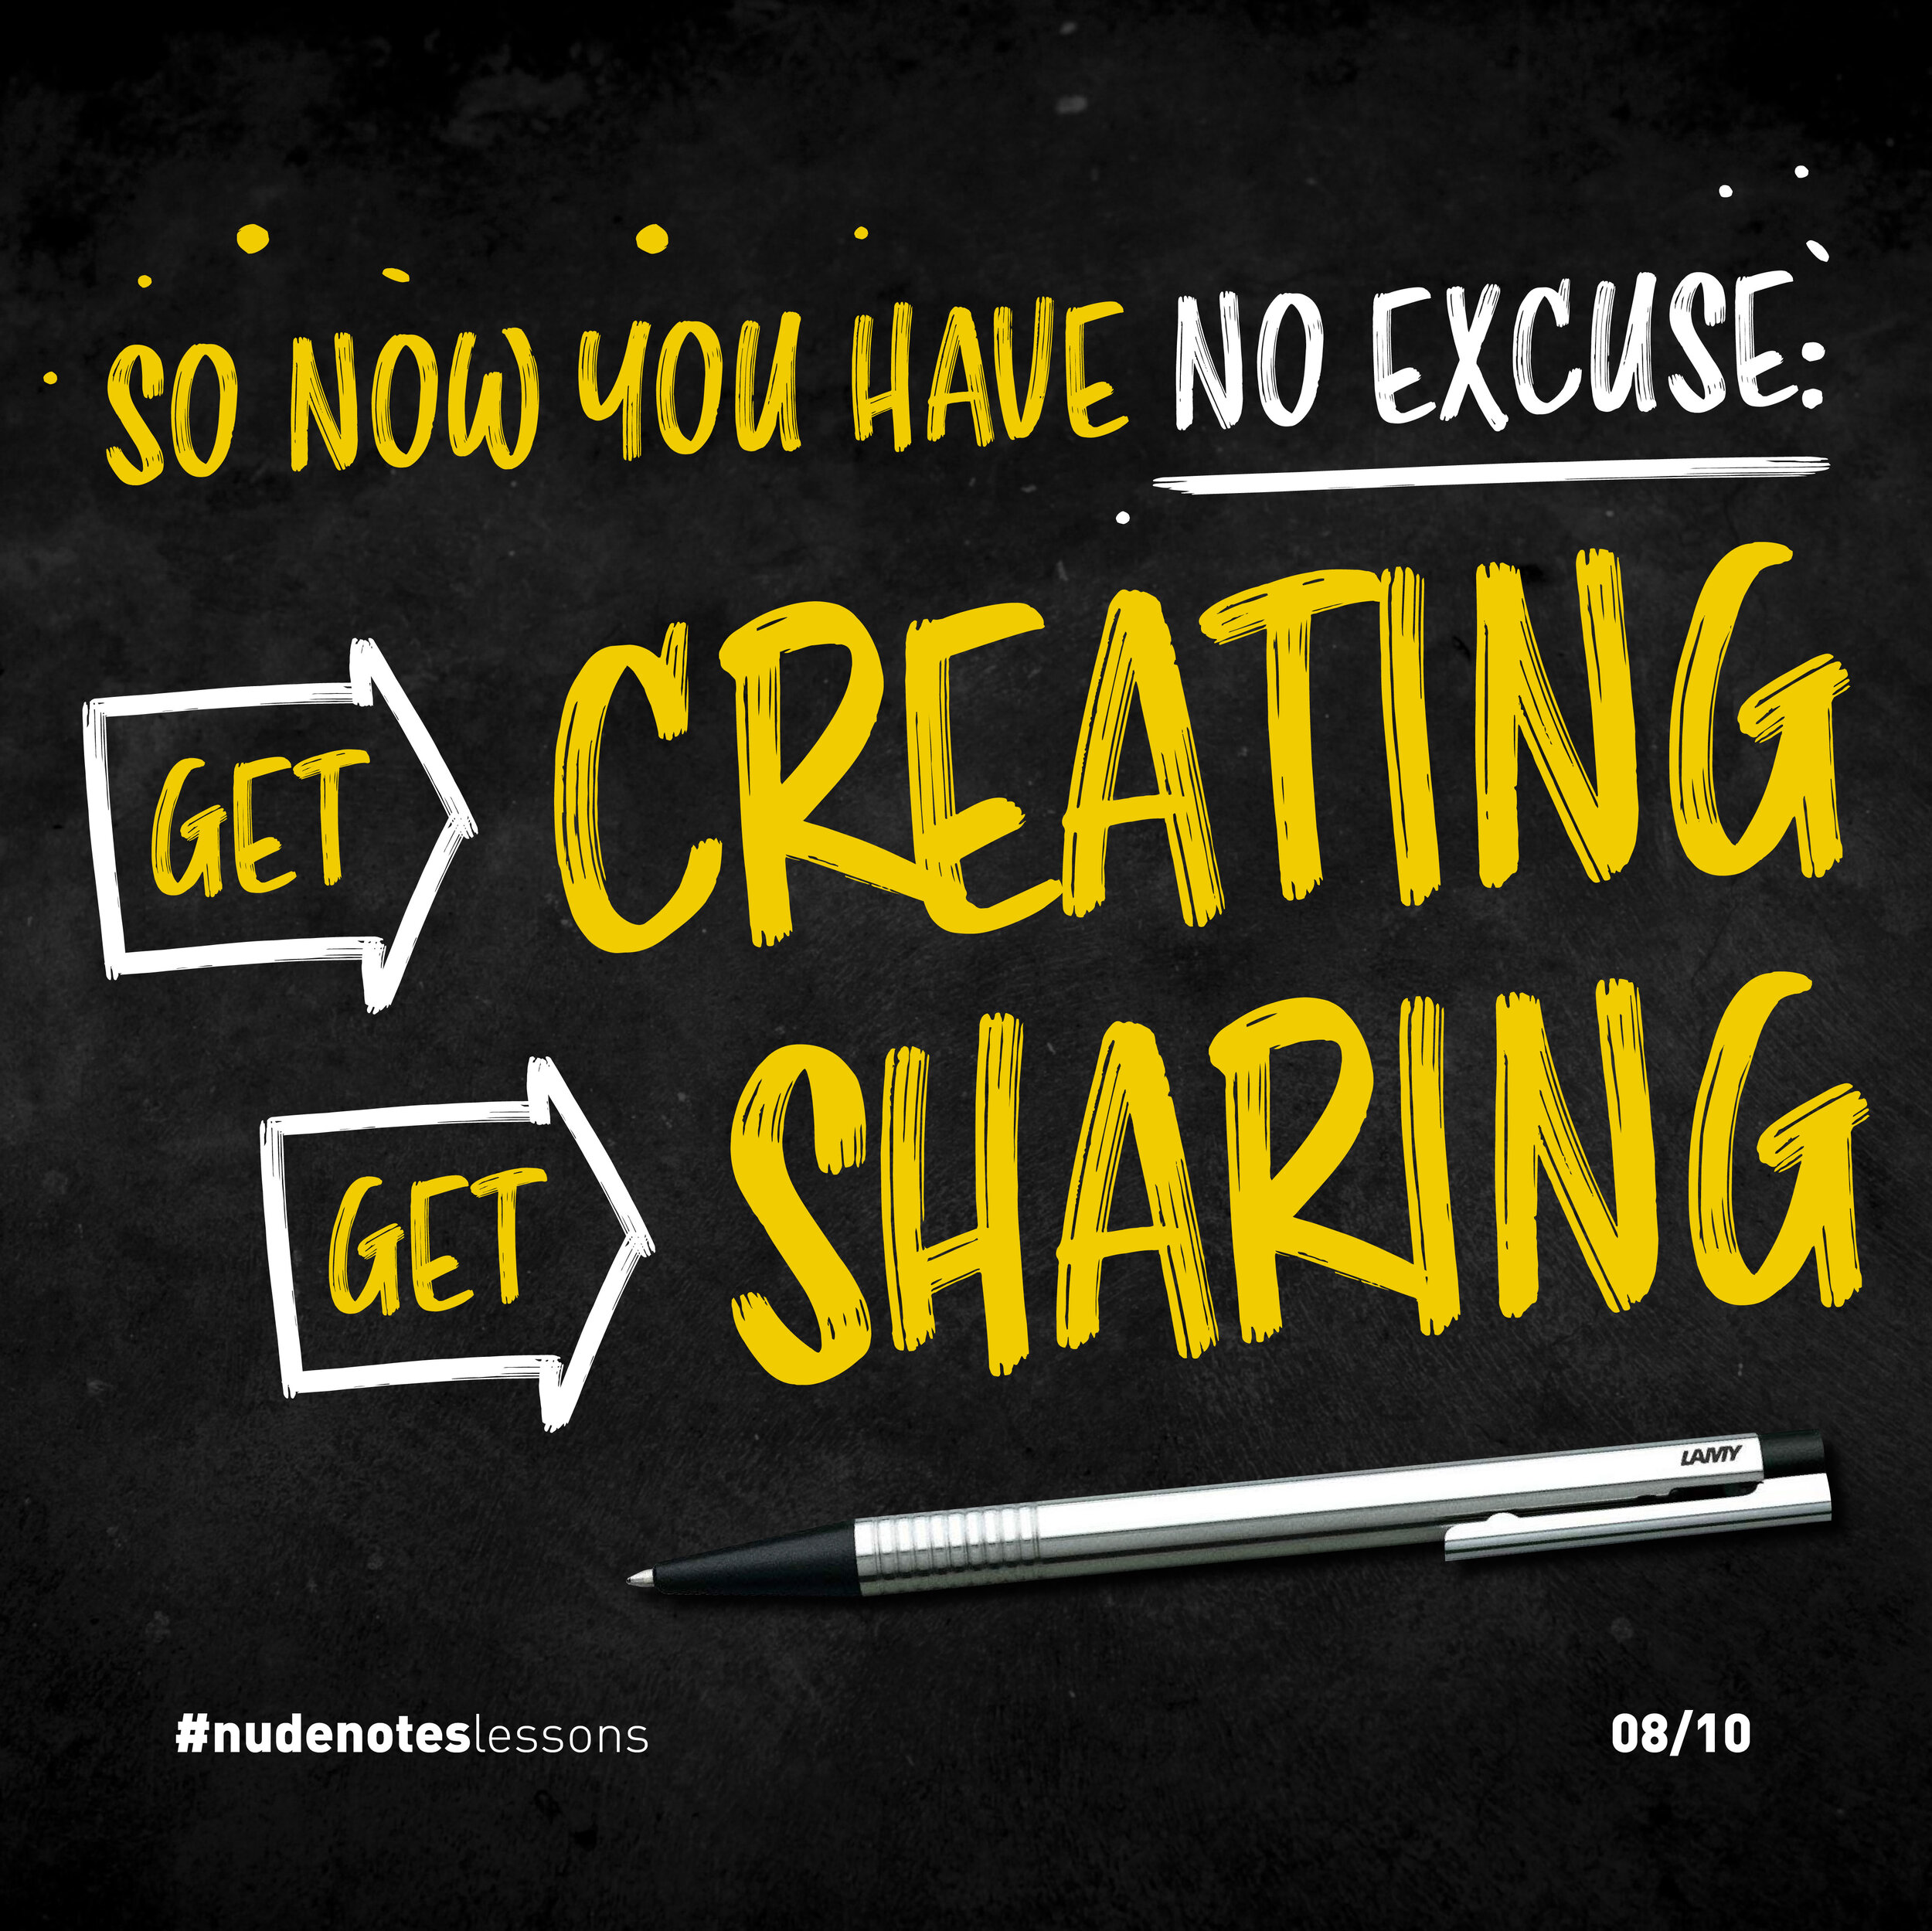
Sharing is Caring.
So you've finished your nudenotes - Congrats!
But there's one last step:
Sharing them with the world!
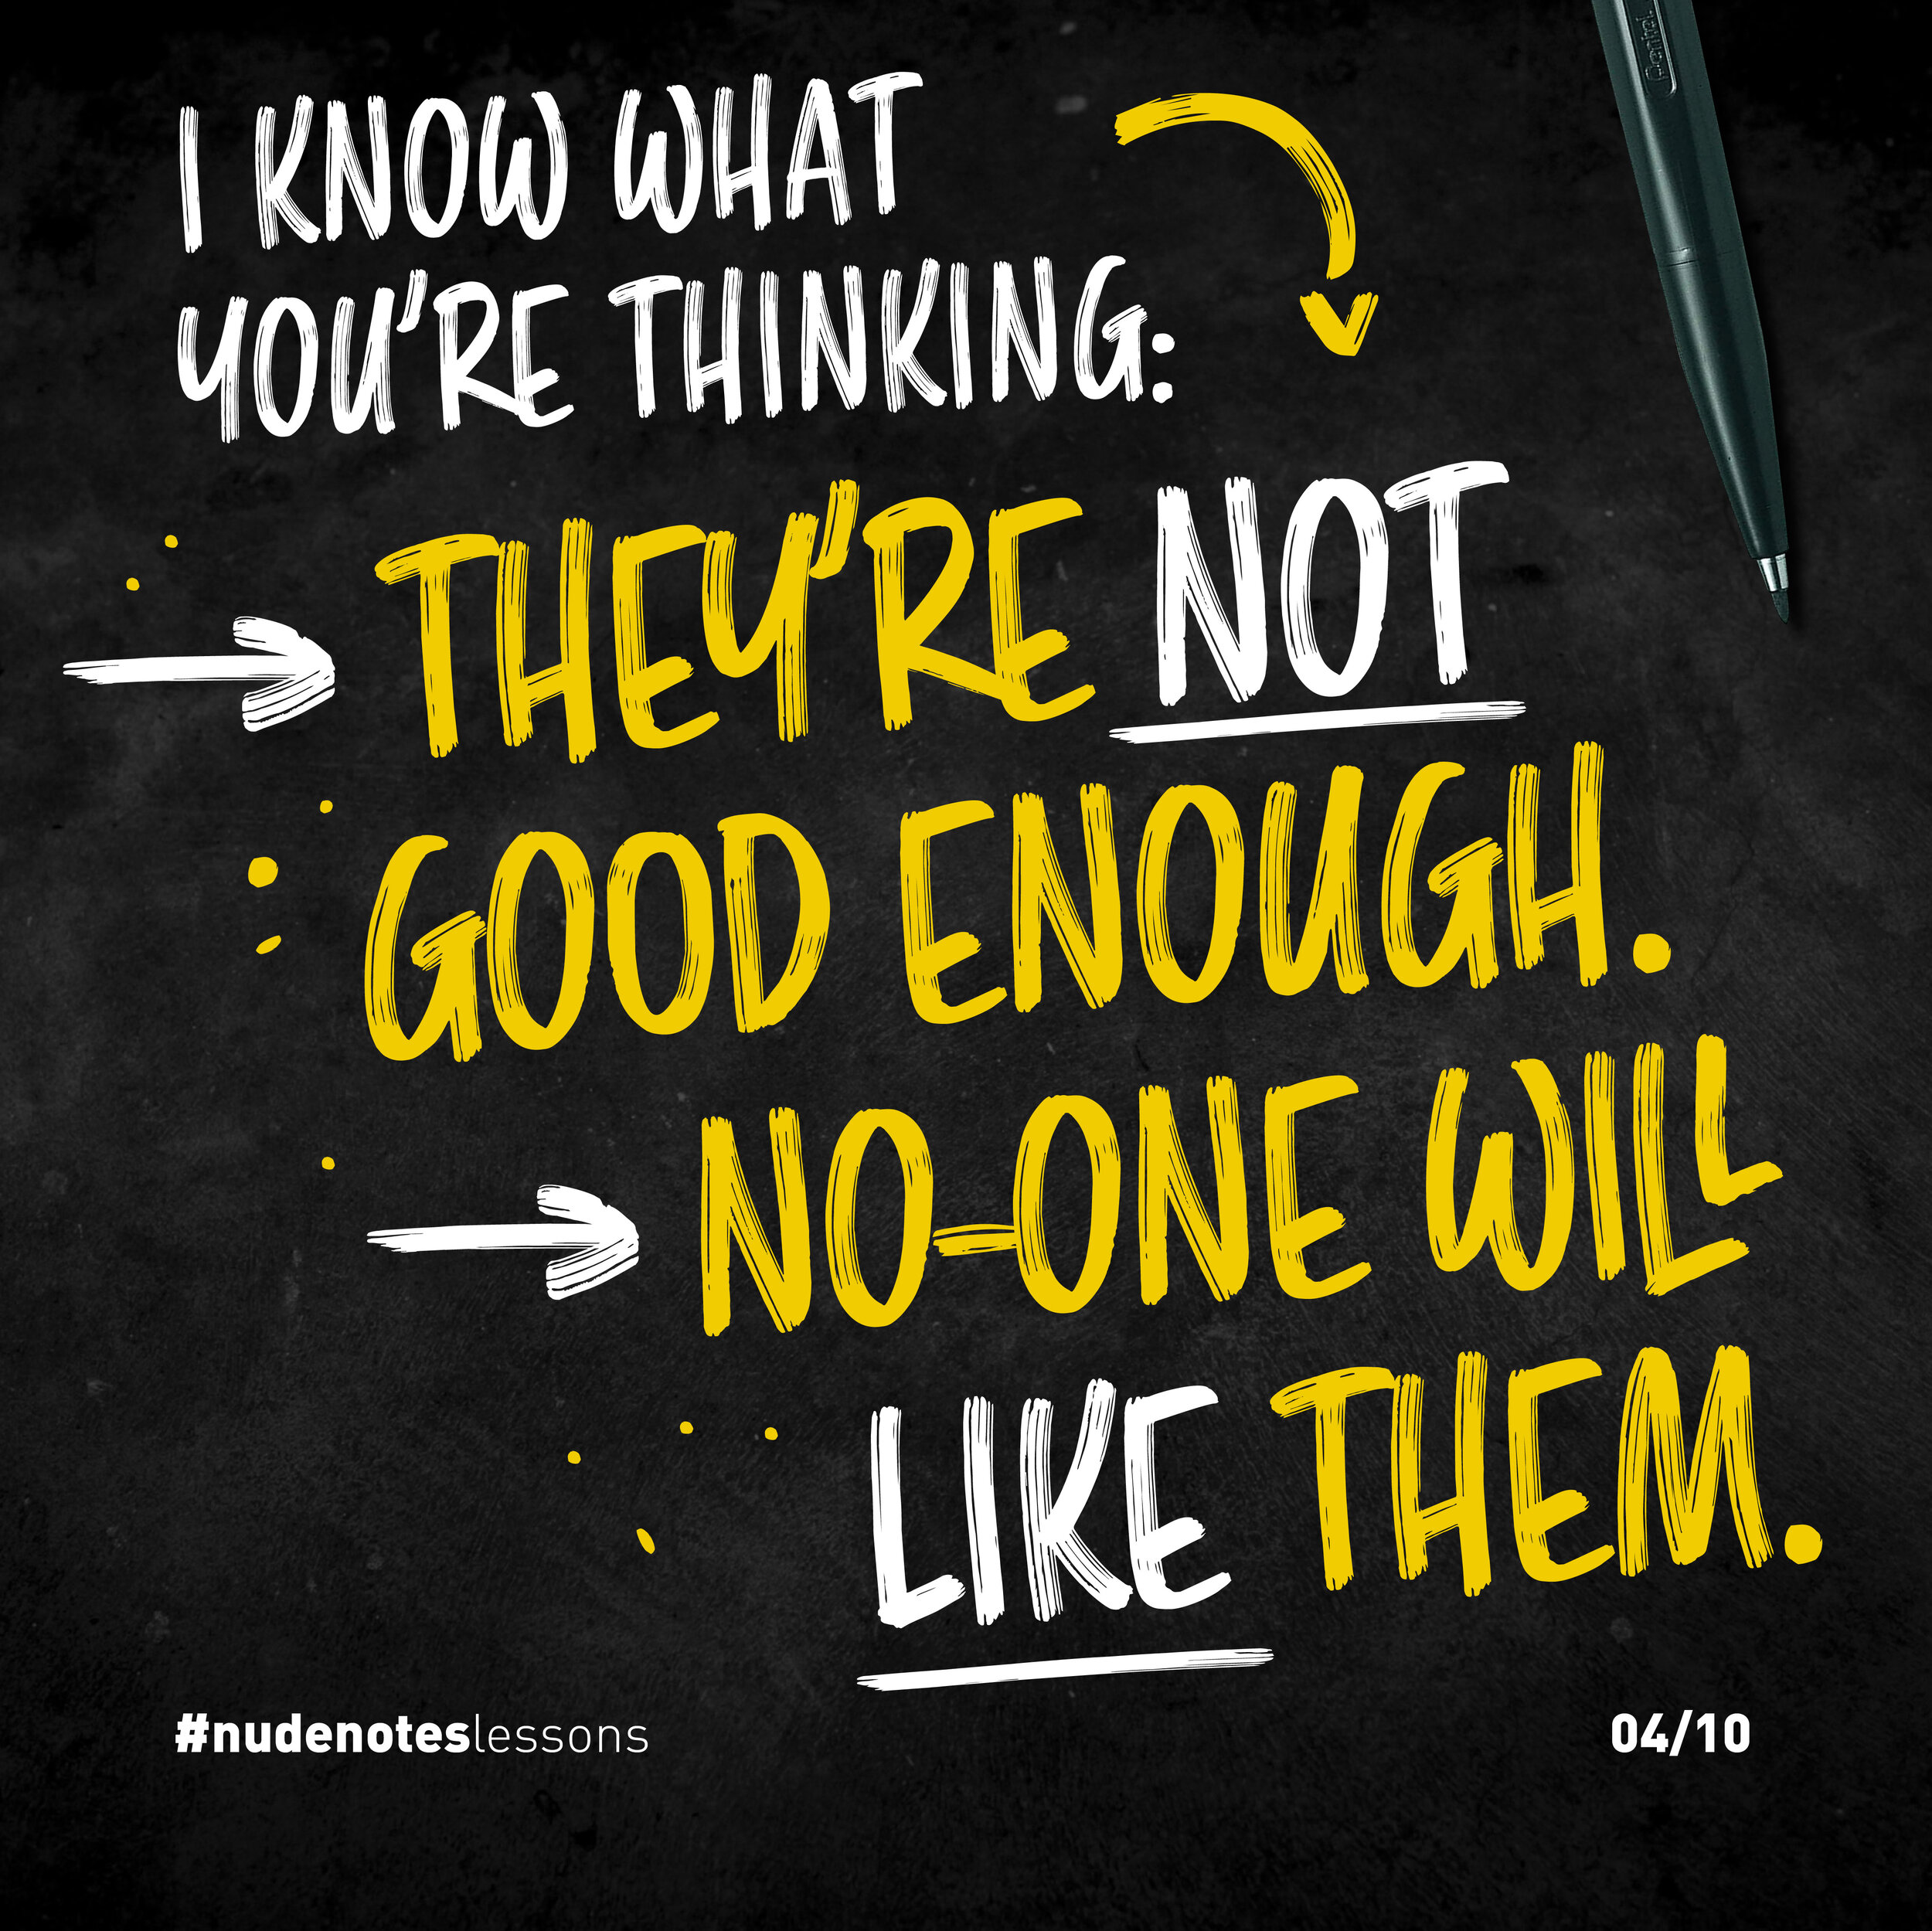
I know what you're thinking:
They're not good enough.
No-one will like them.
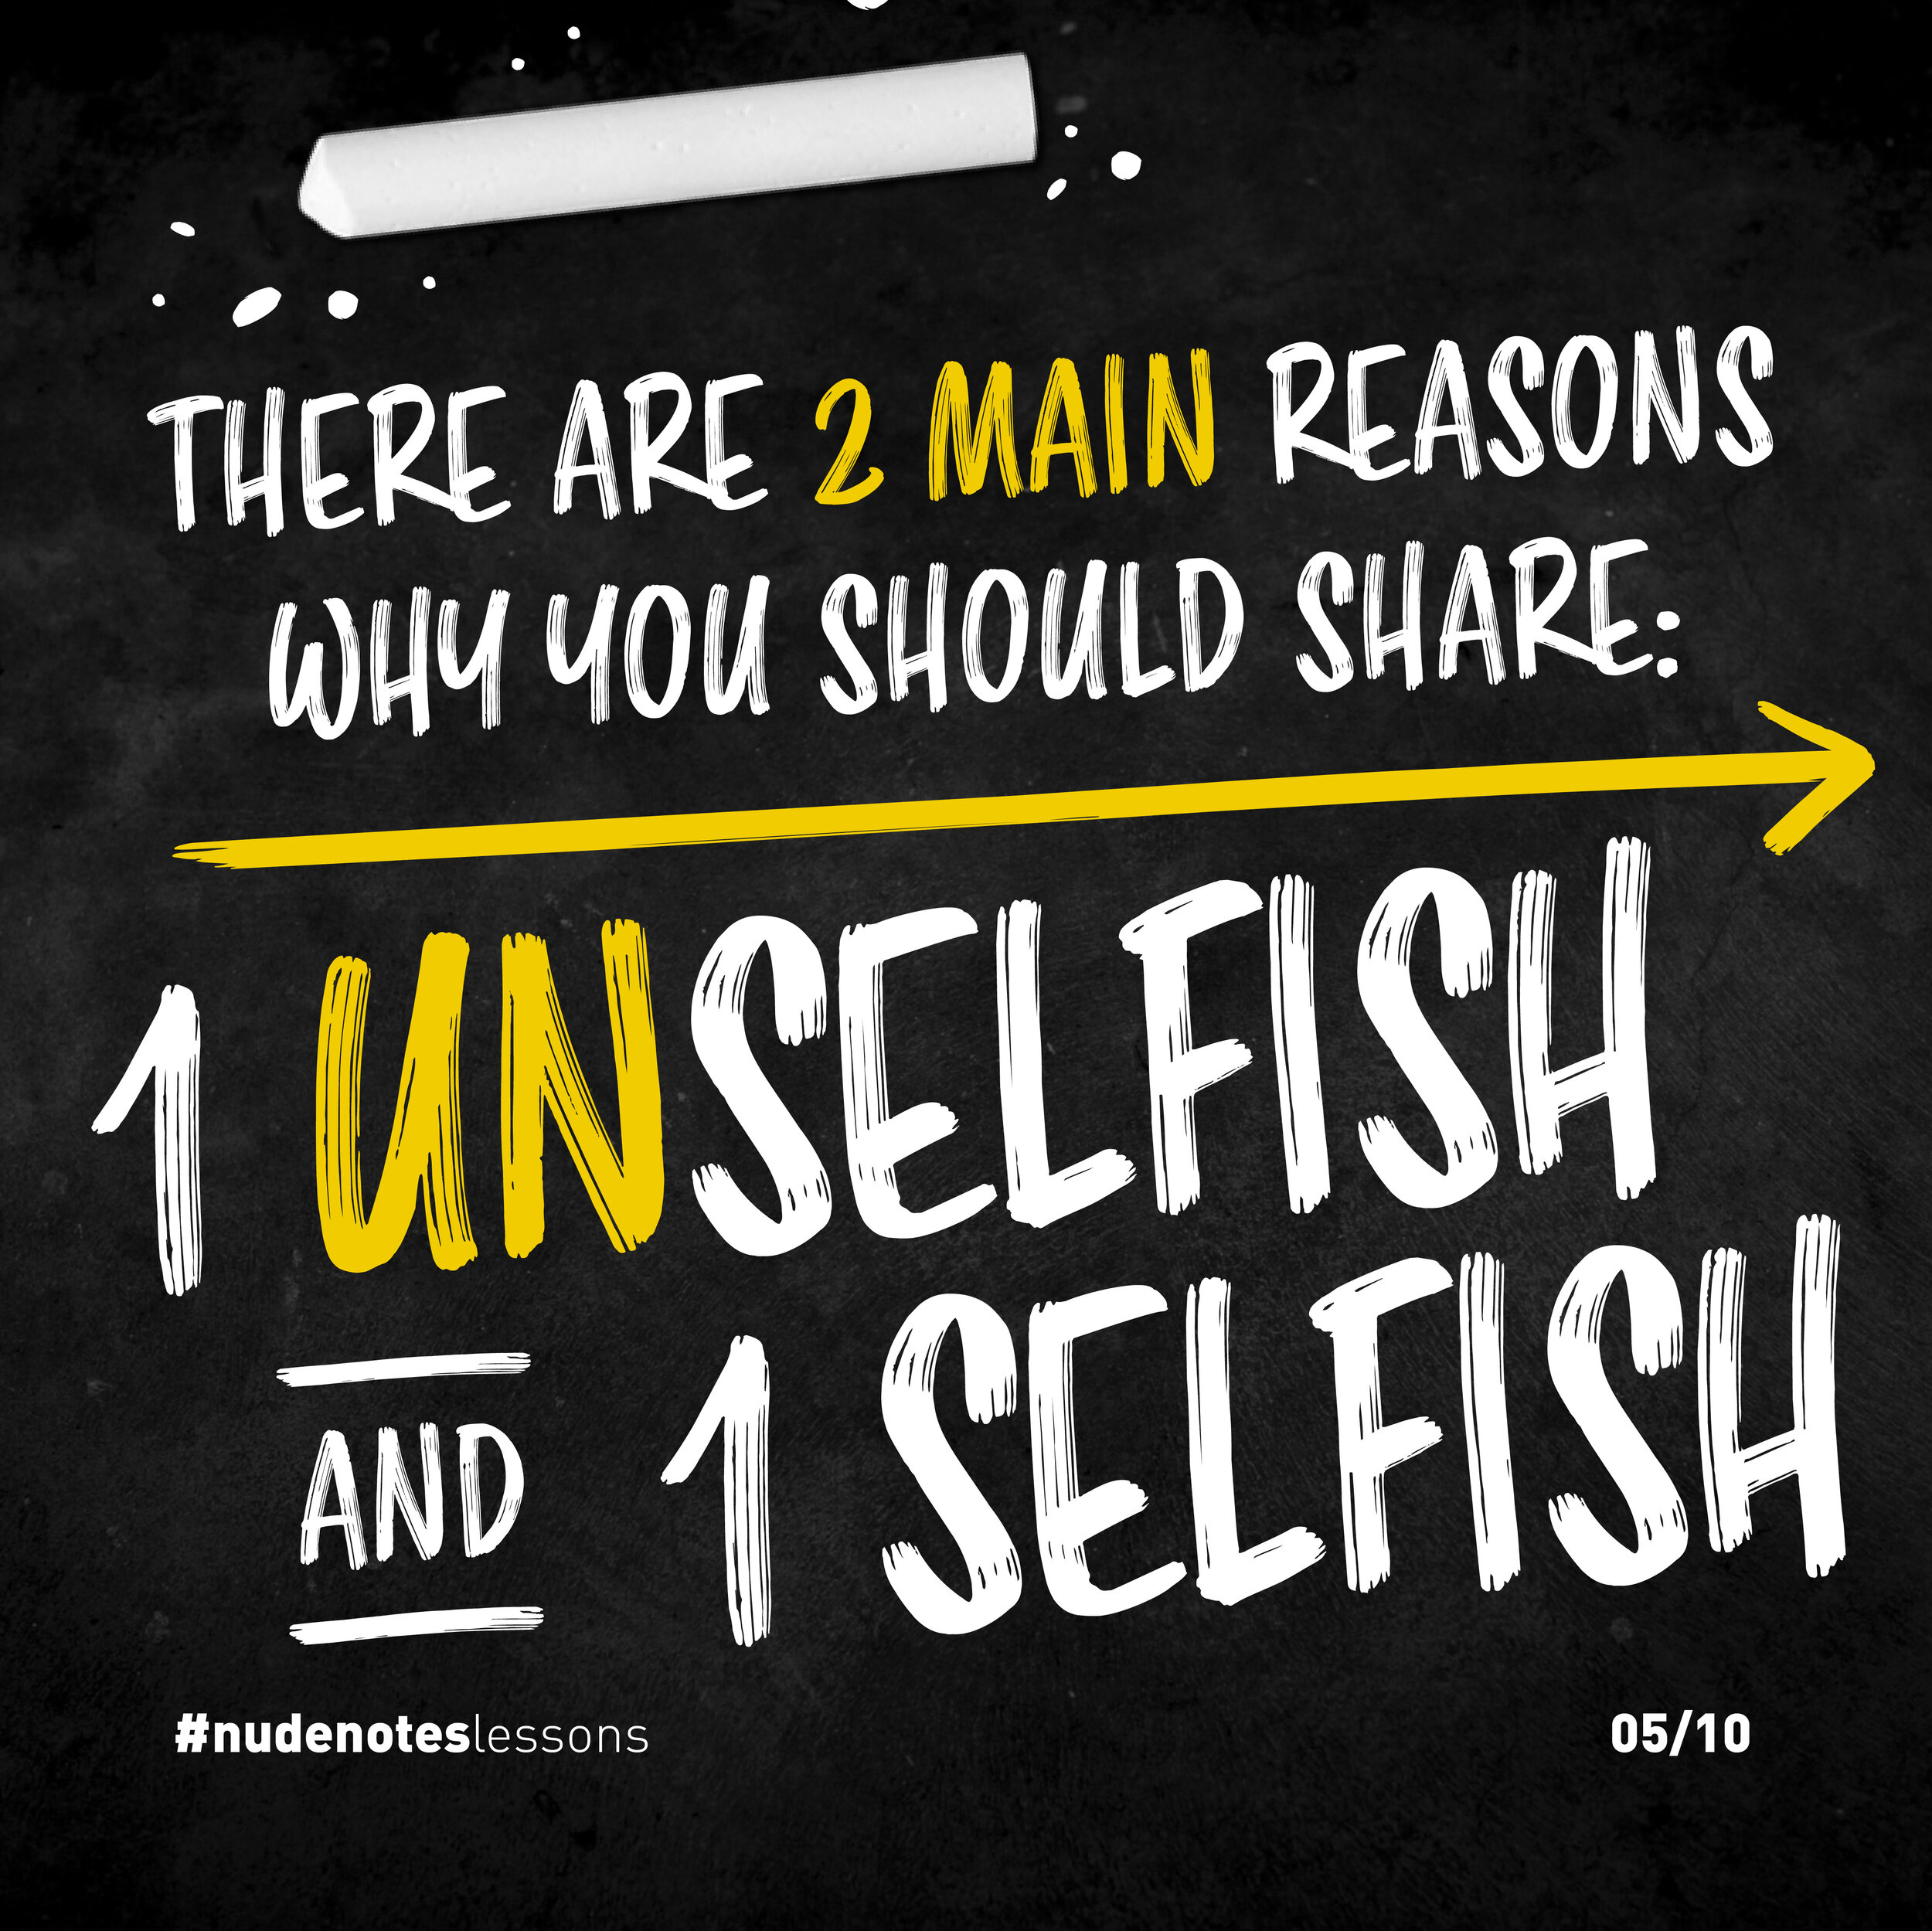
There are 2 main reasons why you should share your nudenotes - 1 unselfish and 1 selfish:
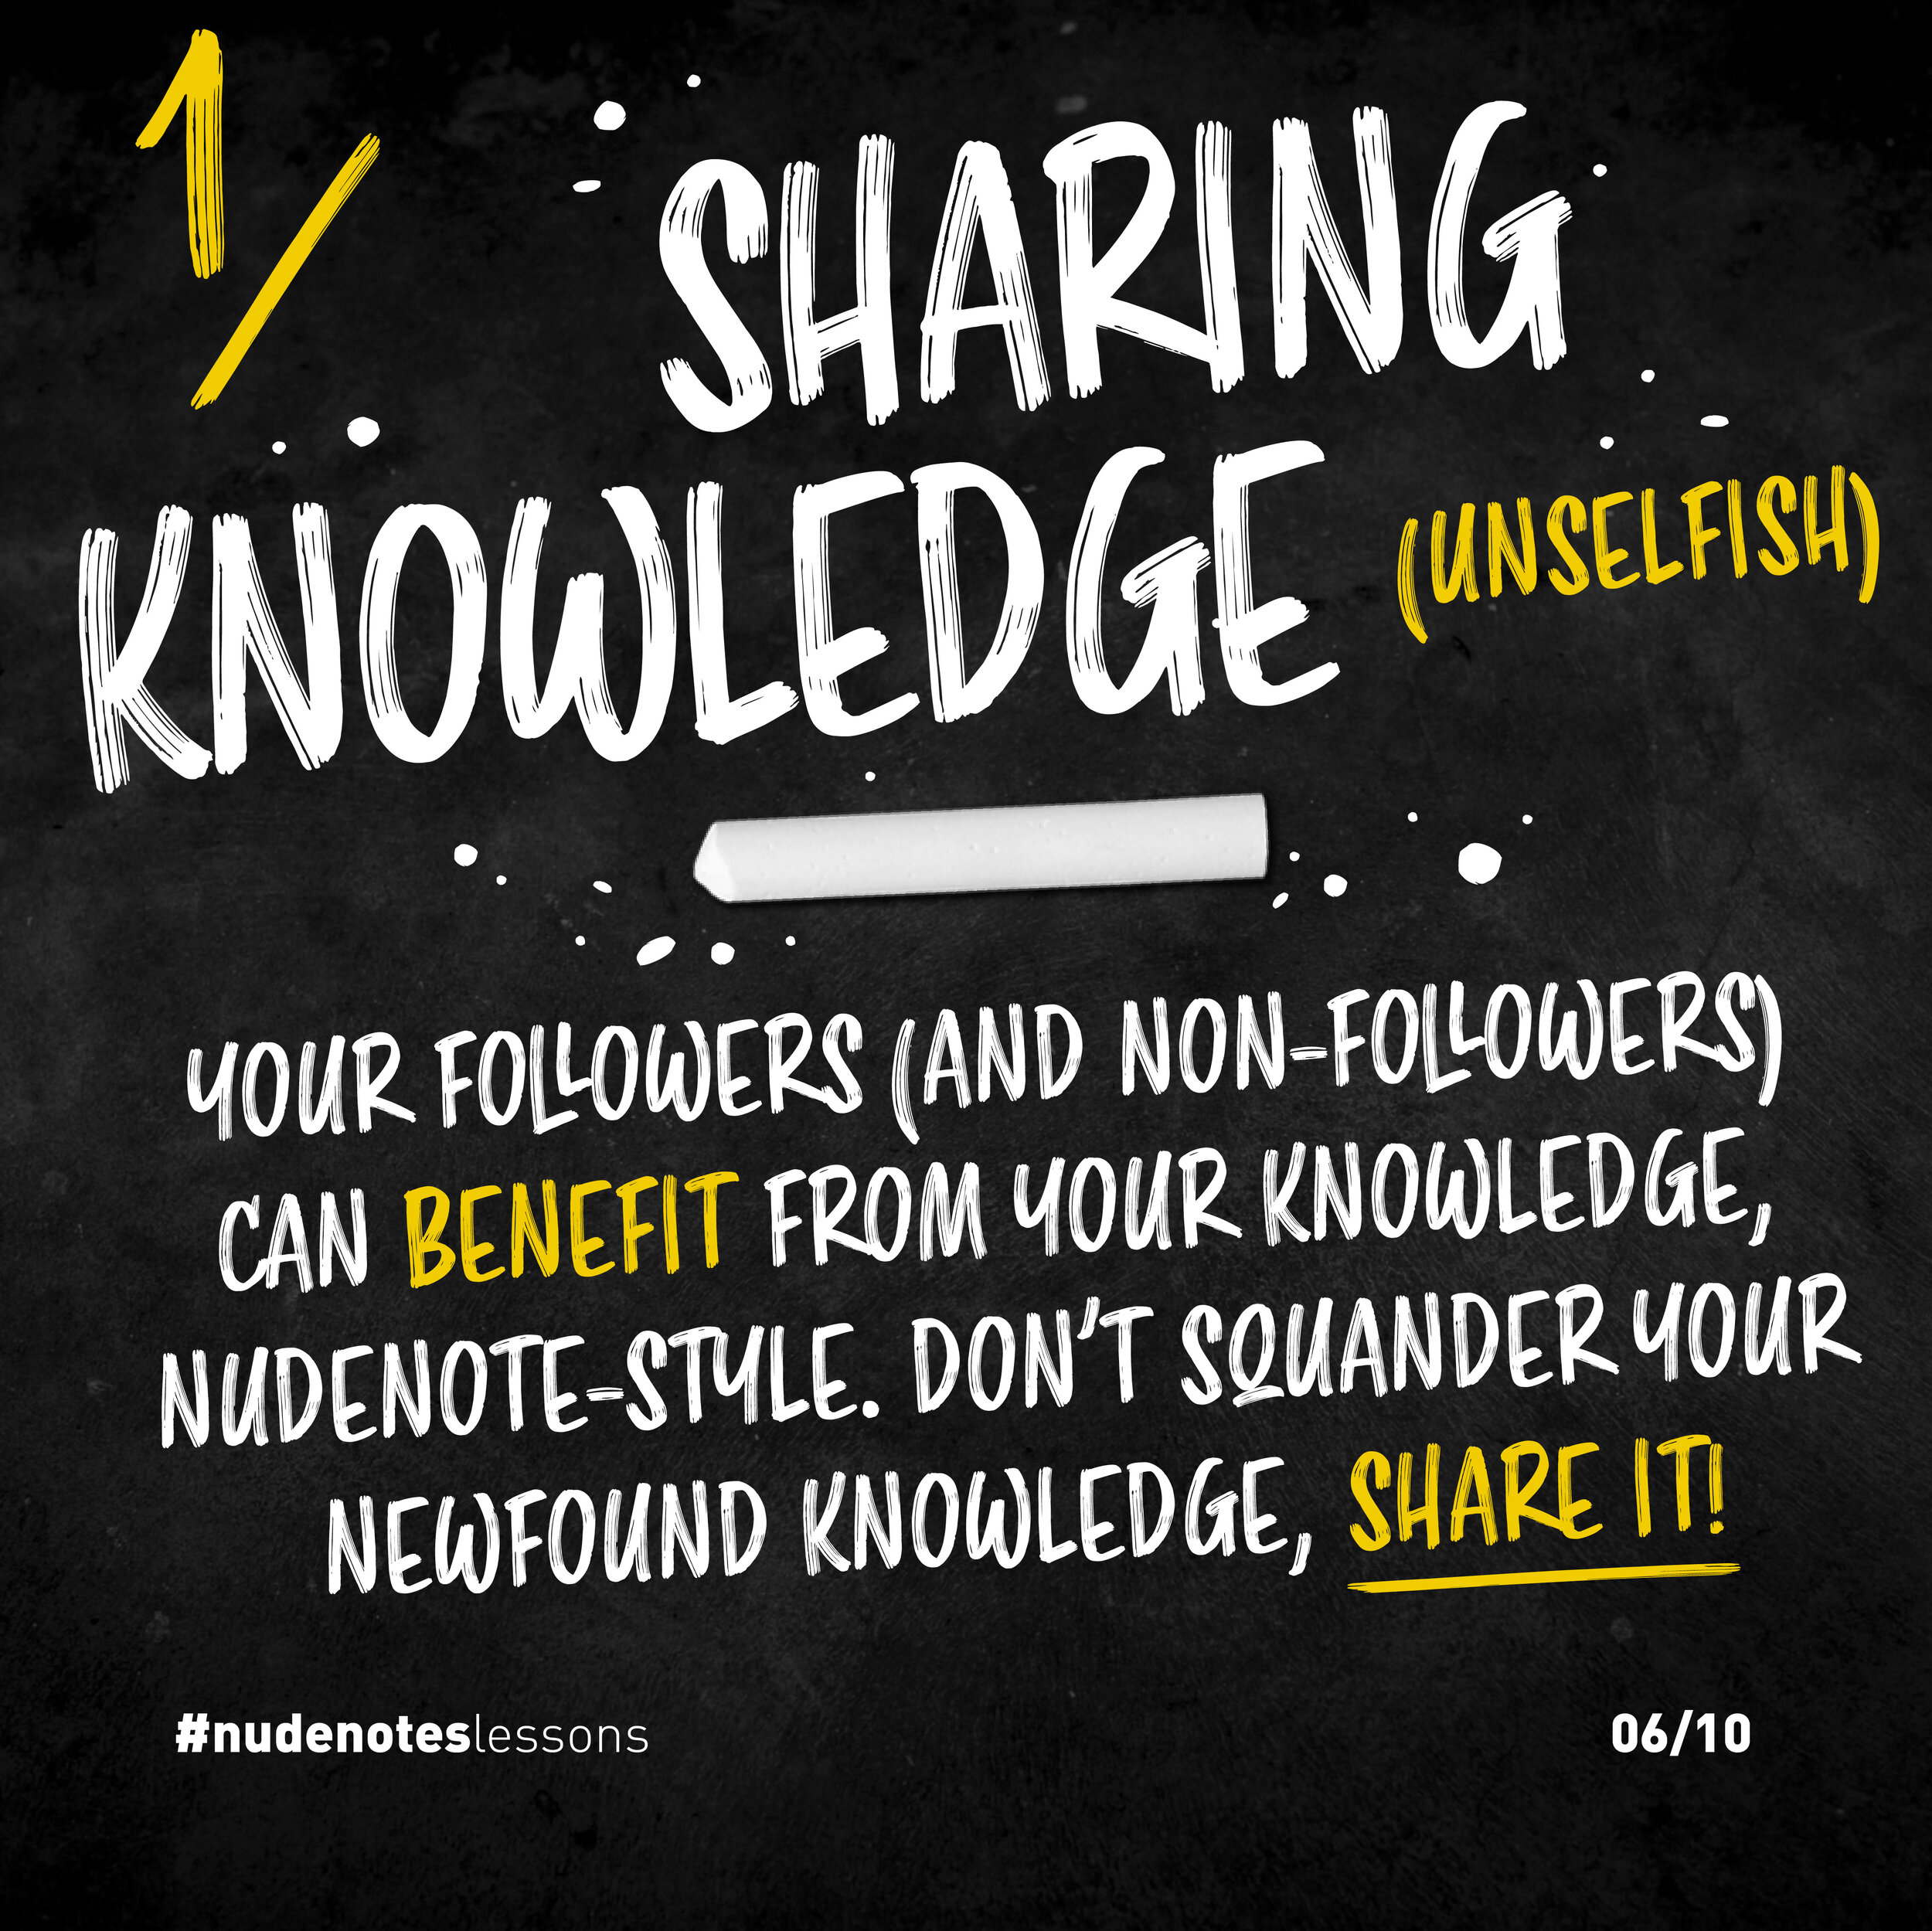
1 - Sharing Knowledge (unselfish).
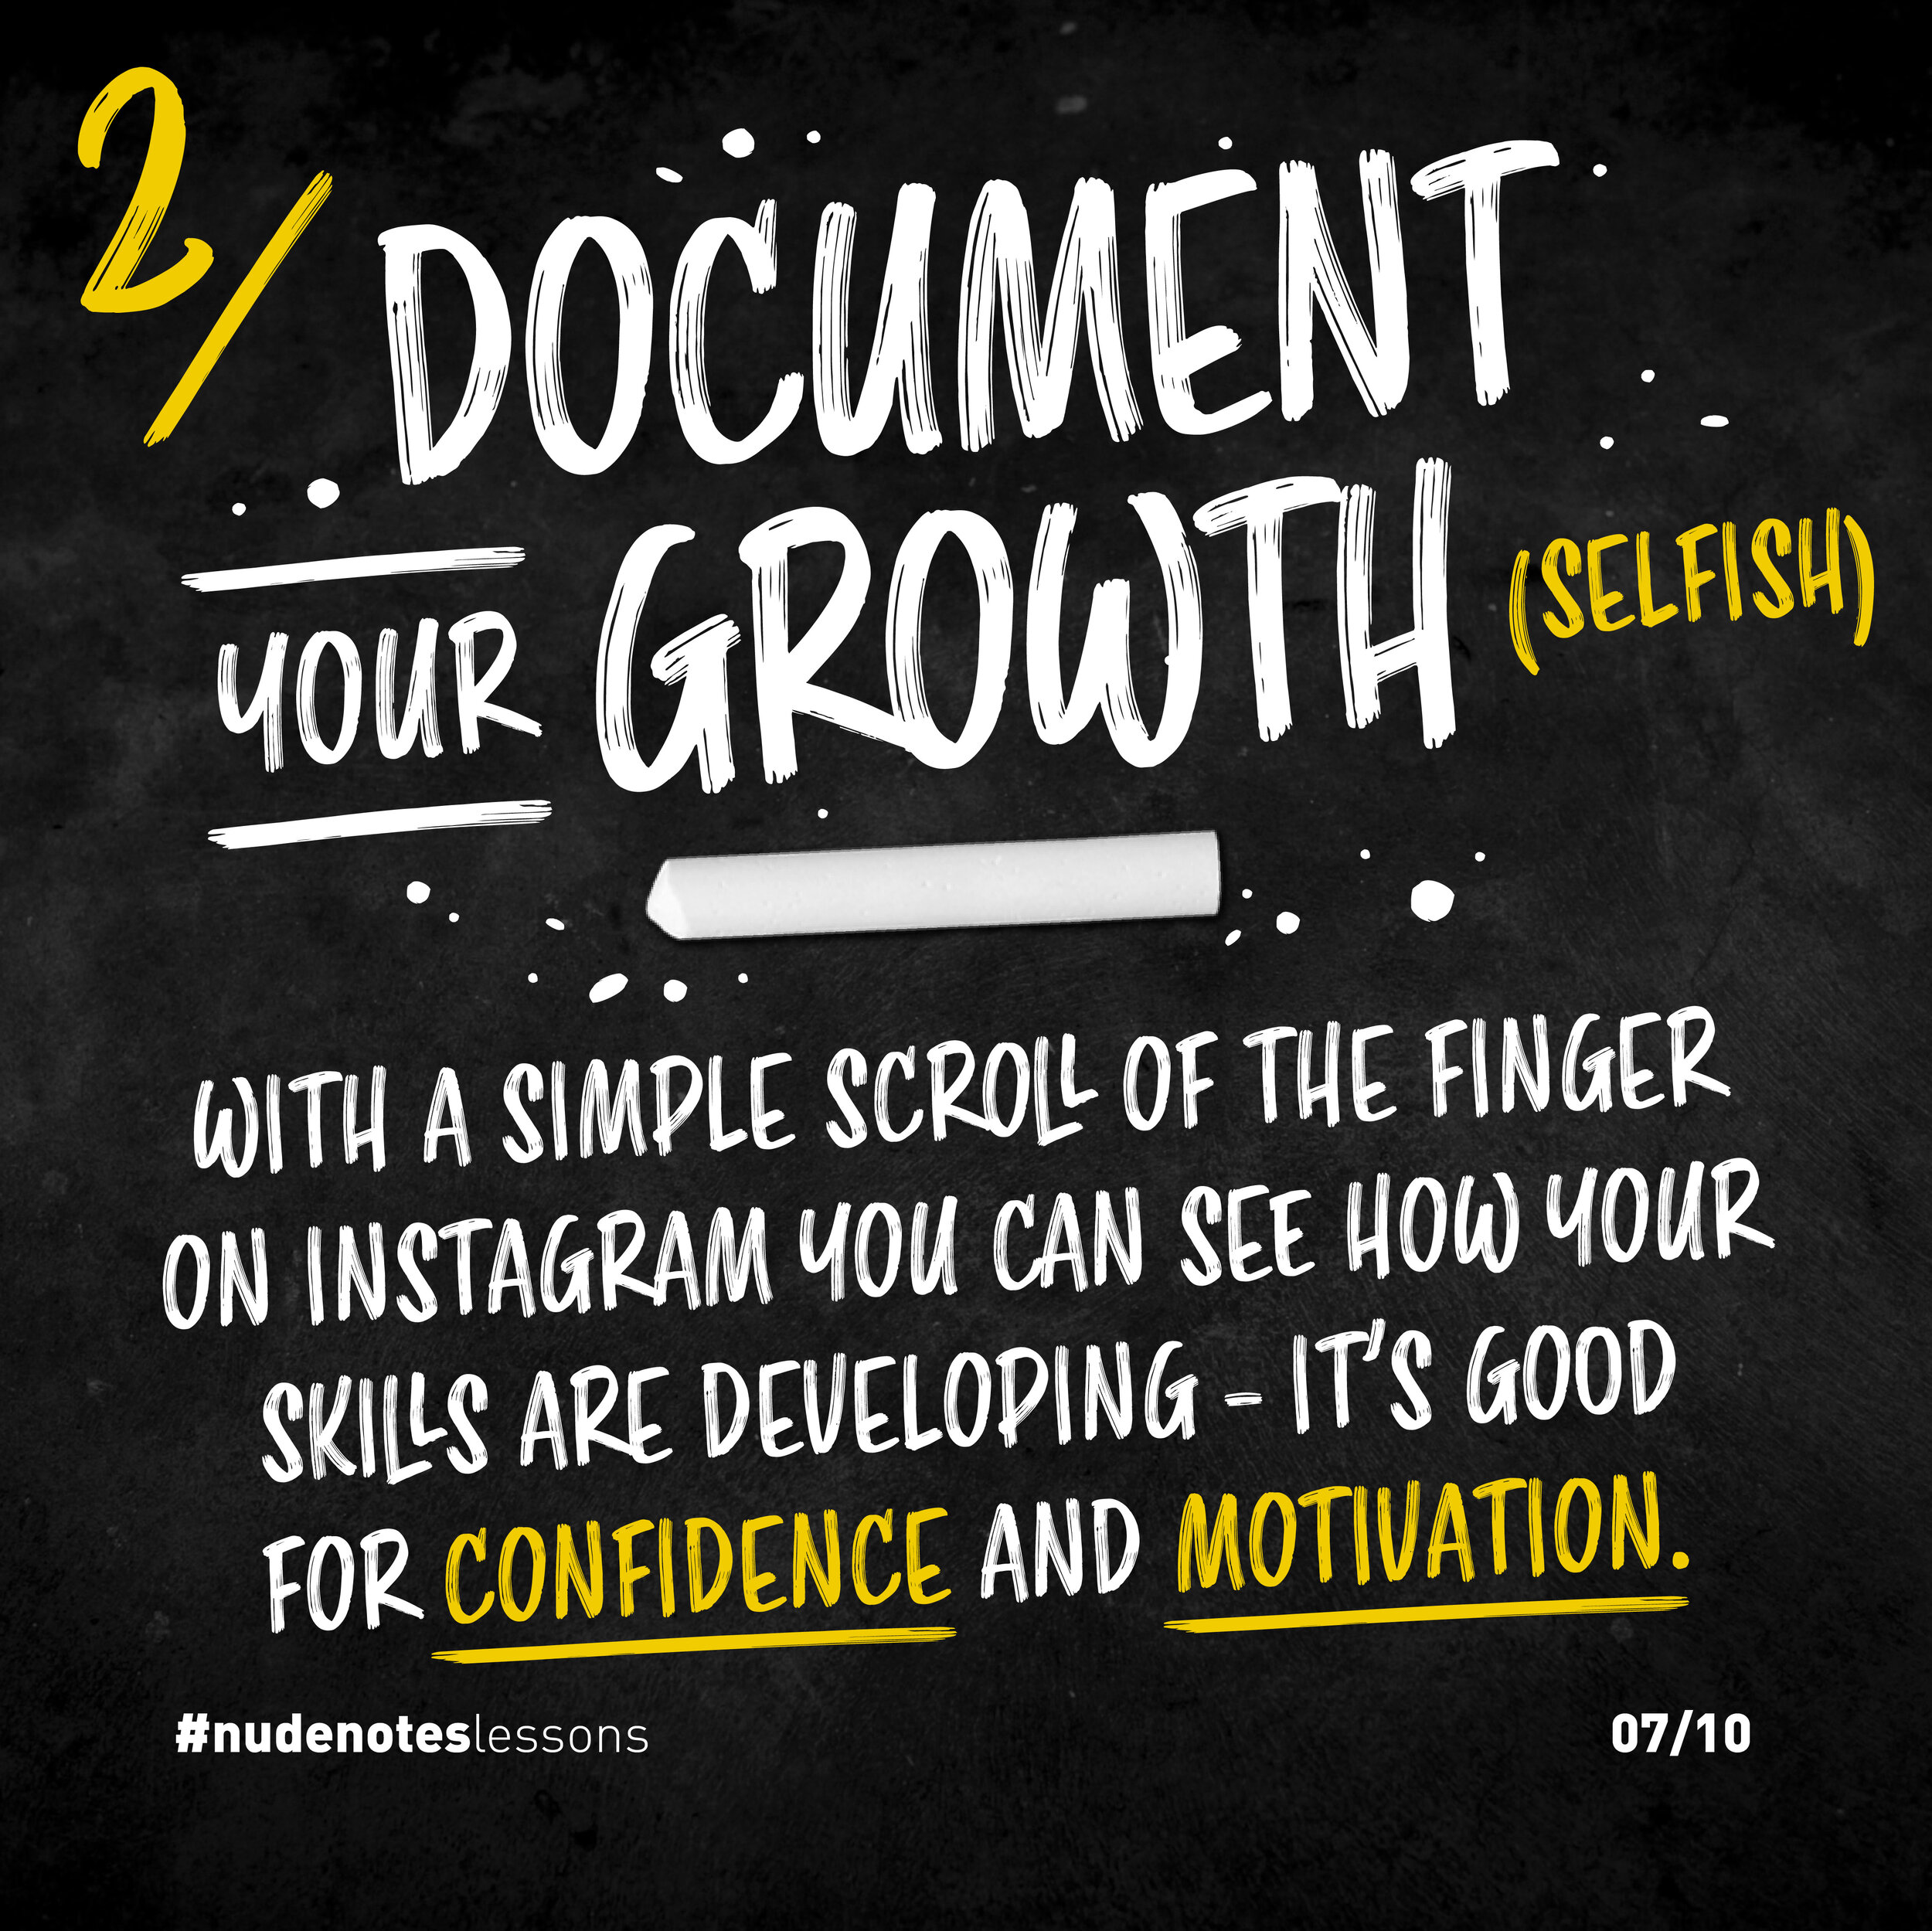
2 - Document your Growth (selfish).
That's everything you should need to start your own nudenotes journey.
Want more tips?
Check out my instagram feed, for weekly nudenotes lesson posts.
Hopefully this article has inspired you to pick up a pen and join the nudenotes revolution.
Don’t forget to share your notes with me (@deanoj312) on Instagram using the hashtag #nudenotes - I can't wait to see what you've got!
I'll wrap this up with this awesome quote from Seth Godin:
“Just start. Start now. Fail often. Make nudenotes.”
(Okay, I did change the quote slightly at the end.)

